Hello! Happy New year my fellow needle workers! I hope new year is going well planned as you think. Today I will be sharing with you a dress that I made for my sister. I completed this project last weak of December but could not share it with you cuz I didn't have much time.
Fabric
Measuring tape
Scissors
Fabric Marker
Sewing thread
Pasting paper
Lace and Piping
Elastic band
Today I'm gonna stitch suit set for my younger sister. I'm using this khaddar fabric. First of all I'will take measurements from her dress that I already have. Starting from kurta, I measured length and width of shirt, mark on the shirt that was supposed to be cut. Taking 8 inches shoulder width, 9 inches armhole length, 10 inches chest length, 9 inches waist, 11 inches Hipline length. Then i cut it according to pattern. Ohh, I forget to adding sleeves measurements. So I'm adding sleeves measurements, that was 23 inches length and width was based on armhole depth. Here, I want to tell you one thing here that I really dislike having to join many pieces while stitching clothes, and today I had to insert 2 to 3 piece in both sleeves because a bit shortage of fabric.
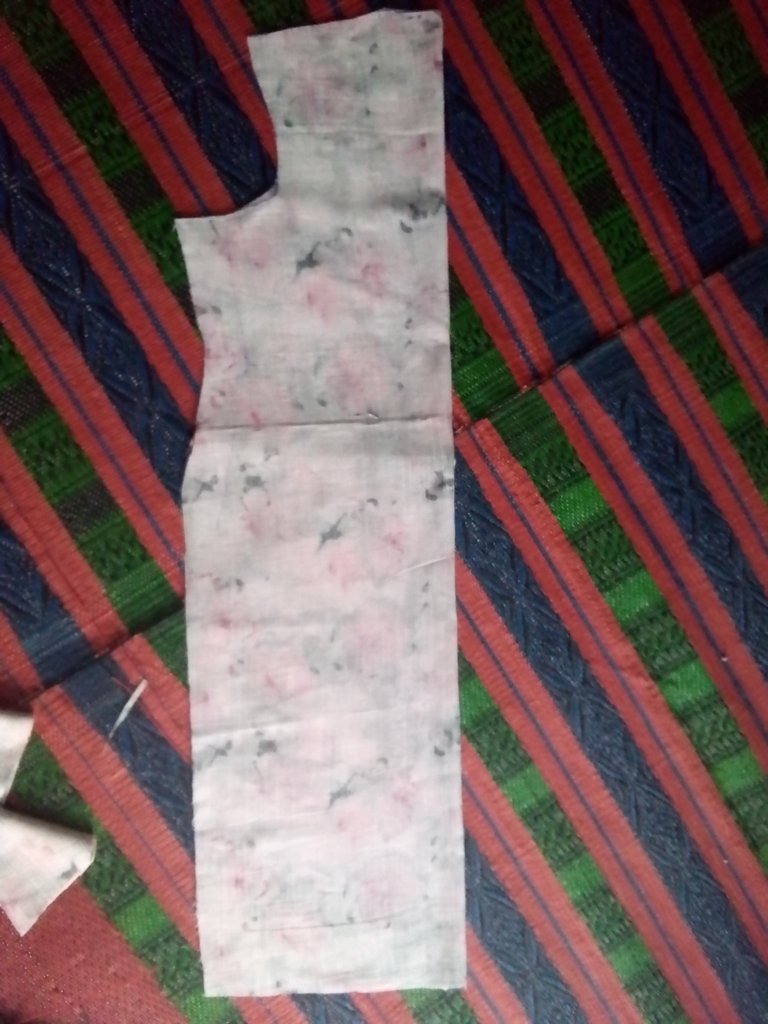
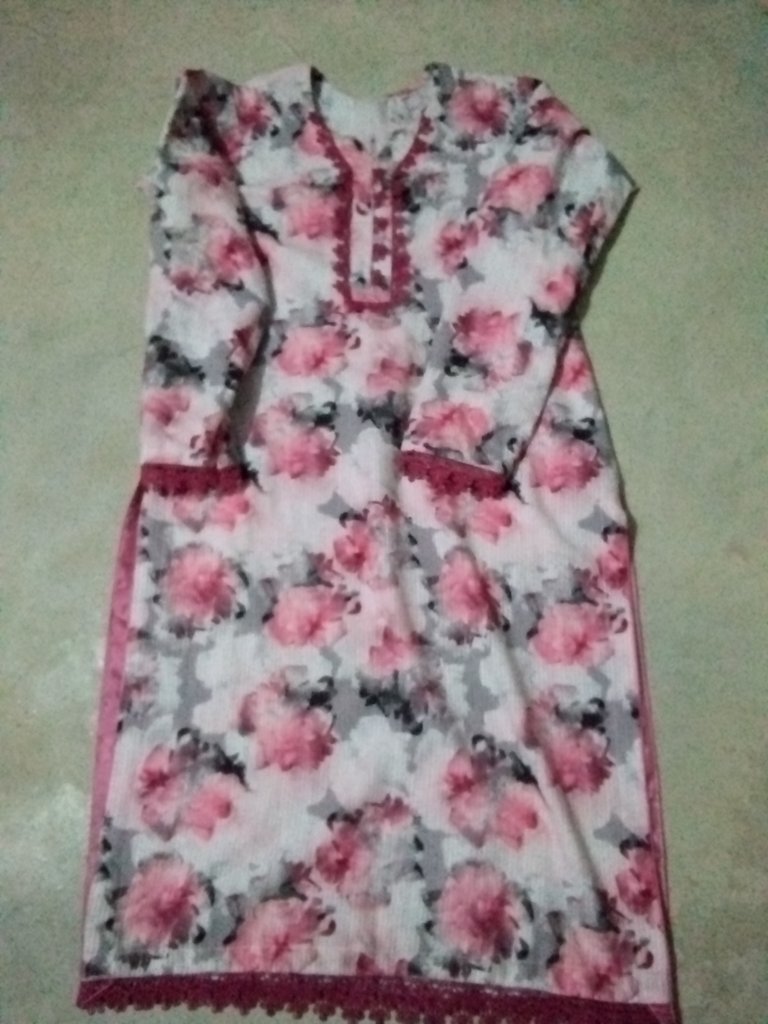
Now it's stitching time, I start from shirt's neckline. After 1 and half hour of searching, she was satisfied with that design. For this neck design I need two patterns round and v with long Patti. Round with 6 by 6 inches and v with 12 inches length and 3 inches depth with long cut. Then cut these patterns on pasting paper and paste it on piece of fabric.
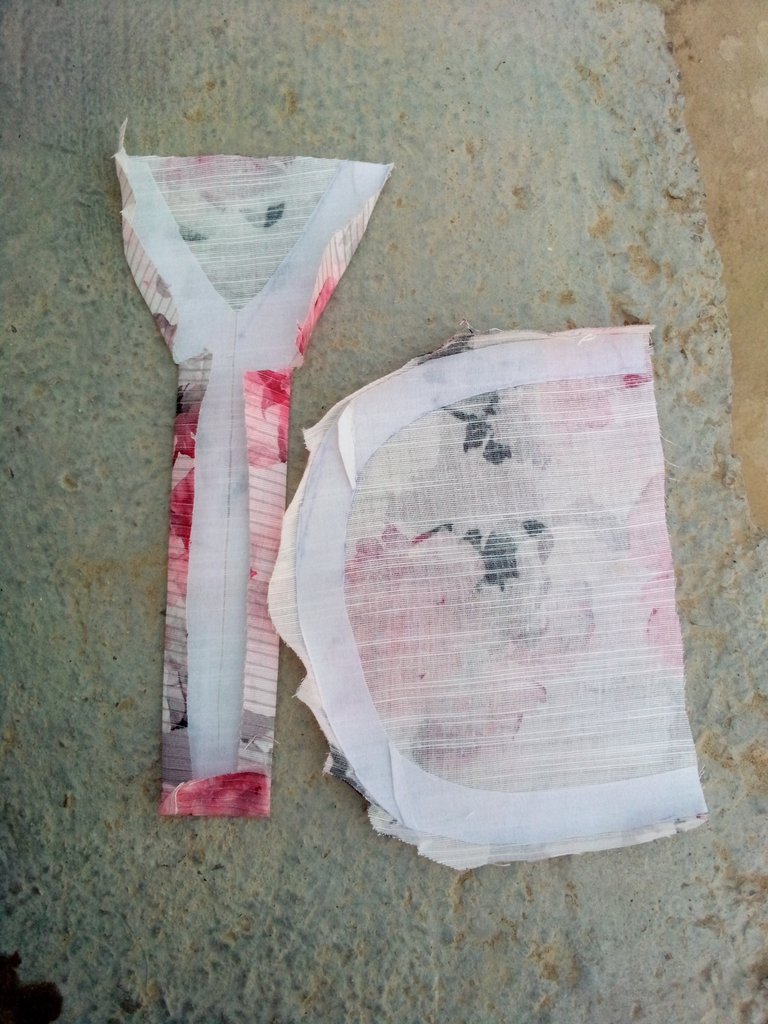
I use pins to attach with shirts front piece. I use lace outside the long Patti.
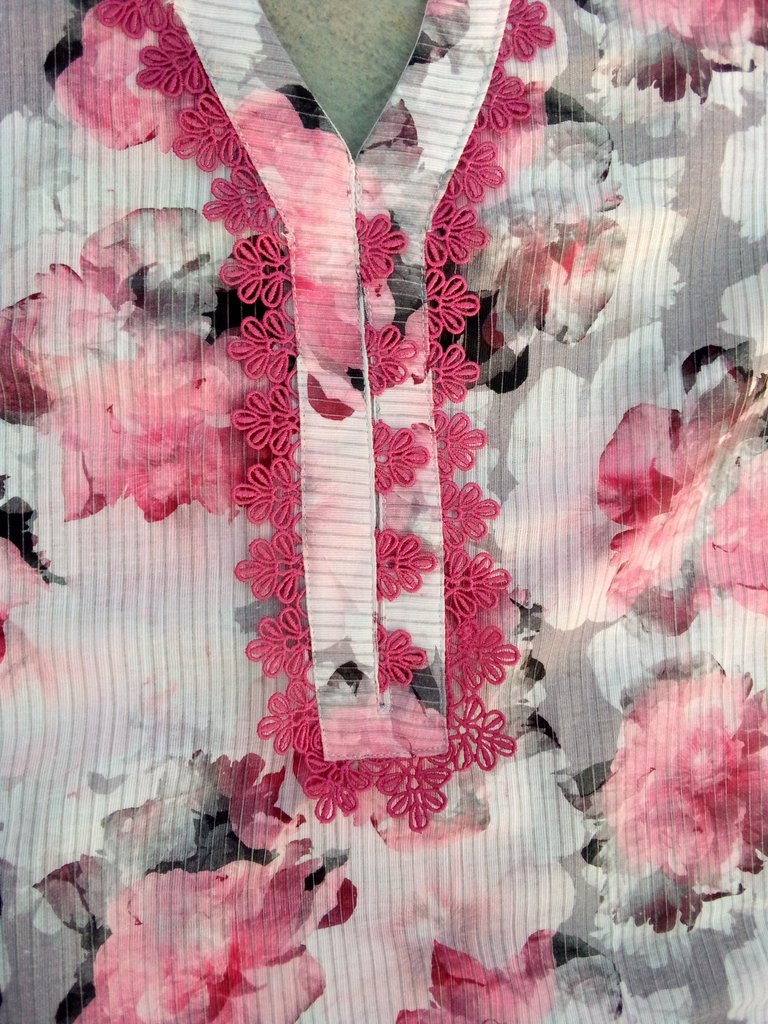
After preparing front neck I cut the back neck and use a piece of fabir and sew this piece to the cutting part for completing back neck.
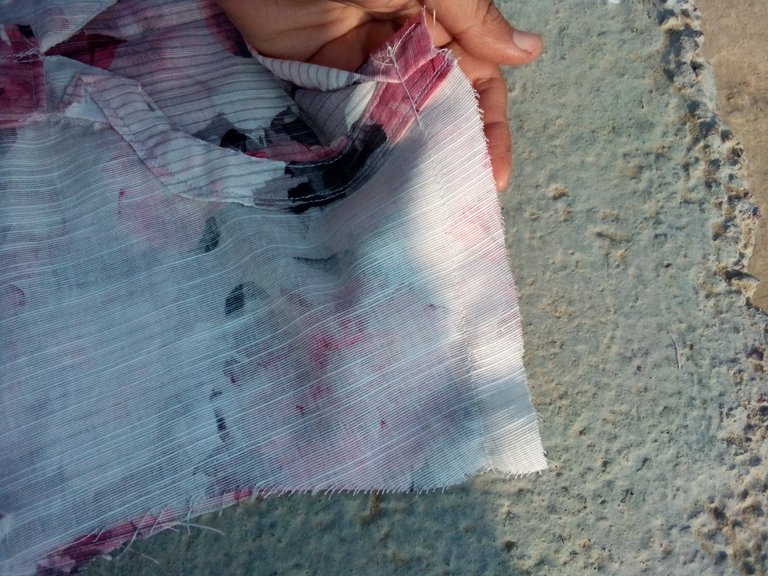
Now I joined the front and back parts of shirt by shoulder sewing. Then joined the sleeves to the armhole. At the initial place of sleeves, I used this lace to give a gorgeous and eye-catching look.
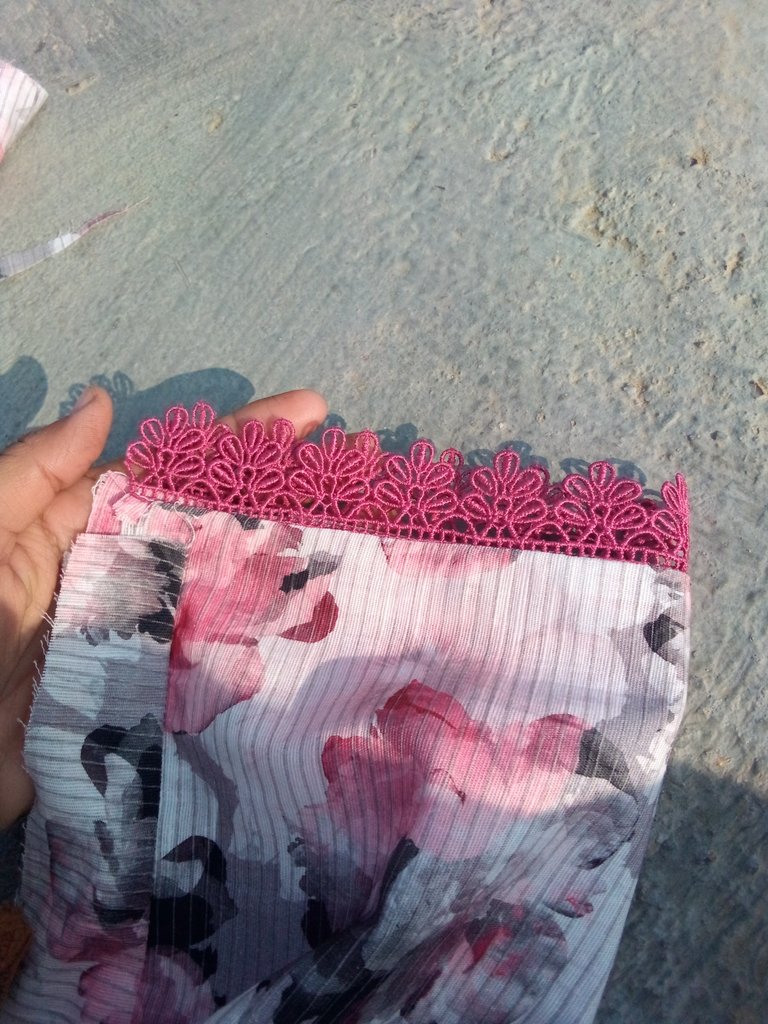
Then i stitch the sides of shirt and sleeves in one continuous seam.
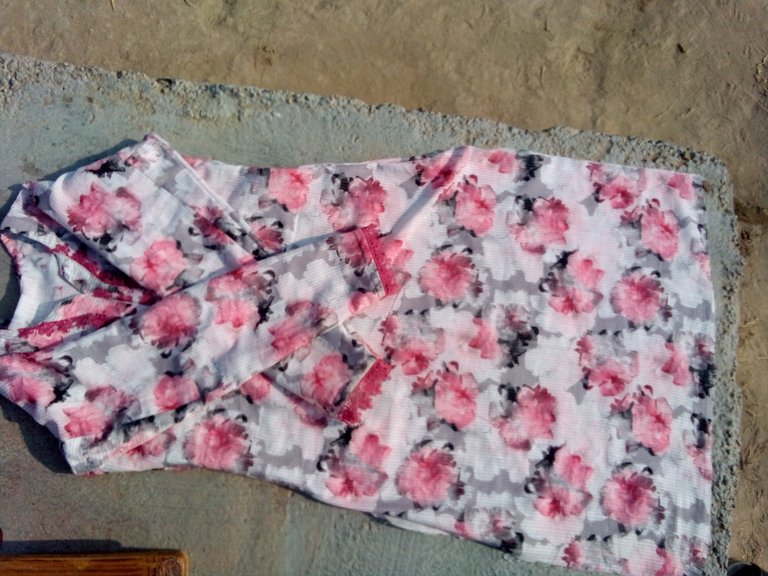
At the bottom end of shirt I used same lace that was on sleeves and hem the sides of both front and back part with piping.
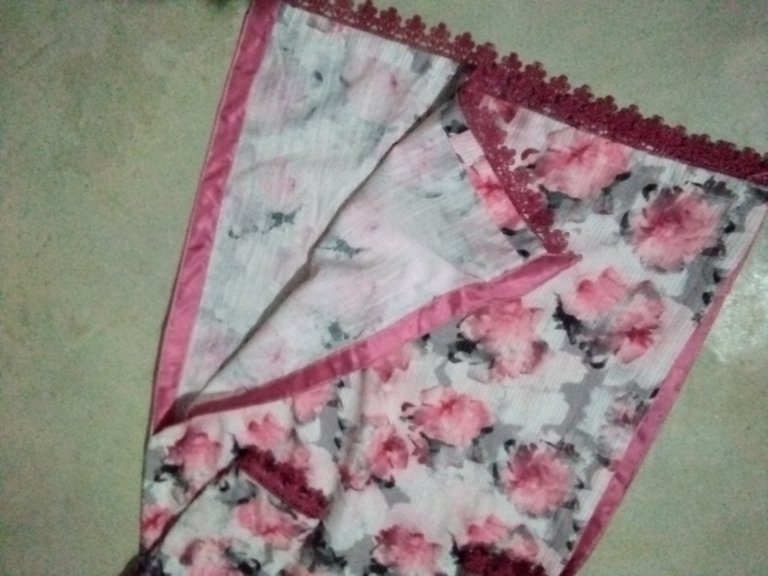
Now it’s trouser turn for cutting and stitching. I think everyone finds trouser cutting and stitching easy, and it seems like it can be done quickly. But in reality, it’s not that simple. However, with practice, a person can complete it very quickly.
For trouser cutting I measure the length and width of trouser, inseam, waist measurement. Then draw pattern with marker for convenient. I cut out this pattern accordingly.
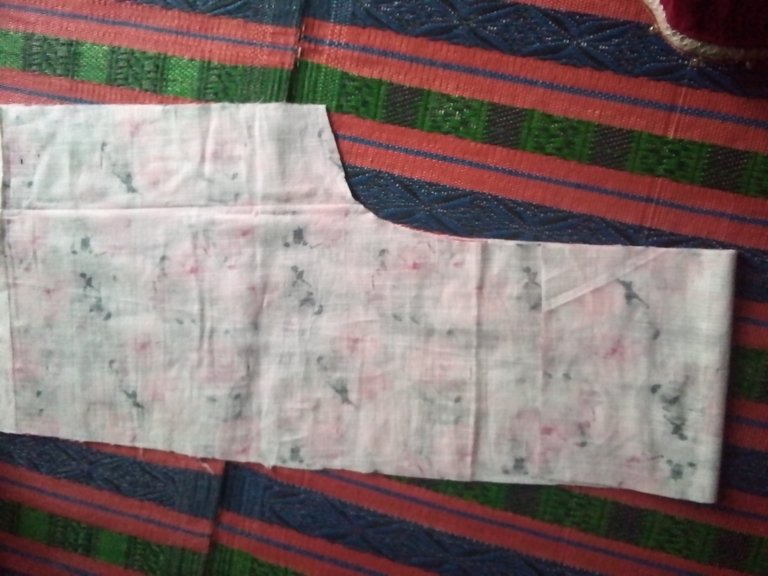
For stitching firstly I seam the both panel of trouser and center of these panels. And iron them.
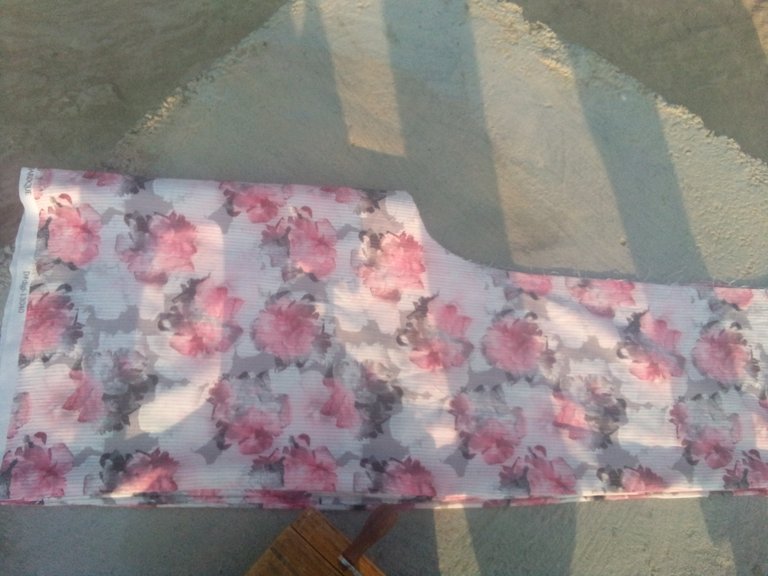
I used elastic band as waist band. Sew the elastic by folding 3 inches fabric inside.
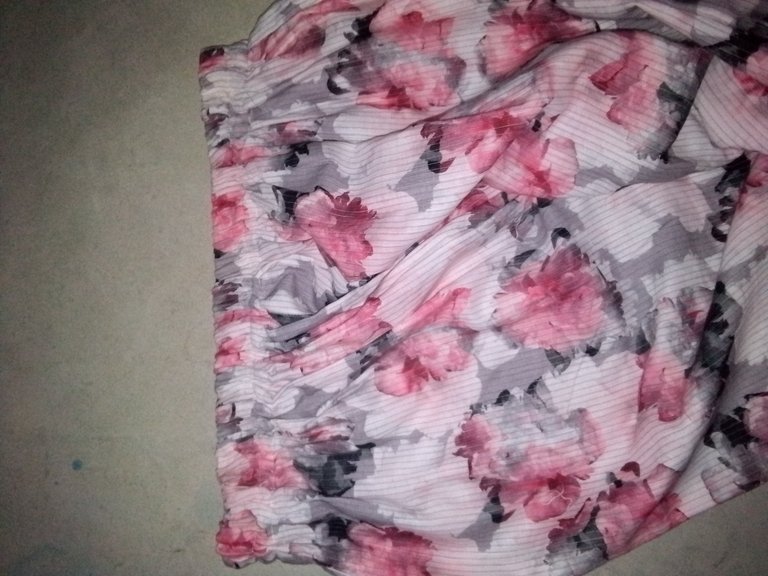
At the bottom end I used pipping. And seam the heam.
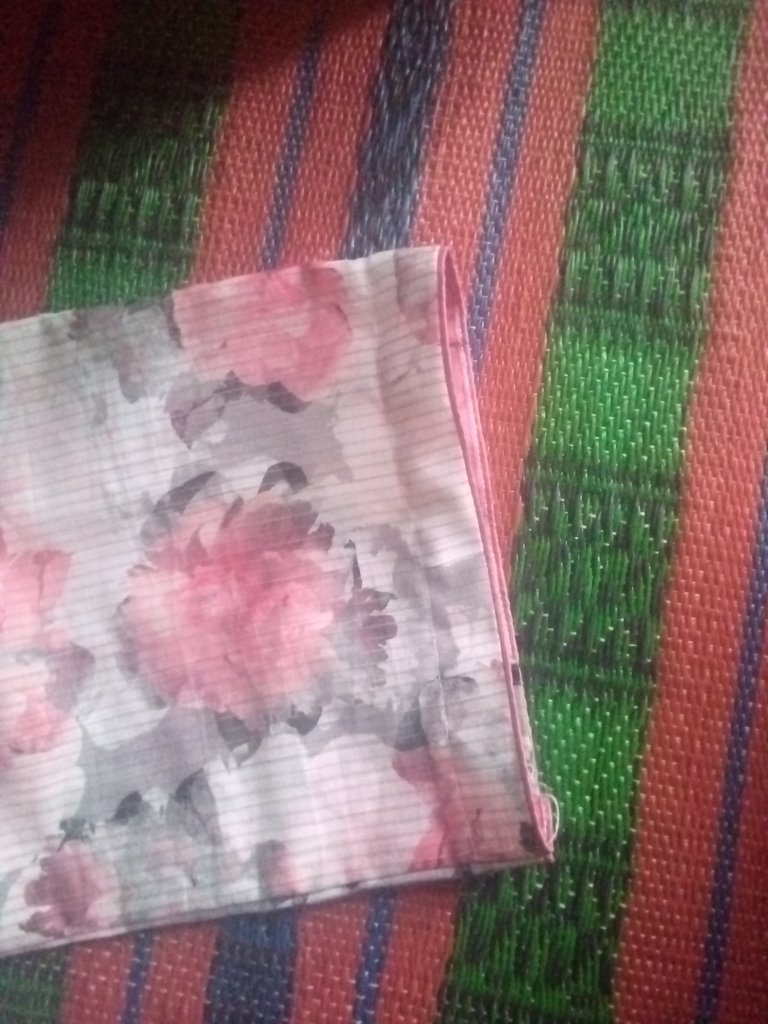
Then inseam the whole trouser in one seam.
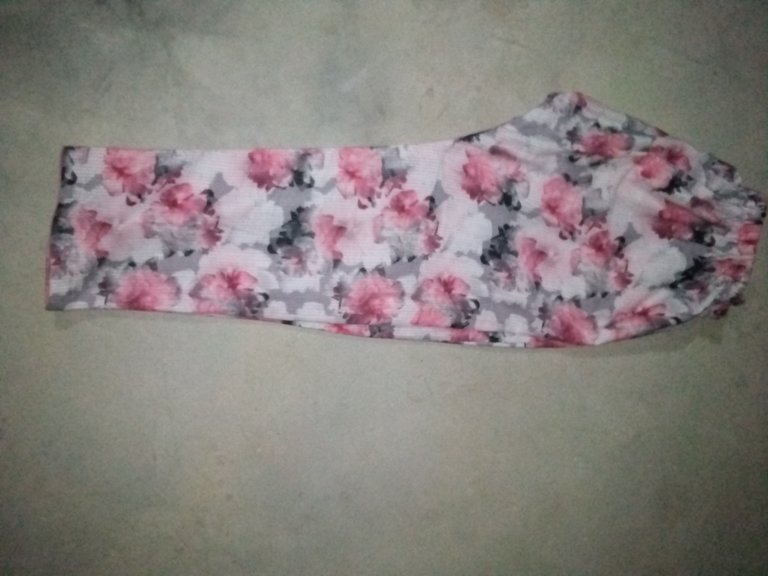
After completing the suit, I told her to iron it herself because my back was hurting. Honestly, I was exhausted from sitting for such a long time. After ironing, I asked her to try it on. Meanwhile, I started searching on Google for stylish ways to drape a dupatta. Once she wore it, she showed me, saying it looked perfect to her. Yes, this was the first suit she found perfect; otherwise, every time I stitched a suit for her, she would point out some flaw, and I would have to undo and re-stitch it again.
Then i set her duppata like that.

And take some pics.
I hope you will like it.