Hola a todos, es muy bueno comenzar la semana, preparando para el desayuno o sea para el matecocido con leche, unas excelentes tortas fritas, pirecas o yaniqueques, las mismas son muy facil de prepararlas, les enseñare el paso a paso, bueno queda a criteria de cada uno de como les salga, porque la verdad yo las hago con mucho amor y perseverancia y me salen muy bien.
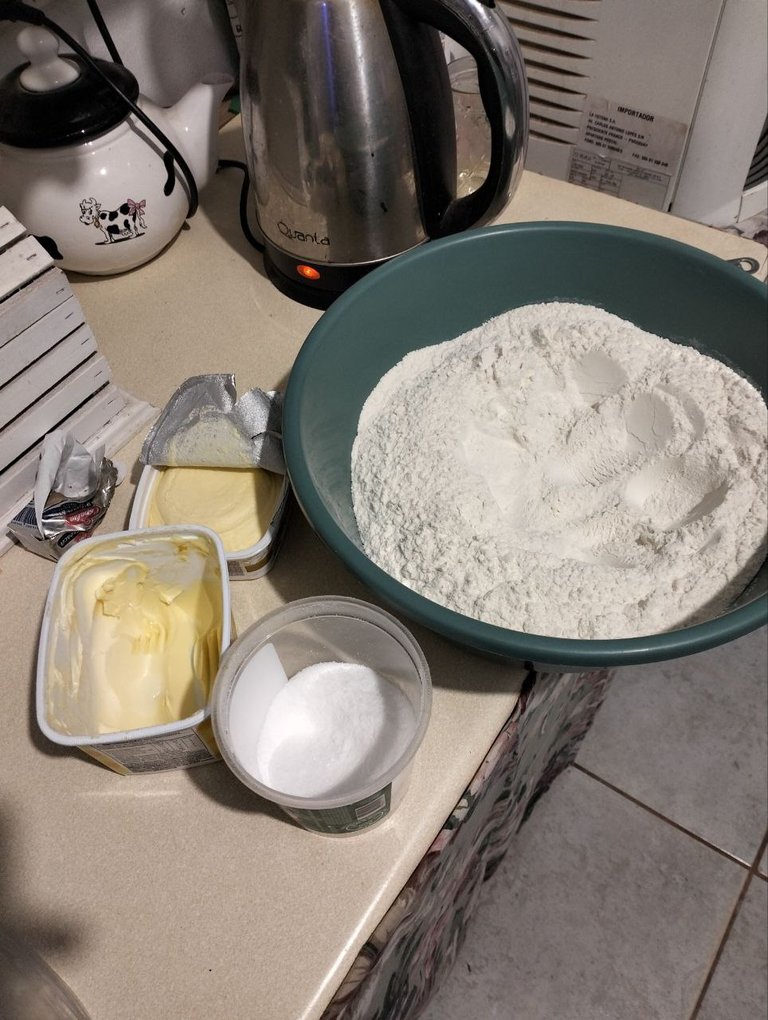
A mi me agrada tener todos los ingredientes necesarios, por ejemplo, harina, levadura, margarina, sal y el agua tibia.
Agrego dicha harina en un volts, luego en la parte del medio habro un poco y e agrego la margarina, el agua tibia con la levadura y luego la sal a gusto.

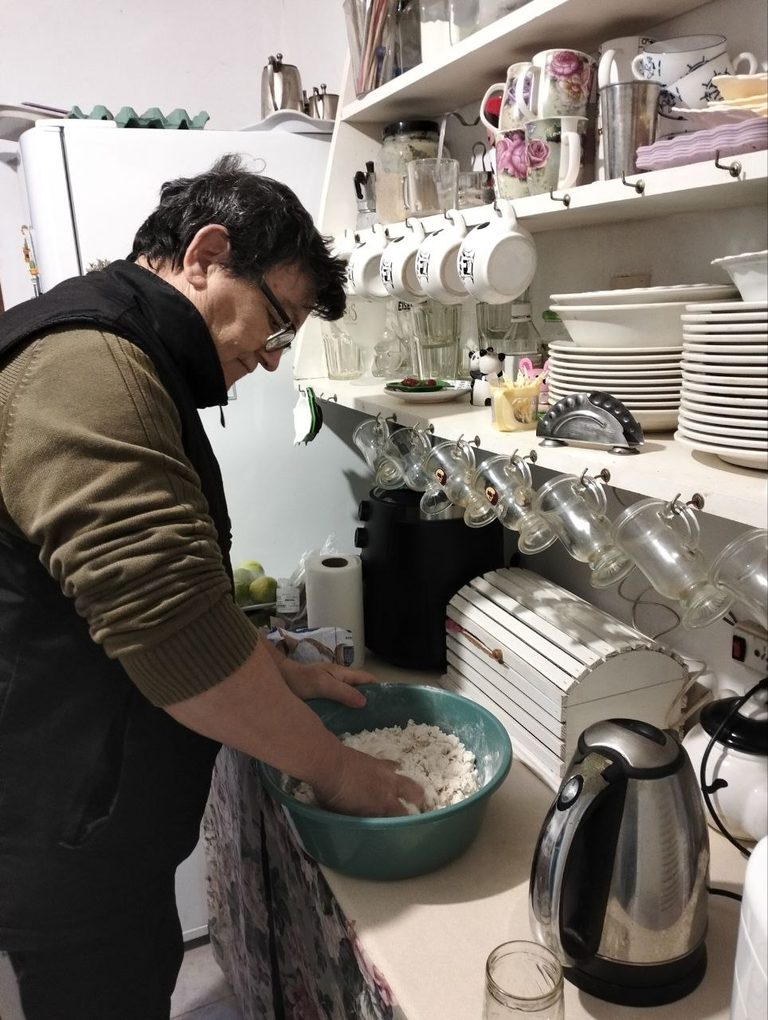
Despues de esto comienzo a mesclar todo o sea a amasar muy despacio, para que se mescle todo muy bien como ven en la foto.
Asi la masa que se va formando va tomando consistencia, se va formando la misma, le agregamos agua si hace falta y seguimos.
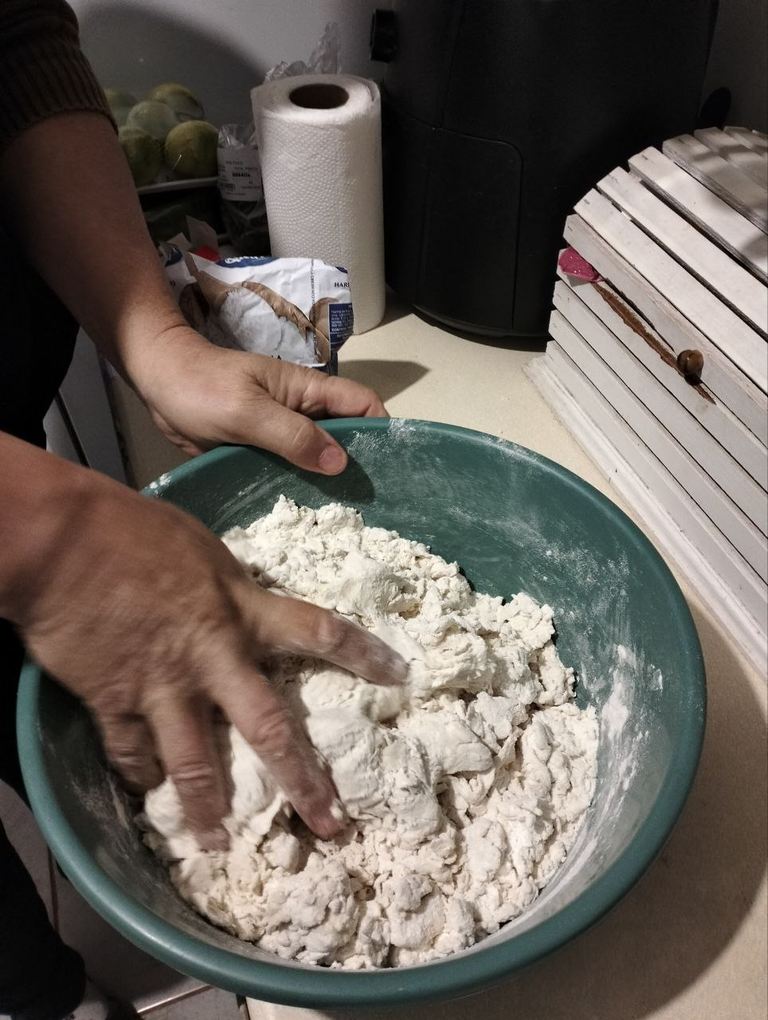
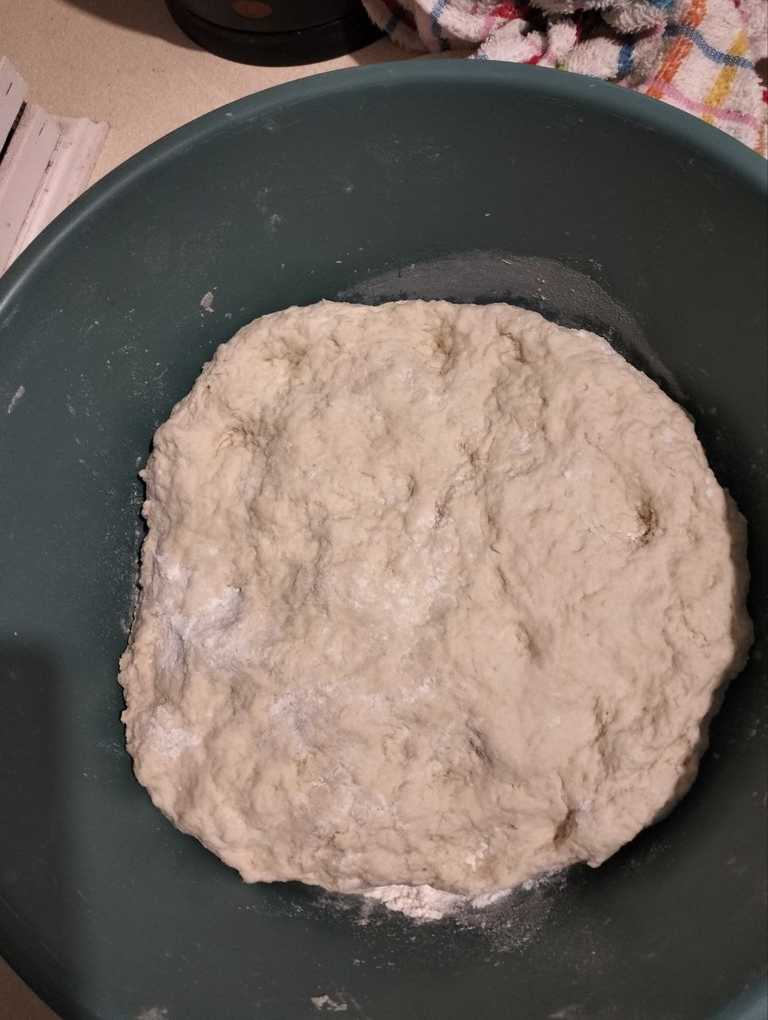
Hasta que dicha masa quede como se ve en la foto,, le damos forma agregando un poco de harina y la dejamos en el volts, la tapamos y dejamos que descanse unos minutos.
Despues de esto, la colocamos en la mesada o sea la quitamos del volts y vamos cortando en tiras, luego estas en porciones de las cuales saldrian dichas tortas fritas.
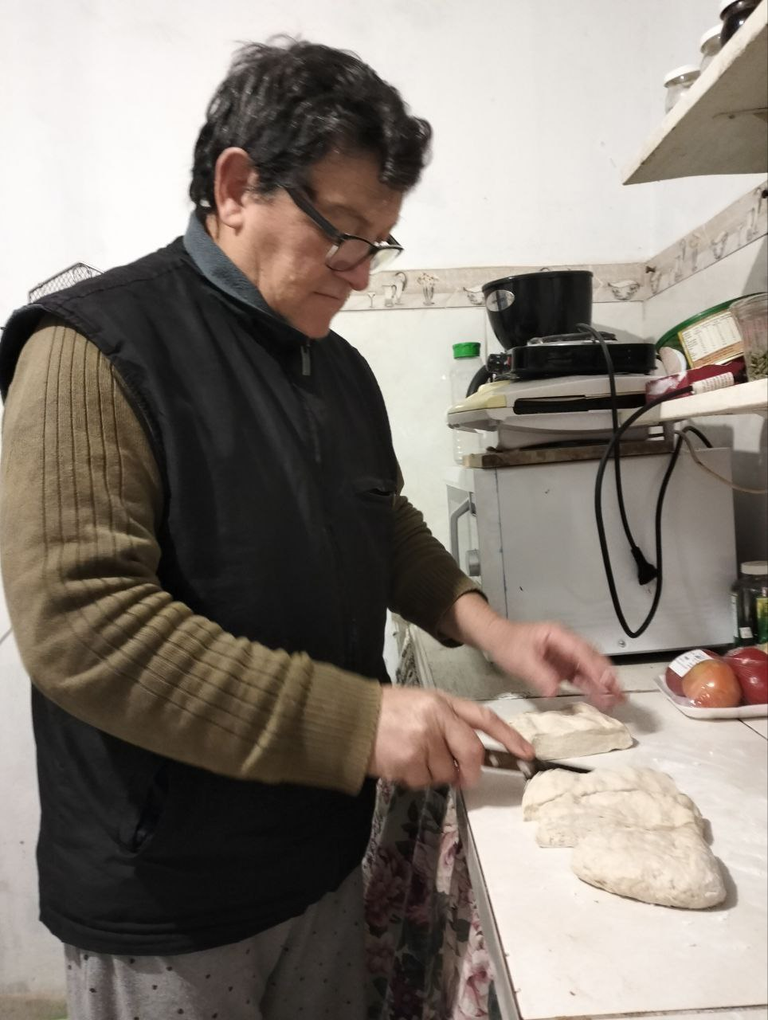
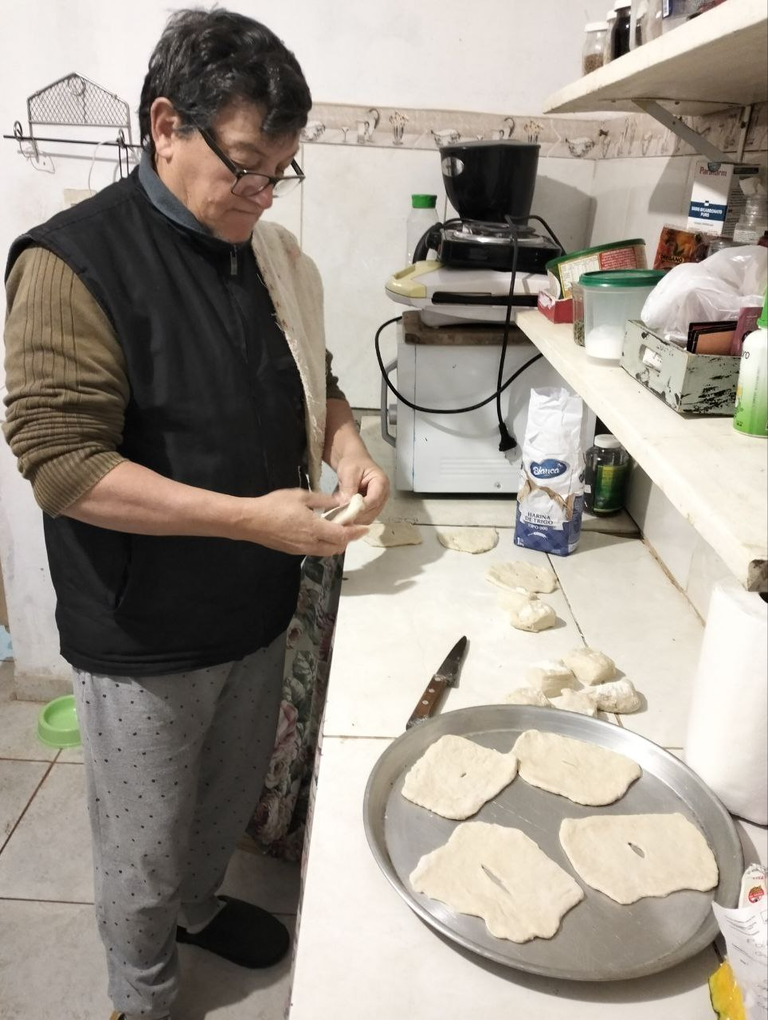
Luego estas porciones pequeñas de mas, les vamos dando la forma de dicha torta frita, podria ser mucho mas facil con el palos de amasar, pero a mi me agrada asi.
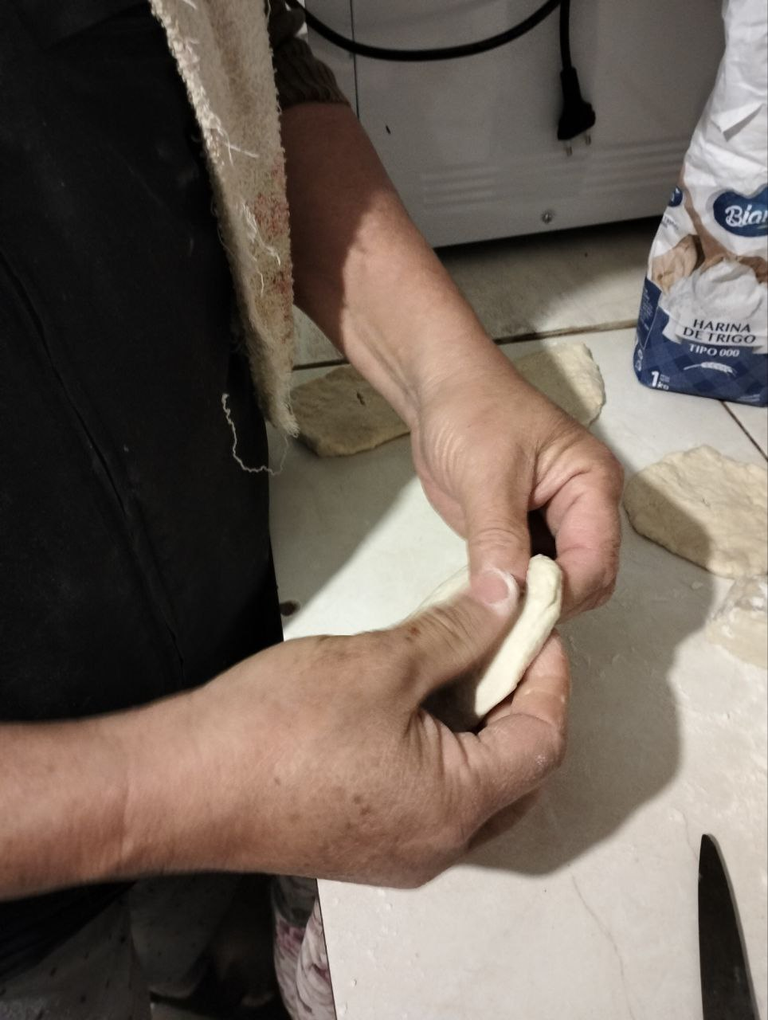
Teniendo y dandole la forma de una torta frita, le efectuamos un corte en el medio de la misma, el motivo del corte es, para cuando la freimos no se inflen las mismas.
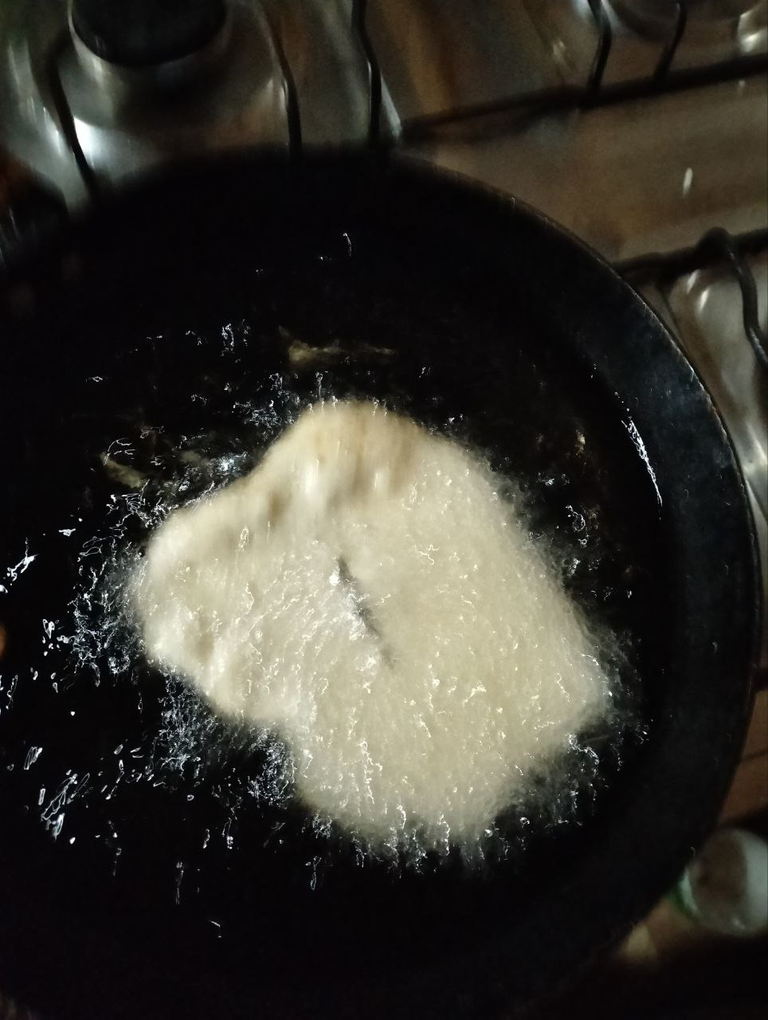
En esta fotografia podemos notar lo antes mencionado, es por haberle efectuado el corte en el medio.
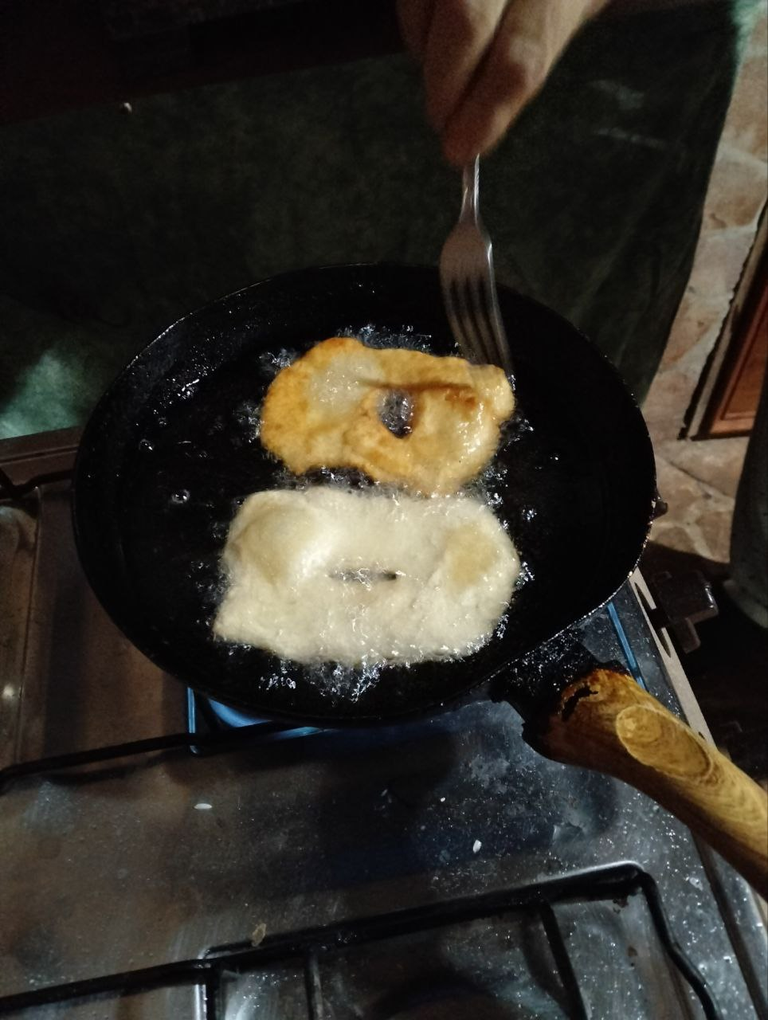
De esa forma al freiralas, salen muy bien y el tostado que se puede notar es a gusto de cada uno, si las queremos muy tostadas o no, luego de darlas vuelta.
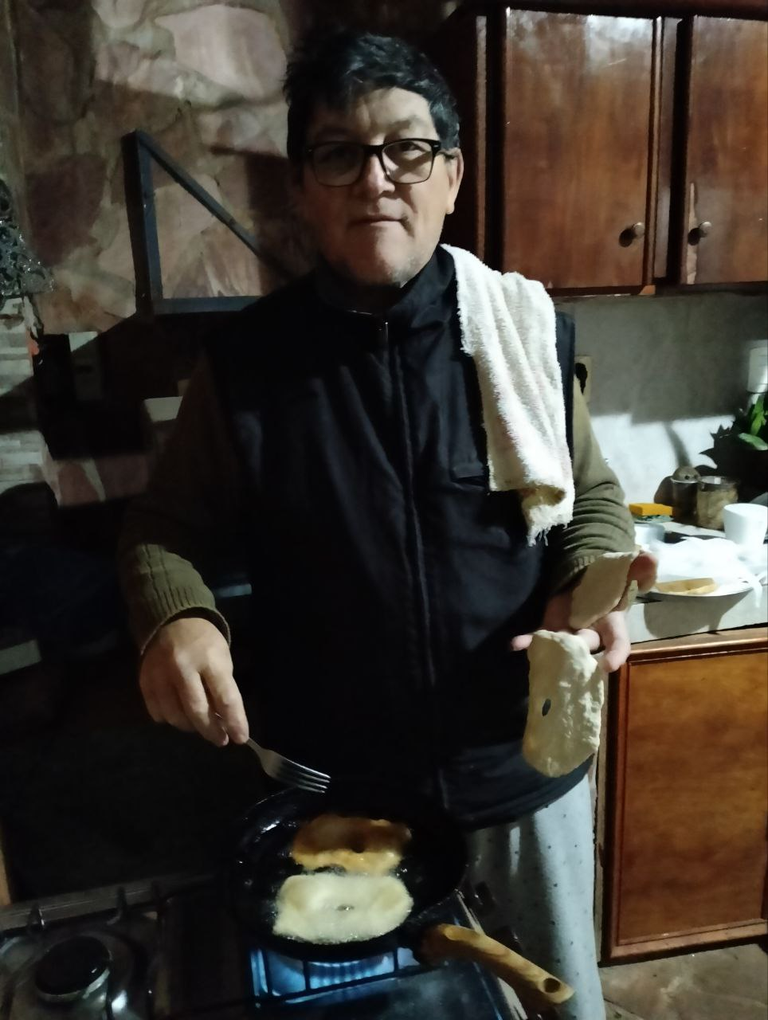
Como estas por ejemplo, cuando van tomando este color amarronado, ya las doy vuelta, para mi gusto es el punto ideal de la fritura.
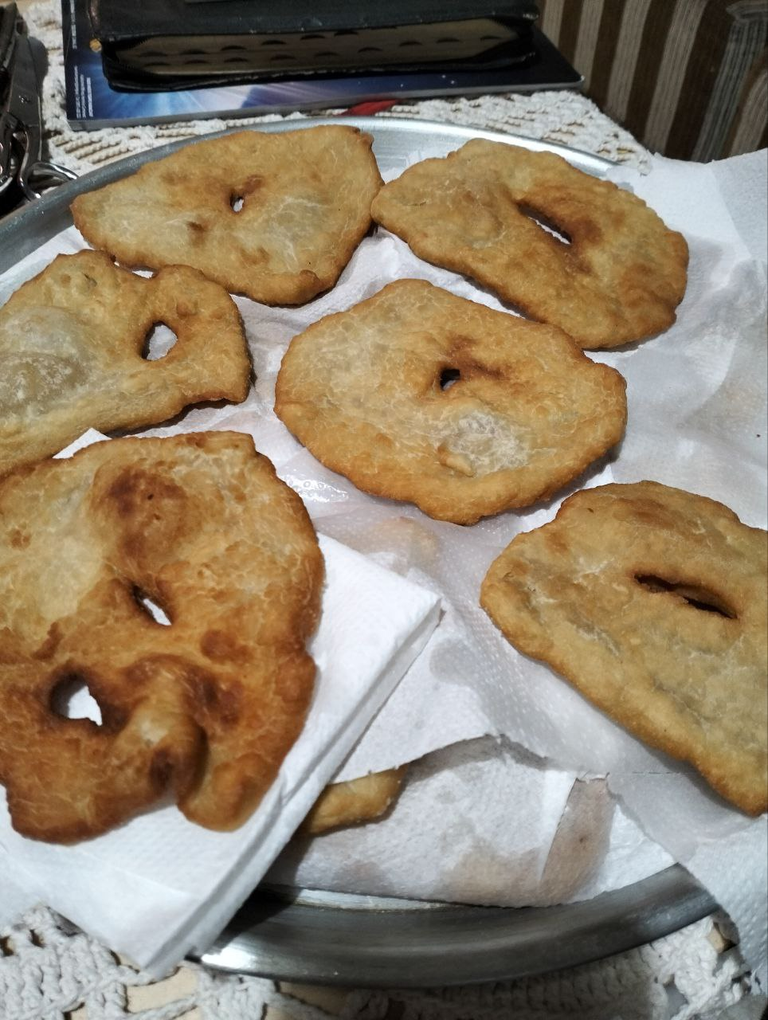
Luego una ves cocinadas, las colocamos en un molde como la foto que se ve al comienzo del post, con servilletas de papel, las mismas son para que salga el resto de aceite que queda al quitarlas de la sarten, de esa forma degustamos el matecocido, puede ser con leche o sin leche, la verdad amigos, salieron muy sabrosas.
MUCHAS GRACIAS POR SEGUIRME Y LEERME, QUE PASEN UN BUEN COMIENZO DE SEMANA.
ENGLISH
Hello everyone, it is very good to start the week, preparing for breakfast or for the matecocido with milk, some excellent fried cakes, pirecas or yaniqueques, they are very easy to prepare, I will show you the step by step, well it is up to each one's criteria of how they turn out, because the truth is that I make them with much love and perseverance and they turn out very well.
I like to have all the necessary ingredients, for example, flour, yeast, margarine, salt and warm water.
I add the flour in one volt, then in the middle part I open a little and add the margarine, the warm water with the yeast and then the salt to taste.
After this I begin to mix everything, that is to say to knead very slowly, so that it mixes everything very well as you can see in the photo.
So the dough is taking consistency, it is forming the same, add water if necessary and continue.
Until the dough is as shown in the photo, we give it shape by adding a little flour and leave it in the volts, cover it and let it rest a few minutes.
After this, we place it on the counter or remove it from the volts and cut it into strips, then cut them into portions from which the fried cakes will come out.
Then these small portions of more, we give them the shape of the fried cake, it could be much easier with the rolling pin, but I like it this way.
Having and giving it the shape of a fried cake, we make a cut in the middle of it, the reason for the cut is, so that when we fry it, it does not inflate.
In this picture we can notice the above mentioned, it is for having made the cut in the middle.
In this way when frying, they come out very well and the toasting that can be noticed is to taste of each one, if we want them very toasted or not, after turning them.
Like these for example, when they are taking this brownish color, I turn them over, for my taste is the ideal point of frying.
Then once they are cooked, we place them in a mold like the photo at the beginning of the post, with paper napkins, these are for the rest of the oil that remains when we remove them from the pan, that way we can taste the matecocido, it can be with milk or without milk, the truth friends, they came out very tasty.
THANK YOU VERY MUCH FOR FOLLOWING ME AND READING ME, HAVE A GOOD BEGINNING OF THE WEEK.