Hello everyone... ✨
Hello to my dear Hivers and the beloved community of artists #Jewelry, as always very pleased and excited to be here again, showing you my work made with love and especially for you.
Greetings to the Splinterlands community, and everyone who lives there, I'm here to join the Splinterlands Art Contest
If you want to know more about the game, I leave you my reference link to enter it and navigate through this wonderful world: https://splinterlands.com?ref=dayadam
Hoping you like my work, without further ado, I leave you with my creative process.
Let's start:😃

Hola a Todos...✨
Hola a mis queridos Hivers y a la querida comunidad de artistas #Jewelry, como siempre muy complacida y emocionada de encontrarme por acá nuevamente, mostrándole mi trabajo hecho con mucho amor y especialmente para ustedes.
Un saludo para la comunidad de Splinterlands, y todos los que hacen vida por allí, estoy por acá para unirme al reto Splinterlands Art Contest.
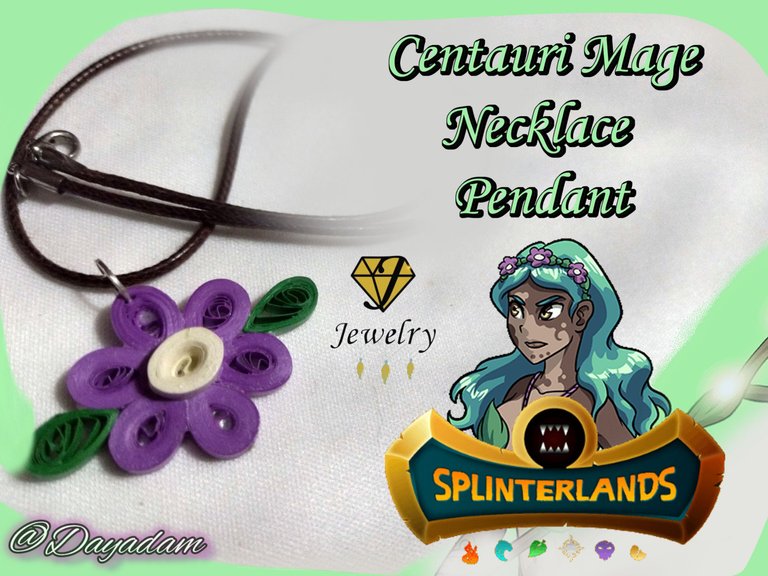
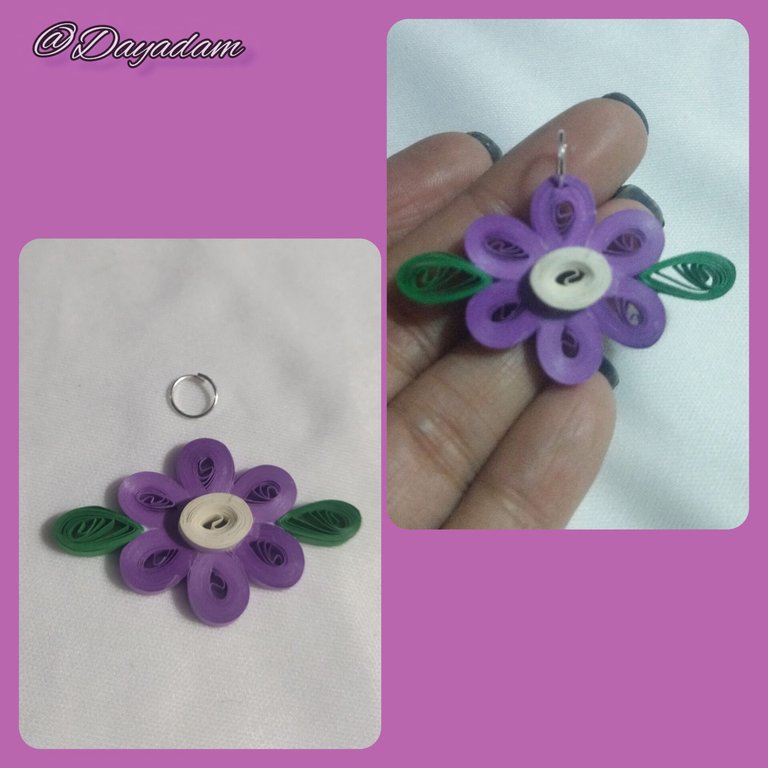
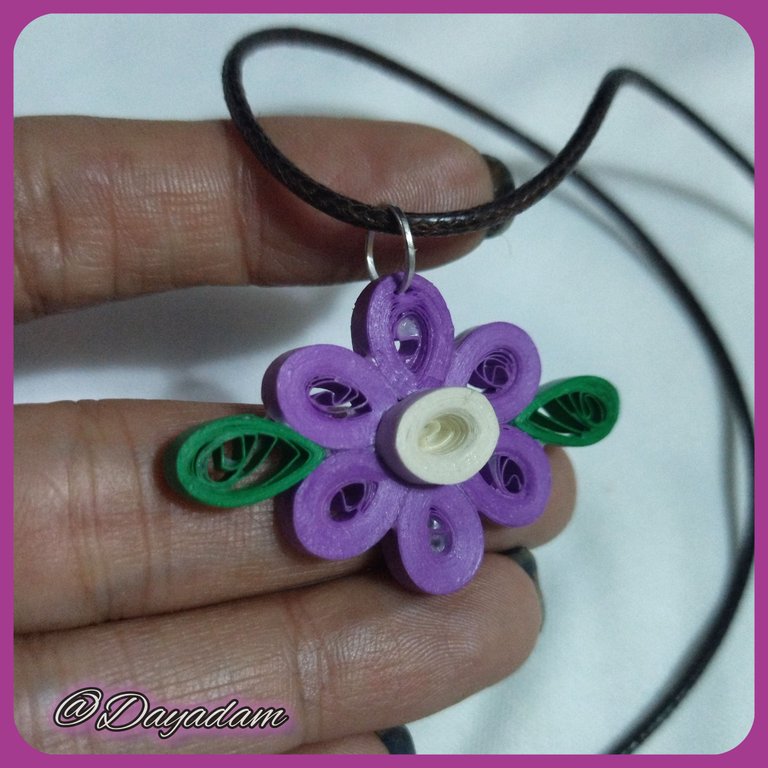
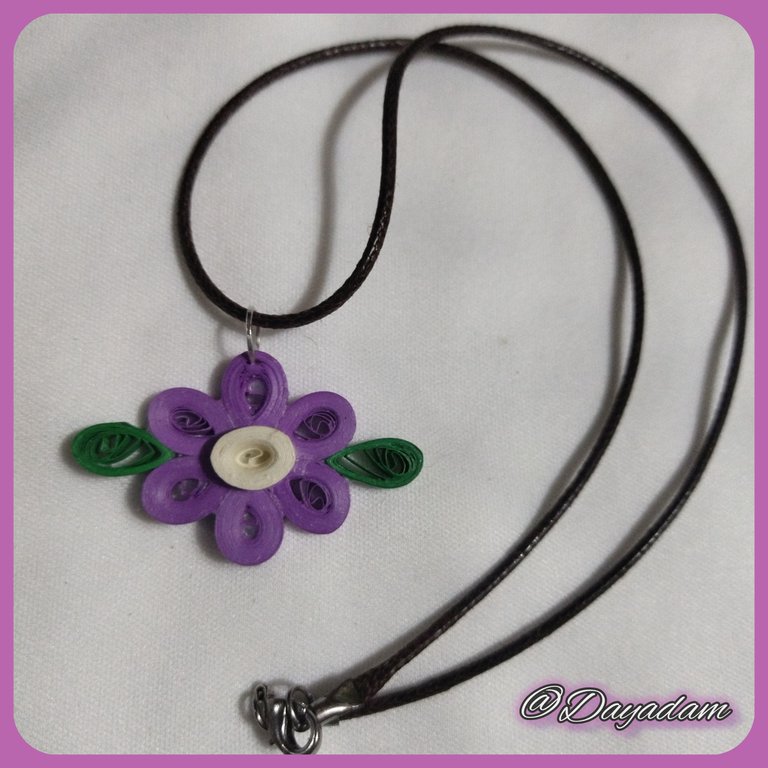
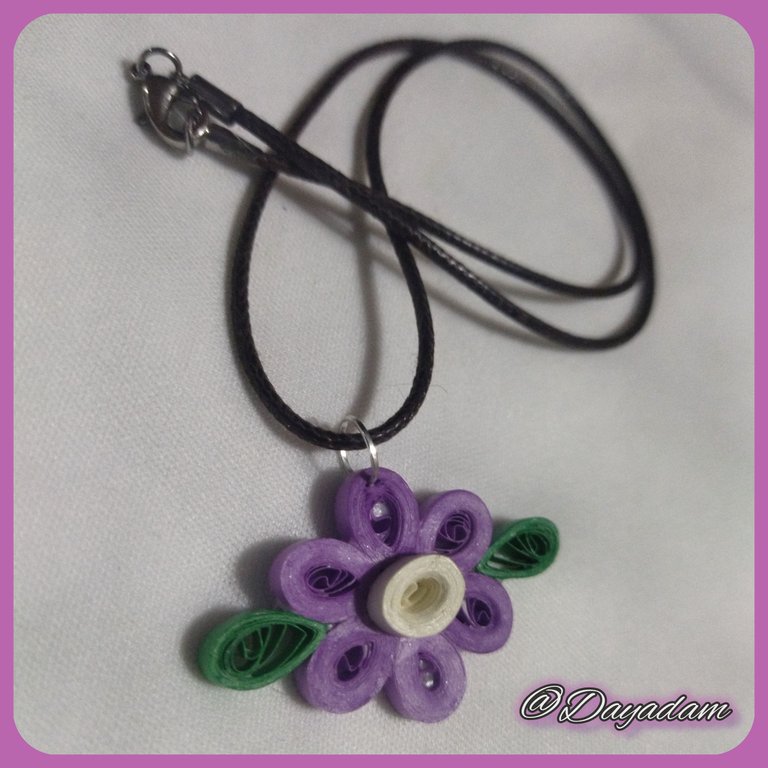
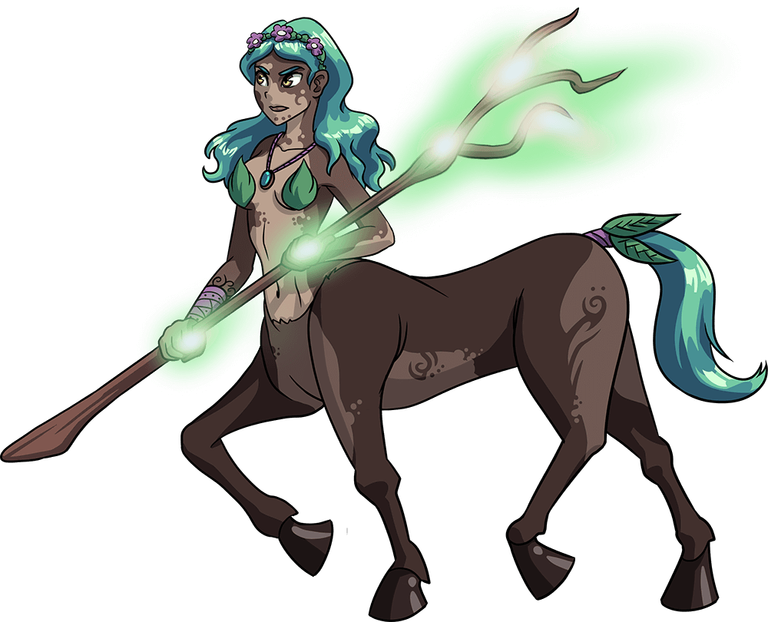
Para hoy les traigo un sencillo dije para collar, en la técnica de quilling, de un elemento del personaje de la carta, "Centauri Mage", me llamo mucho la atención su diadema de flores y algunas hojas y no dude en materializarlo para ustedes.
Si quieren saber más con respecto al juego les dejo mi enlace de referencia para que ingresen en él, y naveguen por este maravilloso mundo: https://splinterlands.com?ref=dayadam
Esperando les guste mi trabajo, sin más preámbulos, les dejo mi proceso creativo.
Comencemos:😃

• Cintas de quilling.
• Aguja para quilling.
• Pega blanca extra fuerte (de carpintería).
• Tijera.
• Pincel.
• Argolla mediana de bisutería.
• Collar de tu preferencia.
- Quilling ribbons.
- Quilling needle.
- Extra strong white glue (carpentry glue).
- Scissors.
- Paintbrush.
- Medium size costume jewelry ring.
- Necklace of your choice.

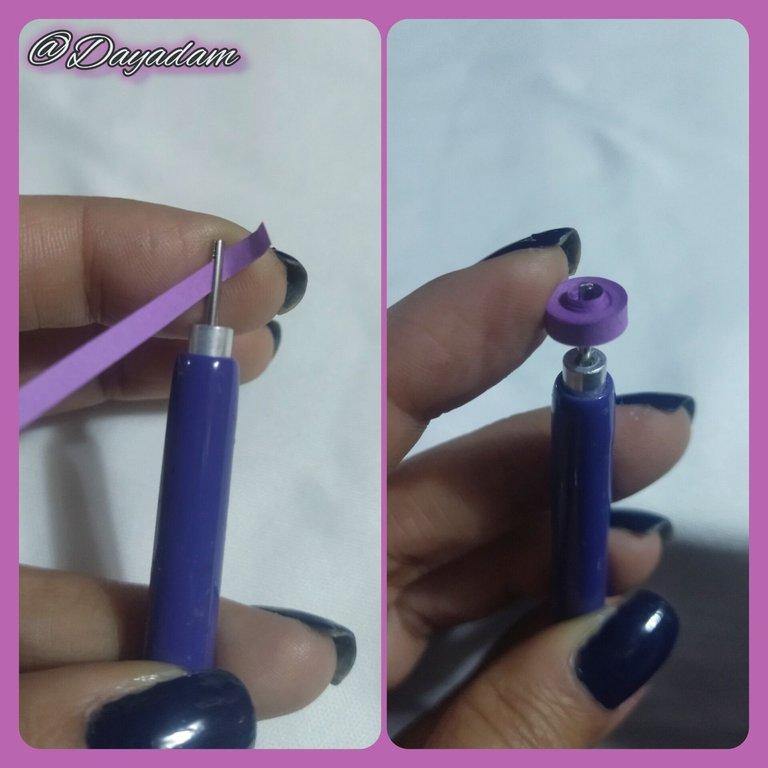
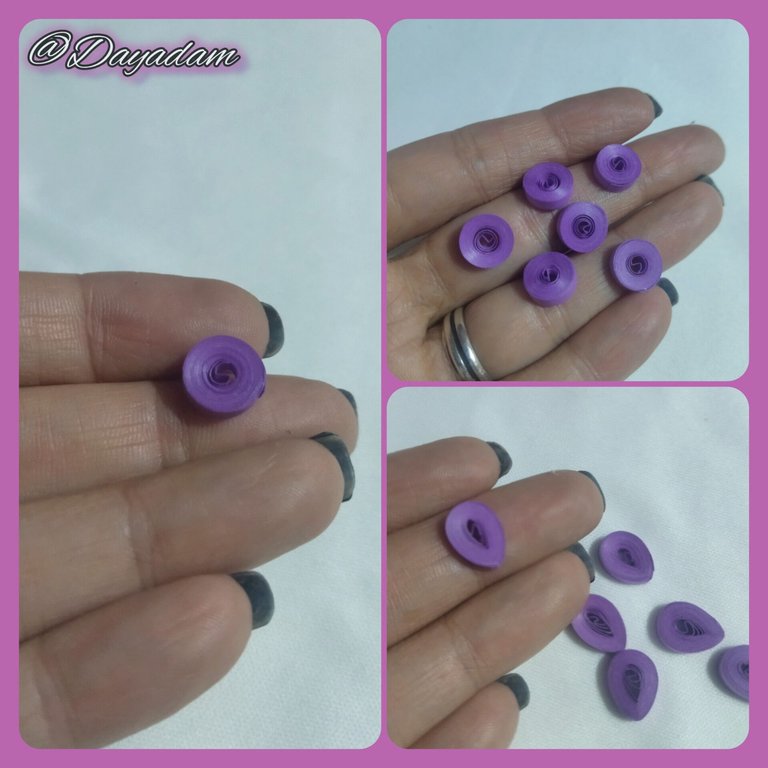
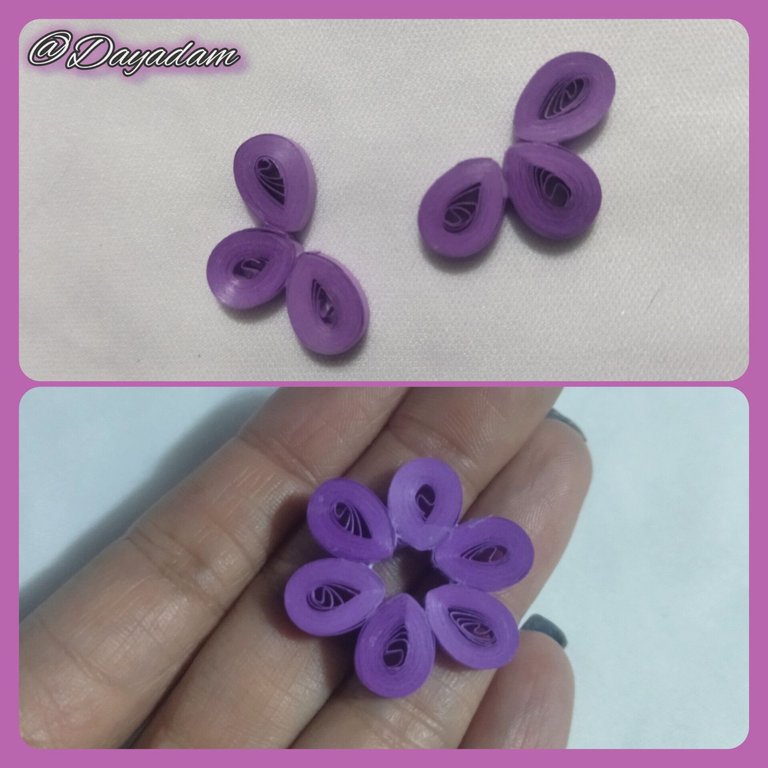
- We begin by taking 3mm wide purple quilling tape, we will roll it with the quilling needle until we reach the end of it, we take it out of the needle, release it a little and seal it with extra strong white glue, we will obtain a semi-open circle, like this we will need 6 of the same, these are to form the petals of the flower.
- Once the circles are ready, we proceed to mold them with our fingers in the shape of a leaf.
- Then we will join them in groups of 3 to make it easier to form the flower, we continue joining those 2 groups of 3 in a harmonic way.

• Comenzamos tomando cinta para quilling de color morado de 3mm de ancho, enrollaremos con la aguja para quilling hasta llegar al final de la misma, sacamos de la aguja, soltamos un poco y sellamos con pega blanca extra fuerte, vamos a obtener un circulo semi abierto, como este necesitaremos 6 iguales, estos son para formar los pétalos de la flor.
• Listos los círculos procedemos a moldear con los dedos en forma de hoja.
• Luego uniremos en grupos de 3 para que sea mas fácil formar la flor, proseguimos uniendo esos 2 grupos de 3 de manera armónica.
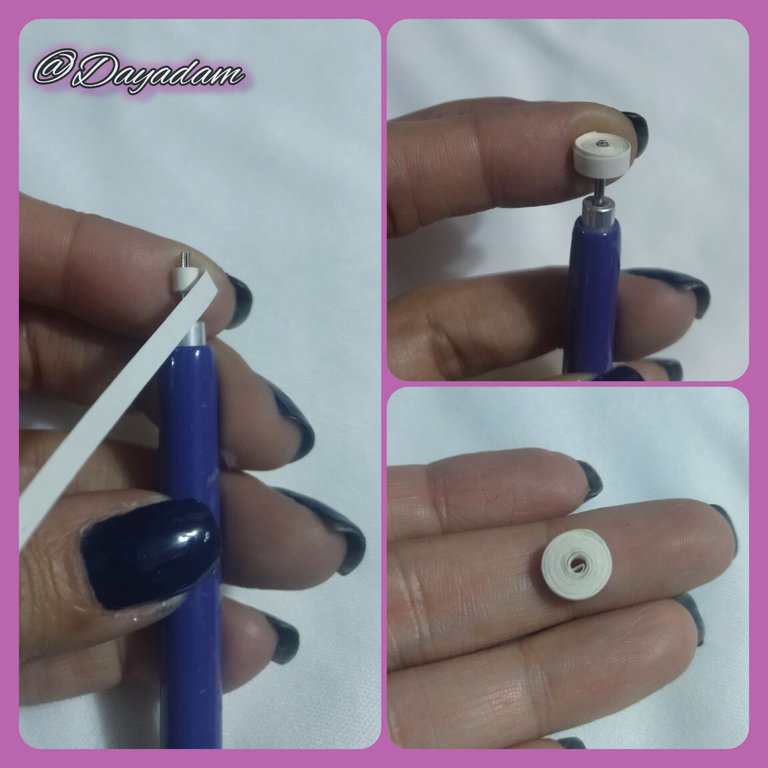
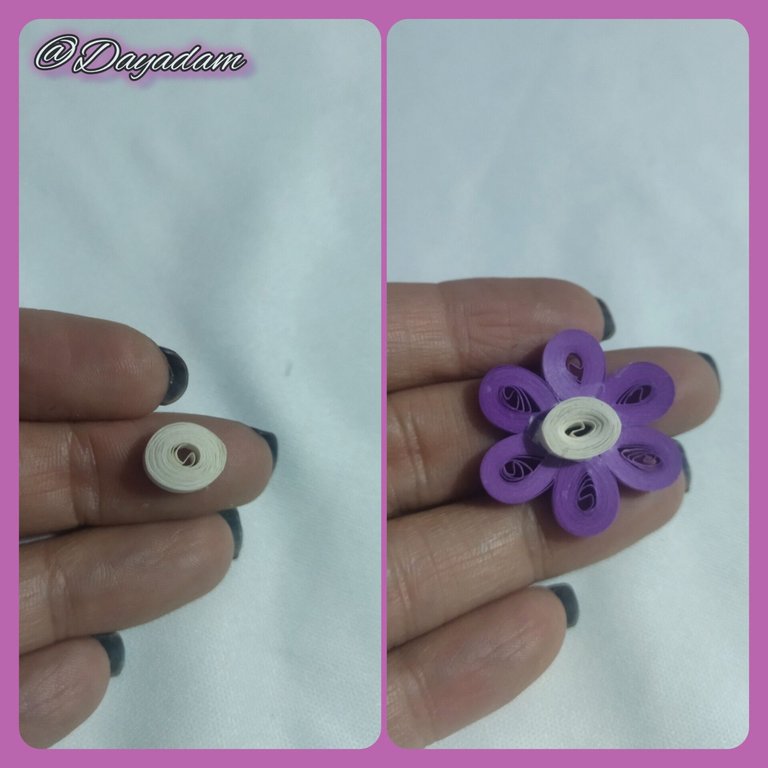
- We are going to make the center of the flower, we will do this by taking beige quilling tape, 3mm wide and under the same parameters as before we will make a semi-open circle, but this time we will mold it by squeezing it a little to give it a little oval shape.
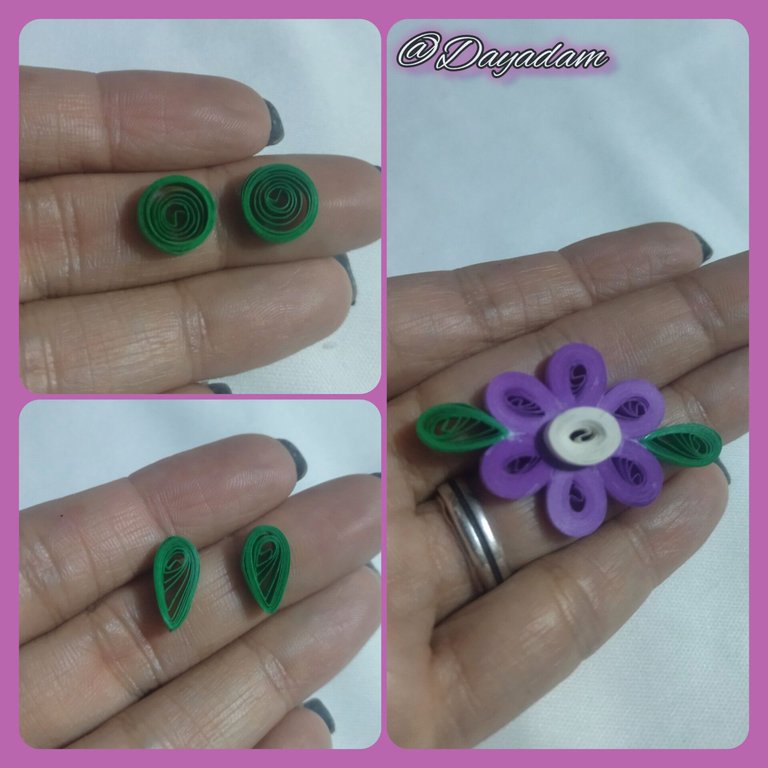
- We will continue making 2 leaves to place on the sides of the flower, these will be made with 3mm wide green tape, with which we will carry out 2 open circles which we will mold in the corresponding way, once ready we will glue to the sides of the petals.
- At the top of the flower, we will place a medium size costume jewelry ring,
- To finish, apply several coats of extra strong white glue to protect the pendant, plasticize and give it a little shine, let it dry between coats.
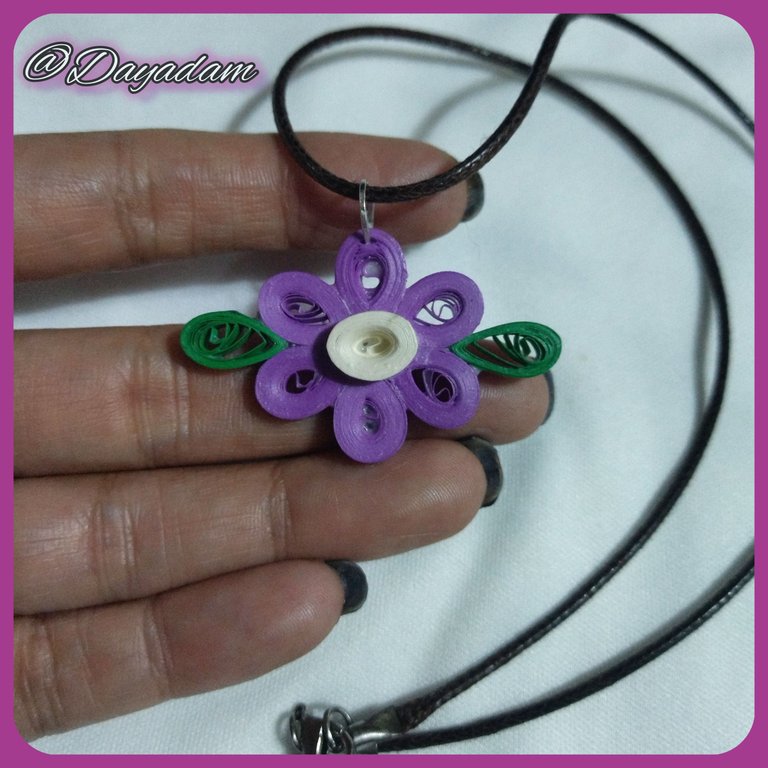
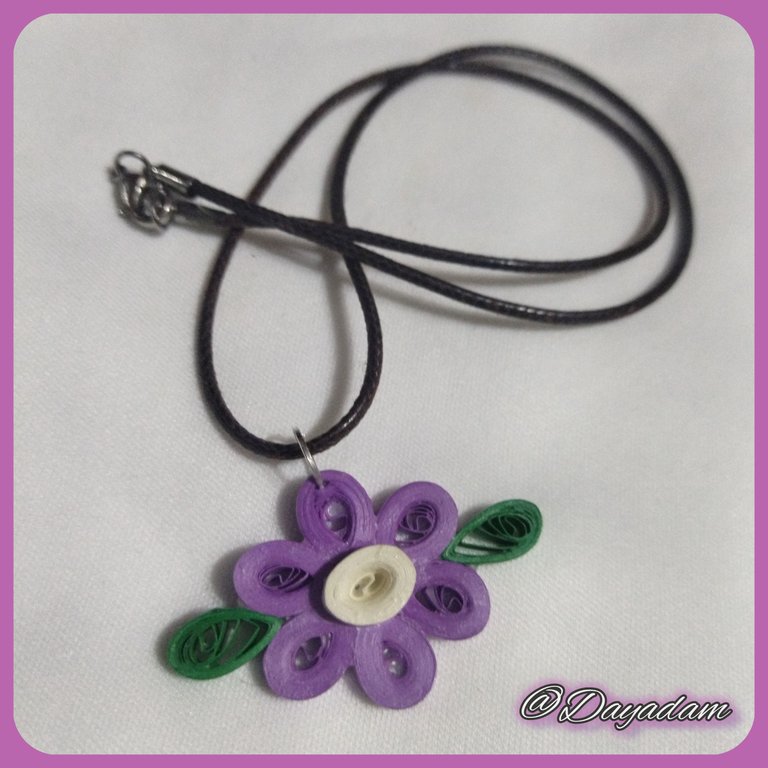
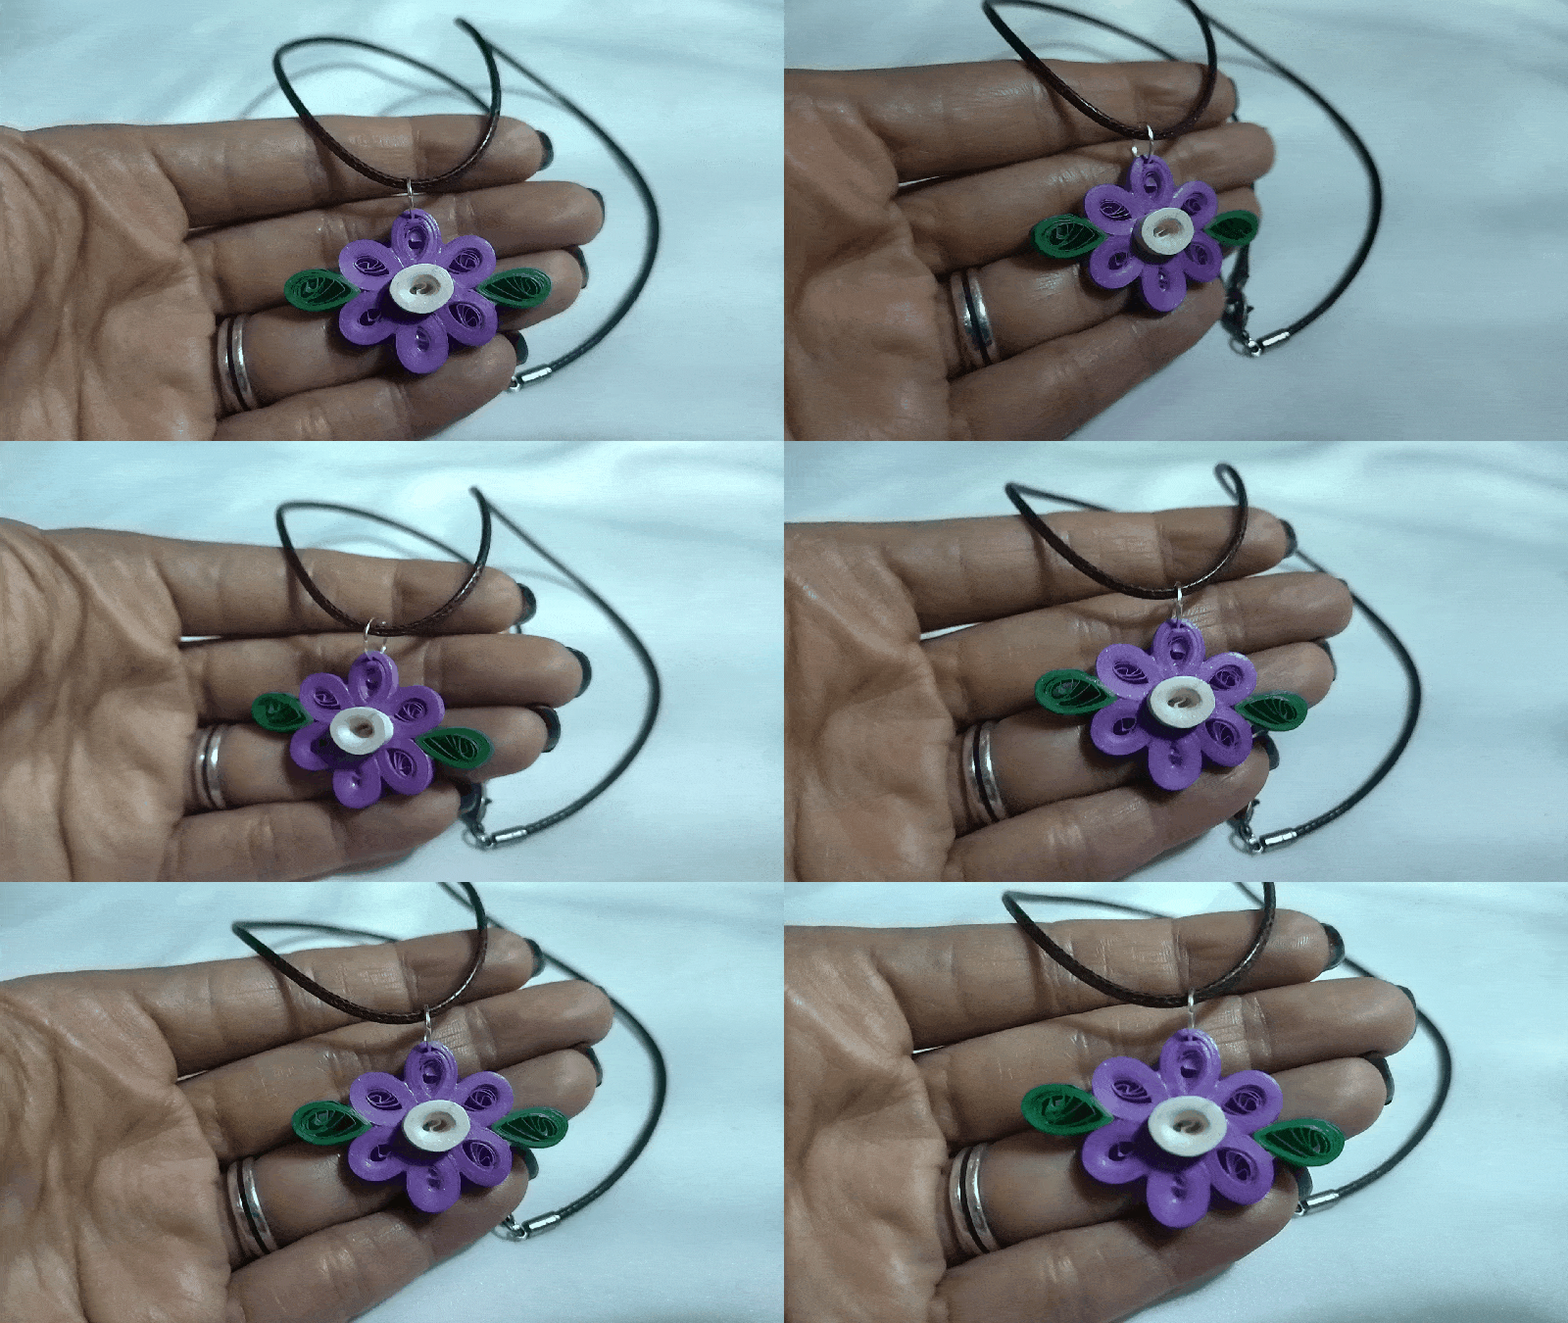
This way we have ready this simple pendant, which I materialized inspired by a couple of elements of the card "Centauri Mage ".

• Vamos a realizar el centro de la flor, este lo haremos tomando cinta para quilling de color beige, de 3mm de ancho y bajo los mismos parámetros anteriores haremos un circulo semi abierto, pero esta vez lo moldearemos apretando un poco para darle una forma un poco ovalada.
• Seguiremos realizando 2 hojas para colocar a los lados de la flor, estas las haremos con cinta de 3mm de ancho color verde, con la cual llevaremos a cabo 2 círculos abiertos los cuales moldearemos de la manera correspondiente, una vez listos pegaremos a los lados de los pétalos.
• En la parte de arriba de la flor, colocaremos una argolla mediana de bisutería,
• Para finalizar le aplique varias capas de pega blanca extra fuerte para proteger el dije, plastificar y darle un poco de brillo, dejaremos secar entre una capa y otra.
De esta manera tenemos listo este sencillo dije, que materialice inspirado en un par de elementos de la carta "Centauri Mage".



What did you think, did you like it?
I hope you did, I hope you liked my explanation, procedure and photos, I made them with love for you.
"Let out that muse that inspires you, and let your imagination fly".
Thank you all, see you next time.

¿Que les pareció, les gustó?
Espero que sí, que les haya gustado mi explicación, procedimiento y fotos, los hice con mucho cariño por y para ustedes.
"Deja salir esa musa que te inspira, y deja volar tu imaginación".
Gracias a todos, nos vemos en la próxima.


 )
)
