Hello everyone... ✨
Hello to my dear Hivers and the dear community of NFTGameLatino, as always very pleased and excited to be here again, showing you my work made with love and especially for you.
Greetings to the Splinterlands community, and everyone who lives there, I am pleased to be here to participate in the Splinterlands Art Contest Week 296.
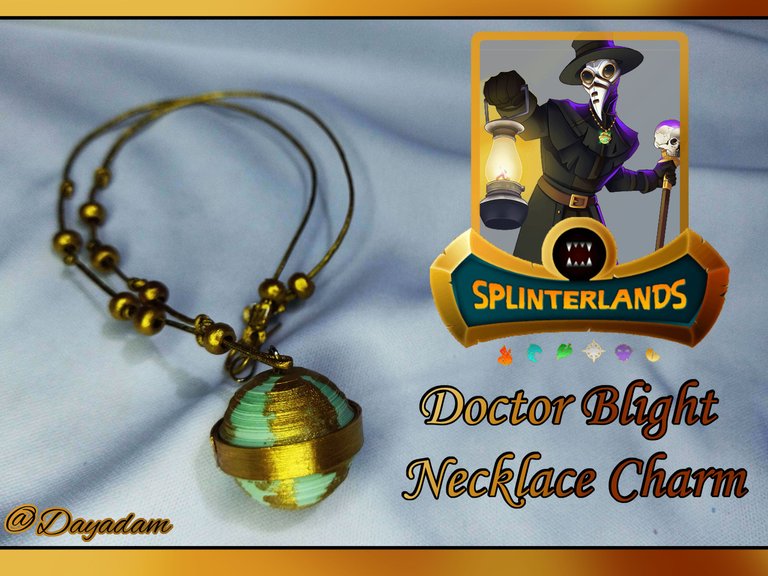
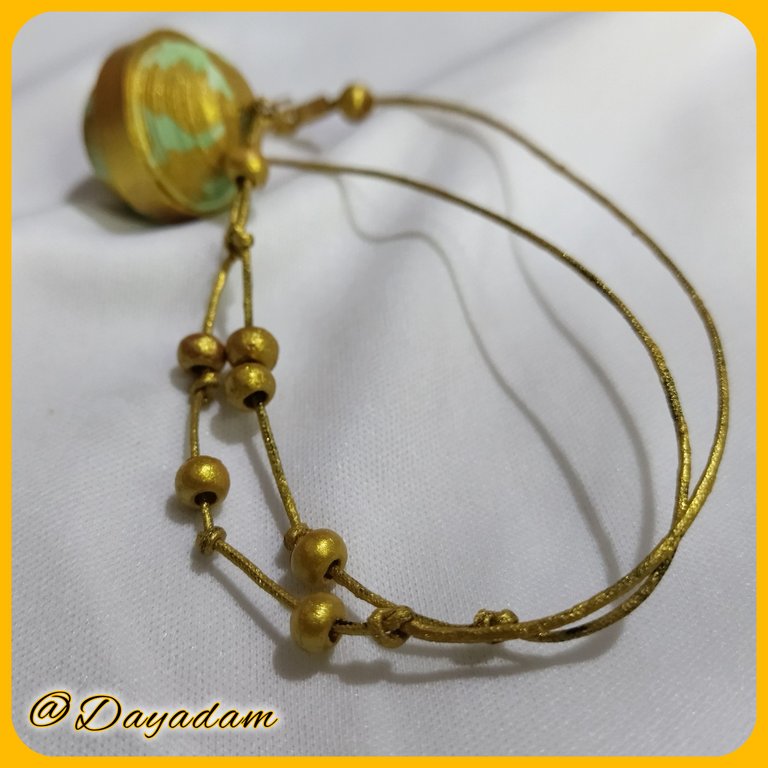
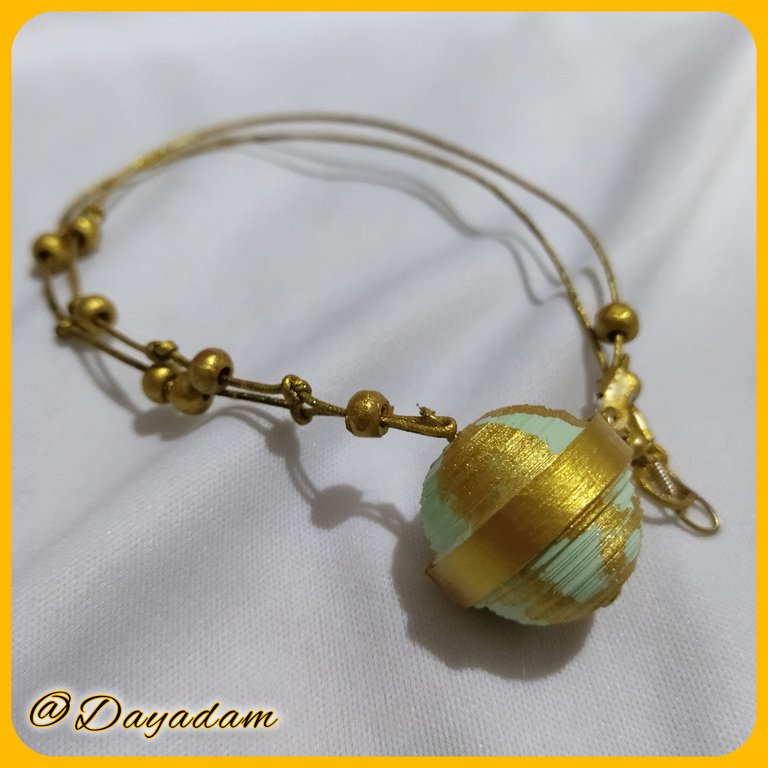
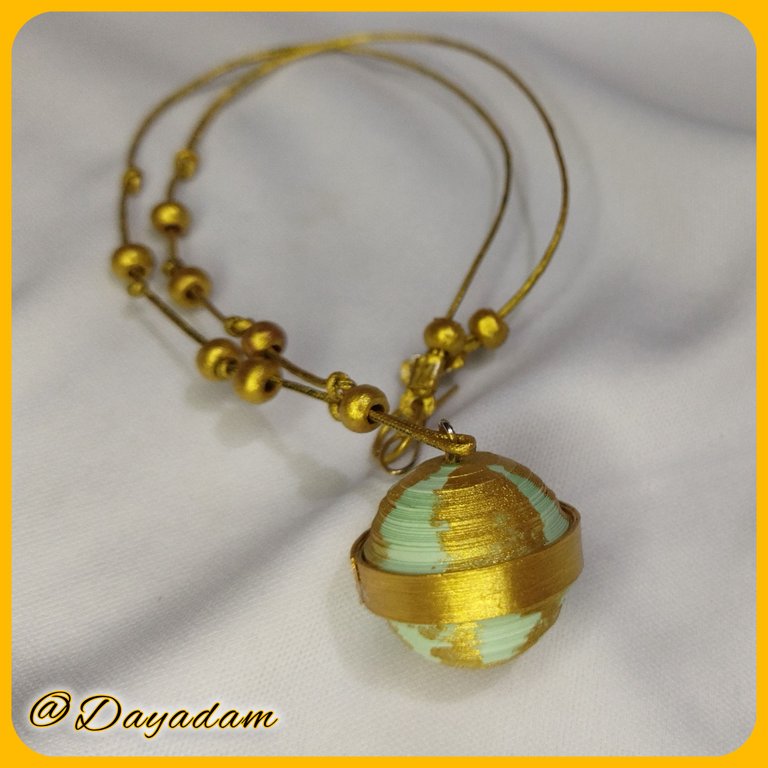
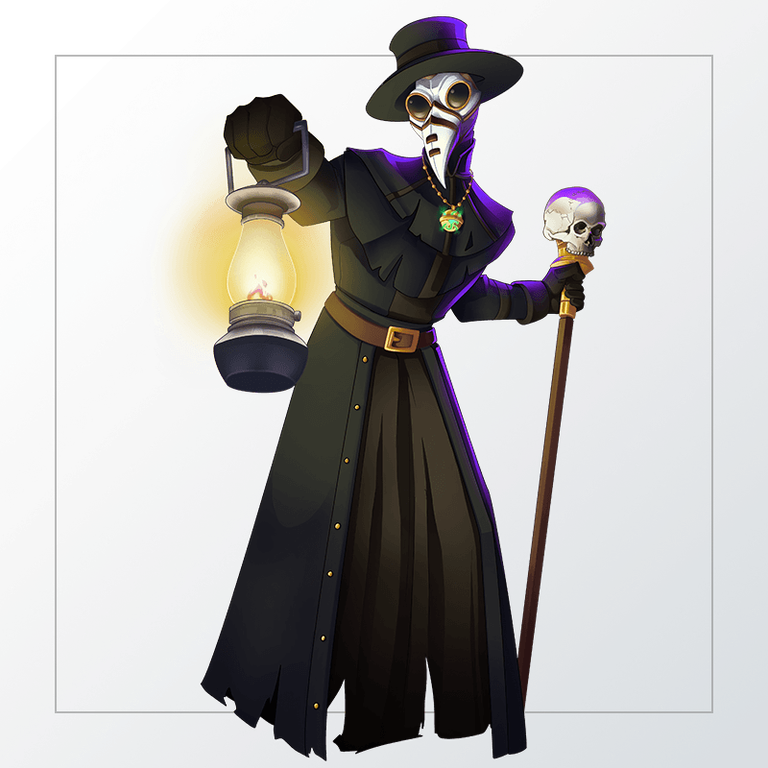
For today I bring you a pendant in the 3D quilling technique along with the elaboration of the necklace, inspired by an element of the character of the Chaos card, Doctor Blight, this time I was struck by just the beautiful, striking and imposing necklace he is wearing, and I did not hesitate to materialize it in a way that closely resembles the original for you.
If you want to know more about the game, I leave you my reference link to enter it and navigate through this wonderful world: https://splinterlands.com?ref=dayadam
Hoping you like my work, without further ado, I leave you with my creative process.
Let's start:😃

Hola a Todos...✨
Hola a mis queridos Hivers y a la querida comunidad de NFTGameLatino, muy complacida y emocionada de encontrarme por acá para mostrárles un trabajo hecho con mucho amor y especialmente para ustedes.
Un saludo para la comunidad de Splinterlands, y todos los que hacen vida por allí, me gratifica estar por acá para participar en el Splinterlands Art Contest Week 296.
Para hoy les traigo un dije en la tecnica de quilling en 3D junto a la elaboración del collar, inspirado en un elemento del personaje de la carta de Chaos, Doctor Blight, en esta oportunidad me llamo la atención justo el bello, llamativo e imponente collar que lleva puesto, y no dude en materializarlo de una manera en que se asemeje mucho al original para ustedes.
Si quieren saber más con respecto al juego les dejo mi enlace de referencia para que ingresen en él, y naveguen por este maravilloso mundo: https://splinterlands.com?ref=dayadam
Esperando les guste mi trabajo, sin más preámbulos, les dejo mi proceso creativo.
Comencemos:😃

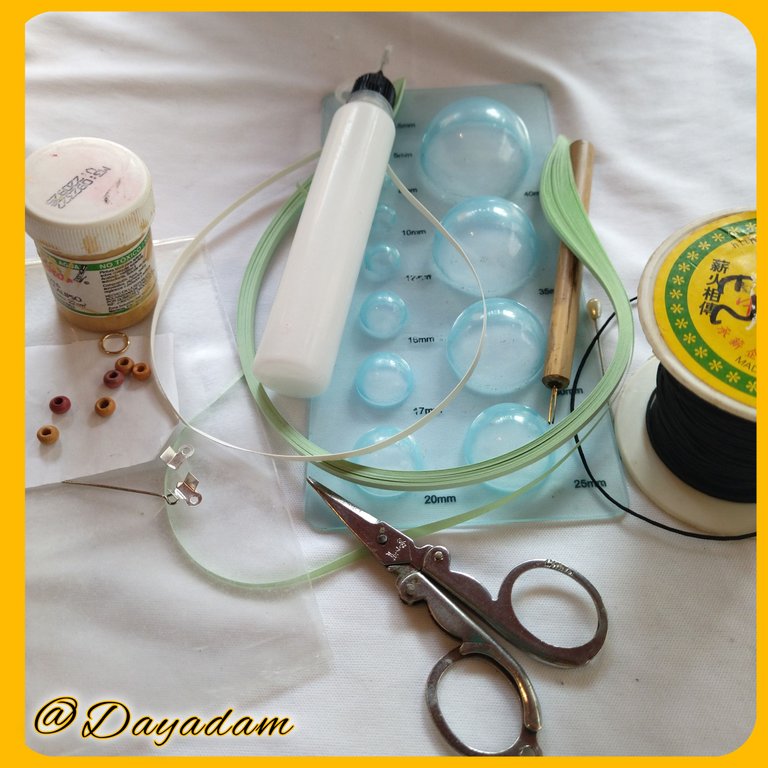
• Cintas de quilling .
• Aguja para quilling.
• Pintura al agua color oro.
• Molde para círculos.
• Perlas de madera.
• Hilo chino fino.
• Tapa nudos.
• Anzuelo de bisutería.
• Alfiler de bisutería.
• Masa flexible.
• Argollas de bisutería.
• Pega blanca extra fuerte (de carpintería).
• Tijera.
• Pincel.
• Collar de tu preferencia.
- Quilling ribbons .
- Quilling needle.
- Gold color water-based paint.
- Mold for circles.
- Wooden beads.
- Fine Chinese thread.
- Knot cover.
- Hook of costume jewelry.
- Fashion jewelry pin.
- Flexible dough.
- Jewelry rings.
- Extra strong white glue (carpentry glue).
- Scissors.
- Brush.
- Necklace of your choice.

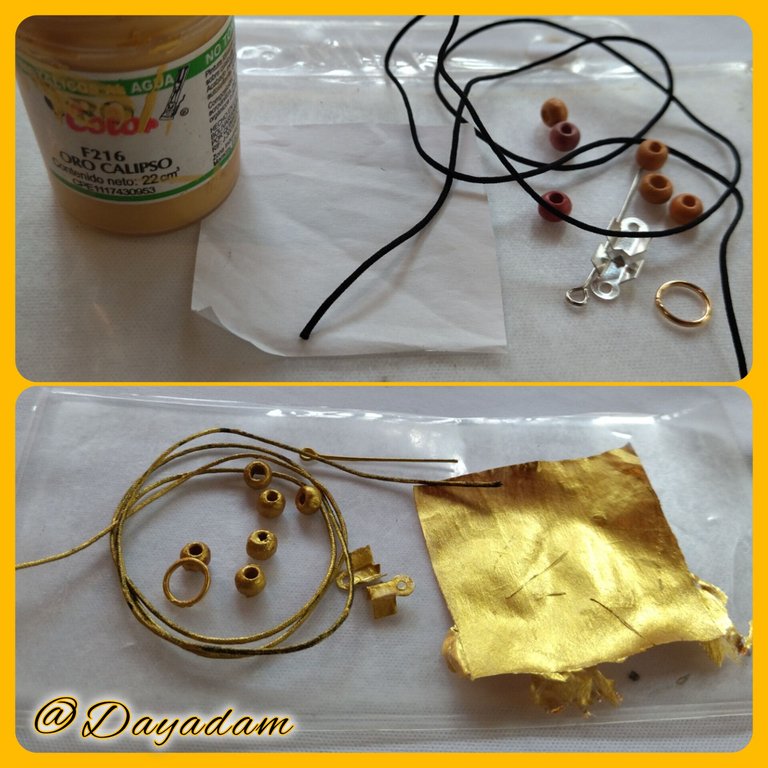
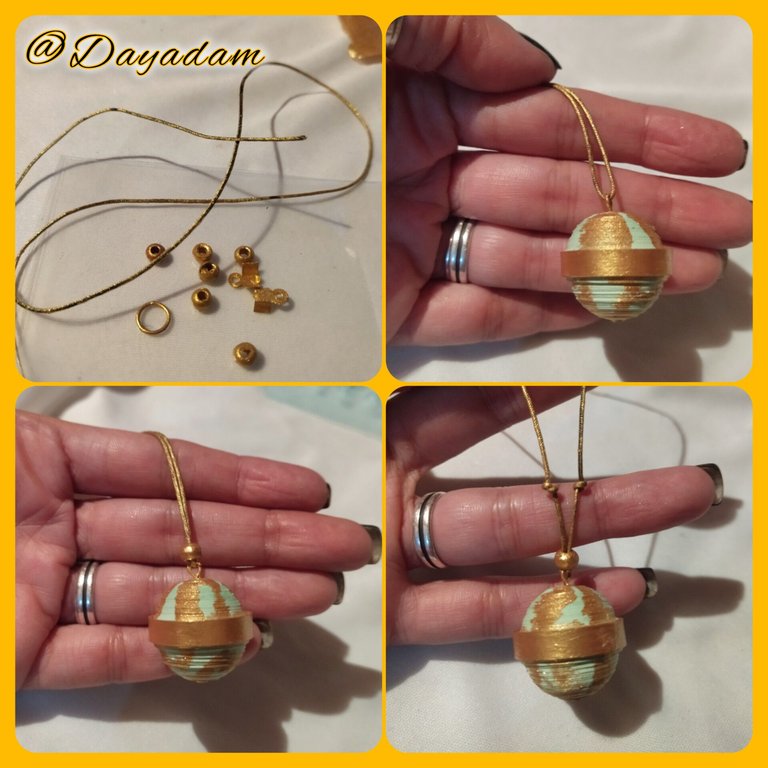
- I started by taking the materials with which I am going to make the necklace, such as the Chinese thread, the wooden beads, the knot covers, rings, hook and with gold colored cold paint I applied several layers because I did not have the right colors, I let it dry while I made the pendant.
To make the pendant:
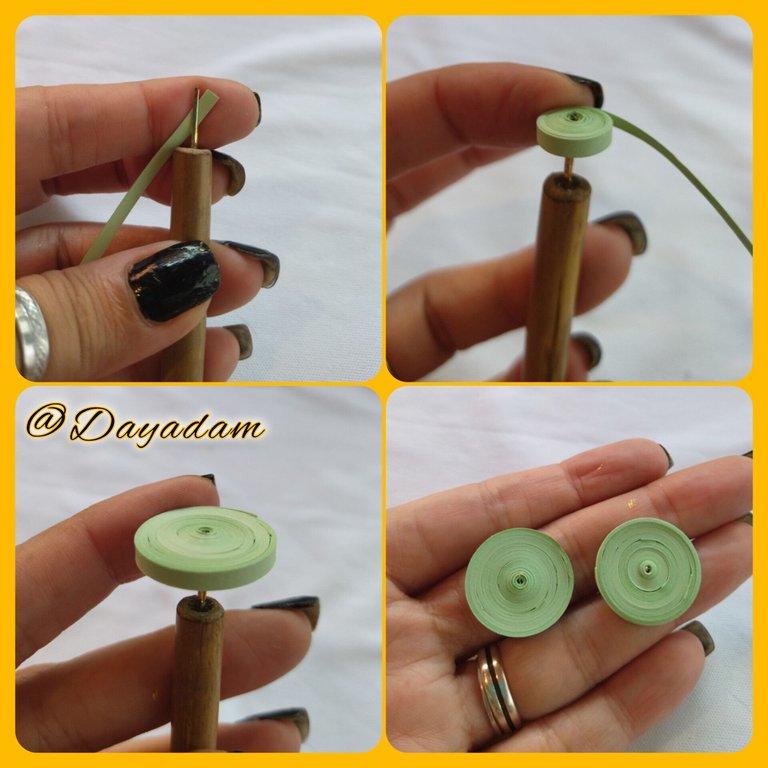
- We start taking light green quilling tape 3mm wide x 250cms long, we will roll with the help of the quilling needle until we reach the end of the tape, we seal with extra strong white glue, we take out the needle, we will obtain a closed circle. We will make 2 equal circles.
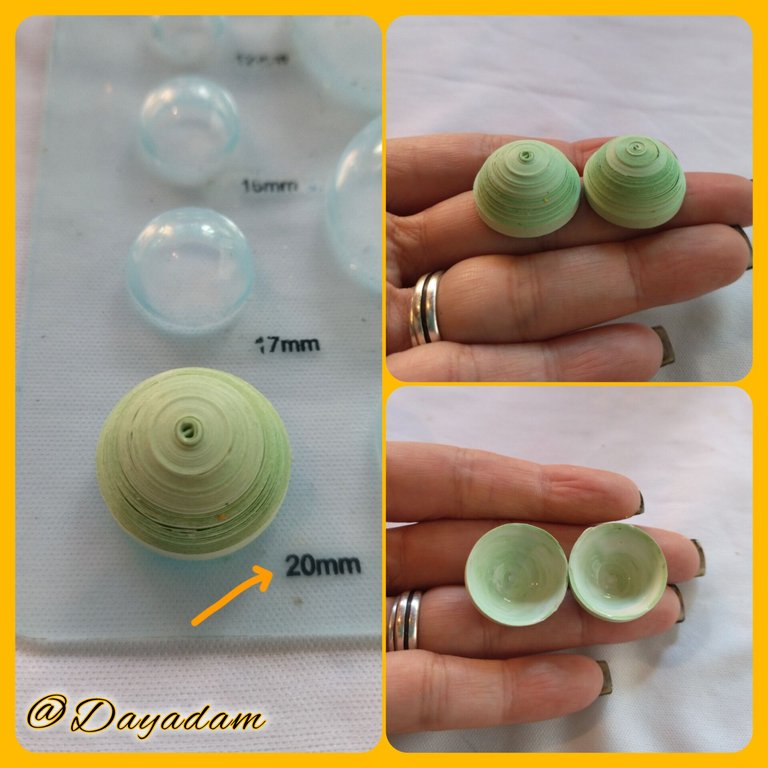
- We are going to mold both circles, we place them in the template of circles in the 20mm measure, once molded we take them out of the template and in the internal part we add a little glue, we let them dry to avoid moving or deforming the pieces.
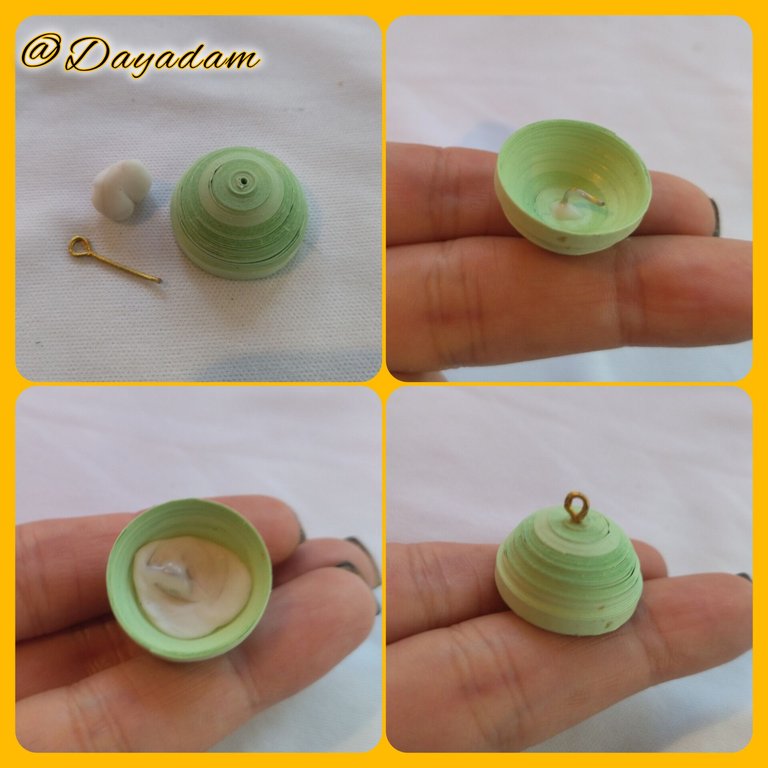
- We take one of the half circles, a bijouterie pin which I previously painted gold and a piece of flexible dough, these are incorporated in the center of the piece with extra strong white glue as you can see in the pictures.

• Comencé tomando los materiales con los cuales voy a realizar el collar, como el hilo chino, las perlas de madera, los tapanudos, argollas, anzuelo y con pintura al frió color oro le aplique varias capas por no tener los colores adecuados, deje secar mientras realizaba el dije.
Para realizar el colgante:
• Iniciamos tomando cinta para quilling de color verde claro de 3mm de ancho x 250cms de largo, enrollaremos con la ayuda de la aguja para quilling hasta llegar al final de la cinta, sellamos con pega blanca extra fuerte, sacamos de la aguja, obtendremos un círculo cerrado. Realizaremos 2 círculos iguales.
• Vamos a moldear ambos círculos, colocamos en la plantilla de círculos en la medida 20mm, una vez moldeados sacamos de la plantilla y en la parte interna agregamos un poco de pega, dejamos secar para evitar que se muevan o deformen las piezas.
• Tomamos uno de los semi círculos, un alfiler de bisutería el cual pinte previamente de color oro y un trozo de masa flexible,estos los incorpore en el centro de la pieza con pega blanca extra fuerte tal como pueden ver en las imágenes.
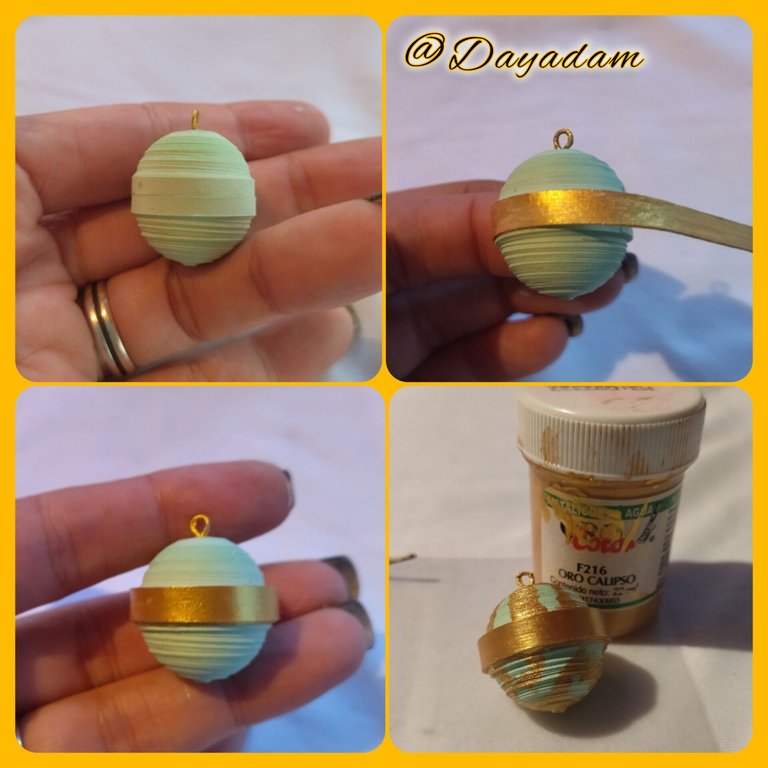
- We are going to join the 2 semicircles that will form the pendant by passing around it with extra strong white glue, a 4mm wide quilling ribbon which I previously painted gold.
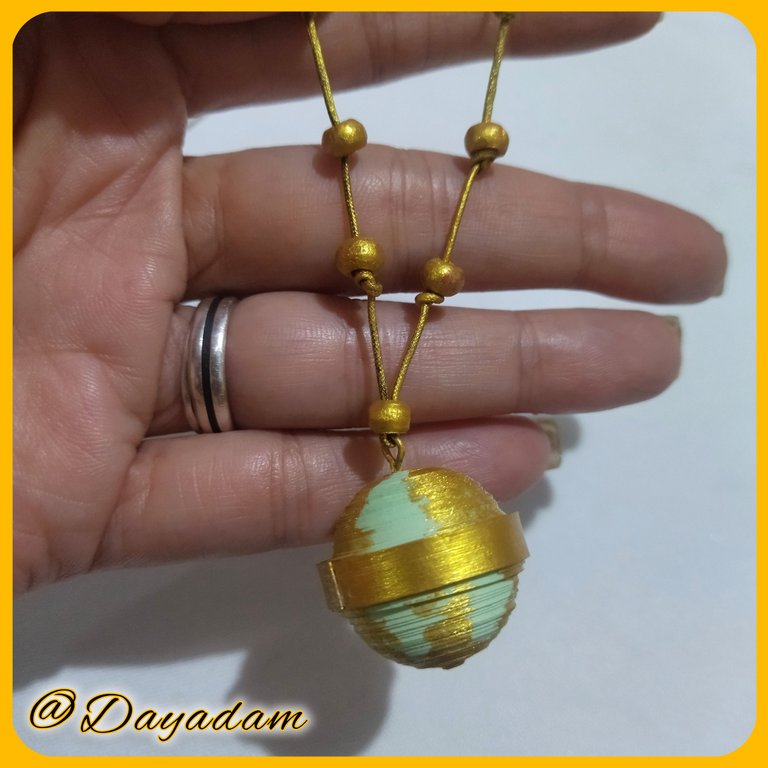
- Then take a brush, and apply some gold color brushstrokes to the piece, this way the pendant will be ready.
To make the necklace:
- Take the materials that I painted gold at the beginning and let them dry, I started by taking the Chinese thread, place the pendant in the center of the threads and incorporate one of the pearls.
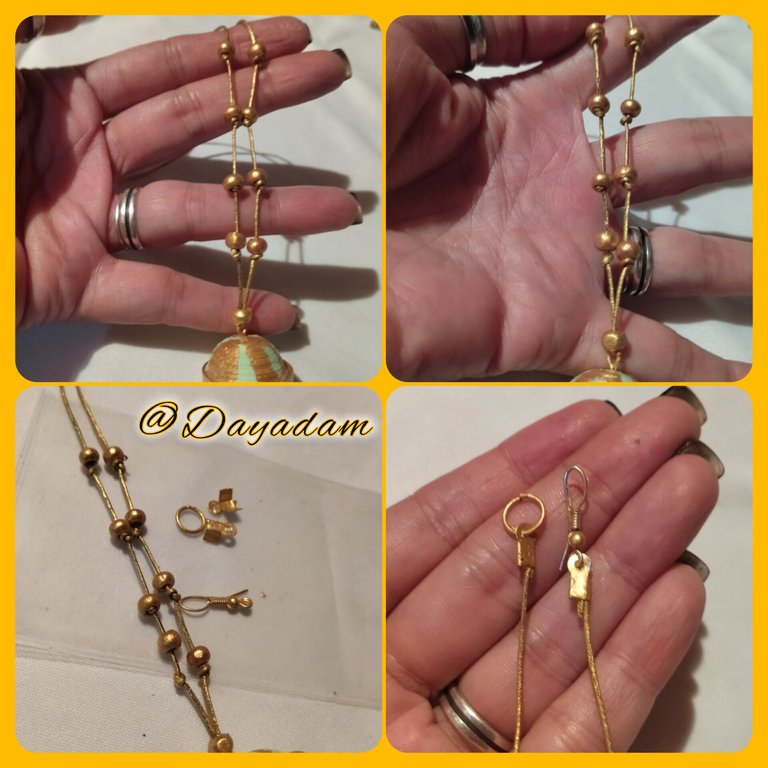
- In the threads of the sides I started making simple knots in a harmonic way and placing more pearls, when I finished placing all the pearls that I thought were necessary, I finished placing their knot covers, rings and hook which will serve me as a clasp for the necklace.
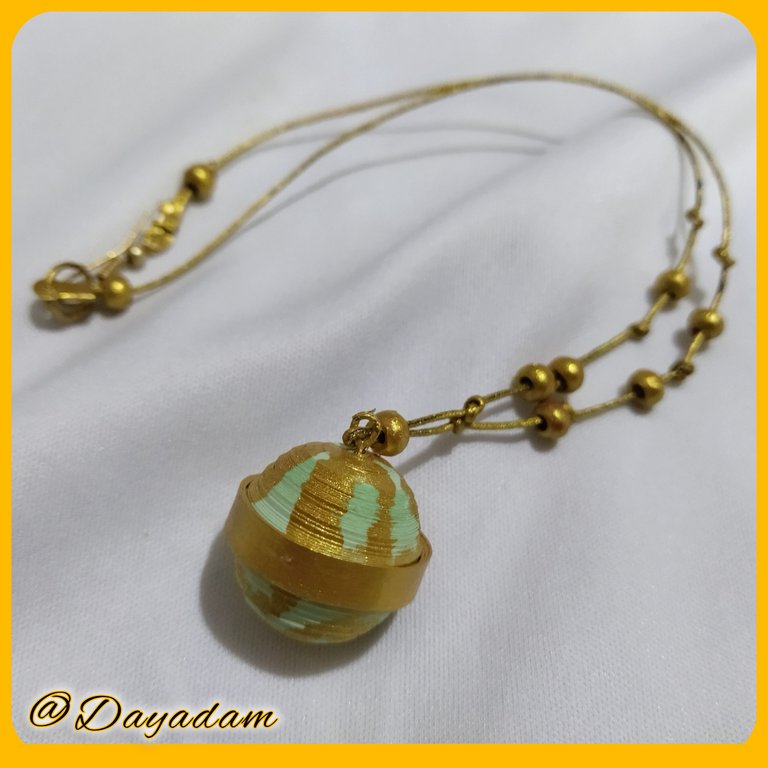
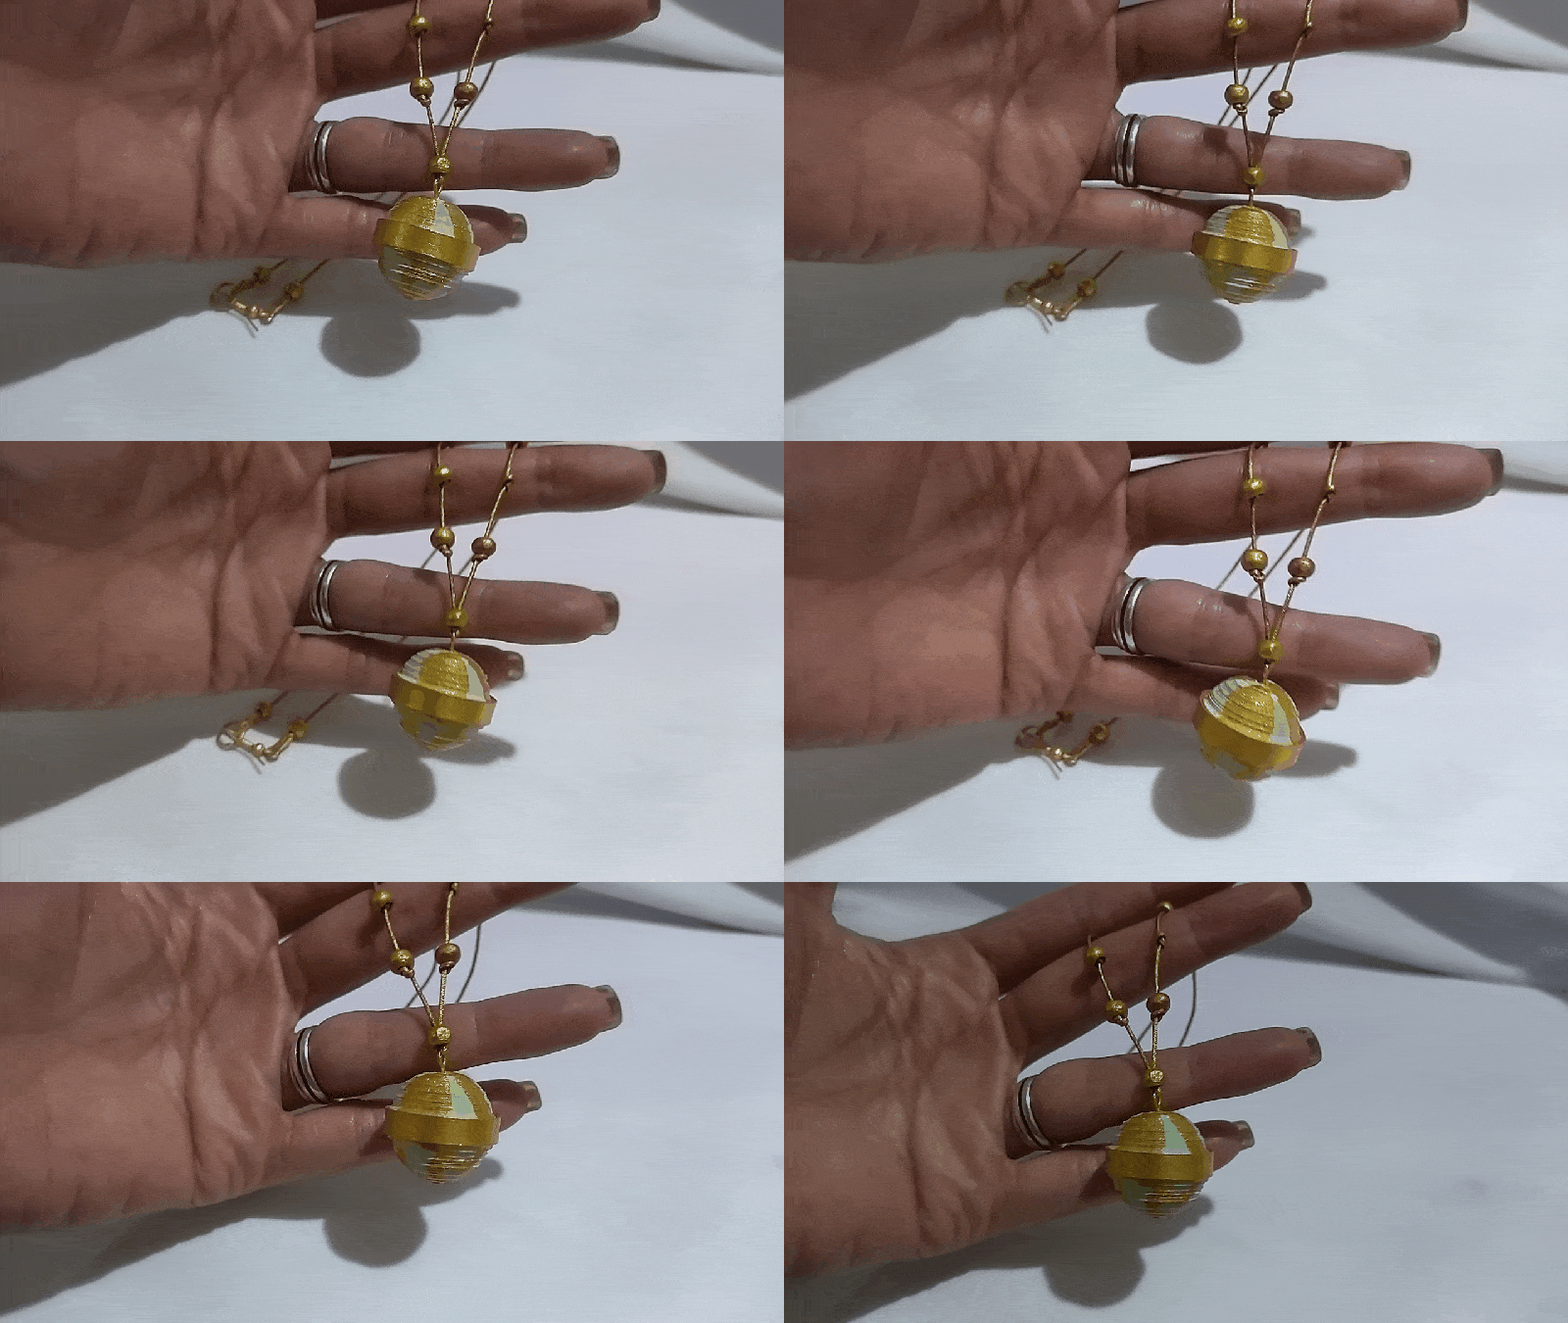
- In this way we have ready this pendant together with her necklace that I materialized inspired in the Chaos letter Doctor Blight.

• Vamos a unir los 2 semicírculos que formaran el dije pasando alrededor con pega blanca extra fuerte, una cinta de quilling de 4mm de ancho la cual pinte previamente de color oro.
• Luego tome un pincel, y aplique algunas pinceladas de color oro a la pieza, de esta manera estará listo el dije.
Para realizar el collar:
• Tome los materiales que pinte de color oro al inicio y deje secando, comencé tomando el hilo chino, coloque el dije en el centro de los hilos e incorpore una de las perlas.
• En los hilos de los lados comencé realizando nudos sencillos de manera armónica y colocando mas perlas, al terminar de colocar todas las que me parecieron necesarias, finalice colocando sus tapanudos, argollas y anzuelo el cual me servirá como broche para el collar.
• De esta manera tenemos listo este dije junto a su collar que materialice inspirado en la carta de Chaos Doctor Blight.


What did you think, did you like it?
I hope you did, I hope you liked my explanation, procedure and photos, I made them with love for you.
"Let out that muse that inspires you, and let your imagination fly".
Thank you all, see you next time.

¿Que les pareció, les gustó?
Espero que sí, que les haya gustado mi explicación, procedimiento y fotos, los hice con mucho cariño por y para ustedes.
"Deja salir esa musa que te inspira, y deja volar tu imaginación".
Gracias a todos, nos vemos en la próxima.


