Greetings friends hivers.🤗
I have been doing some activities that have kept me a little away from Hice, but here I am.
As I have already told you in other opportunities I have always liked to make crafts and I keep many work materials, that's how I began to scrutinize, since; I saw my cushions a little sad and wanted to do something different to set a little my space. I found a piece of fabric that was in storage and I came up with this idea. The best of all is that it does not require a lot of work, it can be done in a few minutes, no need to sew or glue anything at all. I hope you like it.

Materials to use:
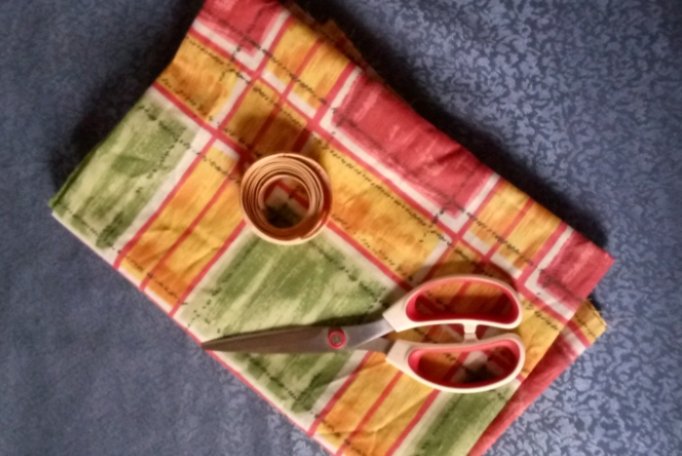
The best of all is that it does not require many materials, nor so many working tools. We only need a piece of fabric, tape measure and scissors.
Making:
Step 1.
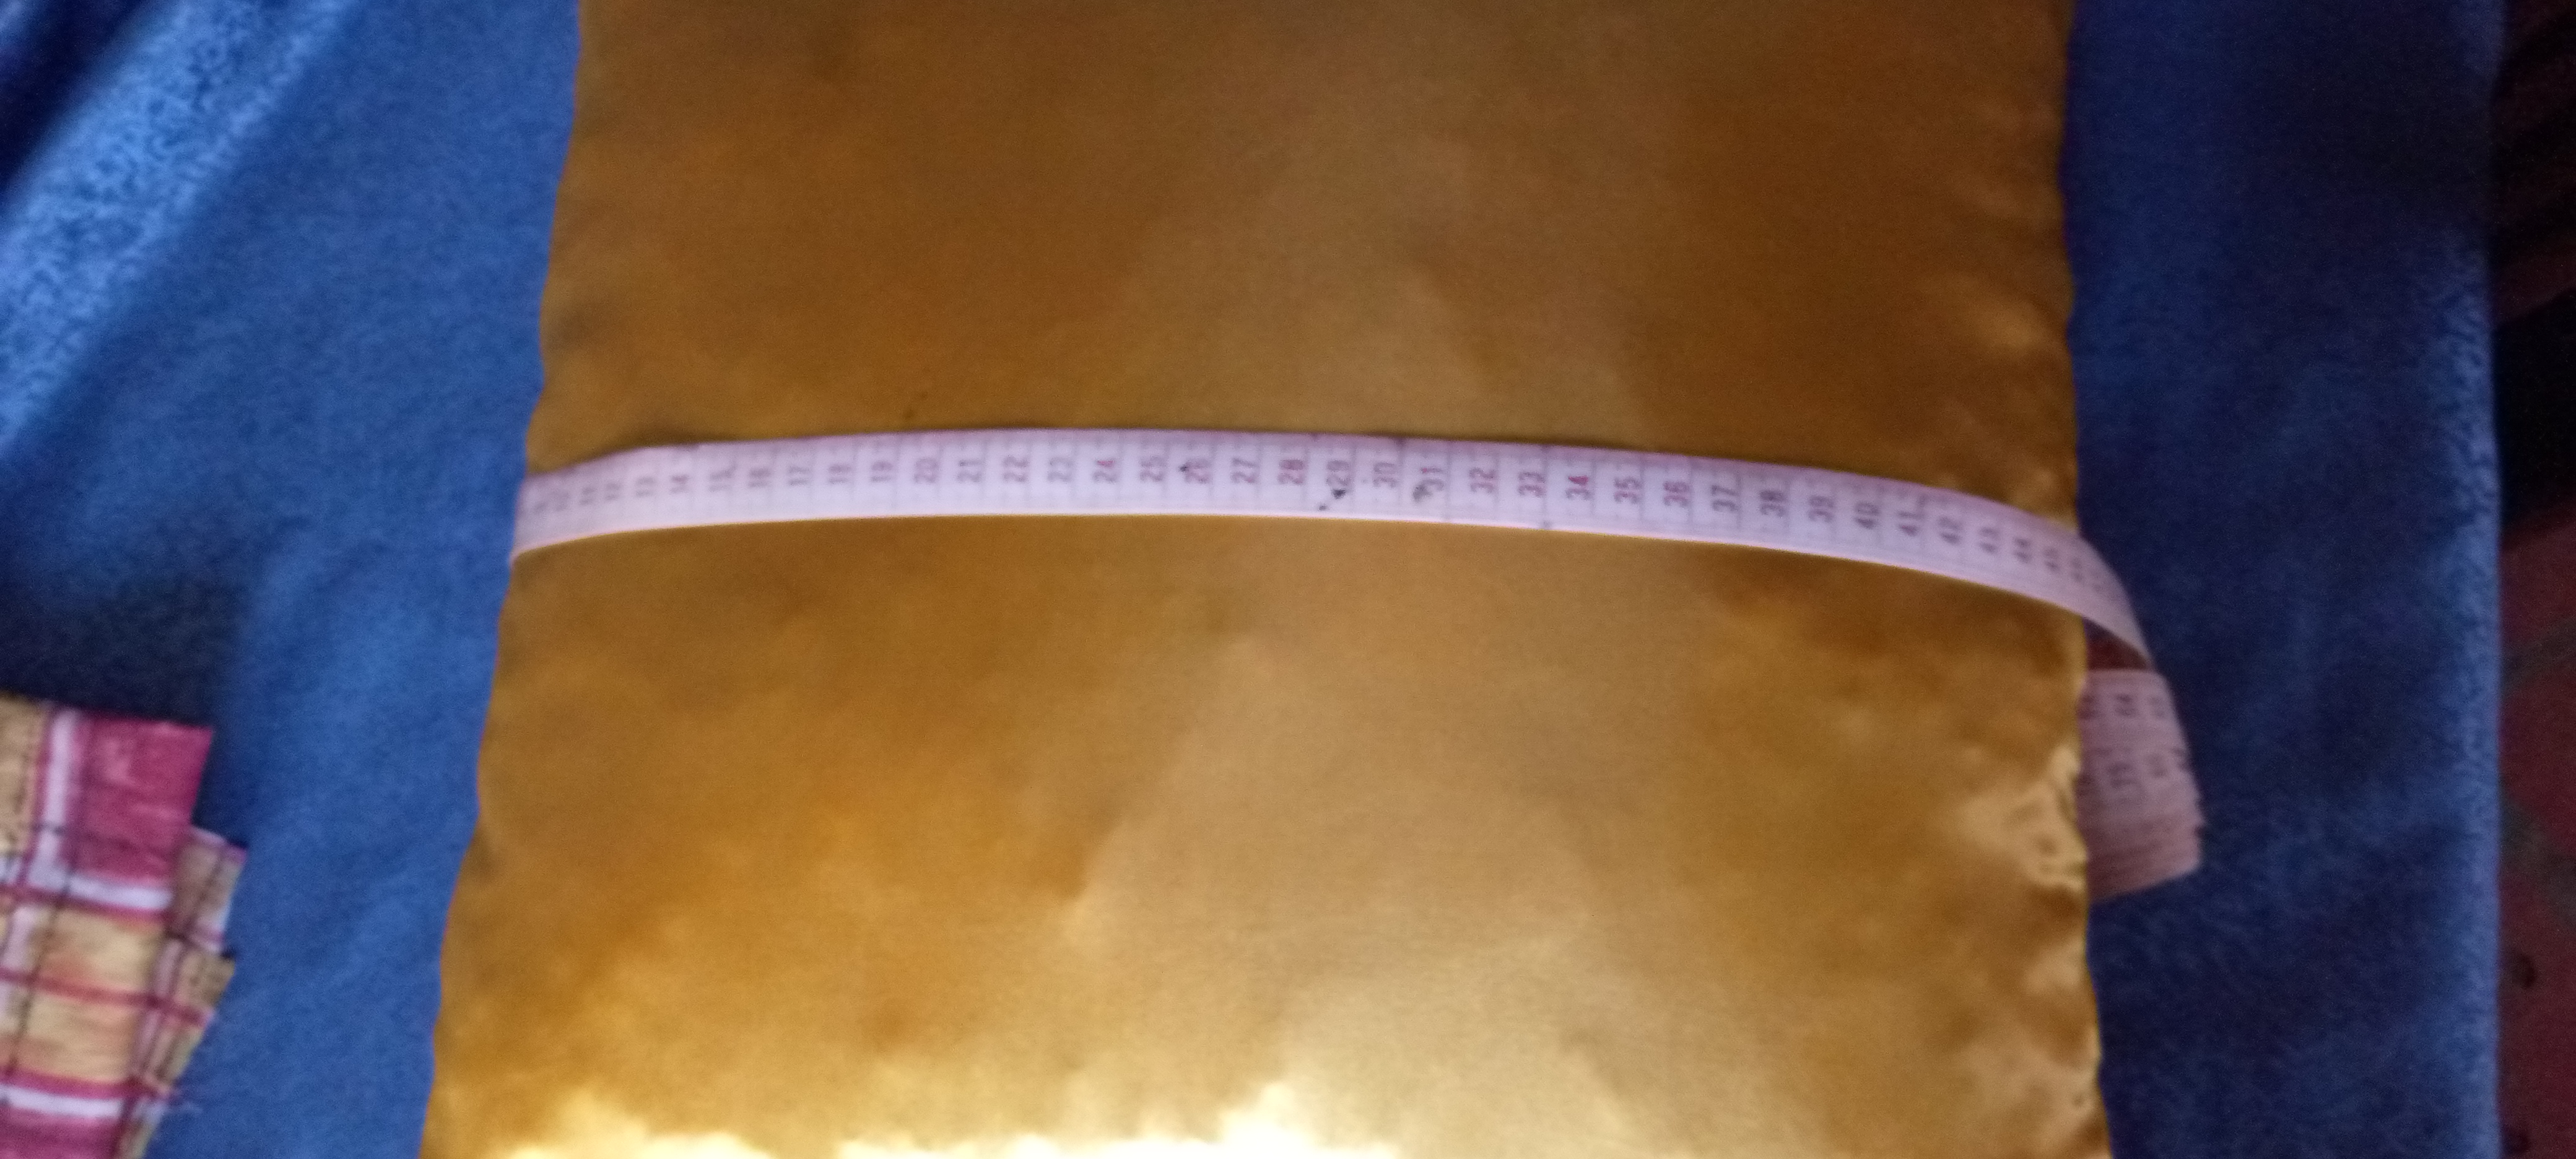
As I told you, I made a lining for a cushion that I wanted to renovate, the first step was to take the measurements of the cushion to know the amount of fabric to use.

Step 2.
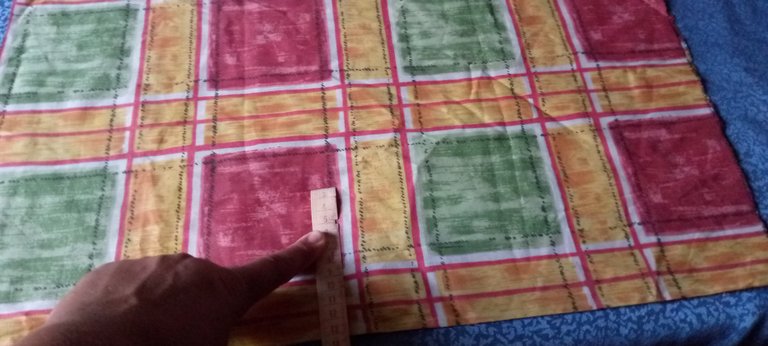
Next I proceeded to measure the fabric and added 9 cm around it, that is, I traced a square with the measurements of the cushion adding 9 cm on each side. After tracing the necessary measurements I proceeded to cut.
Step 3.
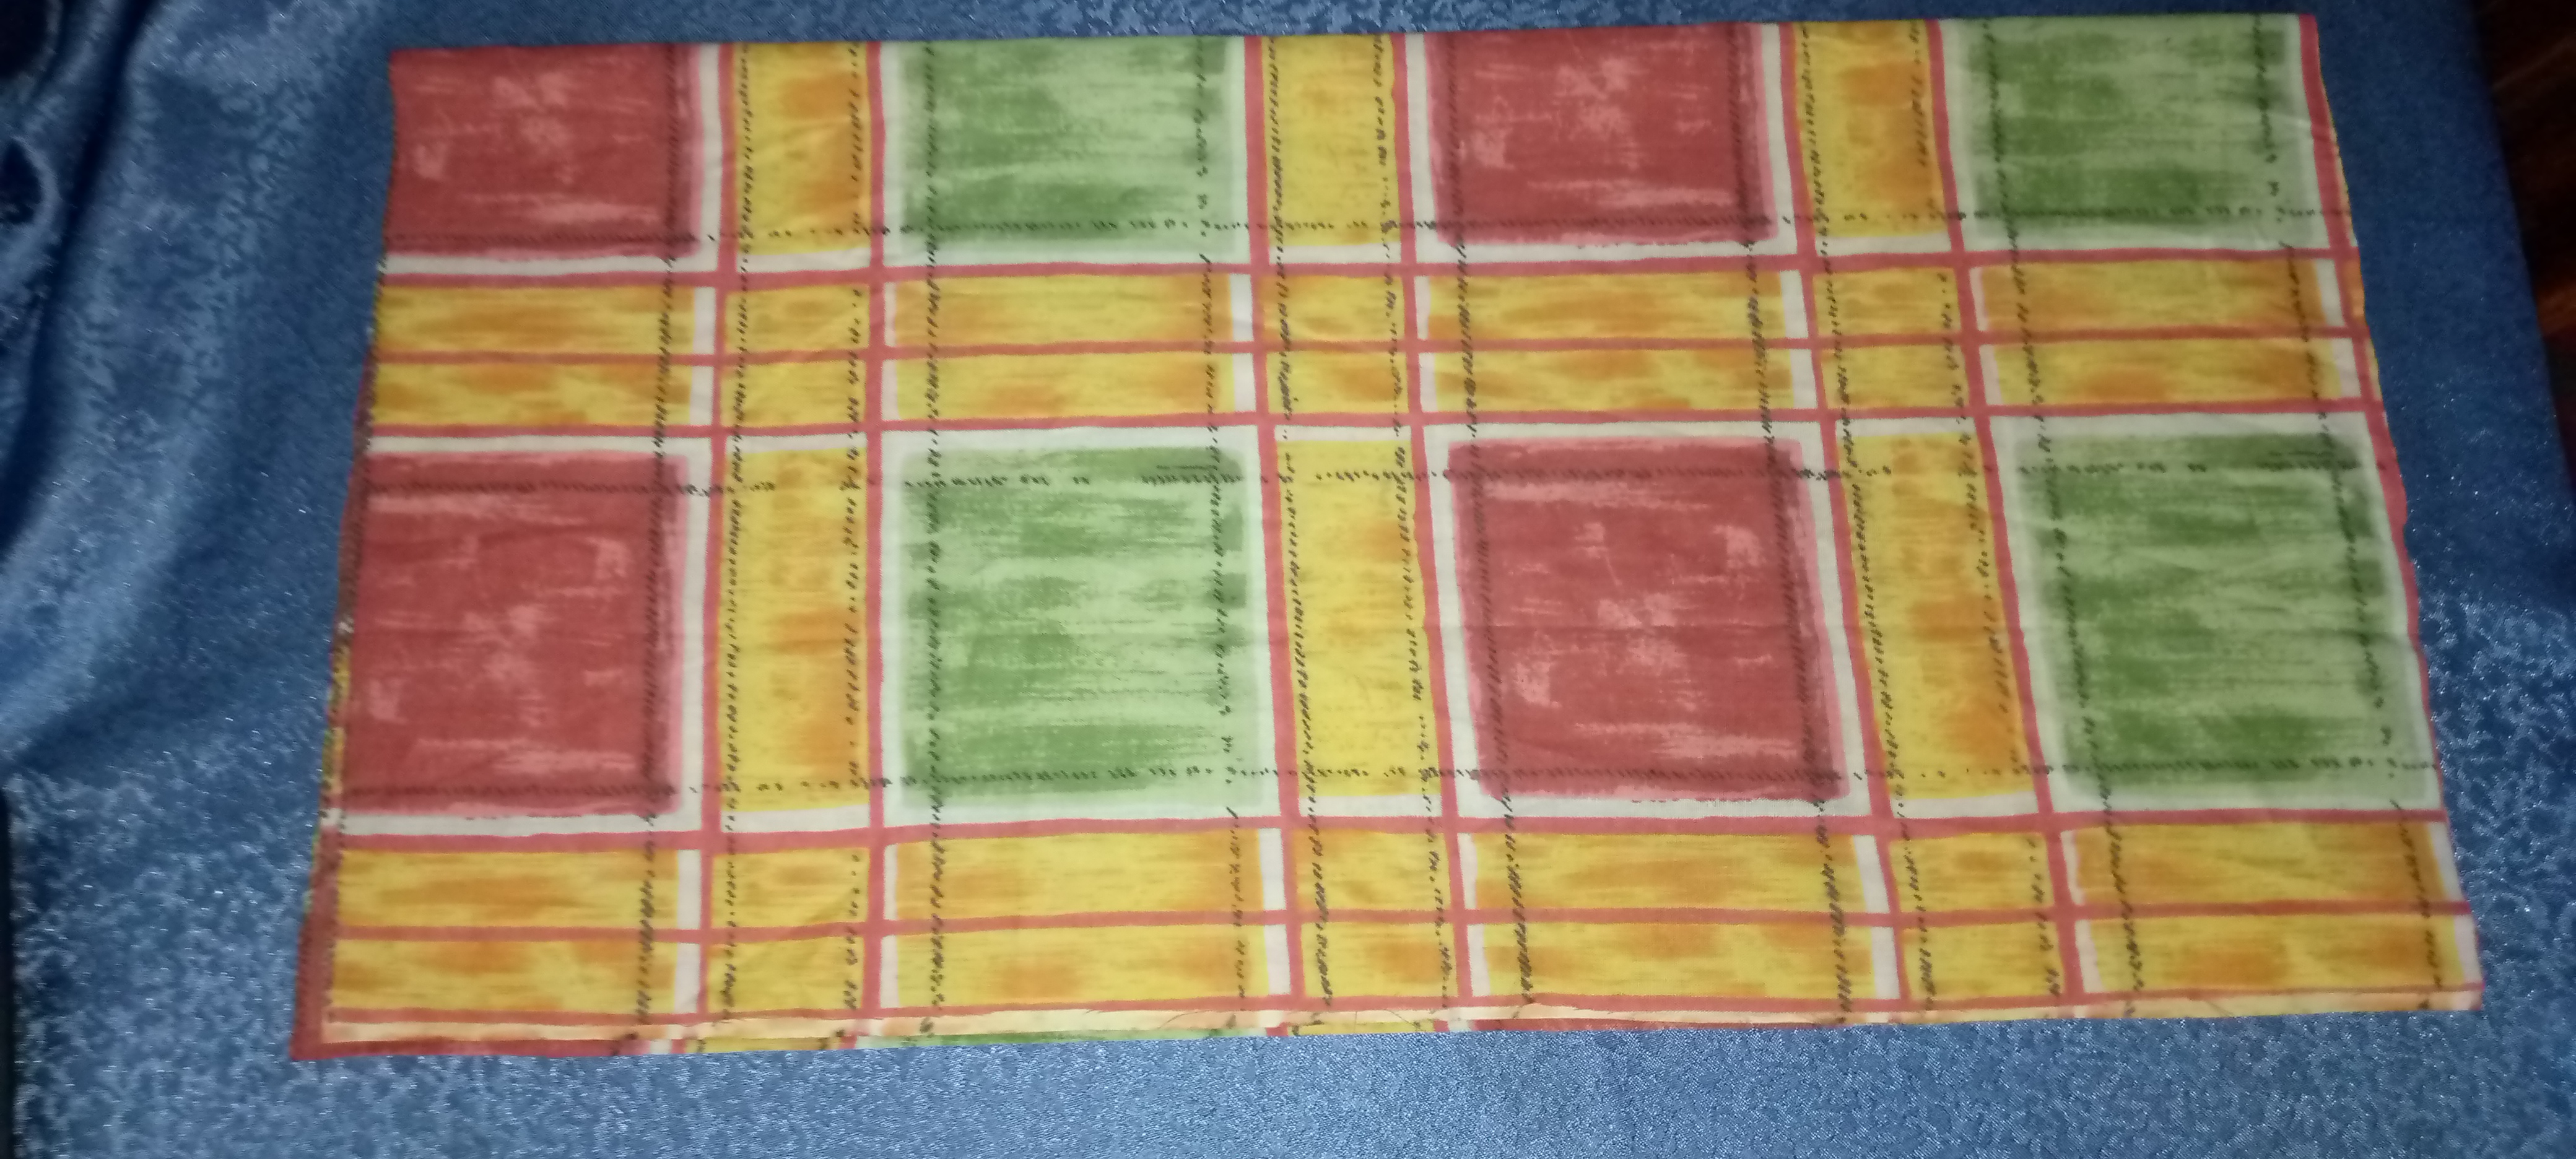
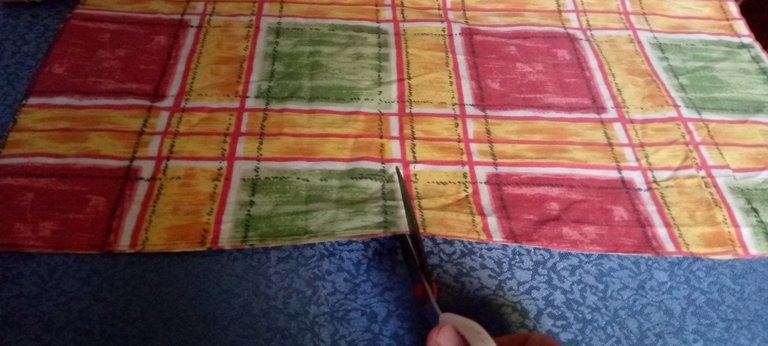
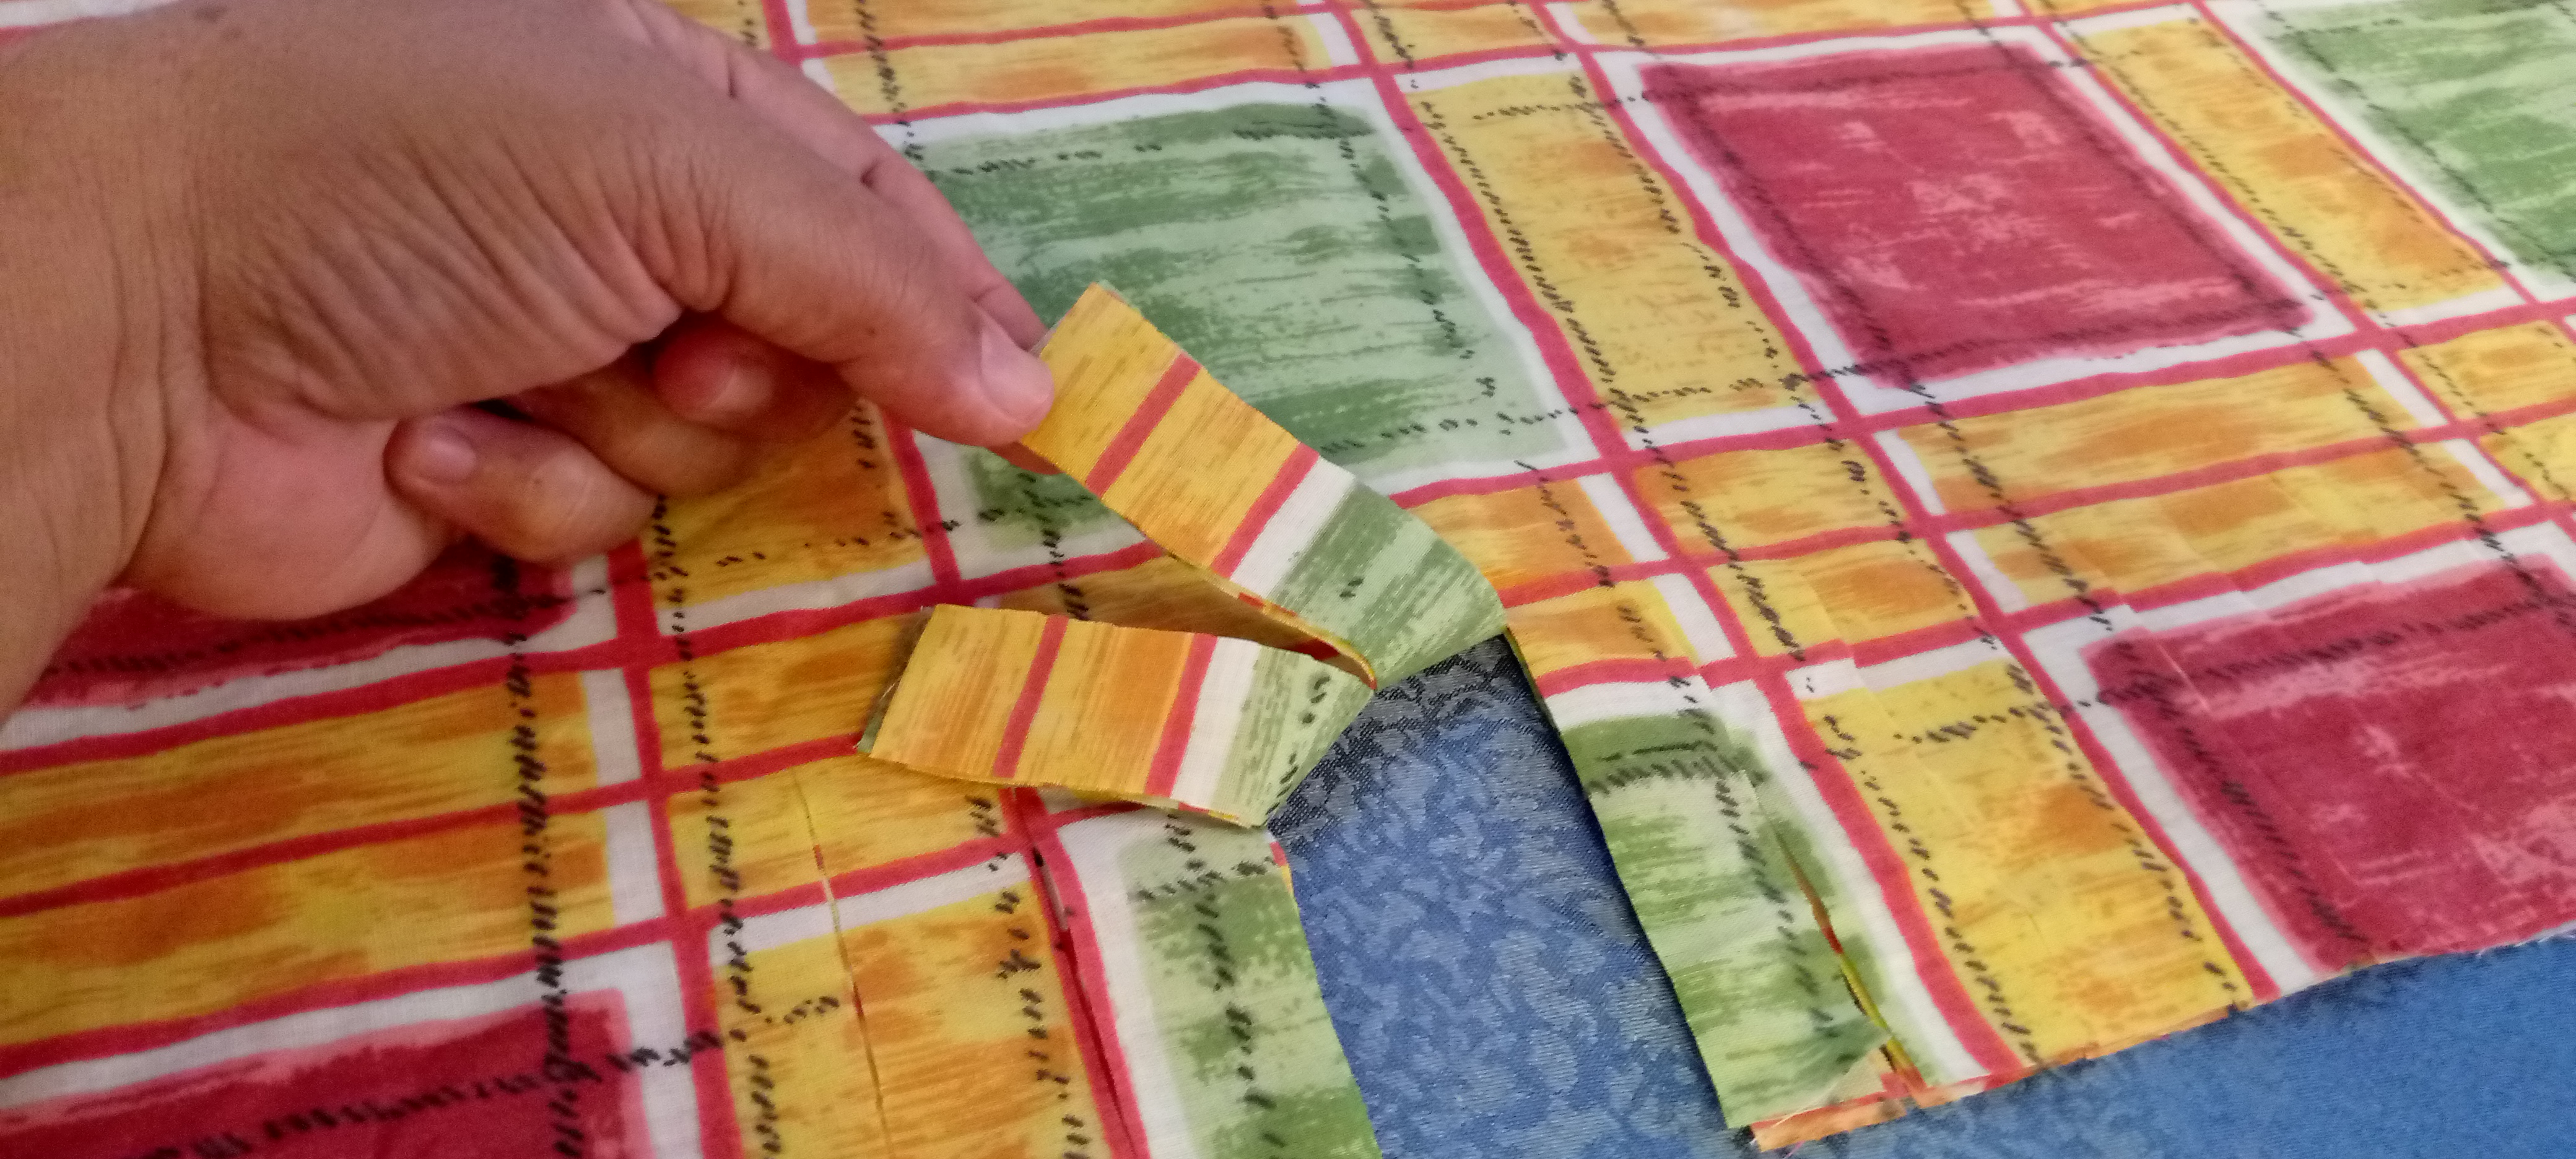
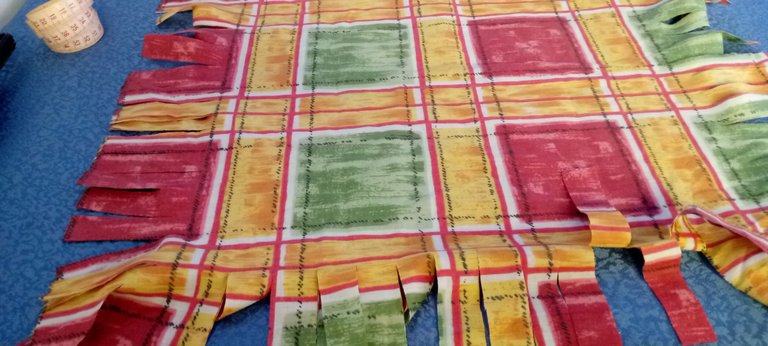
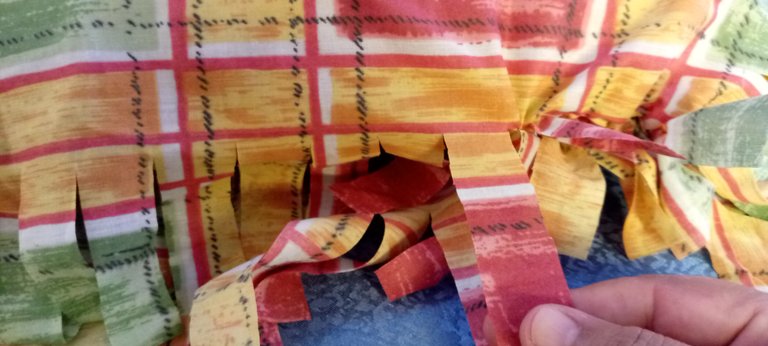
Two pieces of fabric were used, place the two back to back, fold in half and then proceed to measure the 9 cm contour and then cut strips at a distance of 2 cm between cut.

Step 4.
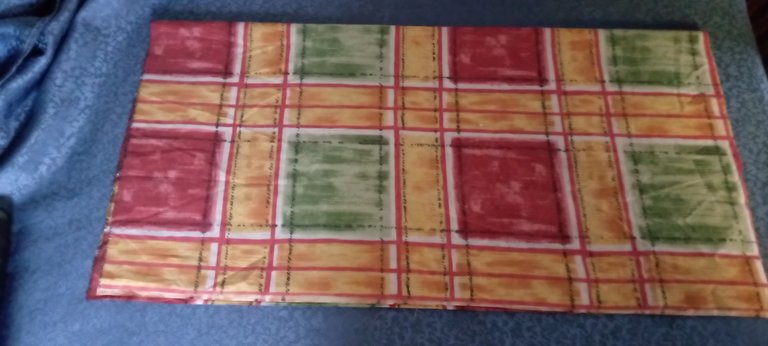
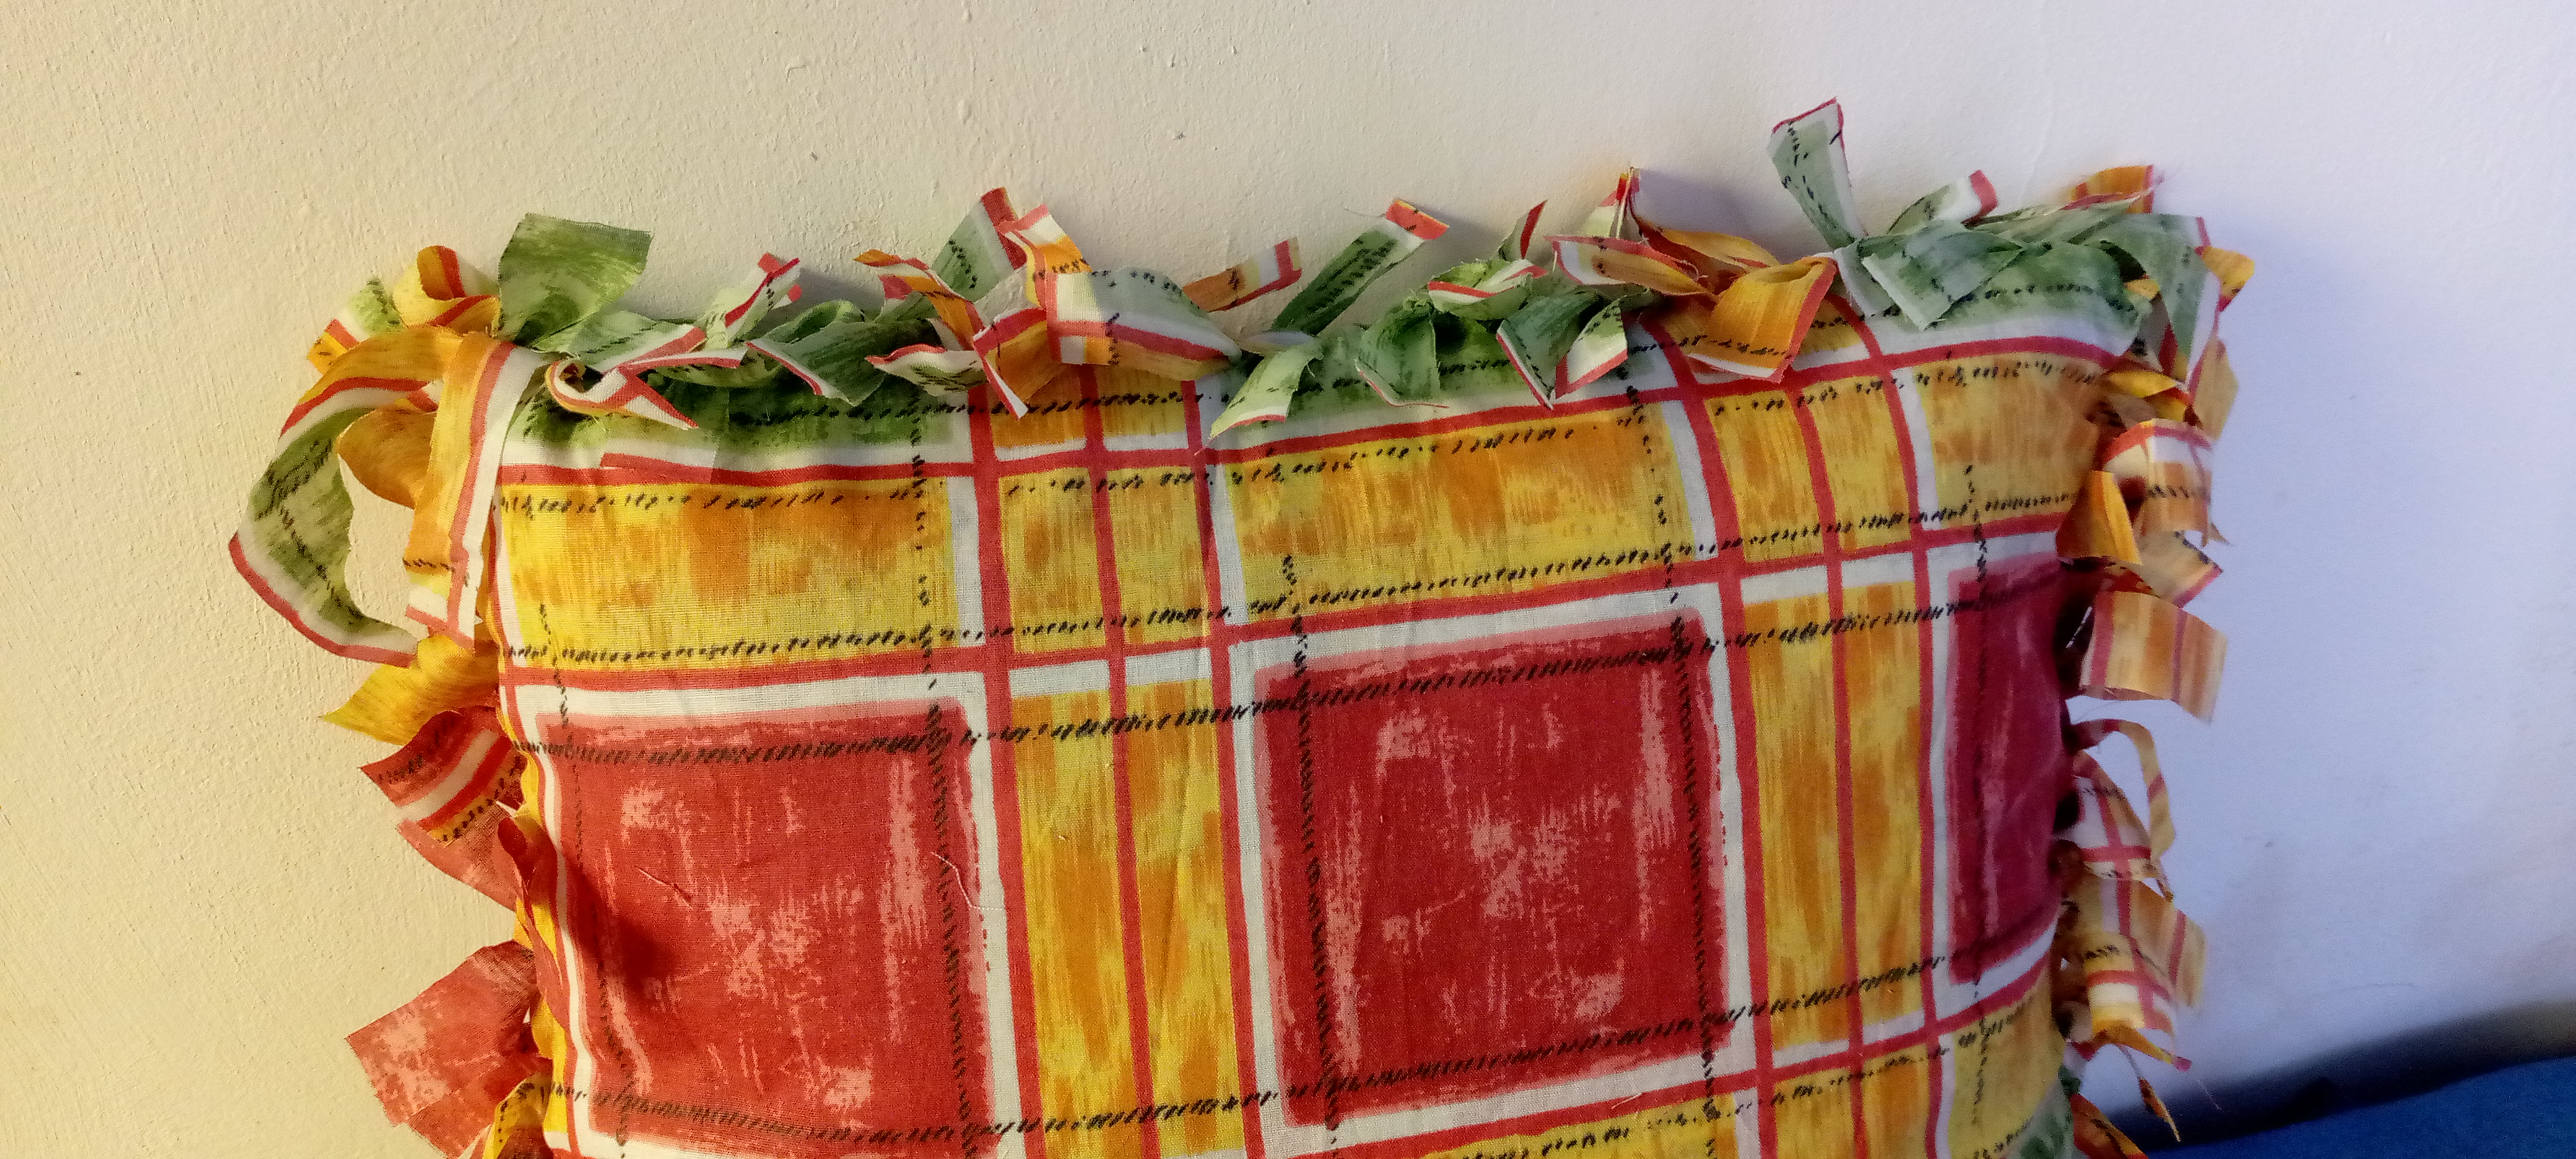
After I have the fabric cut along all the contours, I place the cushion between the two layers of fabric and begin to tie all the cut strips together, taking care to match them perfectly.
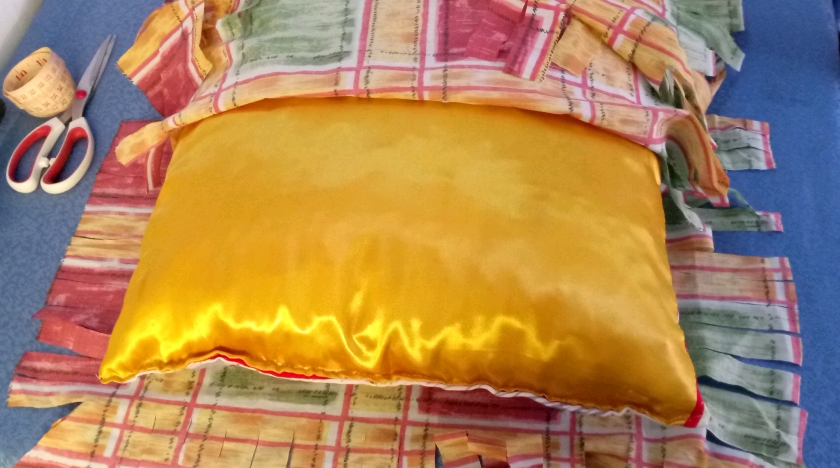
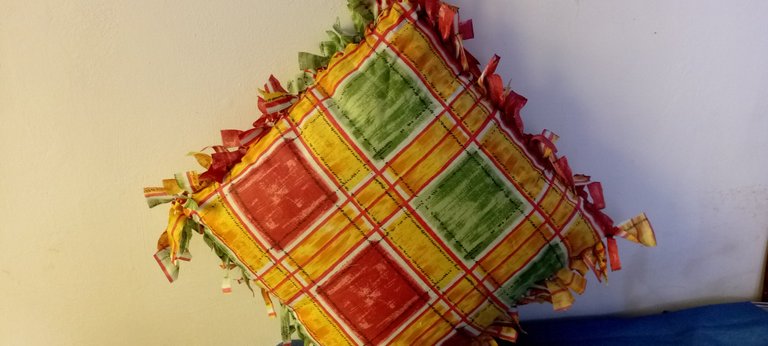
After tying all the strips together, my cushion liner is finished.....


La Vida es Arte...
Gracias por leerme. Nos encontraremos en el próximo post de @dorada.
Imágenes capturadas con dispositivo móvil tecno spark.
Español
Saludos amigos hivers.
He estado realizando algunas actividades que me han mantenido un poco alejada de Hice, sin embargo acá estoy.
Como ya les he contado en otras oportunidades siempre me ha gustado realizar manualidades y conservo muchos materiales de trabajo, es así como comencé a escudriñar, ya que; veía mis cojines un poco tristes y quise realizar algo diferente para ambientar un poco mi espacio. Me encontré con un trozo de tela que estaba guardado y se me ocurrió aplicar esta idea. Lo mejor de todo es que no requiere de mucho trabajo, en pocos minutos se puede realizar, sin necesidad de coser, ni pegar absolutamente nada. Espero les guste.
Materiales a utilizar:
Lo mejor de todo es que no requiere de muchos materiales, ni de tantas herramientas de trabajo. Solo necesitamos un trozo de tela, cinta métrica y tijera.
Elaboración:
Paso 1.
Como ya les dije, elaboré un forro para un cojín que quería renovar, el primer paso consistió en tomar las medidas del cojín para saber la cantidad de tela a utilizar.
Paso 2.
A continuación procedí a medir la tela y le agregué 9 cm alrededor es decir tracé un cuadrado con las medidas del cojín agregándole 9 cm de cada lado. Luego de trazar las medidas necesarias procedí a cortar.
Paso 3.
Se utilizaron dos trozos de tela, se colocan los dos revés con revés, se doblan a la mitad y luego procedo a medir los 9 cm de contorno para luego cortar tiras a una distancia de 2 cm entre corte.
Paso 4.
Luego de tener la tela cortada por todos los contornos, coloco el cojín entre las dos capas de tela y comienzo a atar todas las tiras cortadas, cuidando de que coincidan perfectamente.
Luego de atar todas las tiras, está terminado mi forro de cojín....
La Vida es Arte...
Gracias por leerme. Nos encontraremos en el próximo post de @dorada.
Imágenes capturadas con dispositivo móvil tecno spark.
