[Esp]
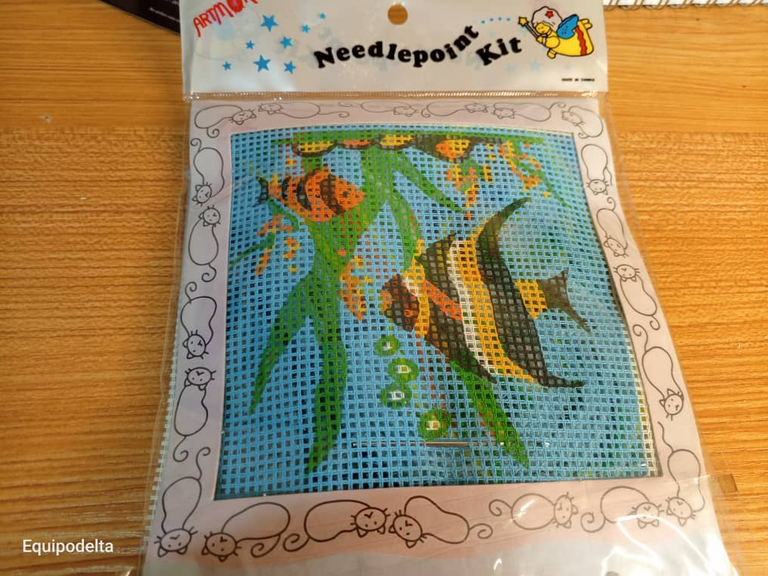
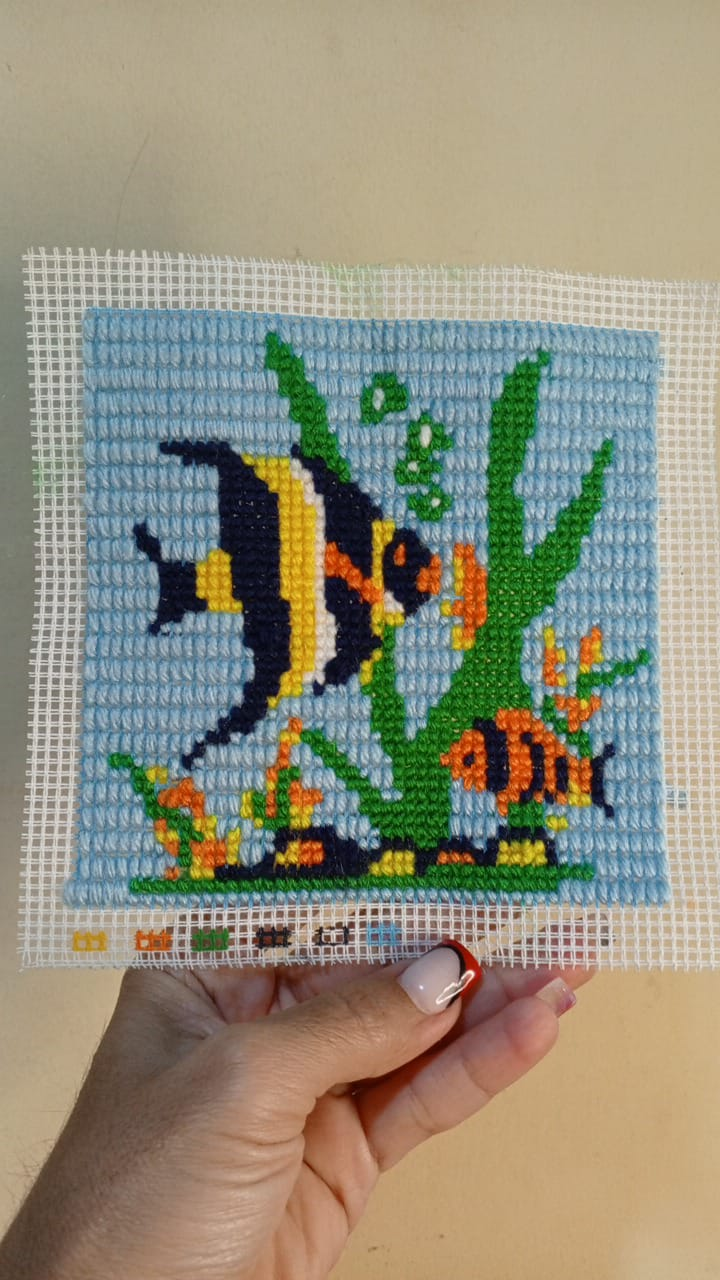
Hola mis amados, por aquí comparto con ustedes un lindo cuadro de peces que bordé con estambre.
Me encantó el kit de bordado que compré, porque la figura que tenía para bordar son los peces que me gustan mucho, generalmente eran los que compraba cuando tenía pecera, me trajo muchos recuerdos hermosos, quisiera volver a tener una pecera con peces escalares, para que pueda tenerlos necesito una mesa y por supuesto todos lo necesario para que ellos estén muy cómodos: Una pecera grande, iluminación adecuada, decoración, plantas naturales, motor de pecera, ya eso vendrá poco a poco. mientras tanto, bordé este hermoso cuadro para animarme.
Espero les guste.
! [English version]
Hello my beloved ones, here I share with you a nice picture of fish that I embroidered with yarn.
I loved the embroidery kit I bought, because the figure I had to embroider are the fish that I like very much, they were usually the ones I bought when I had a fish tank, it brought me many beautiful memories, I would like to have again a fish tank with scalar fish, so I can have them I need a table and of course everything necessary for them to be very comfortable: A large fish tank, adequate lighting, decoration, natural plants, fish tank engine, and that will come little by little. Meanwhile, I embroidered this beautiful picture to cheer me up.
I hope you like it.
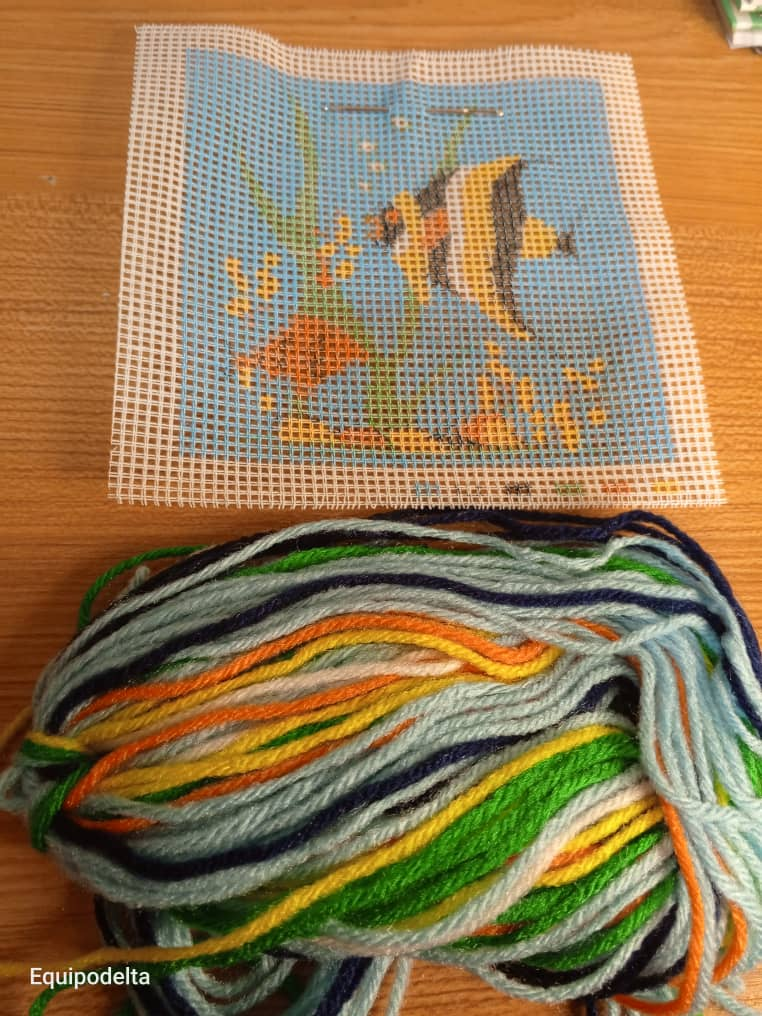 | 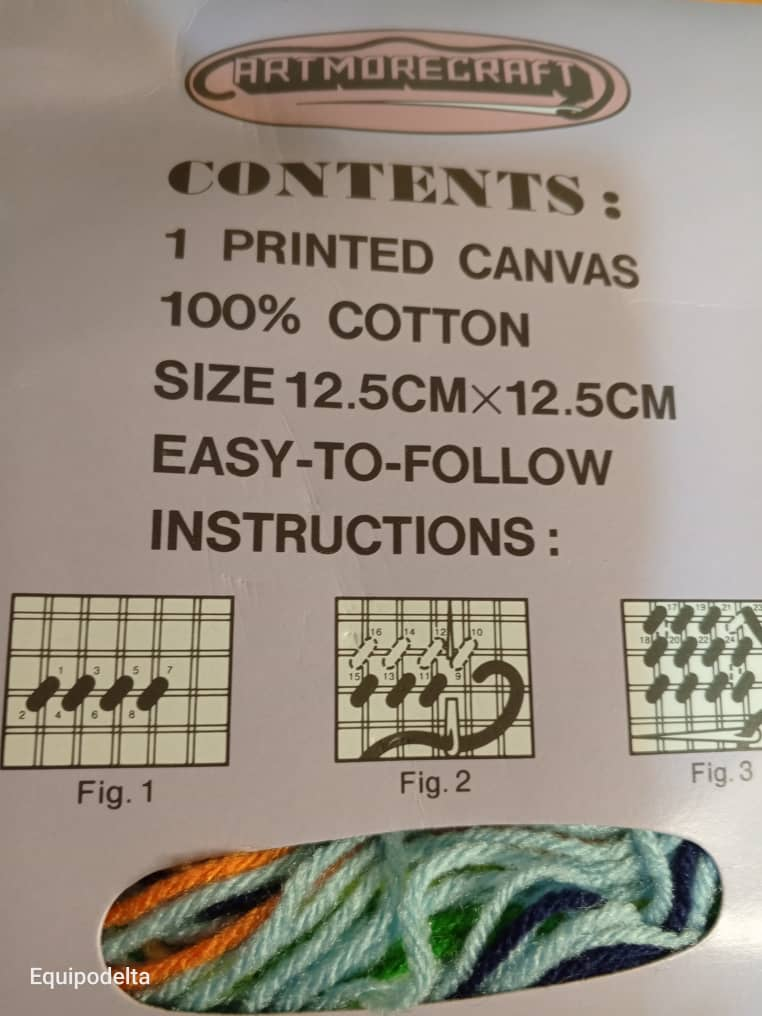 |
Contenido del kit / Contents of the kit
| Spanish | English | |
| Tela para bordar | Embroidery fabric | |
| Boceto | Boceto | |
| Instrucciones | Instructions | |
| Hilo de estambre diferentes colores | Woollen yarn in different colours | |
| Aguja punta roma, tijera | Blunt needle, scissors |
Paso a paso / Step by Step
Step 1️⃣/ Paso 1️⃣

 |  |
[Esp]
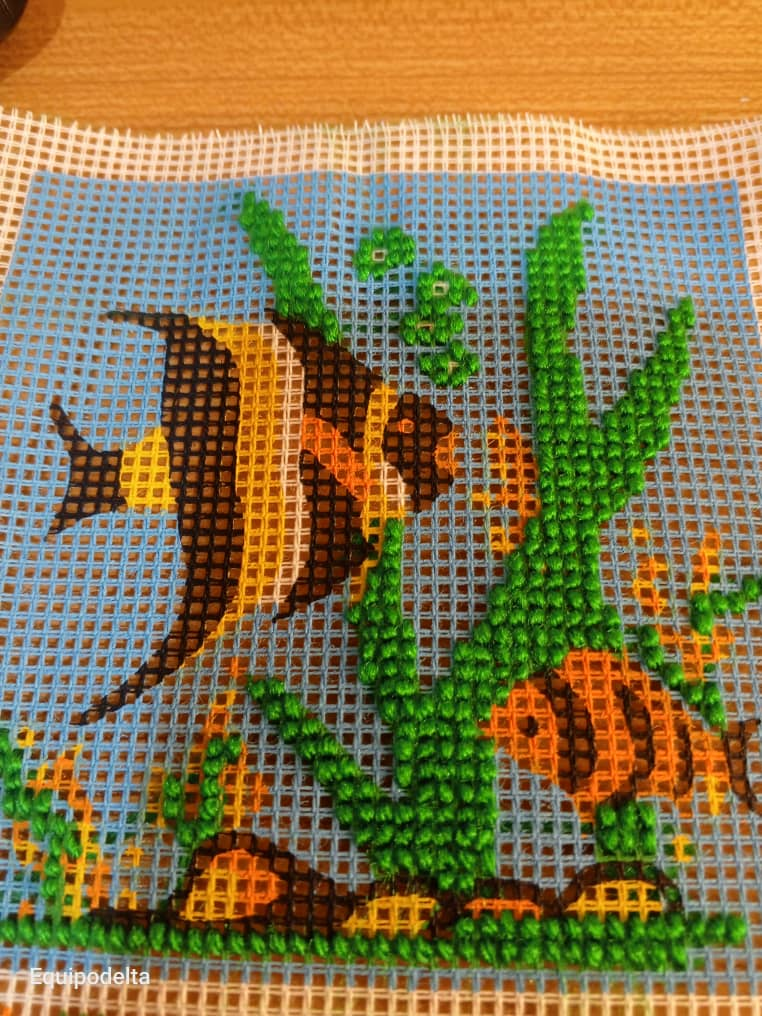
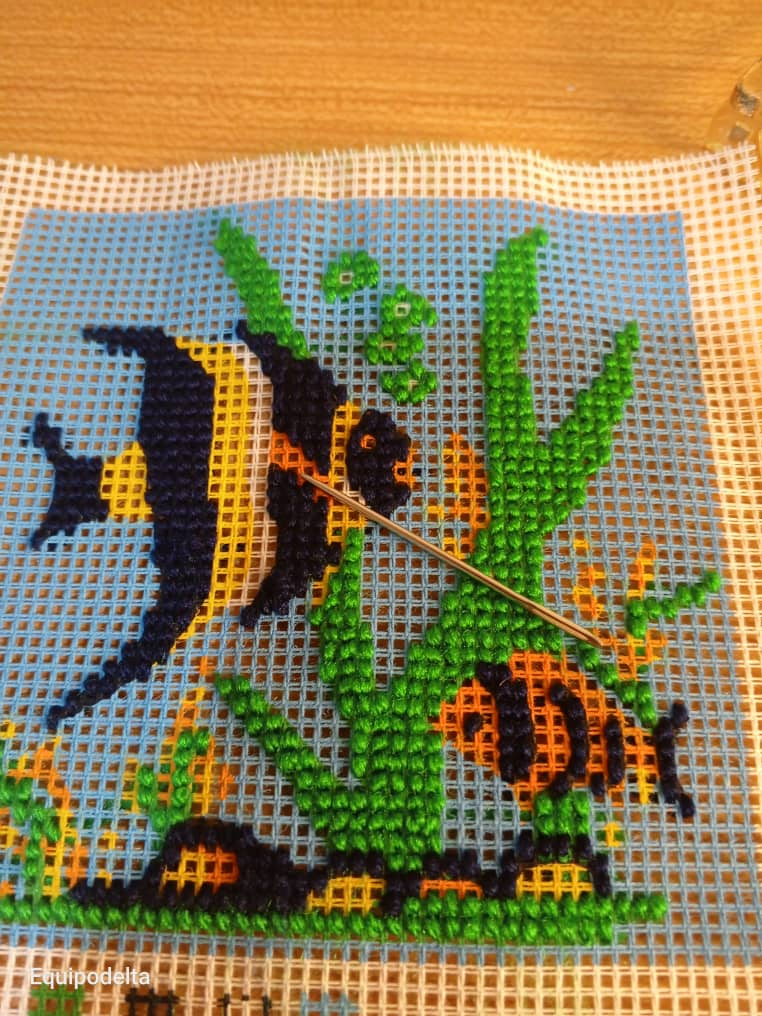
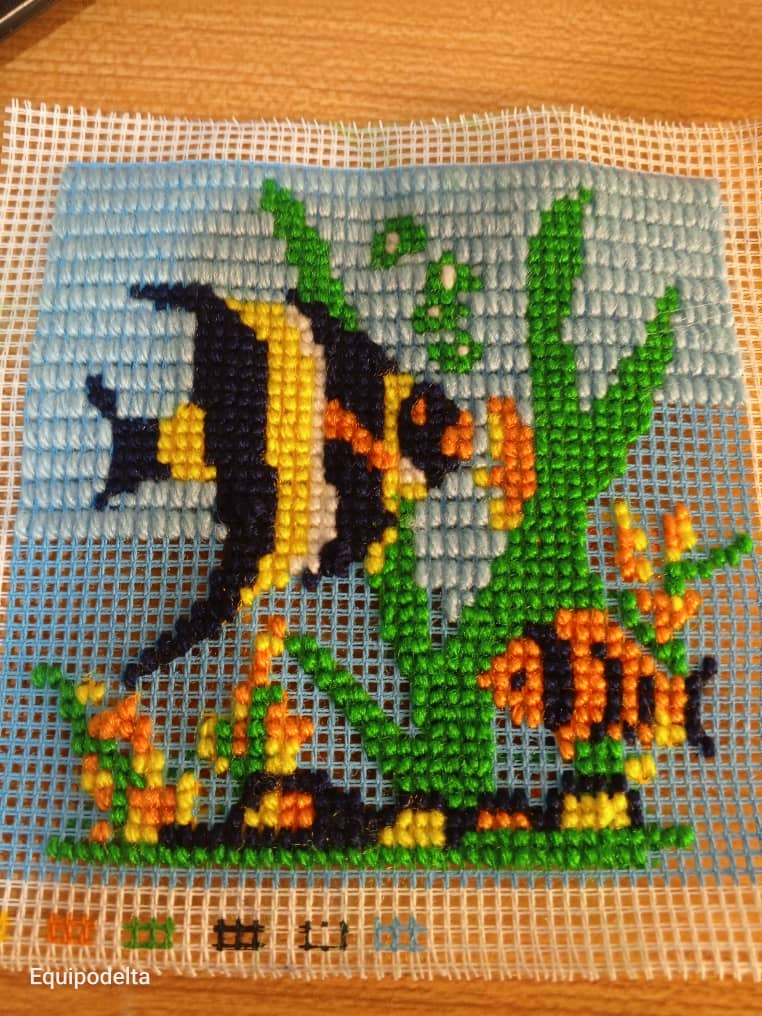
Enhebra la aguja con el estambre, estos ya vienen previamente cortados en el kit, empecé con el color verde.
Es sencillo, solo hay que seguir el patrón, rellenando el color correspondiente.
Si se fijan en el manual dice que el punto es de lado y yo lo estoy haciendo vertical, ya he explicado anteriormente que me gusta más bordar de esta forma para que la tela no termine deformándose.
Luego de terminar de bordar toda el área de color verde, procedo a bordar el área de color negro, aunque yo más bien veo que parece azul muy oscuro.
! [English version]
Thread the needle with the yarn, these are already pre-cut in the kit, I started with the green color.
It's simple, just follow the pattern, filling in the corresponding color.
If you look at the manual it says that the stitch is sideways and I am doing it vertically, I have already explained that I like to embroider this way so that the fabric does not end up deforming.
After finishing embroidering all the green area, I proceed to embroider the black area, although I rather see that it looks like very dark blue.

Step 2️⃣/ paso 2️⃣
 |  |
[Esp]
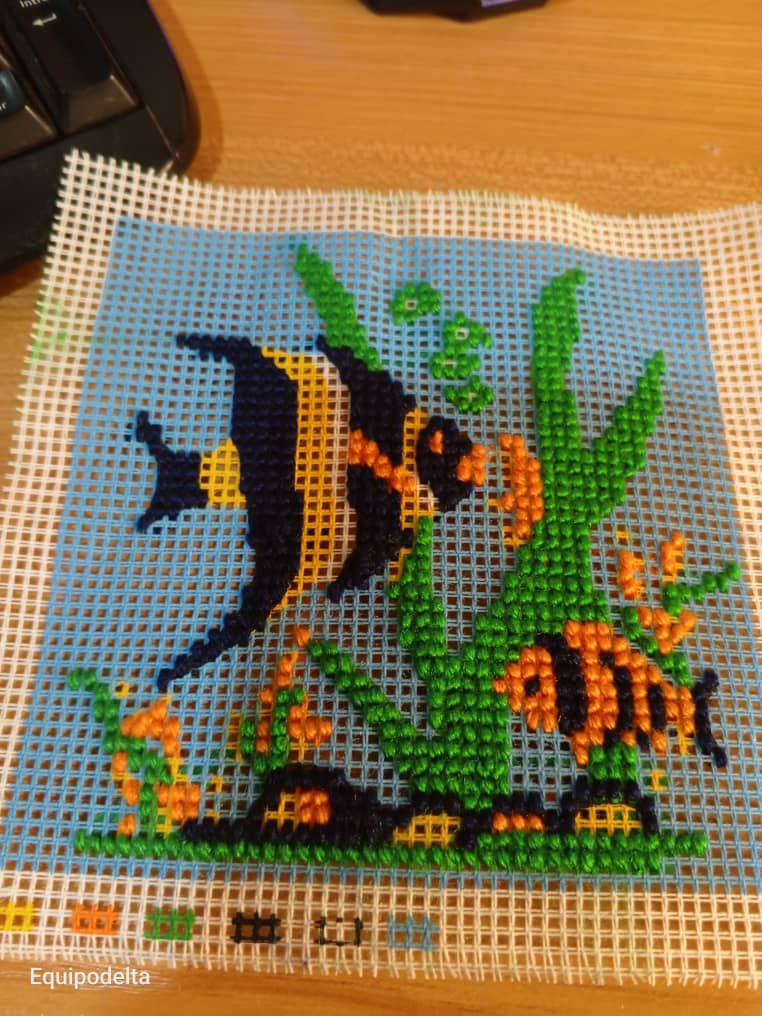
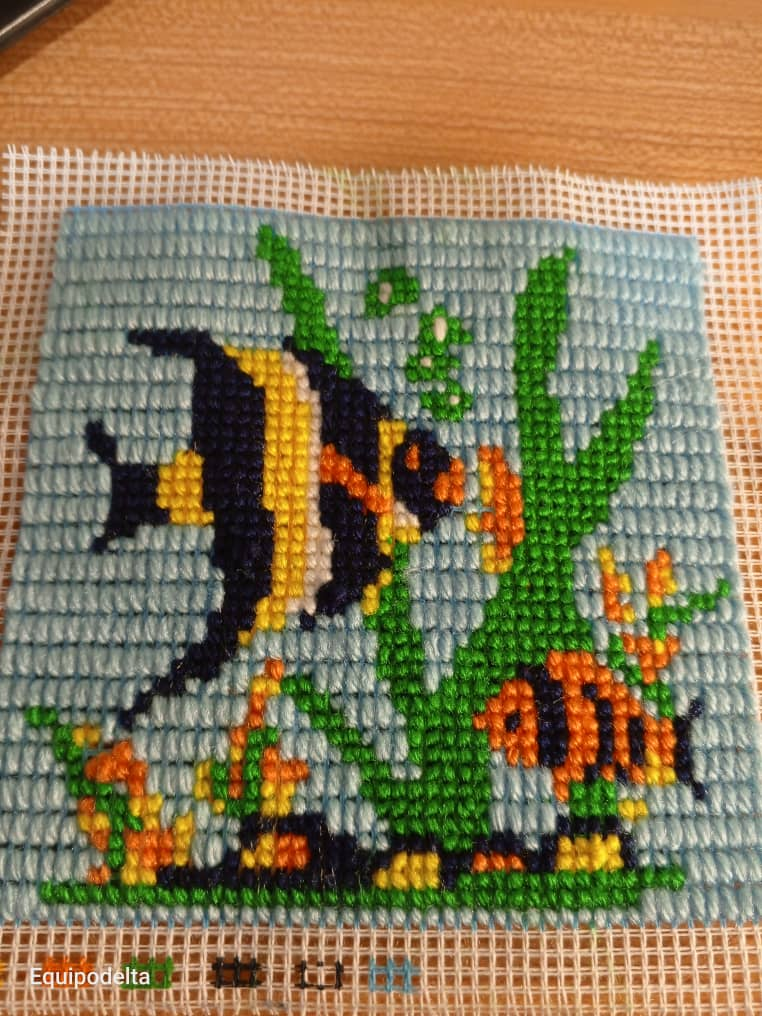
Esta vez los colores de las telas y el boceto se podían diferenciar muy bien, por lo cual no necesité ayuda.
La sección de color anaranjado la he completado y seguidamente procedí con el color amarillo y una pequeña sección en blanco.
Me gusta este kit vino con mucho hilo, me sobró bastante, entonces lo guardo porque a veces en otros kits me han venido incompletos.
! [English version]
This time the colours of the fabrics and the sketch could be differentiated very well, so I didn't need any help.
I completed the orange section and then proceeded with the yellow and a small white section.
I like this kit it came with a lot of yarn, I had a lot left over, so I keep it because sometimes in other kits I have had incomplete kits.
Step 3️⃣/ paso 3️⃣
 |  |
[Esp]
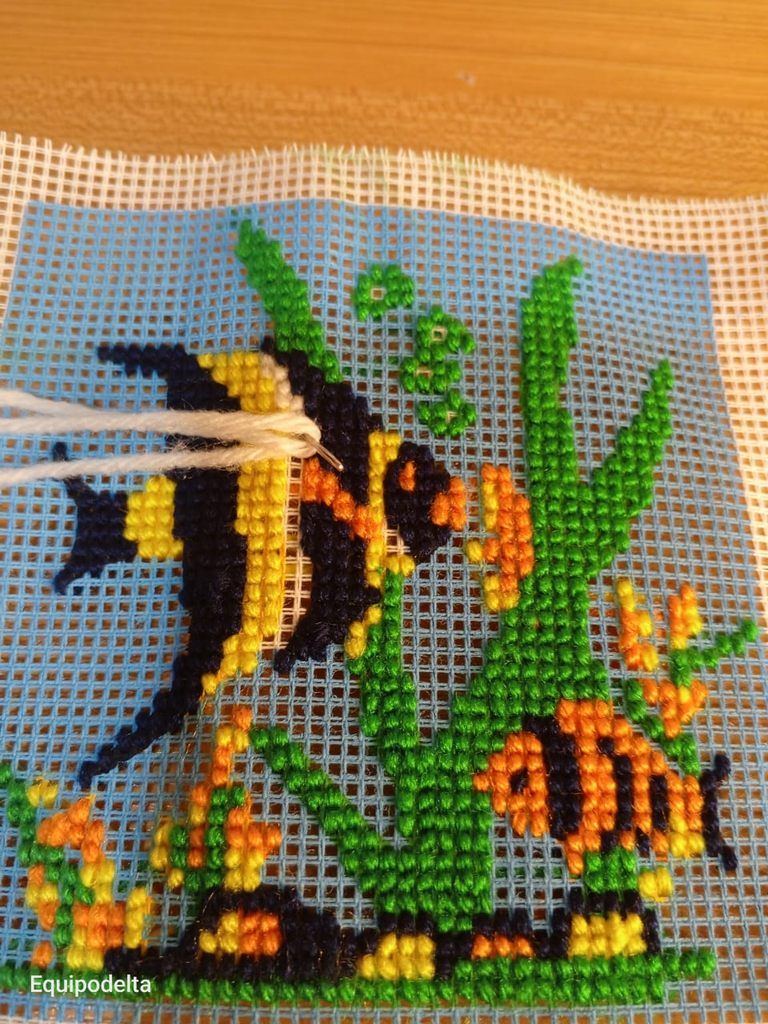
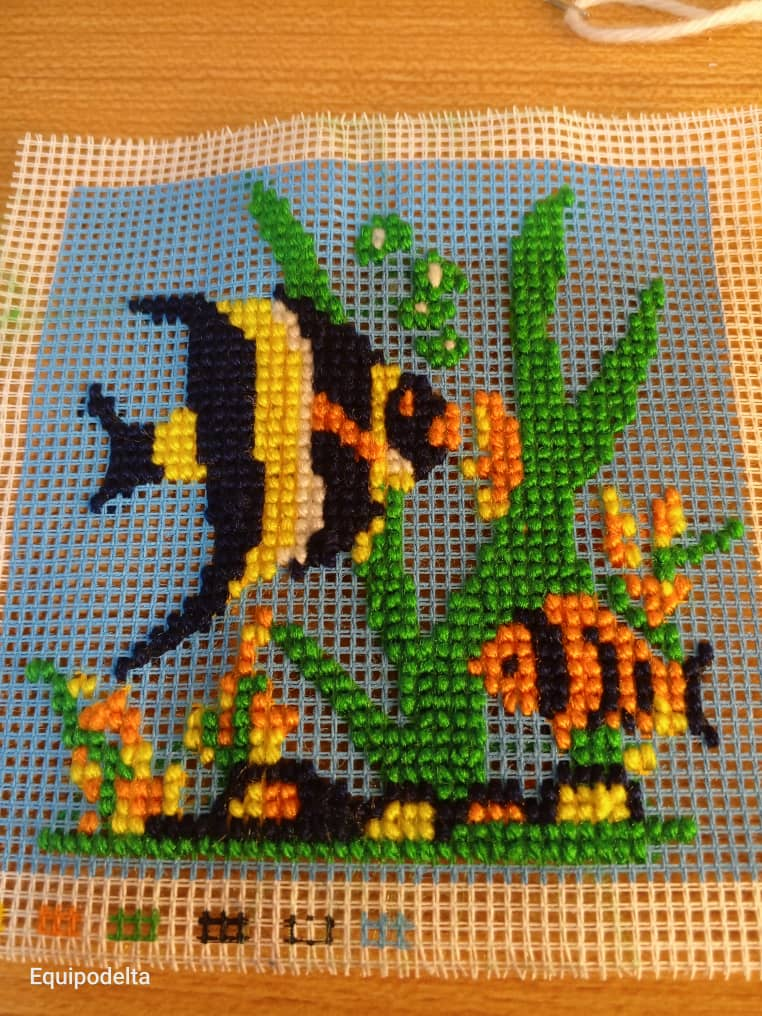
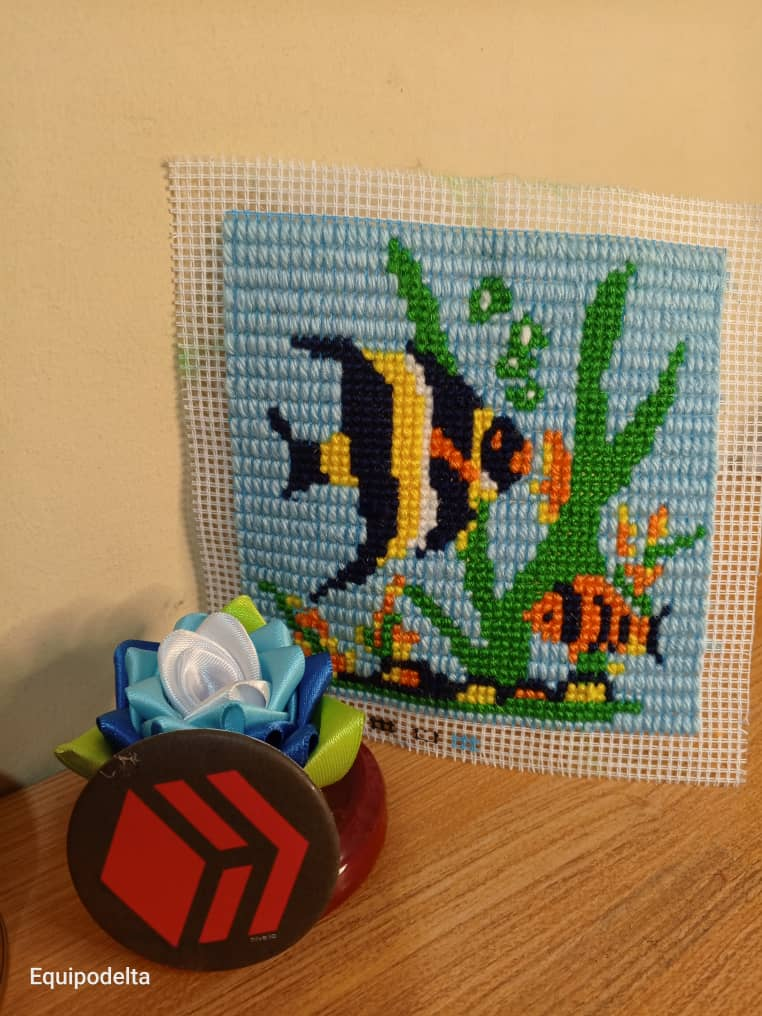
Para rellenar el fondo, bordé con un punto triple, es decir, tomé tres espacios de cuadros de la tela, quería crear un relieve diferente y ahorrar el tiempo de bordado. Al finalizar noté que quedó estupendo. Este punto triple acostumbraba a hacerlo en cuadros realmente grandes que había bordado en el pasado, cuadros de un metro de largo.
Una vez termino de bordar, se procede a colocarlo en un cuadro o coserle algún borde si piensas usarlo como camino de mesa. Yo voy a enmarcarlo más adelante.
Espero les guste.
! [English version]
To fill the background, I embroidered with a triple stitch, that is, I took three spaces of squares from the fabric, I wanted to create a different relief and save embroidery time. When I finished I noticed that it looked great. I used to do this triple stitch on really big squares that I had embroidered in the past, squares about a metre long.
Once you've finished embroidering, you can place it in a frame or sew a border on it if you plan to use it as a table runner. I'm going to frame it later.
I hope you like it.


Créditos / Credits
💜💜💜
![]() 👉
👉  👉
👉 ![]() 👉
👉 ![]() 👉
👉 
Here / Bríndame un café