

[Esp]
¡Saludos comunidad DIY!
Las pocas veces que he salido de casa he visto muchas manualidades cositas de navidad, esto me ha animado a crear, he tenido mi fijación por los arbolitos y su variedad, me inclino hacia la parte minimalista, a una tonalidad, creo que tengo una idea de cómo ir decorando mi hogar en la medida de mi presupuesto.
Esto me ha entusiasmado y he venido aquí a compartir mi entusiasmo contigo.
! [English version]
Greetings DIY community!
The few times I've been out of the house I've seen a lot of Christmas crafts, this has encouraged me to create, I've had my fixation for the trees and their variety, I lean towards the minimalist side, to a tonality, I think I have an idea of how to go decorating my home to the extent of my budget.
This has excited me and I have come here to share my enthusiasm with you.

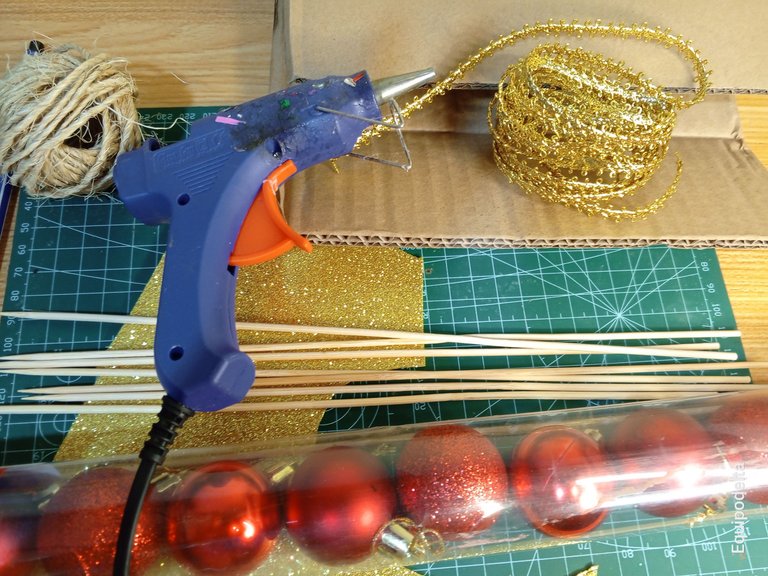
Materiales / Materials

| Spanish | English | |
| Bolas de navidad | Christmas Balls | |
| Yute y cinta dorada | Jute and gold ribbon | |
| Tijera | Scissors | |
| Palitos de altura | High sticks | |
| Cartón | Cardboard | |
| Foami escarchado | Frosted Foami | |
| Silicón caliente | Hot Silicone | |
| Cinta de raso N°9 | Satin ribbon N°9 |


Paso a paso / Step by Step


Step 1️⃣/ Paso 1️⃣
 |  | |
 |  |
[Esp]
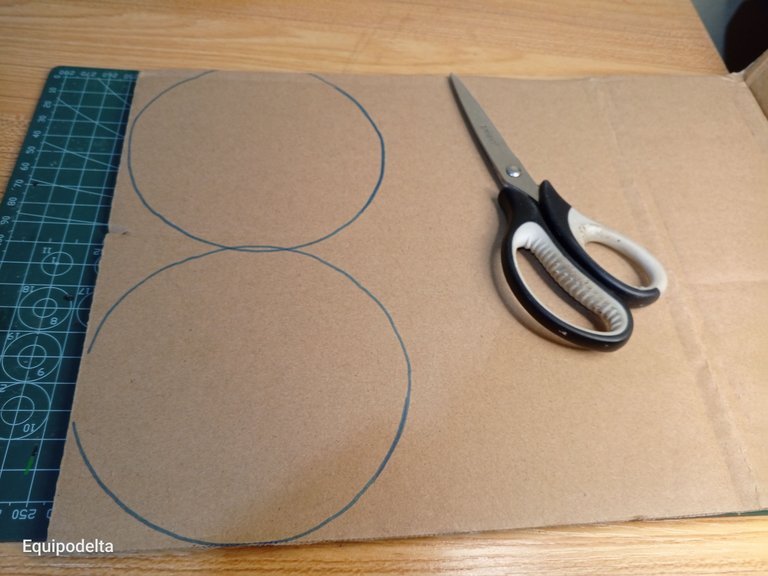
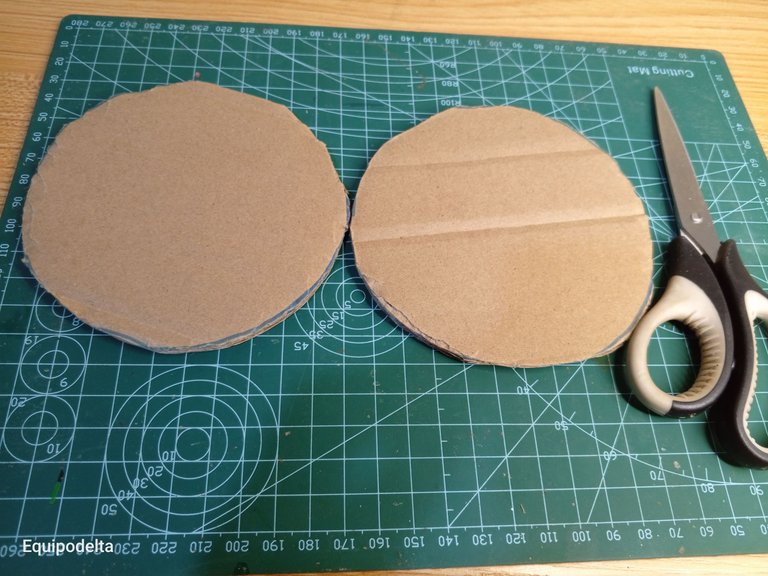
Marca dos circulas en el cartón, los círculos deben ir en función al tamaño de tu árbol. recorta los dos círculos, tomé dos por que el cartón no era muy grueso.
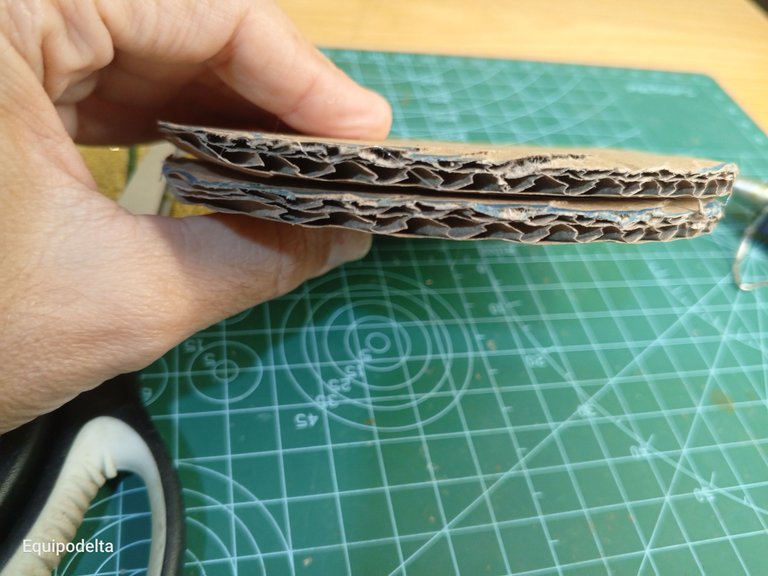
Pega ambas piezas.
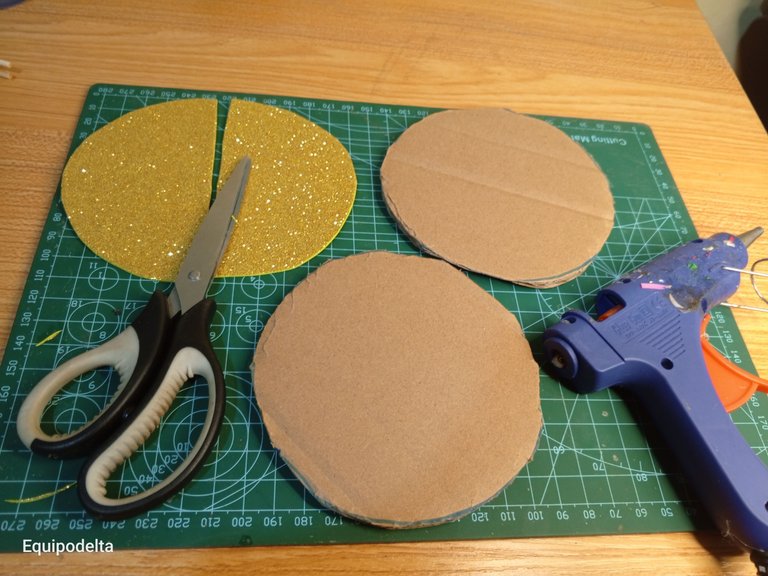
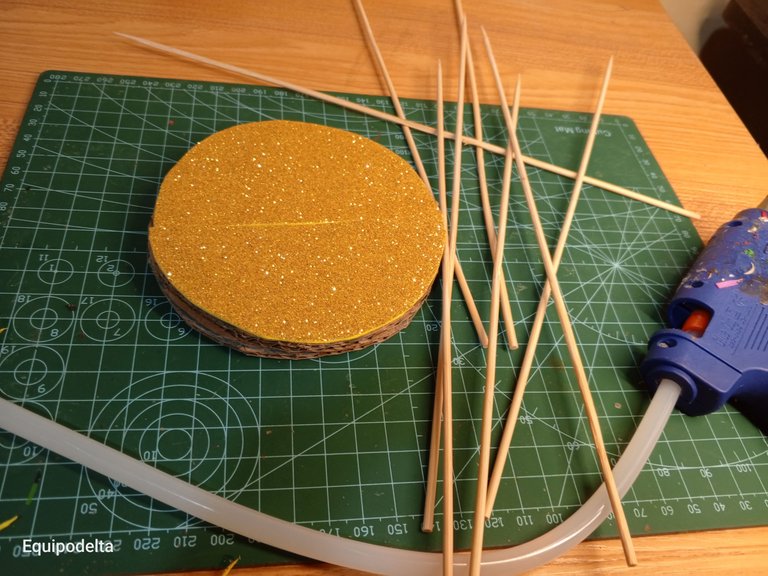
Recorta un círculo de foami del mismo tamaño de las piezas y pégalo a ellas, esta será la base del árbol.
! [English version]
Mark two circles on the cardboard, the circles should be according to the size of your tree. Cut out the two circles, I took two because the cardboard was not very thick.
Glue both pieces together.
Cut out a circle of foami the same size as the pieces and glue it to them, this will be the base of the tree.

Step 2️⃣/ paso 2️⃣

 |  |  |
[Esp]
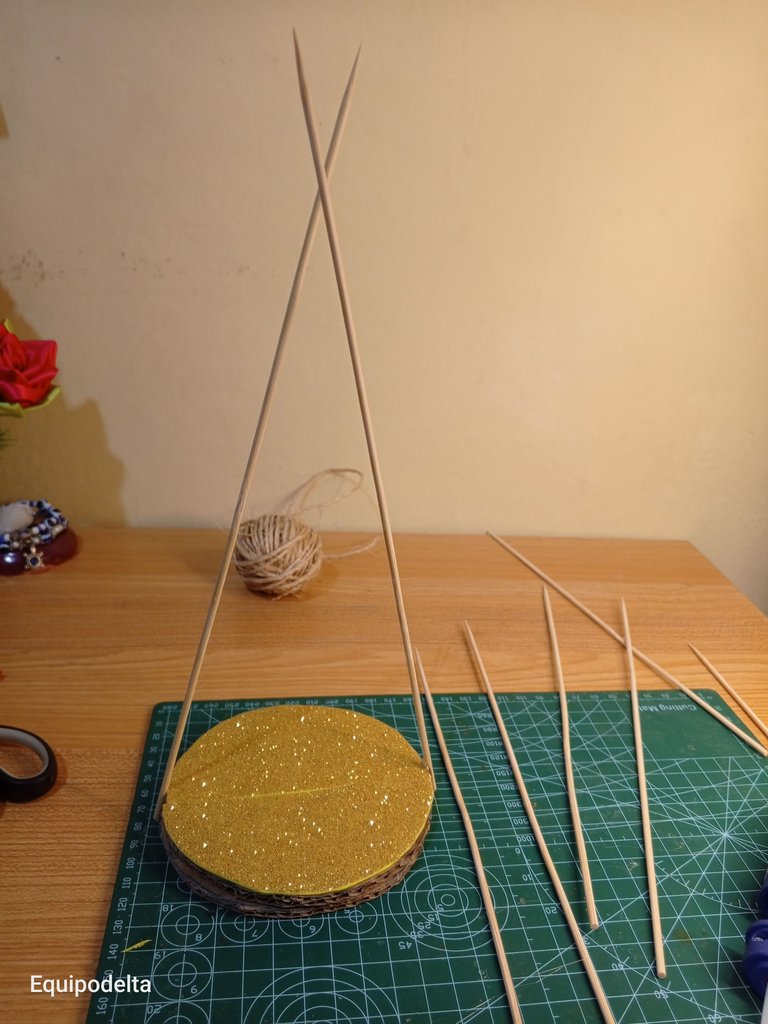
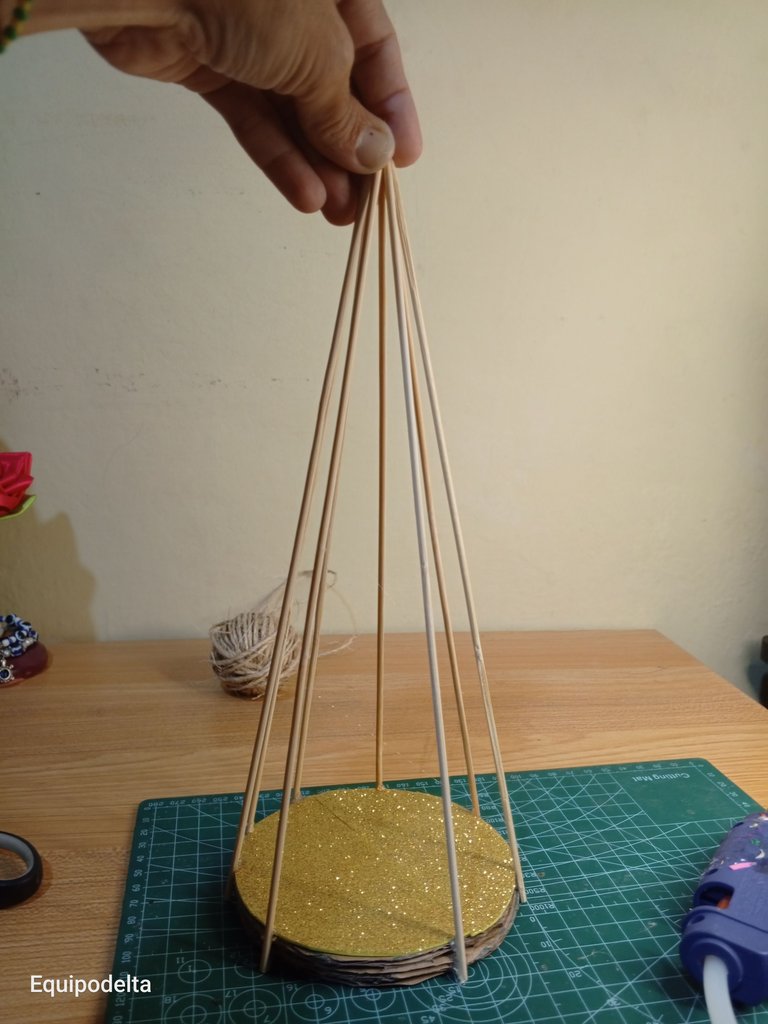
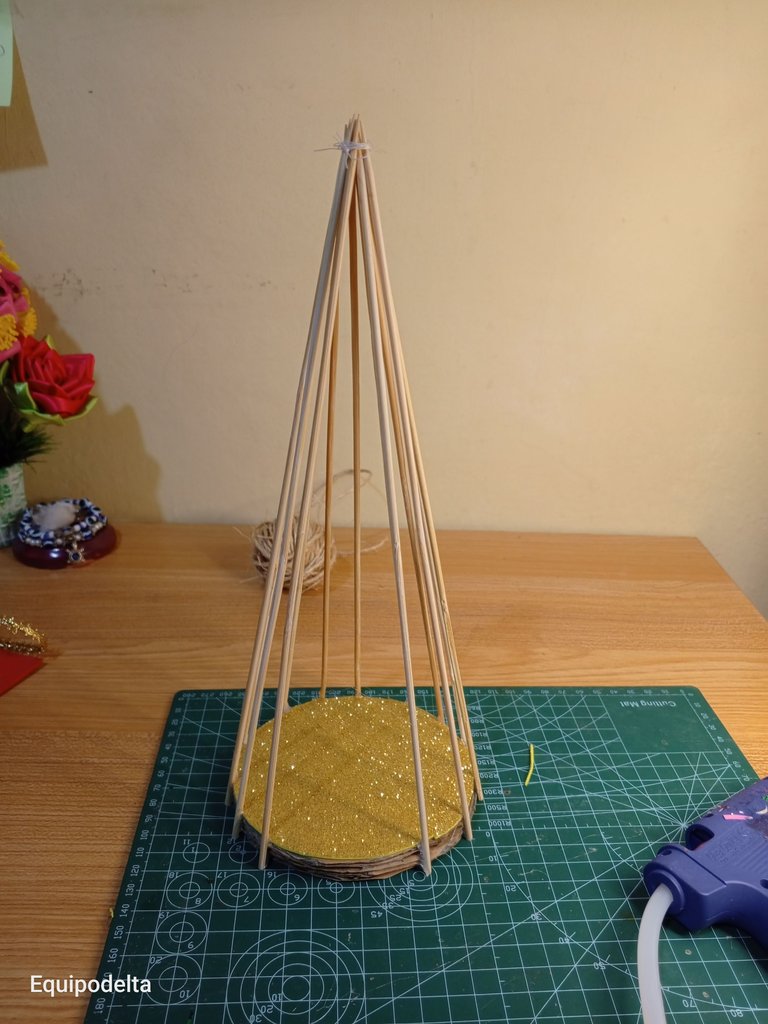
Comienza a pegar los palitos de altura en la base, ve colocando uno en cada punto, tantos que necesites que puedan retener las bolas sin que se salgan del árbol.
Es importante que mientras vayas pegando los palitos los unas en la punta formando la figura del árbol.
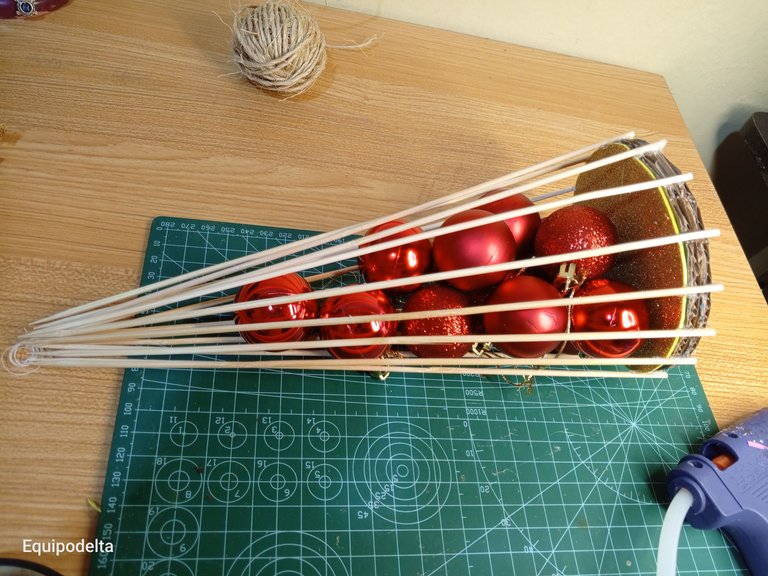
Deja una abertura, ya que por allí introducirás las bolas de navidad. Ahora coloca el último palito para cerrar.
! [English version]
Start gluing the tall sticks at the base, place one at each point, as many as you need to hold the balls without them coming out of the tree.
It is important that while you are gluing the sticks together at the tip forming the shape of the tree.
Leave an opening, as you will insert the Christmas balls through it. Now place the last stick to close.

Step 3️⃣/ paso 3️⃣

 |  | |
 |  |
[Esp]
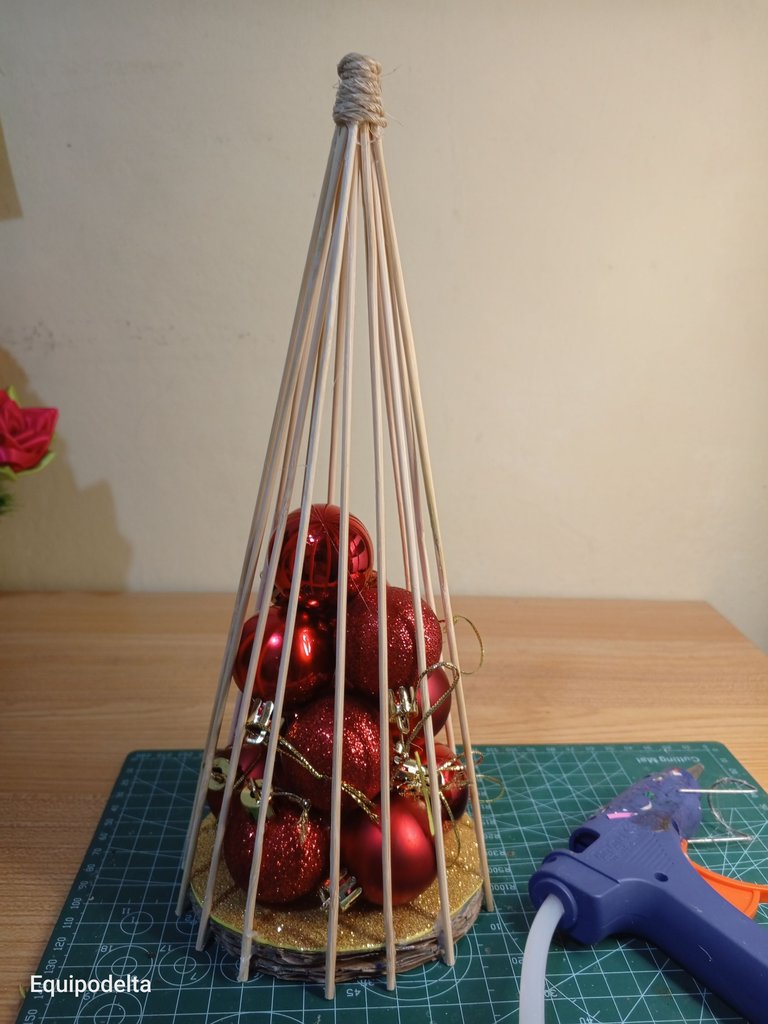
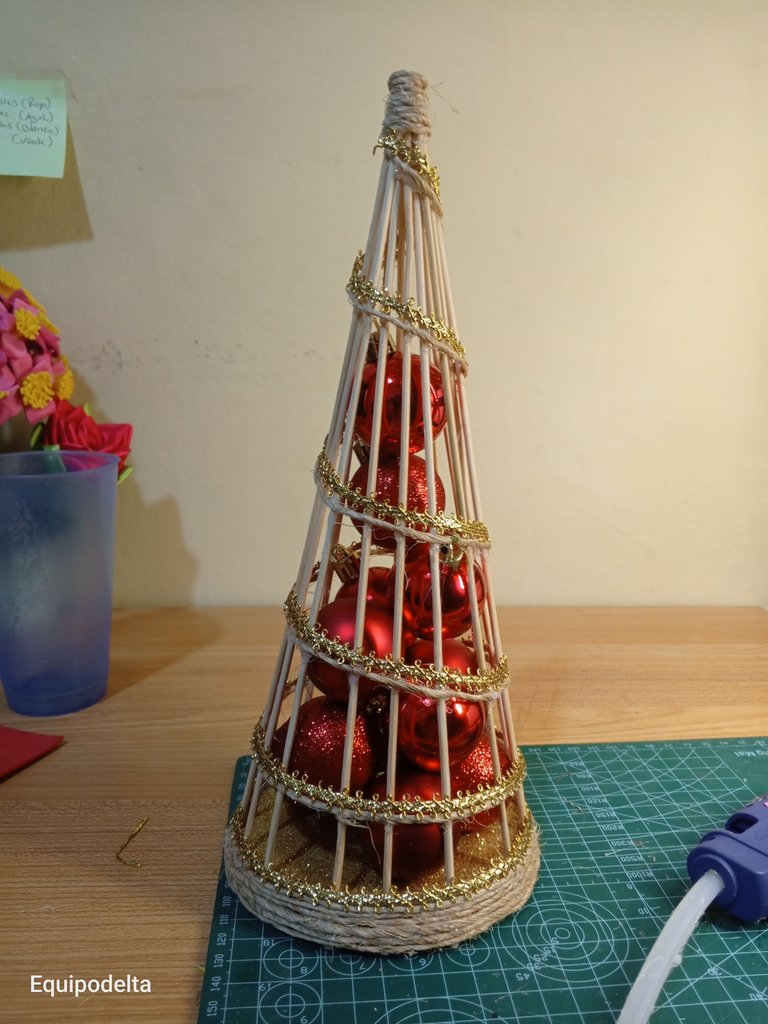
Usa un trozo de hilo de yute para unir la pinta del árbol.
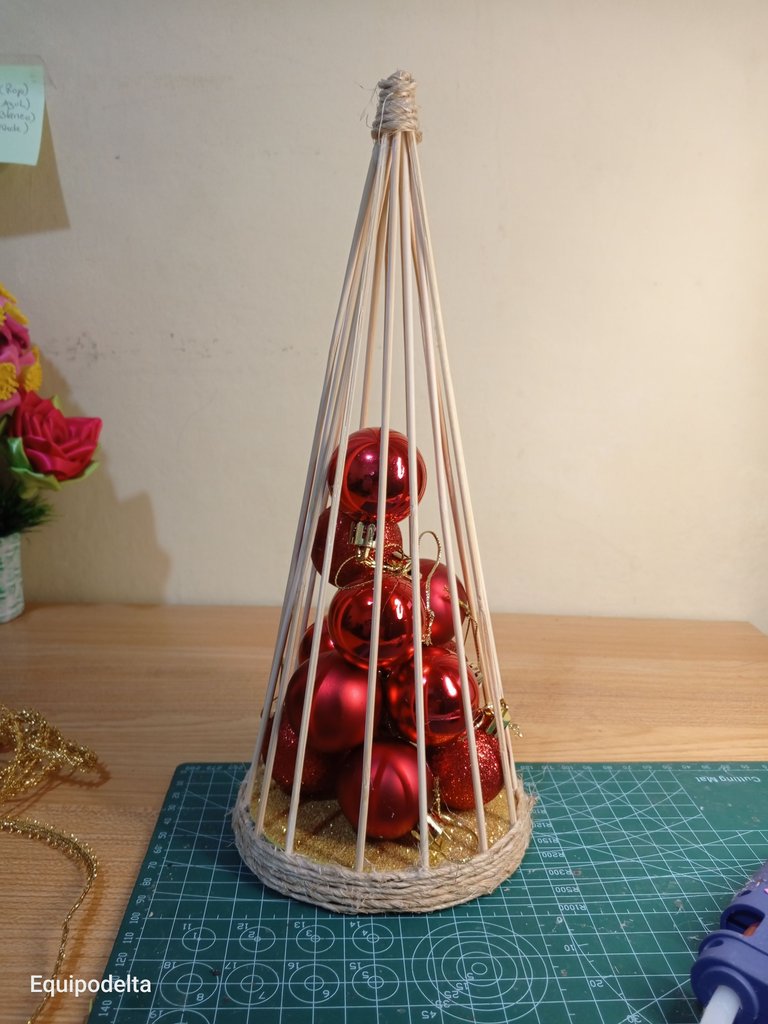
Forra la base del árbol con el yute dando vuelta sobre la pieza.
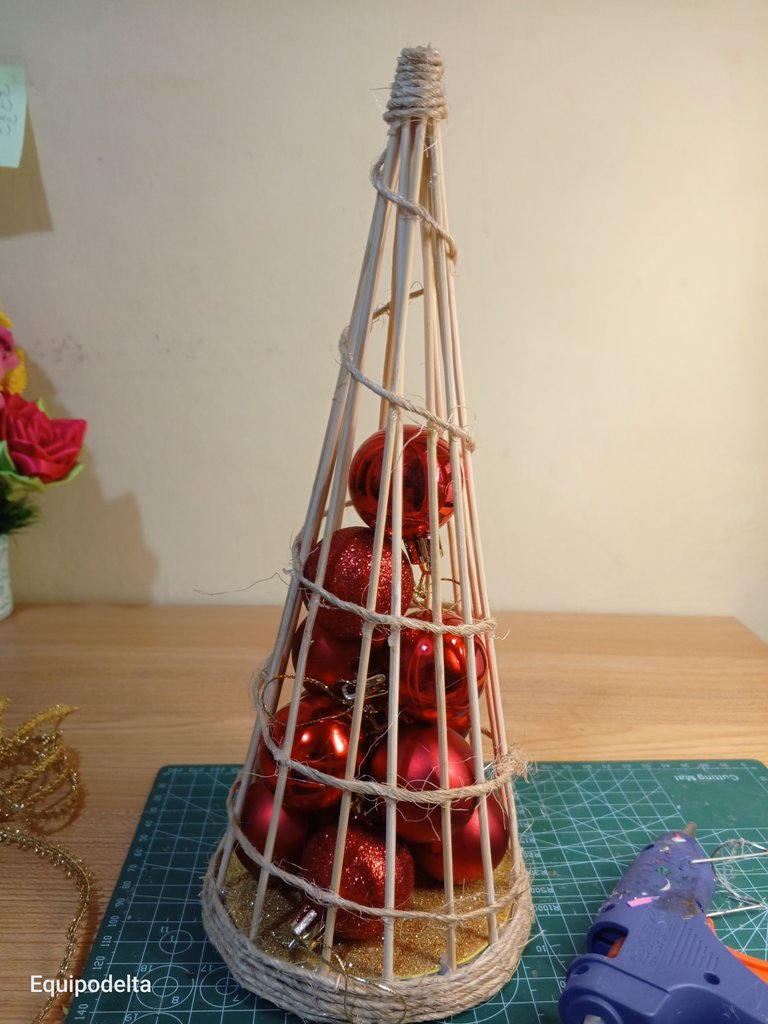
Ahora pega un hilo de yute al rededor del árbol en espiral.
Aprovecha el paso anterior y ordena las bolas, si es necesario usa un hilo para amarrarlas al hilo de yute.
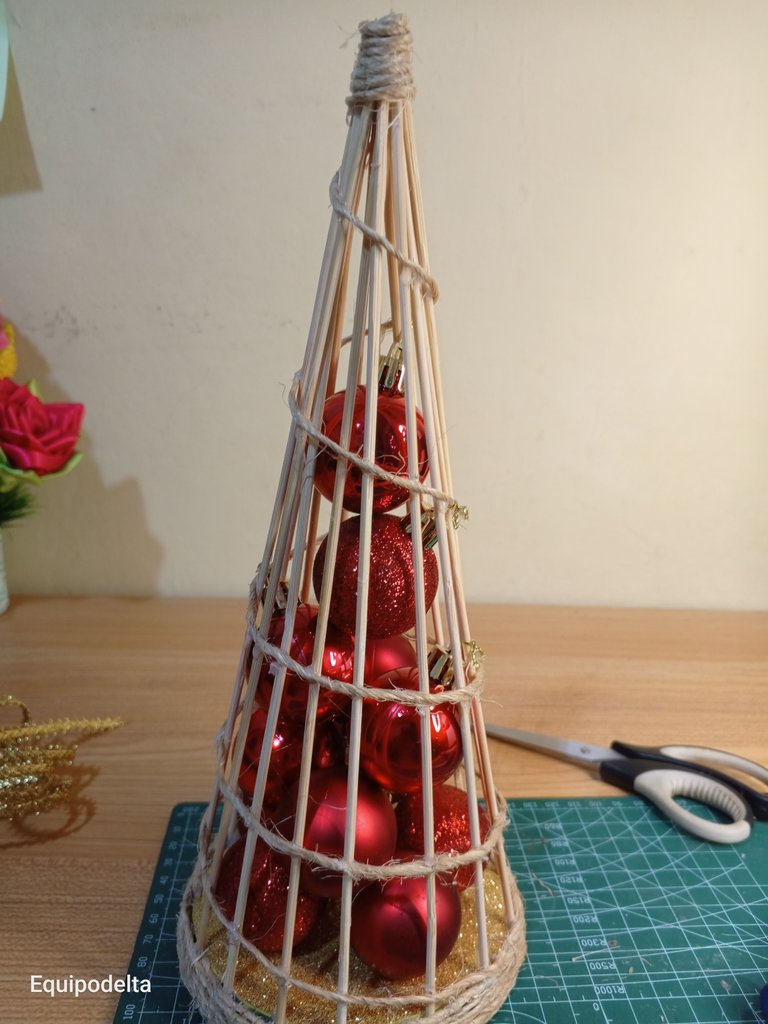
Pega la cinta dorada al lado del hilo de yute que pegaste en forma de espiral.
! [English version]
Use a piece of jute twine to bind the tree pint.
Line the base of the tree with the jute by turning over the piece.
Now glue a piece of jute thread around the tree in a spiral.
Take advantage of the previous step and arrange the balls, if necessary use a thread to tie them to the jute thread.
Glue the gold ribbon to the side of the jute thread that you glued in a spiral shape.

Step 4️⃣/ paso 4️⃣

 |  |
 |  |  |
[Esp]
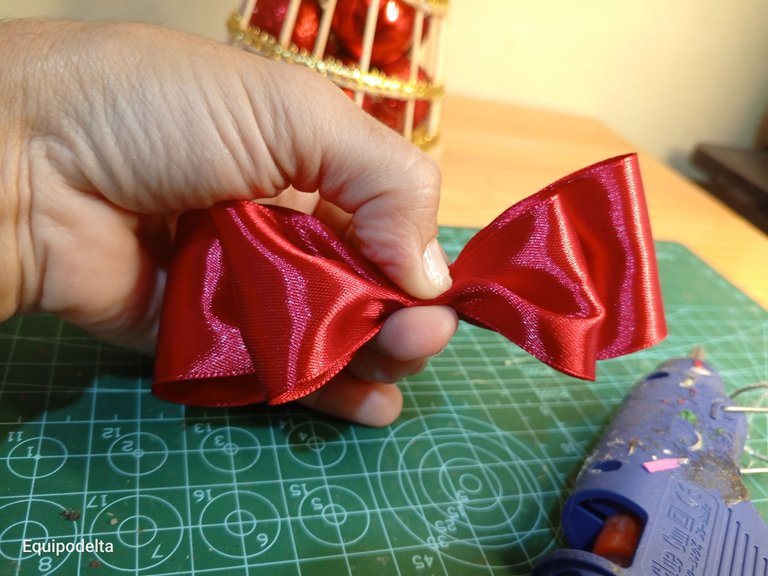
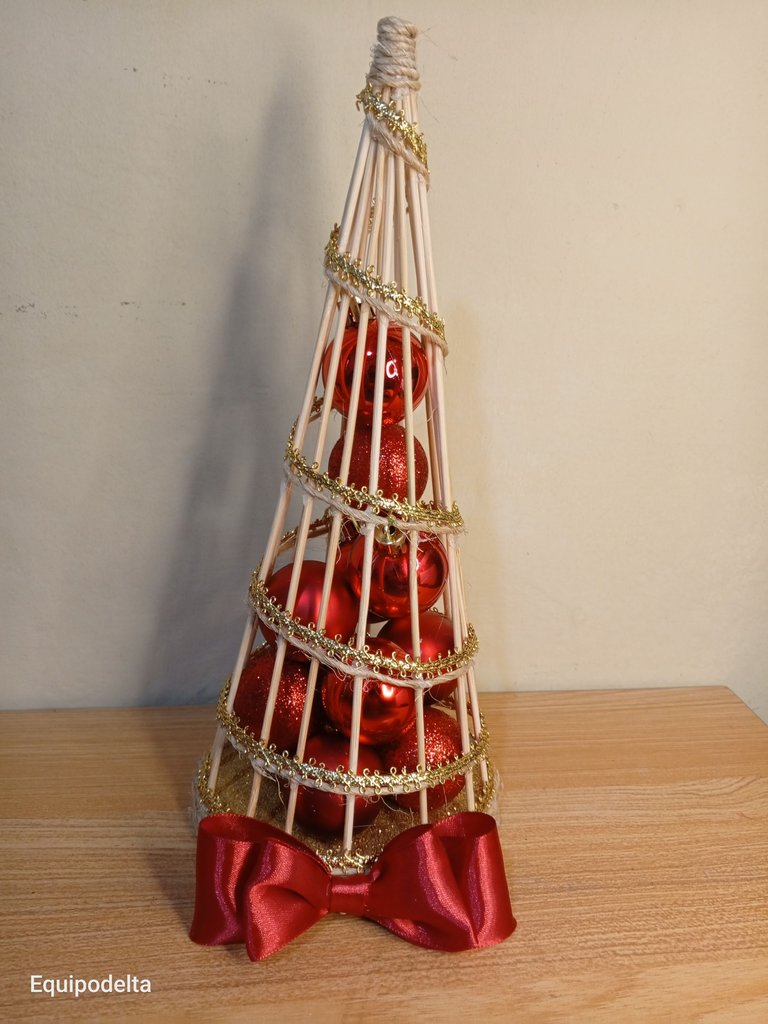
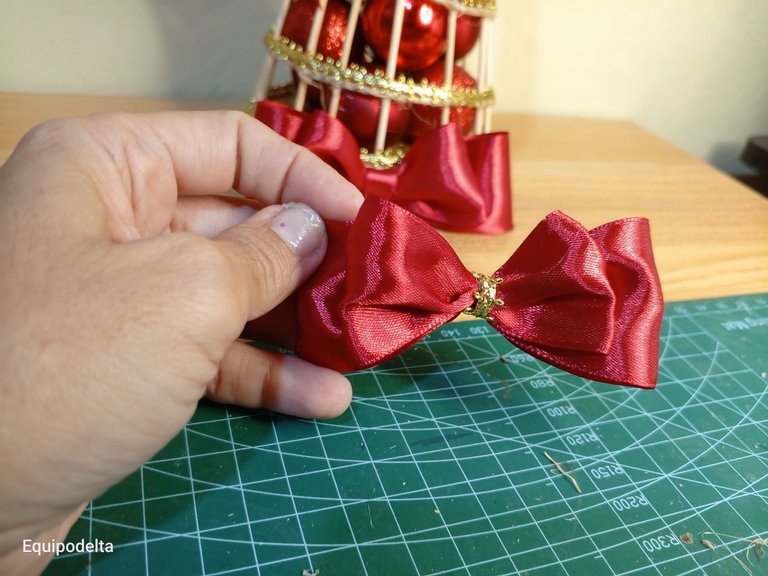
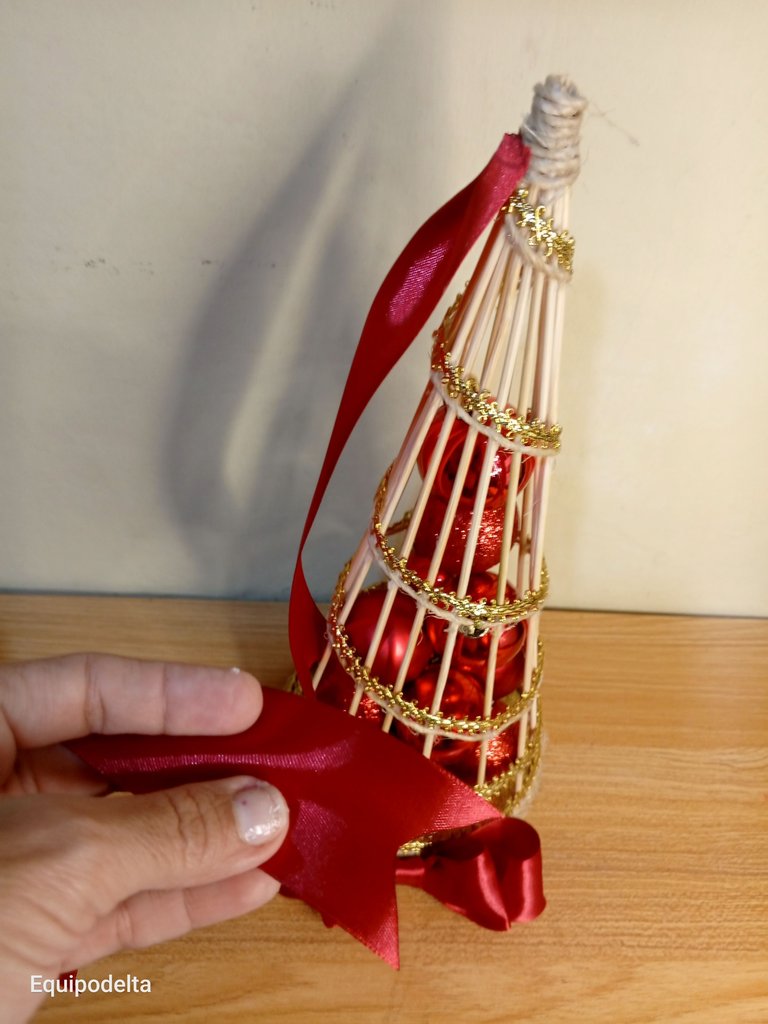
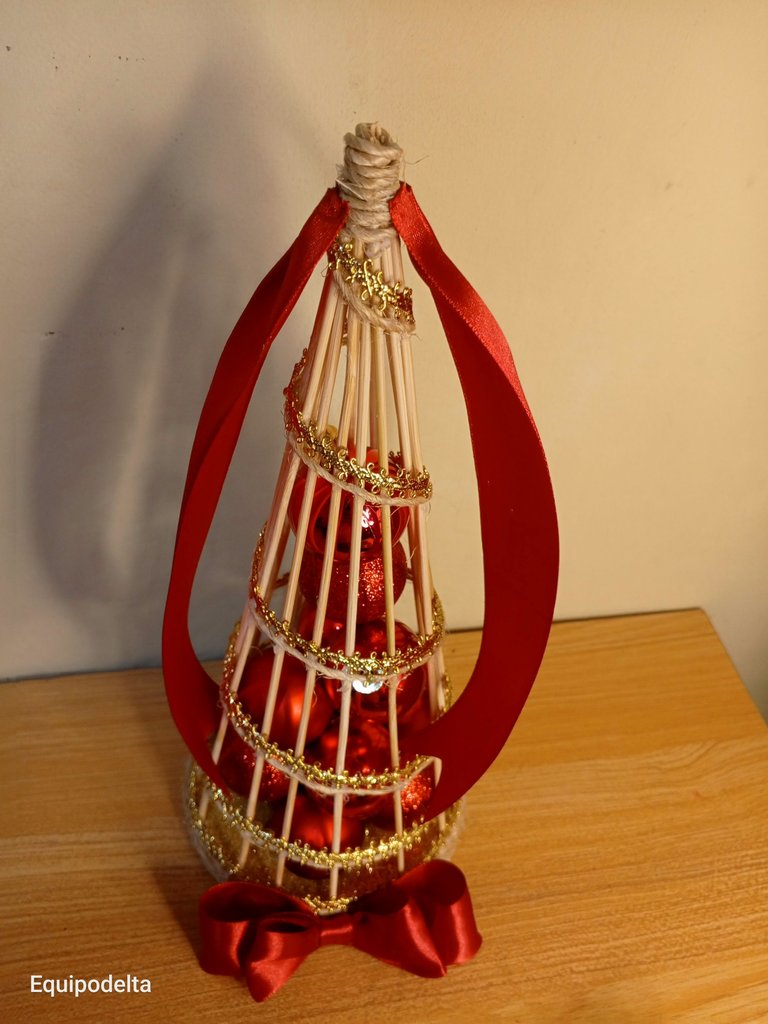
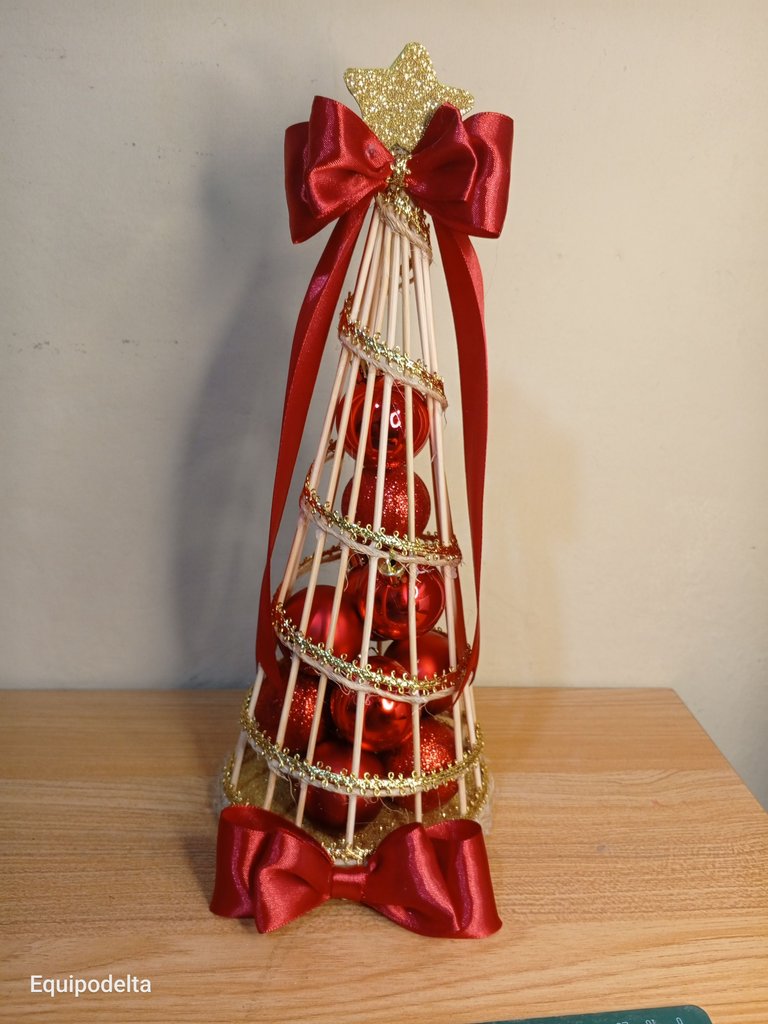
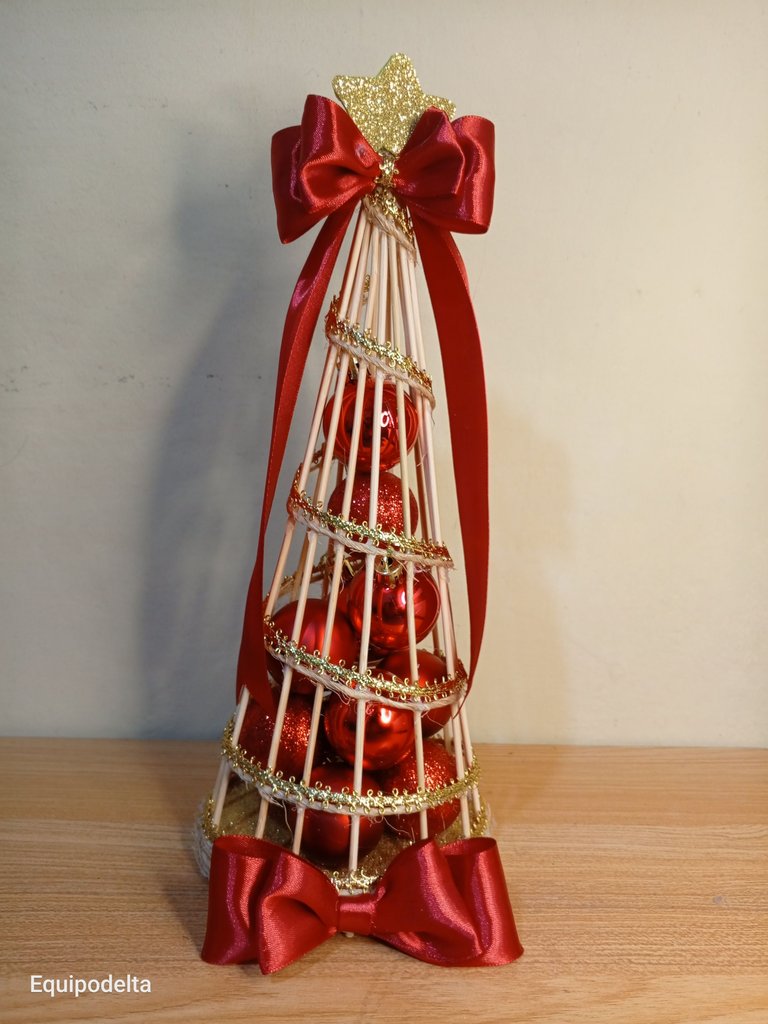
Elabora dos lazos con la cinta de raso, un lazo grande para la base y uno pequeño.
Coloca dos cintas colgantes desde la punta del árbol para decorar. Pega los lazos.
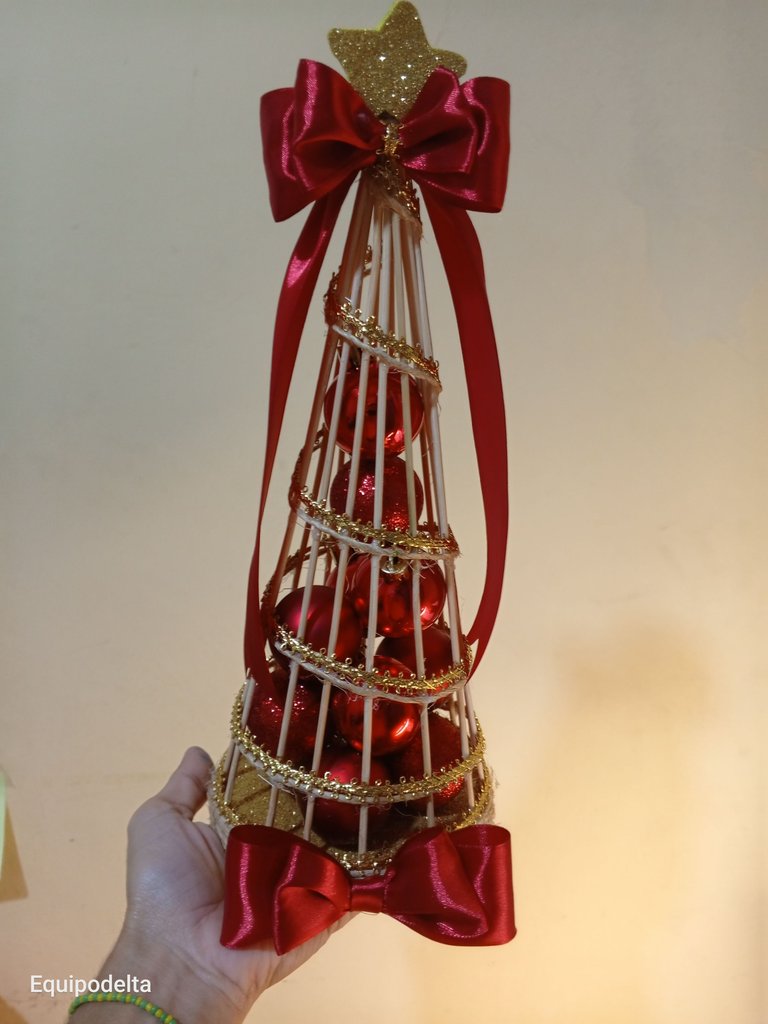
Elabora una estrella con foami escarchado dorado y pégalo a la punta del árbol.
Quedó muy bonito ¿Verdad?
Espero te guste.
! [English version]
Make two bows with the satin ribbon, one large bow for the base and one small one.
Place two hanging ribbons from the top of the tree to decorate. Glue the ribbons together.
Make a star with gold frosted foami and glue it to the top of the tree.
It looks very pretty, doesn't it?
I hope you like it.


Créditos / Credits




💜💜💜


![]() 👉
👉  👉
👉  👉
👉  👉
👉 
Here / Bríndame un café


