Friday afternoon bicycle ride
Last Friday I made a nice 50 kilometer bicycle ride in the region. It was a bit cold and windy, but there was a bit of sun and it was dry, so it was quite nice.
When planning the route (via Komoot) I always try to pick the roads that are low traffic. In the Netherlands we have a lot of dedicated cycling paths, so I have a lot of routes to choose.
When I was cycling along a canal I was able to reach a decent speed. At the end of the past I approached an intersection. When I braked, I noticed something was wrong. My rear brake made a scraping noise, and the caliper of my front brake no longer returned to its original position after I released the brake. I had to push it back with my finger.
The first issue was clearly caused by worn out disc brake pads. The problem of the caliper not returning to the original position was probably caused by dirt in the mechanism.
Anyhow, I needed to do some maintenance.
Maintenance time!
Every now and then you need to check up your bicycle and do some maintenance or bring it to a specialist that can do the maintenance for you. This way you can keep your bicycle running smoothly and safe. That the disc brake pads were worn out is a sign that I haven't done my regular maintenance very well myself 😳
Maintenance on mechanical brakes can be easily done by yourself. You don't need a lot of fancy tools, just a set of different sized allen keys and a pair of pliers.
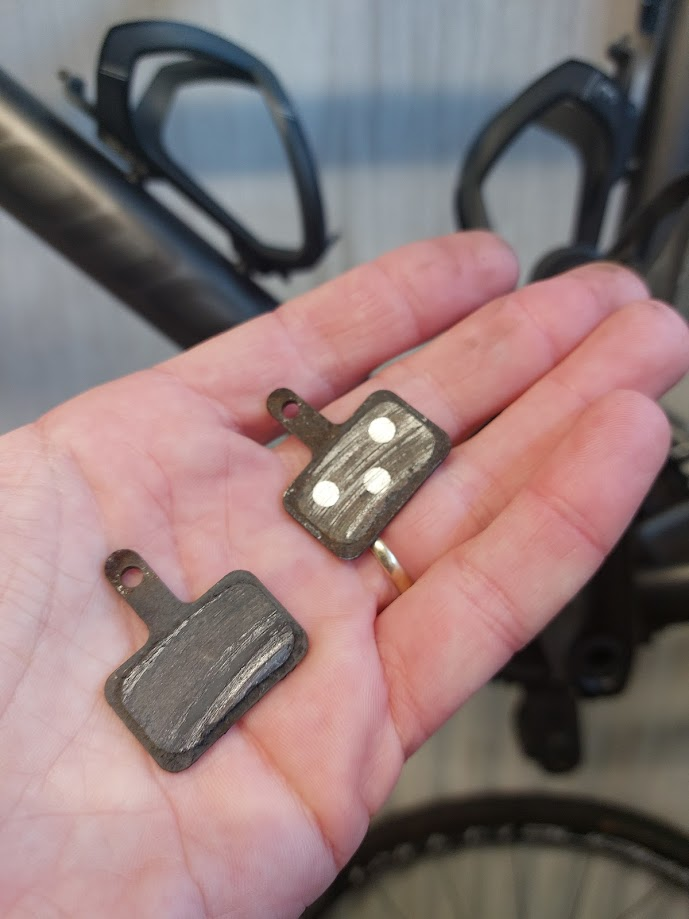
First I removed the wheels from the bicycle. Without that it is impossible to remove the brake pads. After the wheels had been removed I removed the bolt that holds the pads with an allen key and pulled them out. As you can see in the picture below they were urgently in need of replacement.
So I grabbed my box where I keep the spare parts for my bicycle to look for some new brake pad, but I came to the conclusion that I didn't have any. The last time I replaced them I forgot to order new ones 😒
There was nothing left than to leave my bicycle as it was and order some new pads.
I ordered them and they would be delivered the next day. To not make the same mistake again I ordered four pairs this time. Two pairs for my front and back brake and two extra for next time.

Fixing the caliper
Since I had to wait for the new braking pads I had the time to check out the other problem; the malfunctioning caliper. I decided to do something I haven't done before. I removed the entire calipers (both front and back) from the frame. This way it would be a bit easier to clean them. I only had to remove the cable from the caliper and remove some bolts that hold the caliper on the frame with an allen key.

One of the calipers
When the calipers were removed from the frame I tried pushing squeezing them. In the beginning I heard some grinding sounds like there was some sand in between. But after some brushing and blowing the sound was gone. But another sound appeared when I squeezed one of the calipers.
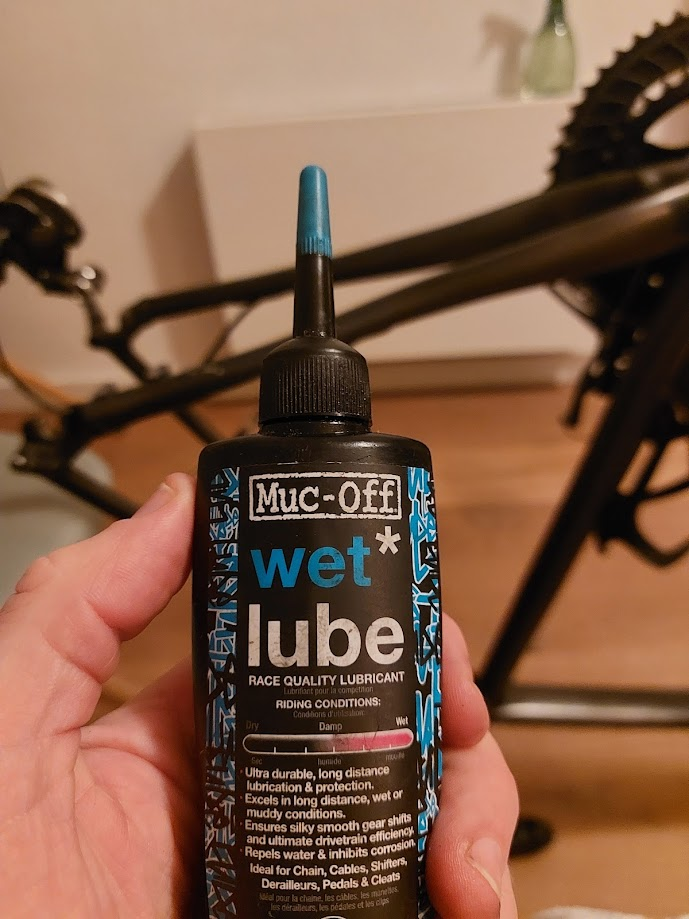
It was just like the sound of young birds. Which is adorable when you have a birds nest, but is awful when you brake. That's why I put a few drops of oil into the mechanism. I used my wet lube for that.
And that was it for the day...
Installing the pads
The next day my package arrived. Four brand new sets of brake pads; ready to be installed!
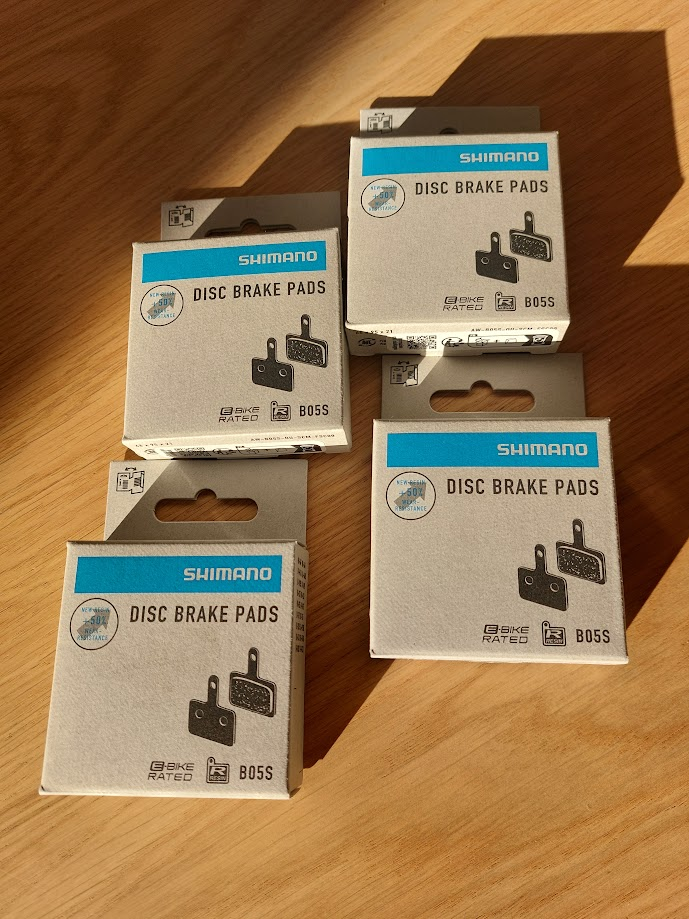
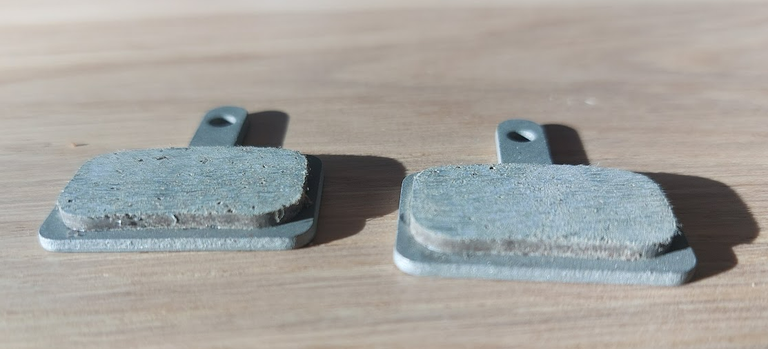
I think you can clearly see the difference between my old pads and these new ones. I don't know exactly which material it is, but these pads are pushed against the disc to make the bicycle go slower and eventually stop.
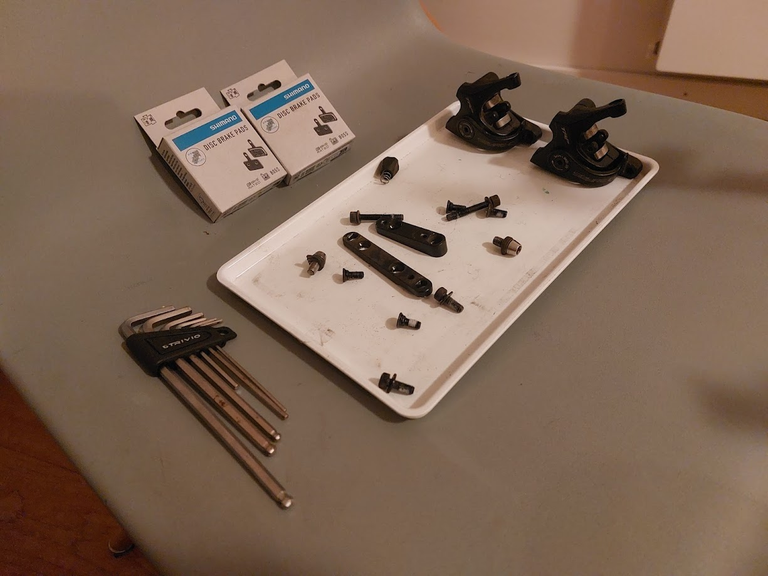
A good tip when you are going to take something apart is to keep all the things in one place so you don't loose anything. As you can see the brake system exists of several different bolts and other parts. I always use a small tray to keep it all together.
Another tip is to take some photographs from what you are going to take apart so you can always check on the pictures how it was attached. It happened to me too many times that I thought I'd remember it, but I didn't 😂. You can avoid that by taking pictures.
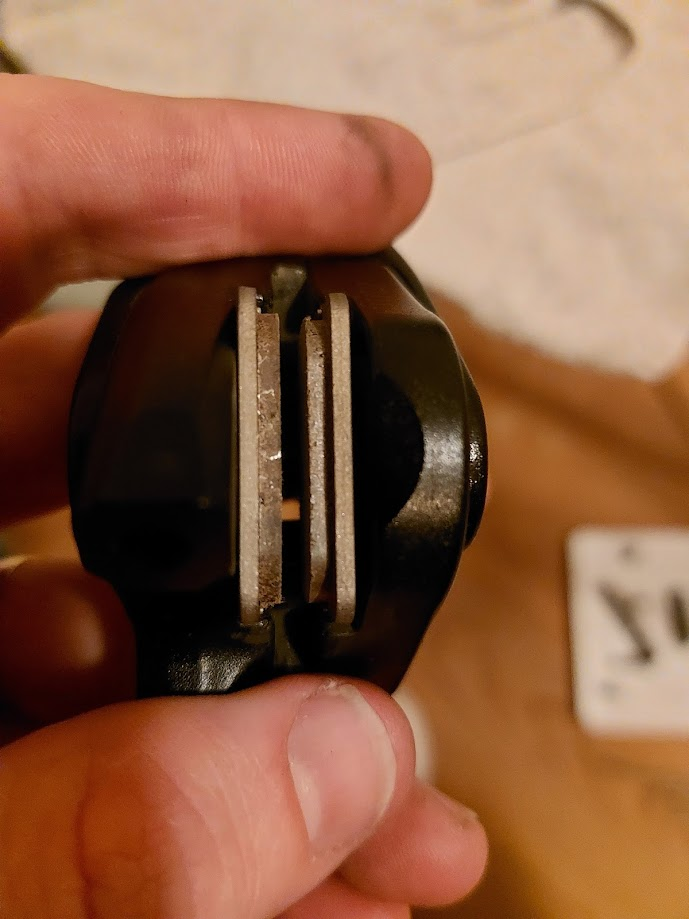
In installed the fresh, new pads into the calipers. After you have installed them into the caliper it looks like this:
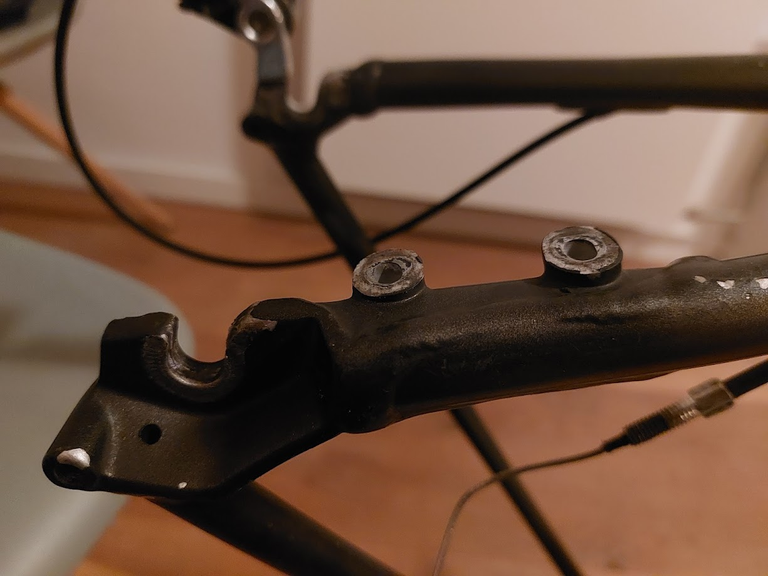
The following step was to remount the caliper with the new pads back onto the frame. These are the two holes for the bolts that hold the caliper of the rear wheel.
And then it was just a matter of putting the cable through the caliper, tightening some bolts and doing a bit of tuning.

To complete the process I've cleaned the discs itself with some disc brake cleaner spray. This removes all grease from the disc. After that I reinstalled the wheels and tightened them.

After everything was tightened and tuned I took my bicycle for a small test run in up and down the street. I made a few sprints and made some quite abrupted stops to see how my brakes worked.
And everything worked fine, so I can safely use my bicycle again.
I hope you found this blog interesting.
If have any questions about cycling, of bicycle maintenance; feel free to ask in the comments or in our Discord Channel.
Keep on pedaling!

About FriendlyMoose
I'm an amateur photographer with a love for indoor gardening, craft beer, and cycling. As the owner of the Cycling Community and the creator of the Topcomment initiative, I focus on fostering engagement and bringing like-minded people together.
Check out my projects below!

Topcomment

Topcomment is an initiative to reward high quality comments.

Hive Photographers

For all Hive Photographers: come join our Hive Photographer Discord Channel


A weekly blog with an overview of all the photography contests on Hive. #photocontests.


Share anything about cycling in the Cycling Communityl
