Good morning beloved.Happy Friday to you all. I want to use this medium and welcome every one of you to my blog.
I want to share my craftwork with you today, and the steps that I took.
Today, I decided to make a paper snowflake for Christmas.
You know Christmas is a few weeks from now. So I thought as much to do that.
I will start with the final result before the other steps.
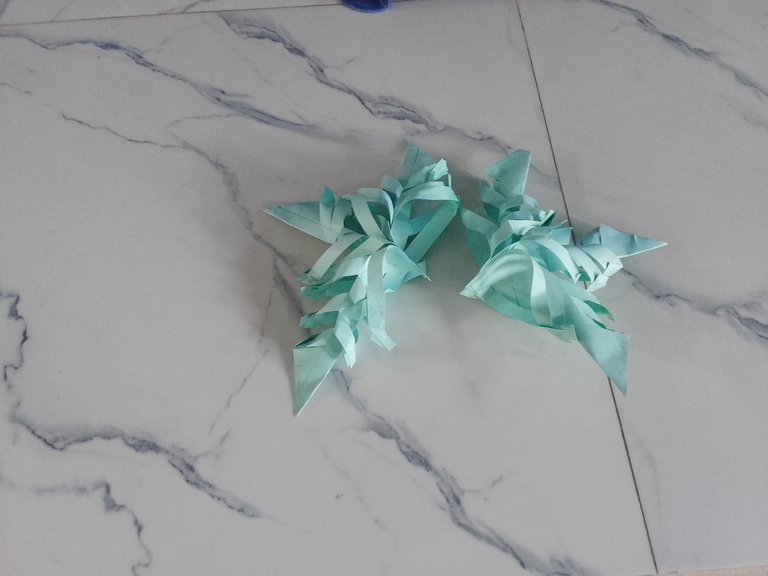
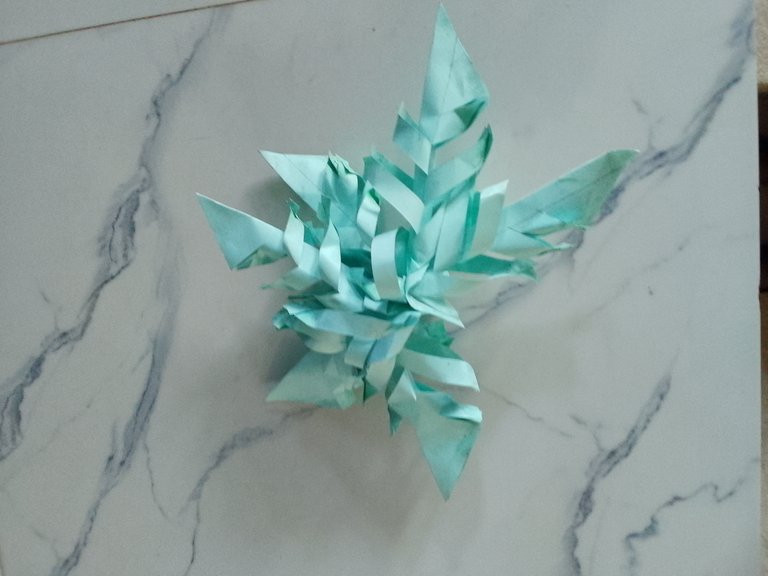
First step: I cut the cardboard paper into a square shape. The color of the cardboard paper was cyan. I also used a pencil, ruler, and gum to make the snowflake.
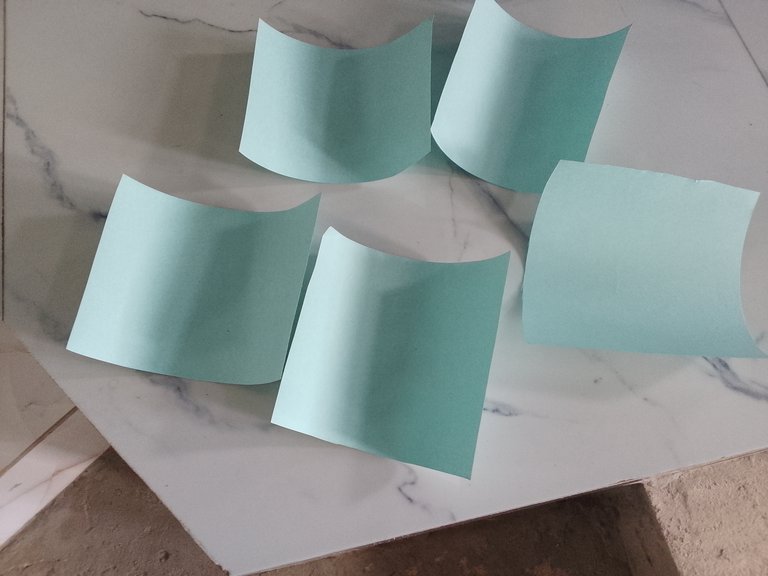
Second step: I folded it into two, which later resulted in a triangular shape.

Third step: I used a pencil and a ruler to draw some lines on the cardboard paper.
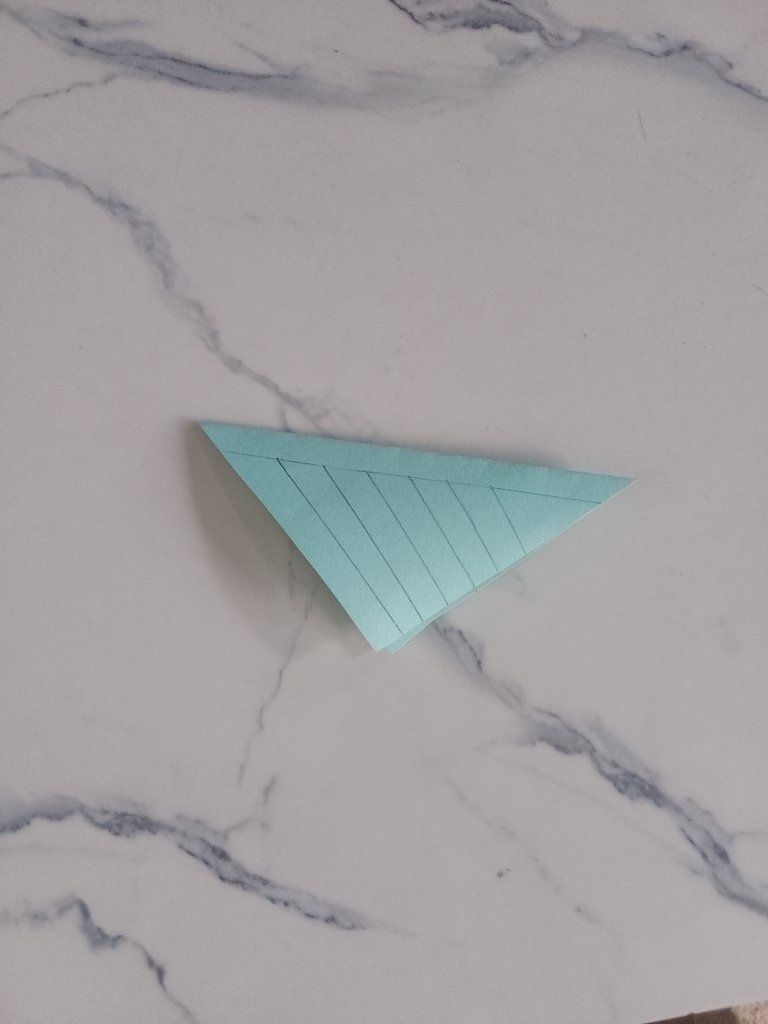
Fourth step:I used a scissor to cut the cardboard based on the lines I drew.
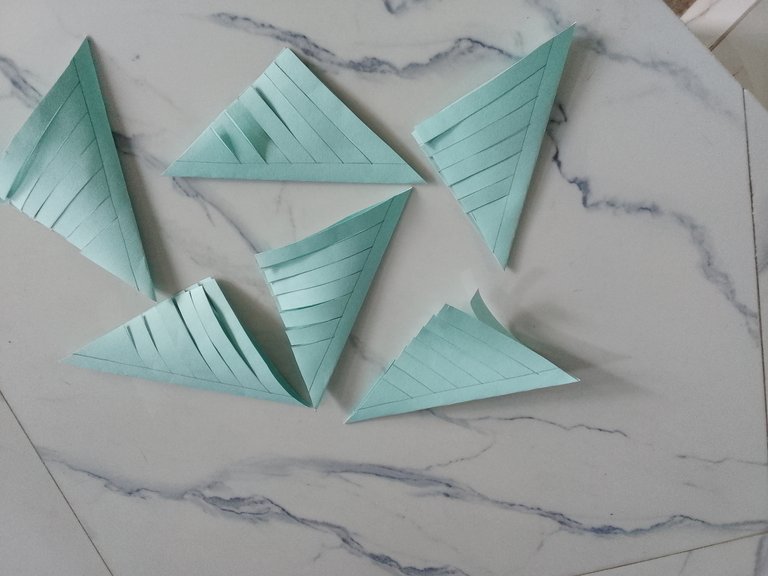
Fifth step: I opened it to see how it looked.
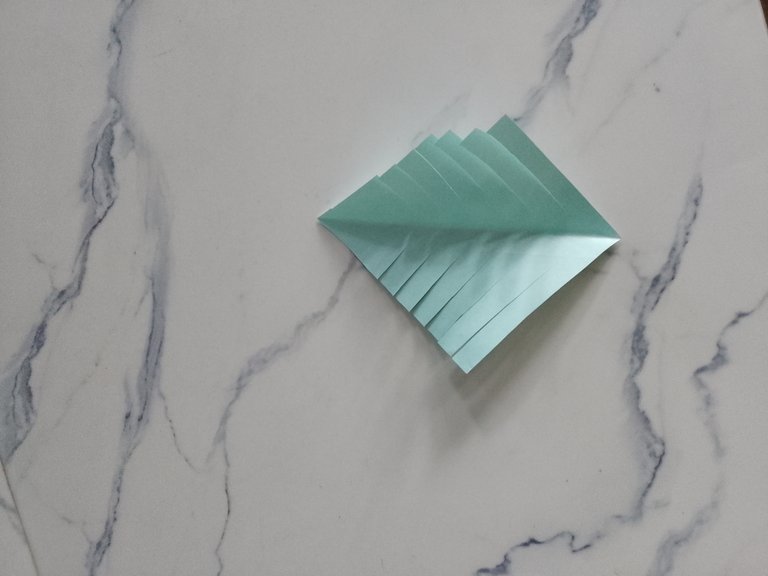
Six steps:I used gum to stick them to each other before the final result, which I posted earlier.
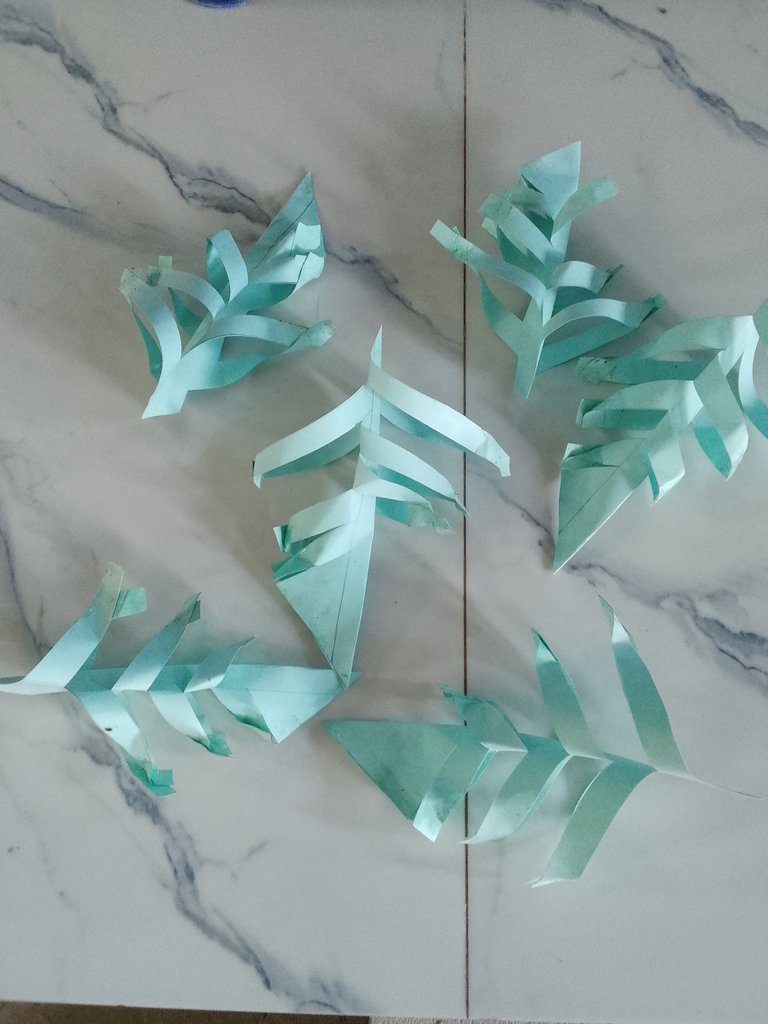
That's what I did. It was a hard task indeed. I could recall what I went through while doing that. I had some difficulties in sticking these papers to each other. It wasn't easy at all.
When I saw this craftwork, I thought it was as simple as it looked, but I didn't know it wasn't.
Thank you for visiting my blog.