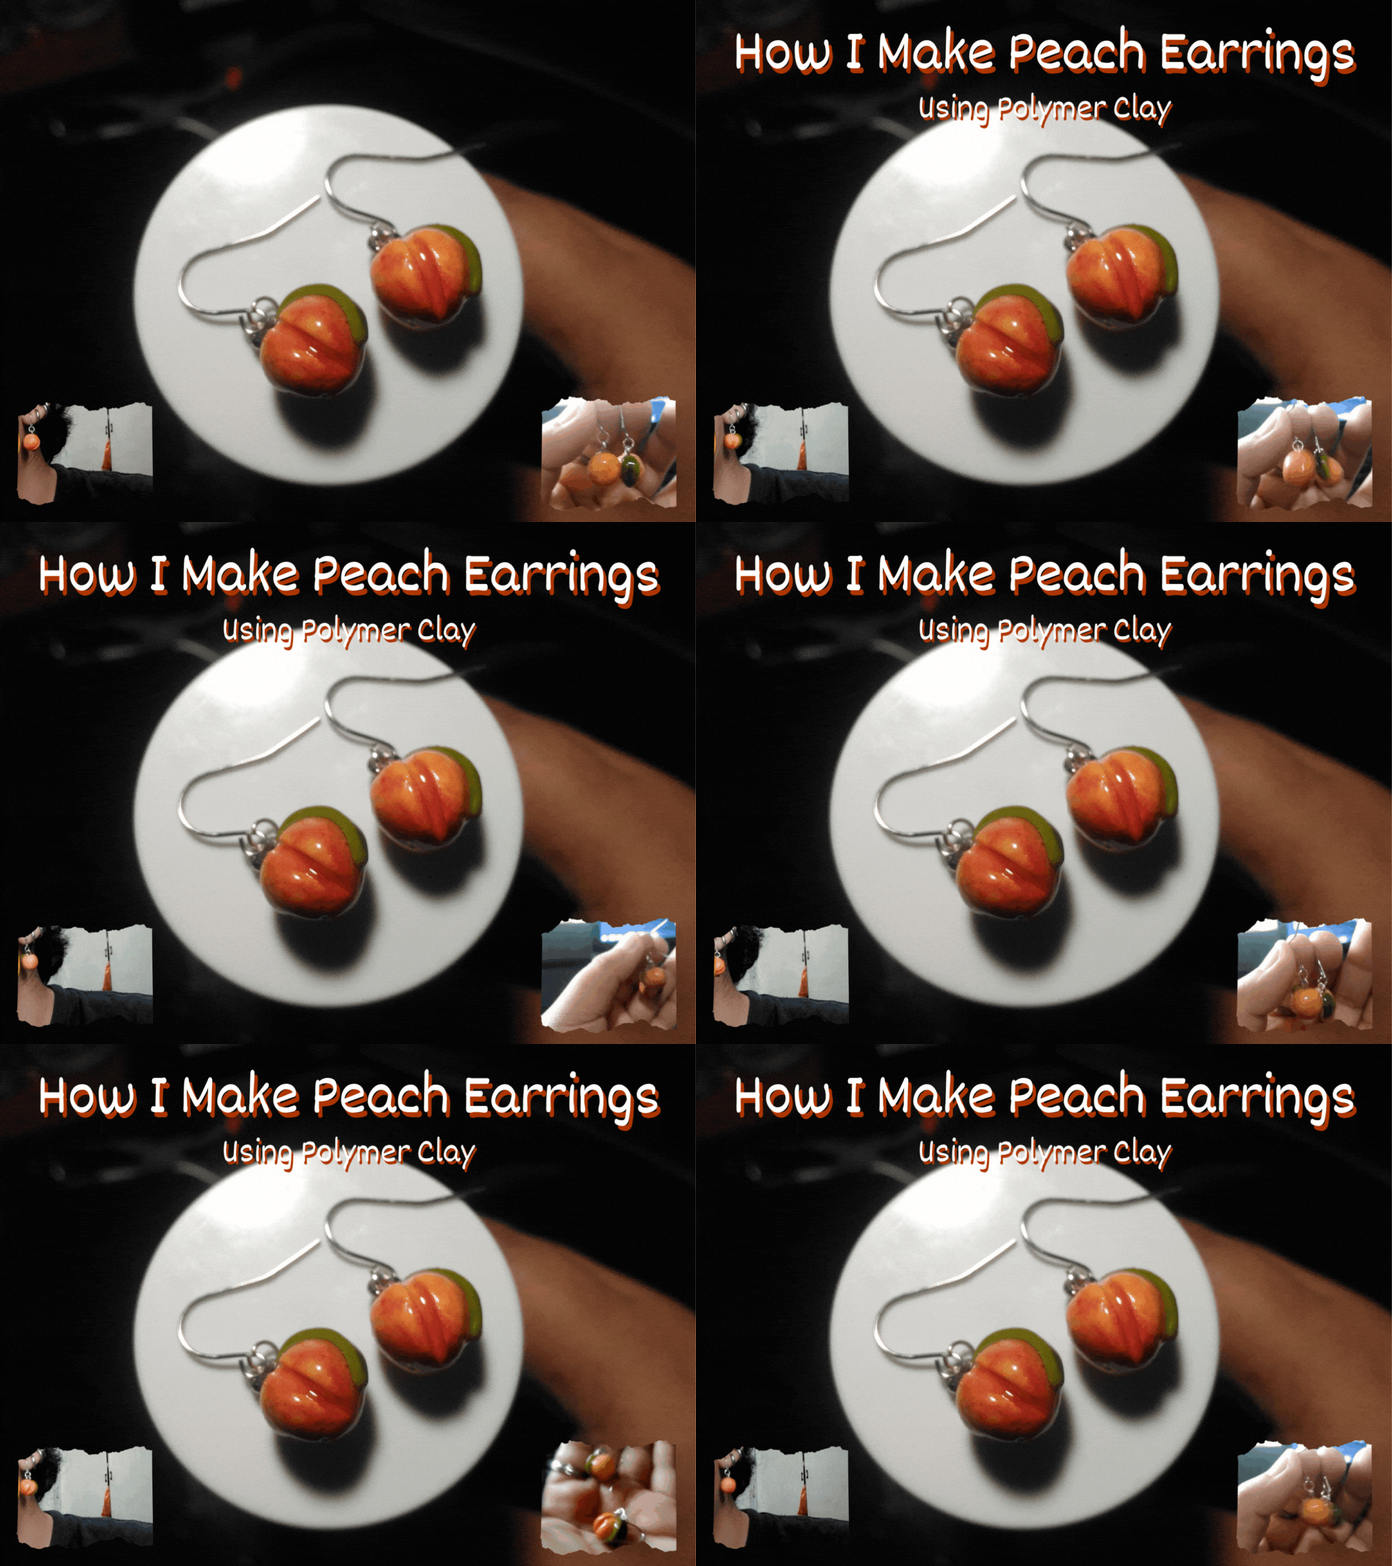
Hi DIYers! How are you? I am back with another craft using polymer clay but this time I made earrings. I was organizing my materials last week and saw I have many earring hooks just waiting for me to use so I decided to show you how I make the earrings. The hardest part that always gets me is applying the clear coating as I remember before I still had a problem with it but it is worth it for practice. I hope you will enjoy this blog. :D
Materials I Used:
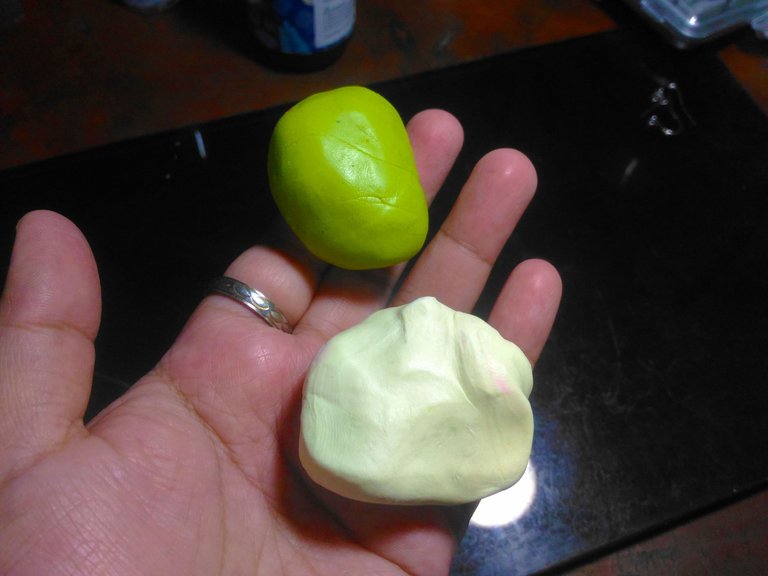
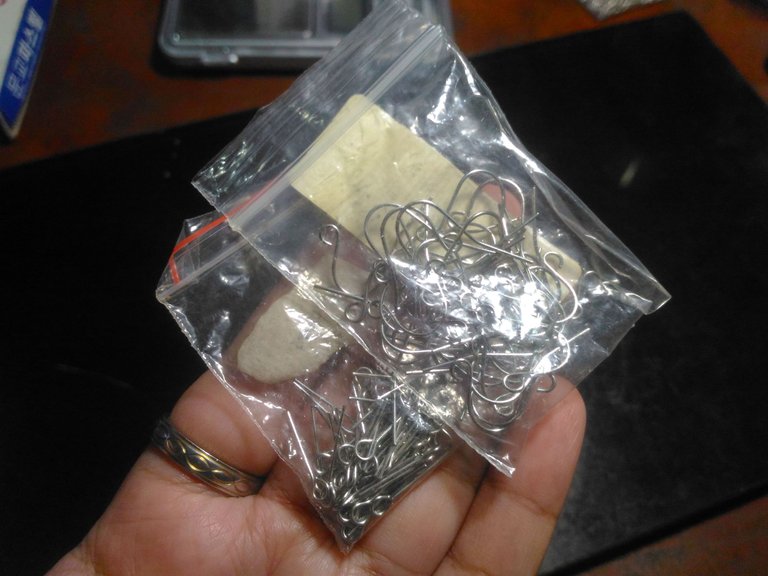
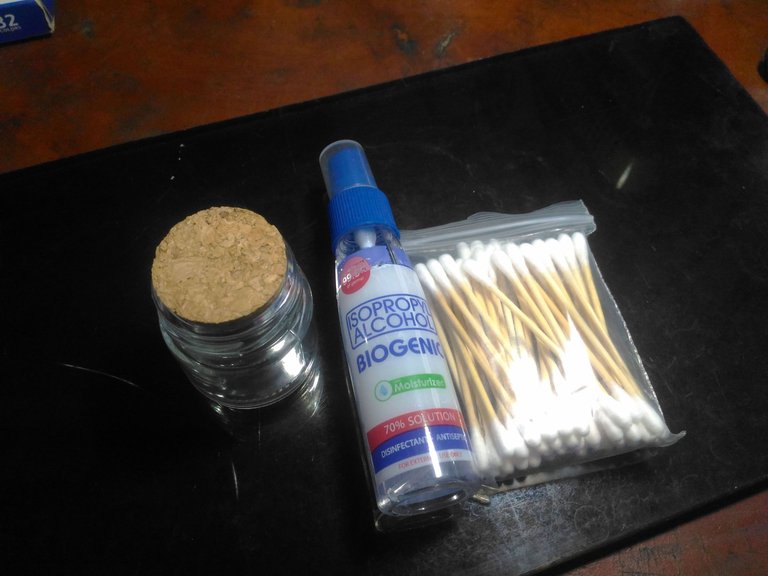
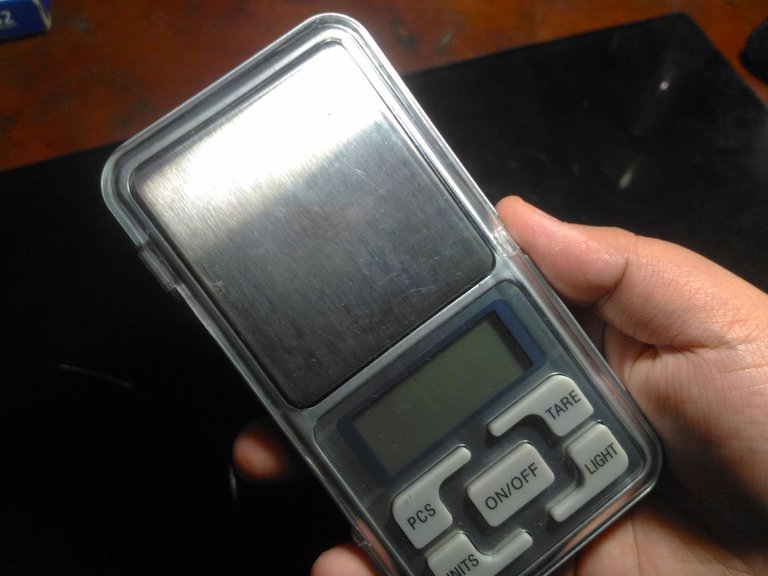
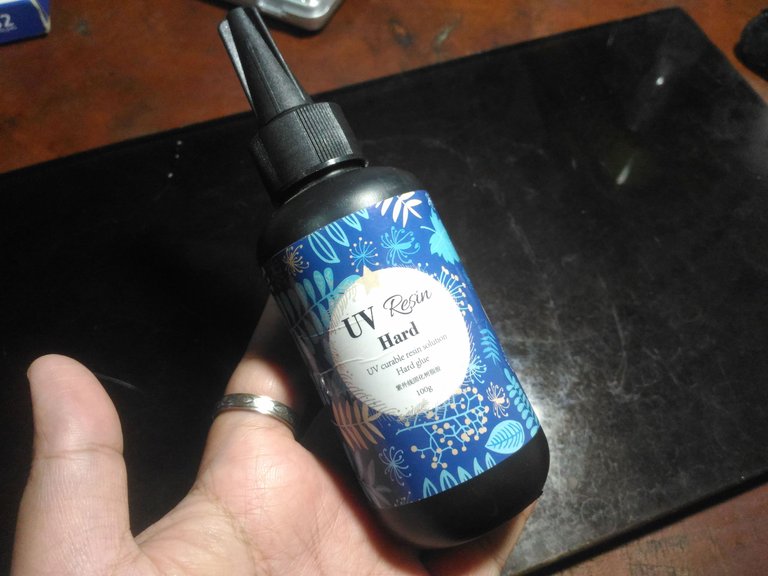
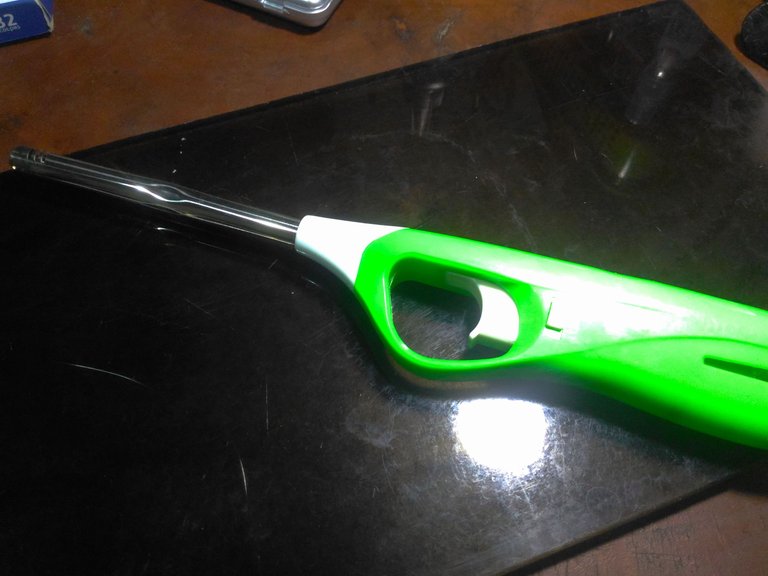
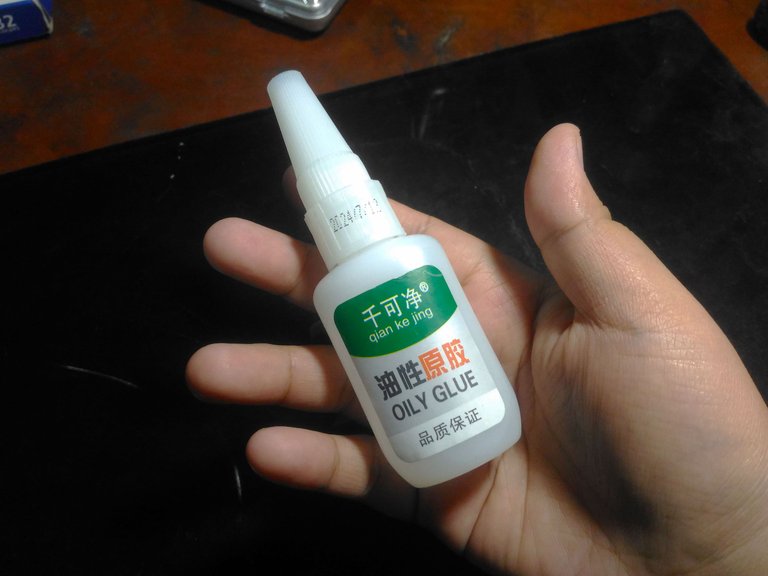
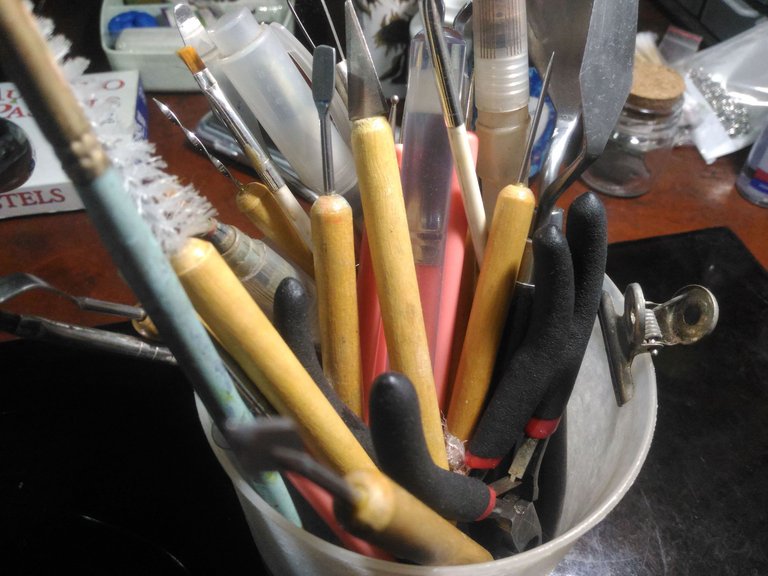
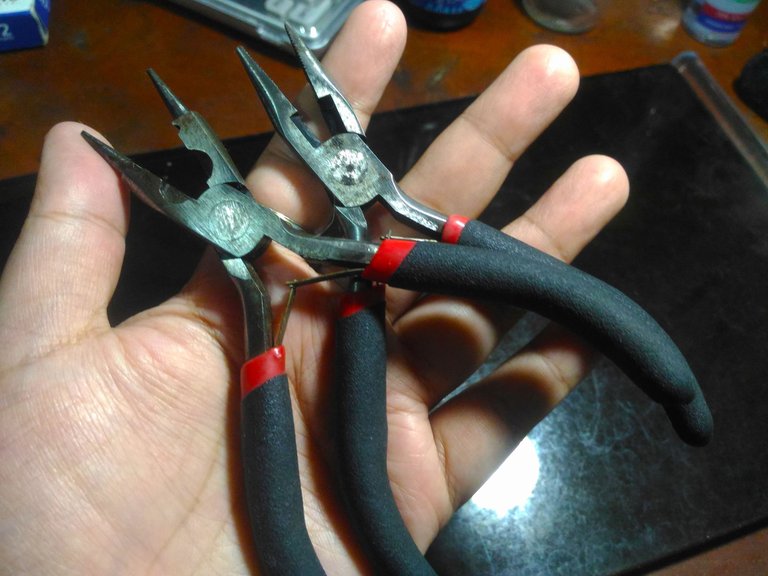
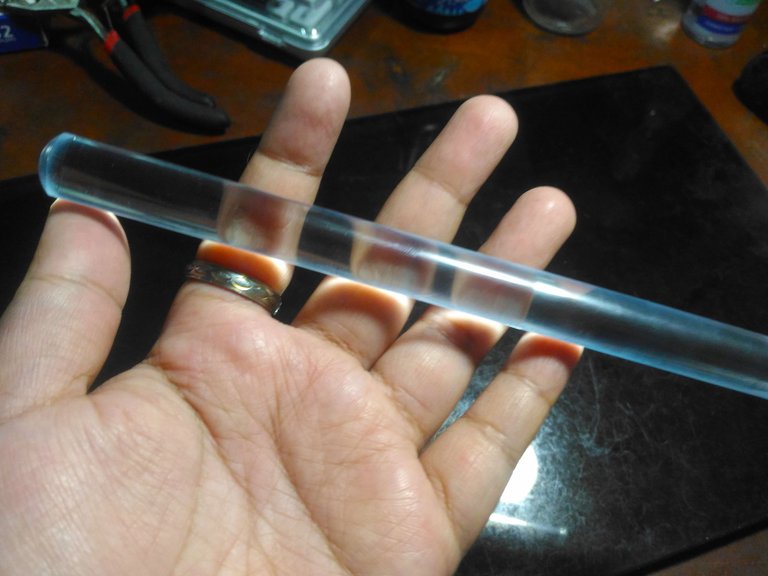
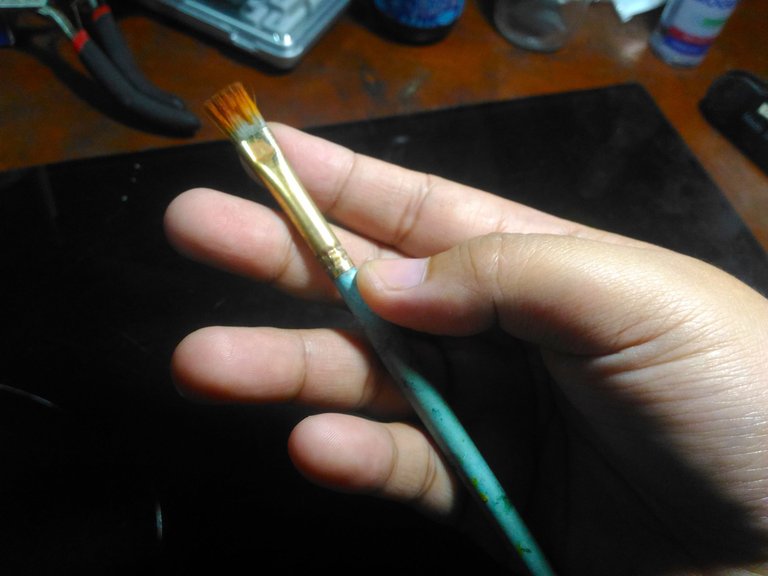
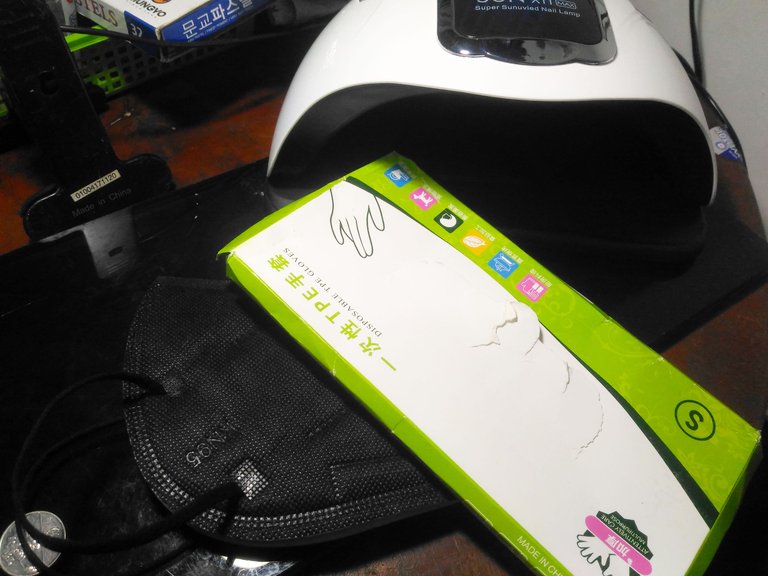
- Polymer Clay
- Rolling Pin
- Glass Sheet
- Earrings Hook
- Glass Container
- UV Resin
- Lighter
- Clay Tools
- Brush
- Plastic Gloves
- Eye Pins
- Jump Rings
- Alcohol
- Cotton Buds
- Portable Weighing Scale
- Super Glue
- Pliers
- UV Lamp
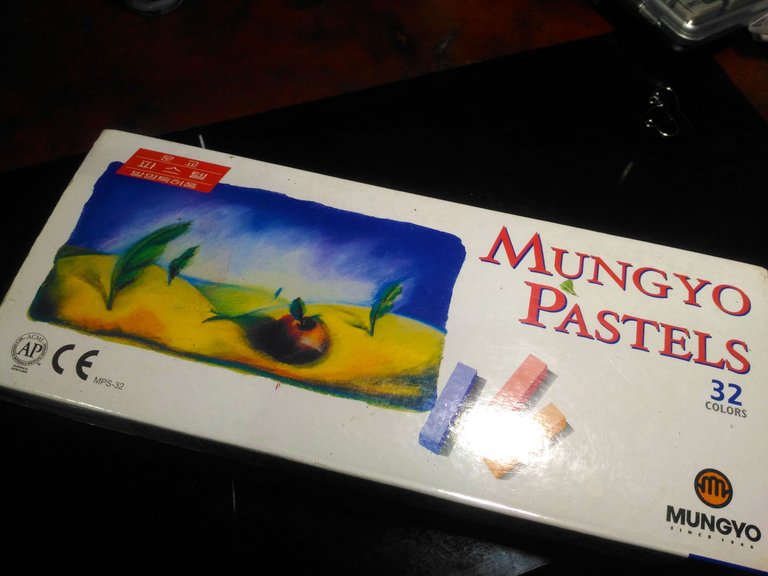
- Soft Pastel
- Mask
The Process:
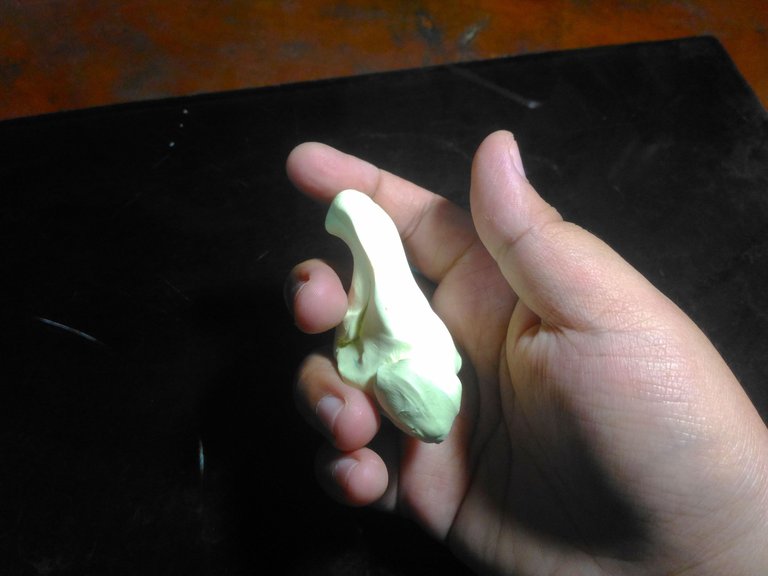
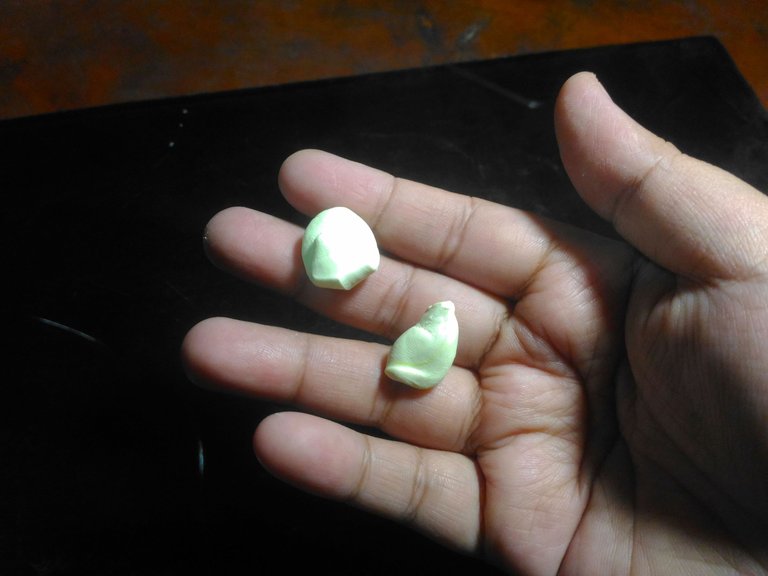
First I used a pale pastel yellow for the base polymer clay for the peach part and a lime color clay for the leaf part, then I conditioned it using the rolling pin and hand.
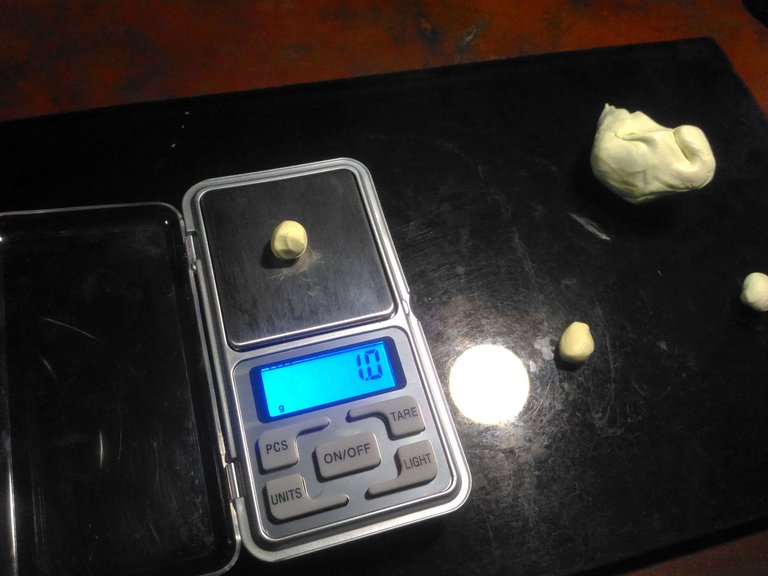
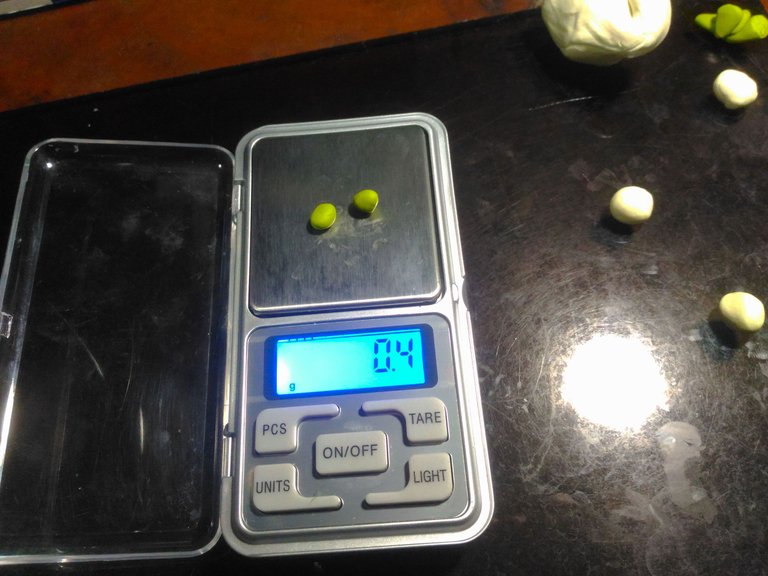
Once the Polymer Clay was conditioned, I used a weighing scale to weigh the polymer clay evenly for the peach I used one gram of clay, and for the leave zero point two each leaf.
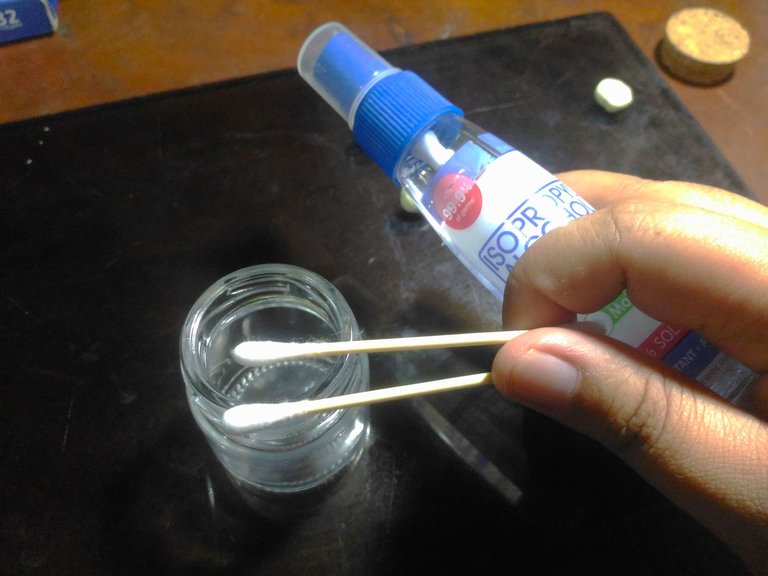
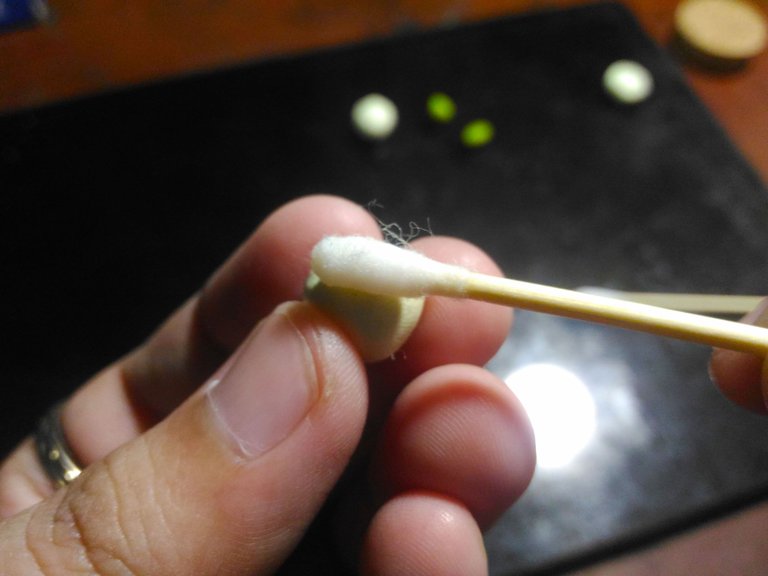
Time to clean the polymer clay using the alcohol and cotton buds, I sometimes do this first before sculpting the clay but sometimes the opposite.
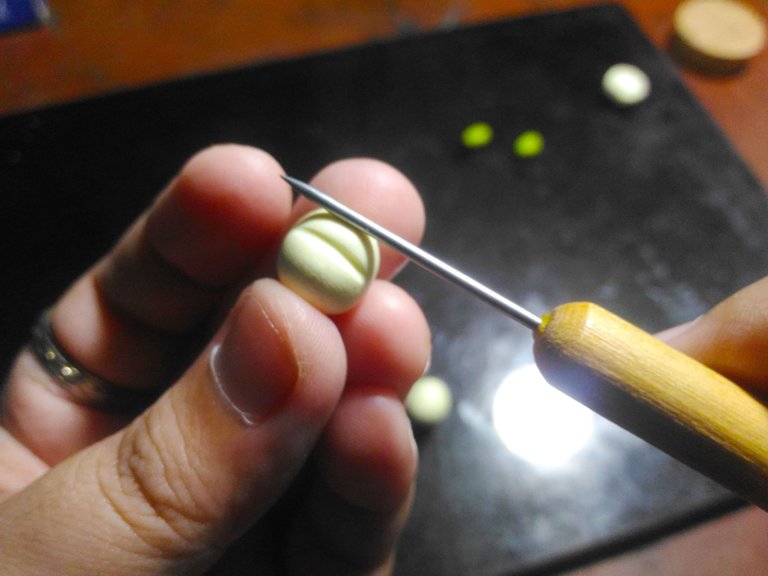
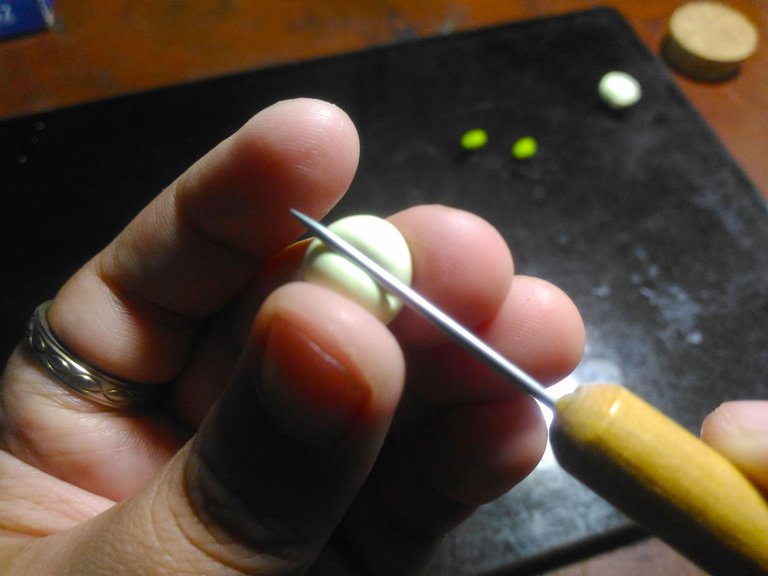
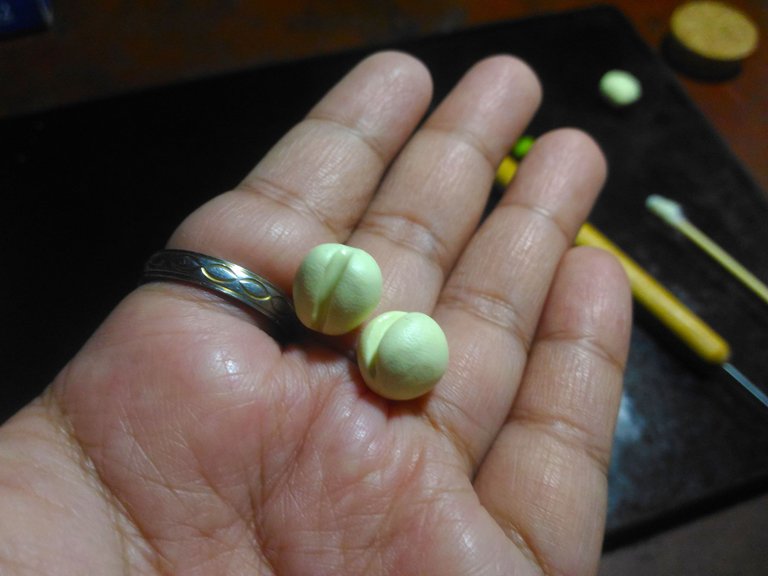
Once the polymer clay is cleaned, I sculpt the clay using the pointing tool to make a dent in the middle like the peach.
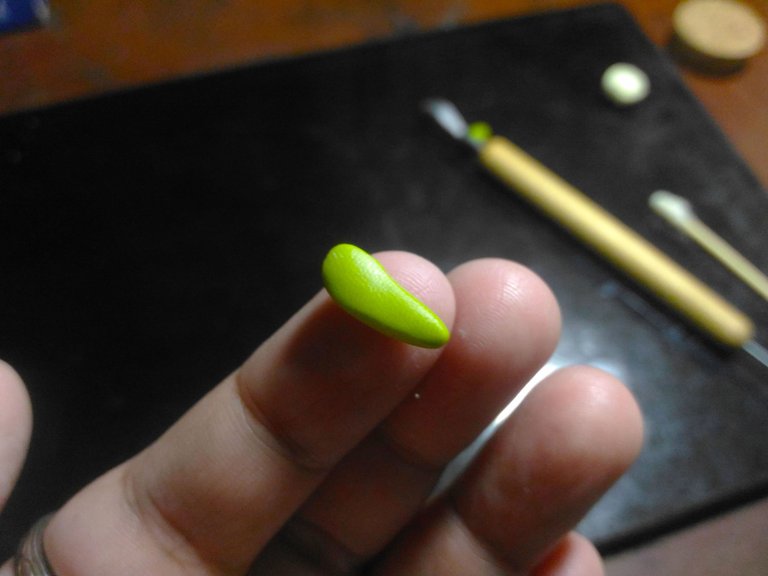
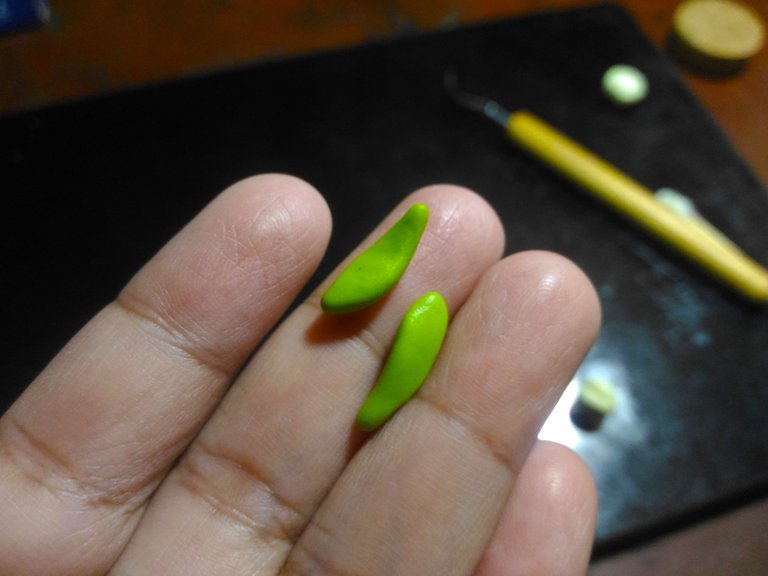
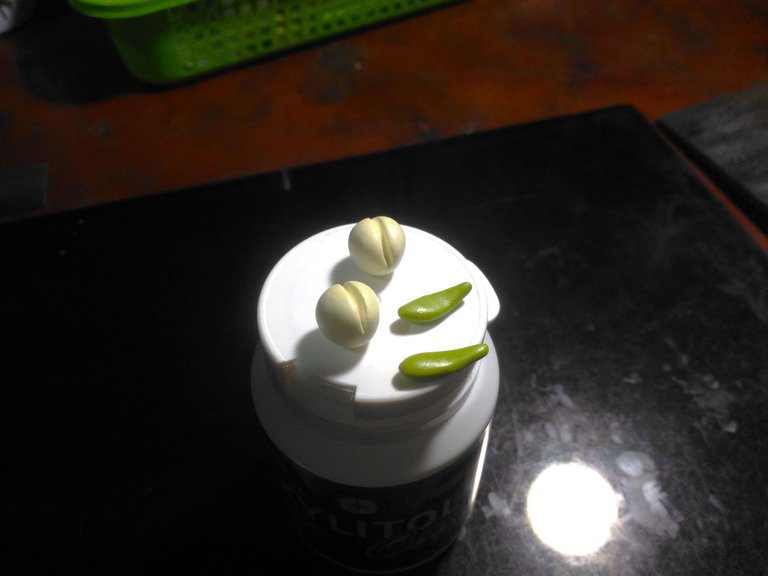
They are ready to be colored.
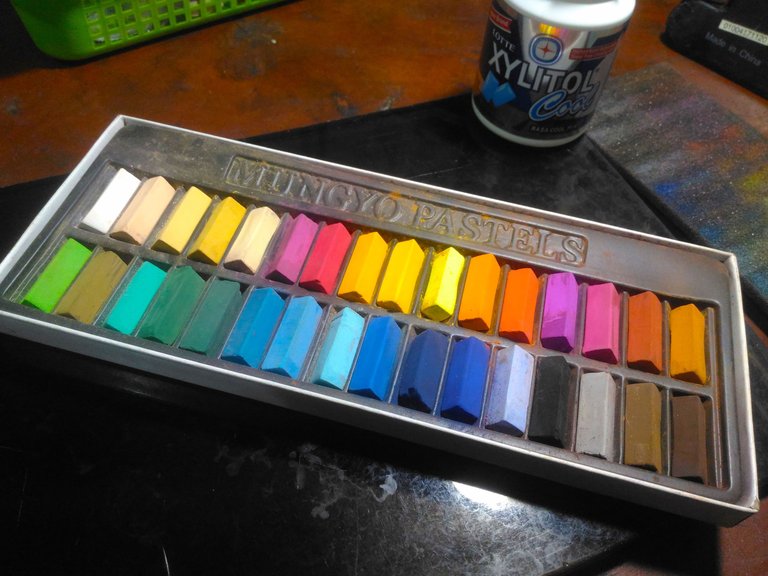
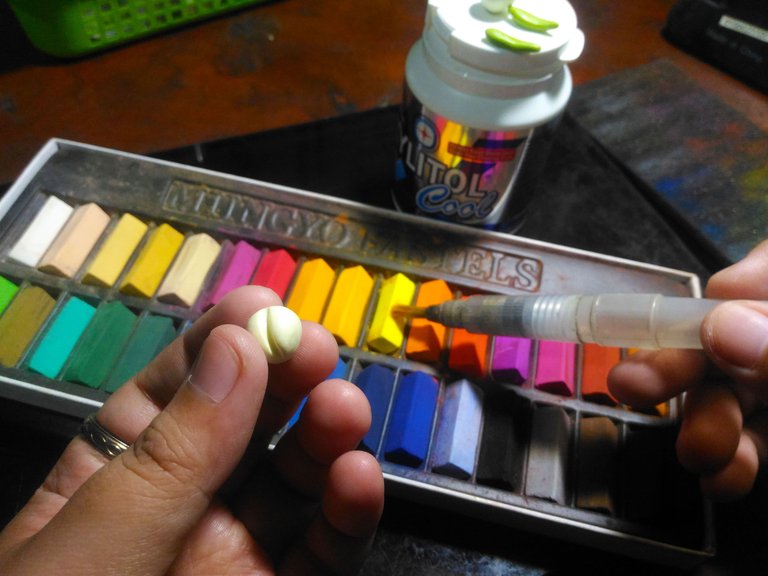
The best thing I used when I wanted the peach to be realistic was to shade the polymer clay with soft pastels best thing I invested.
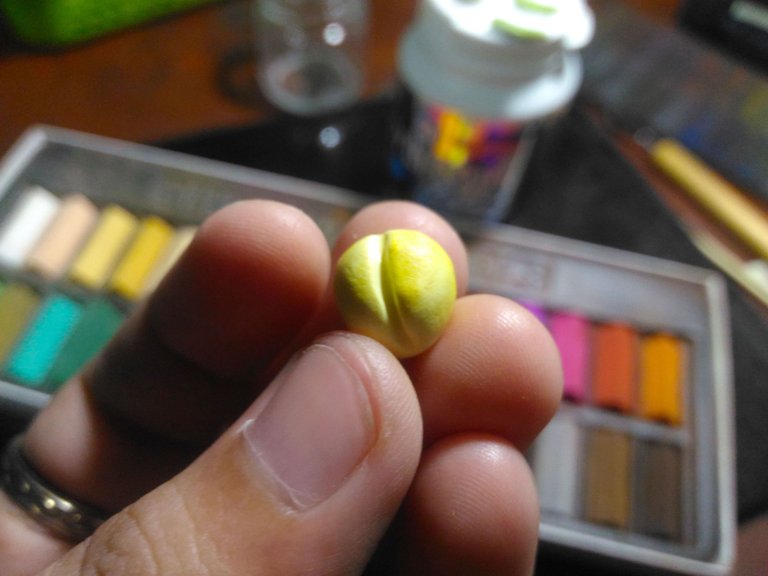
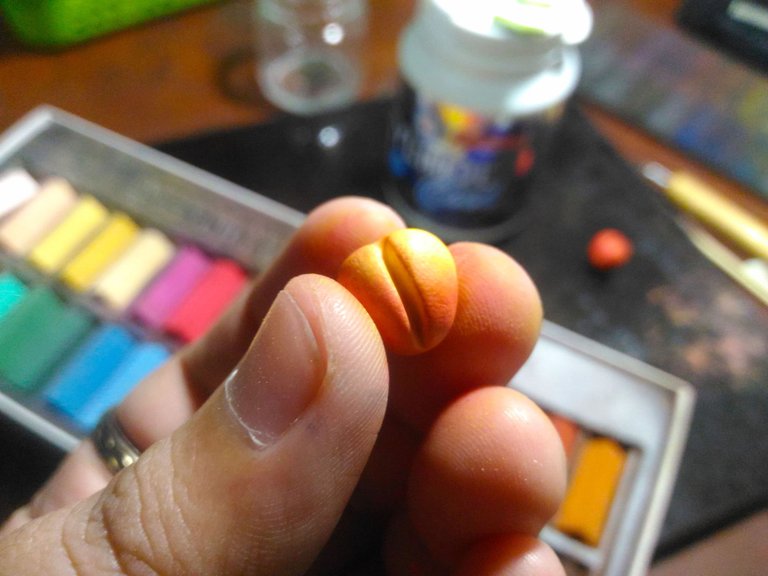
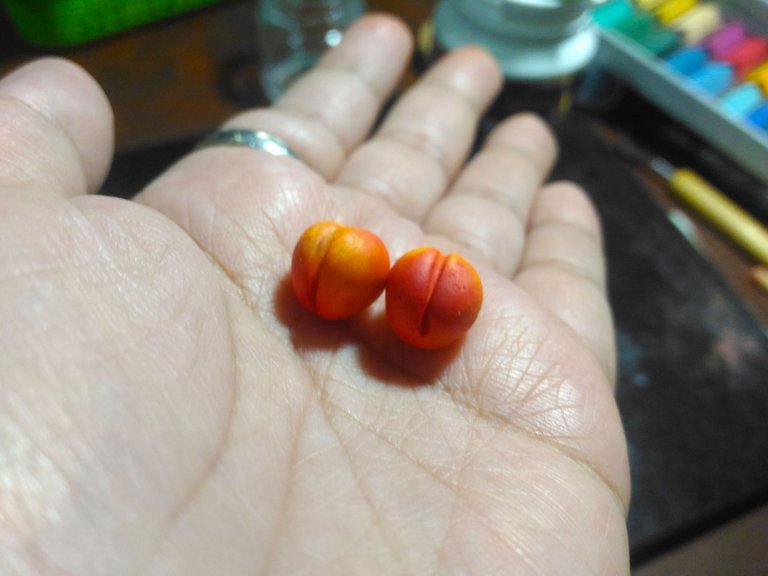
First I brush it with light yellow and then red on the bottom part.
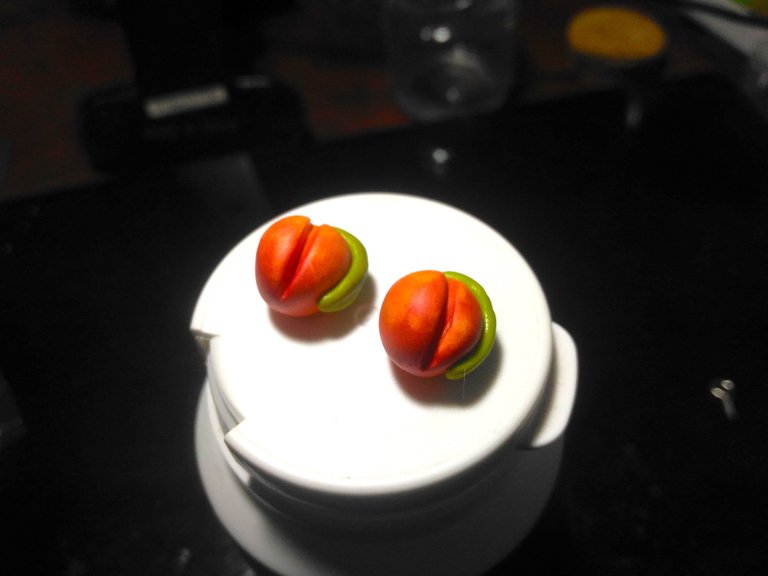
This is what it looks like.
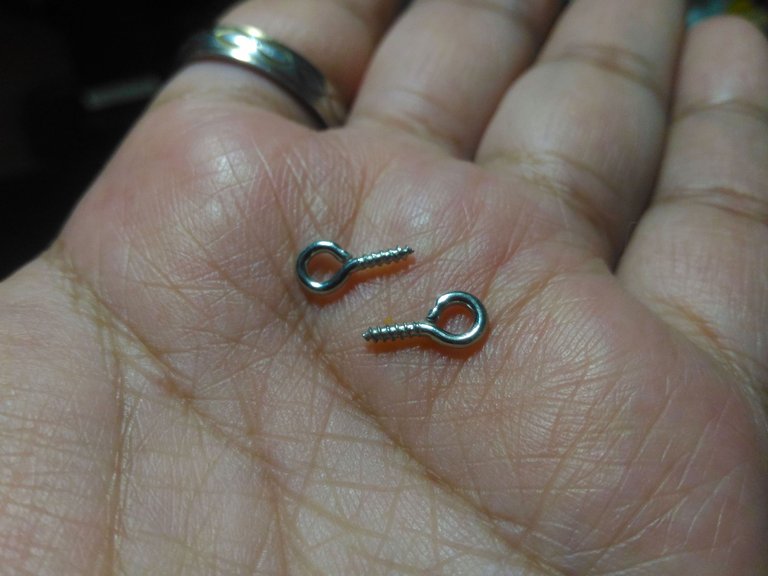
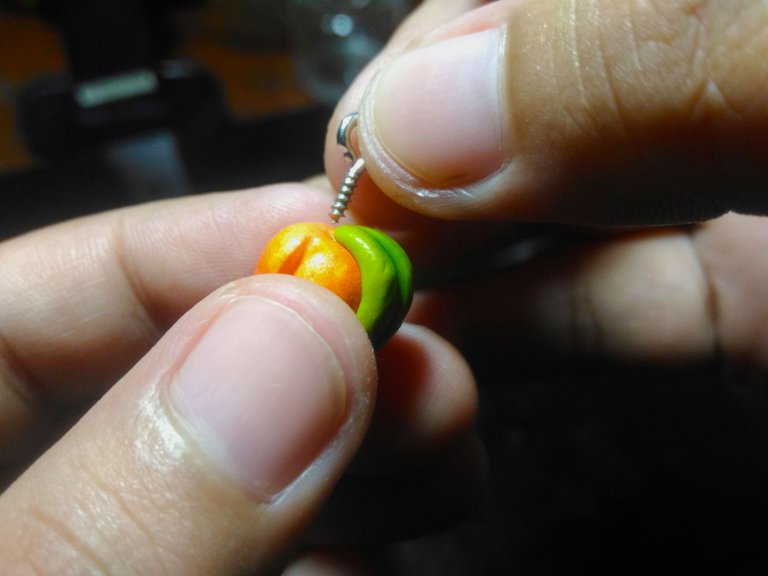
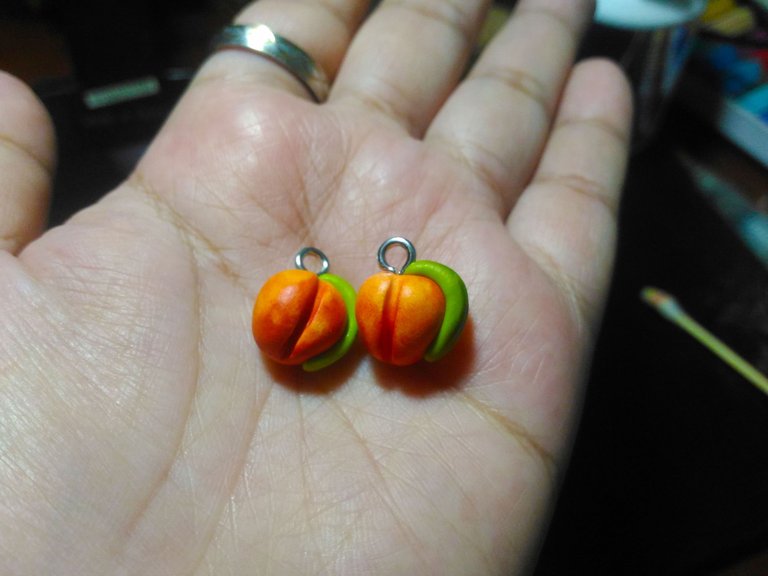
Next is to put in the eye pins.
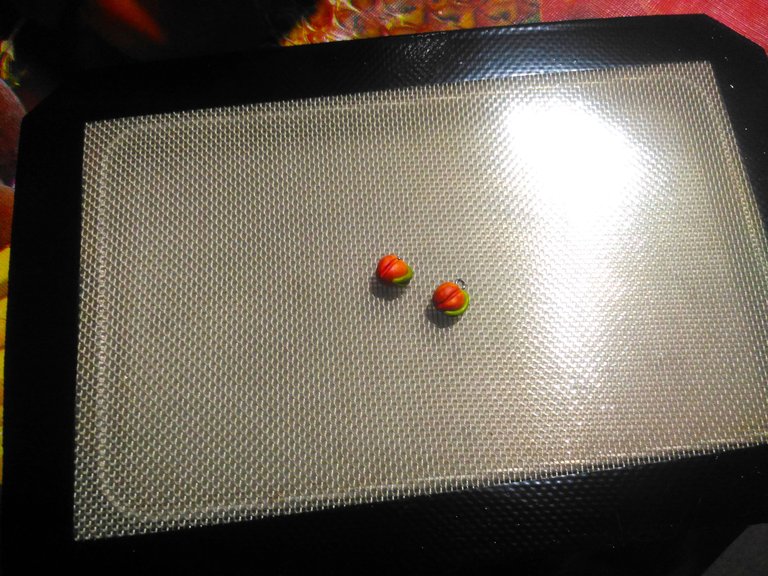
They are ready to be baked. It depends on what the instruction on the back of the clay of what temperature to bake the clay. Make sure to preheat the oven first.
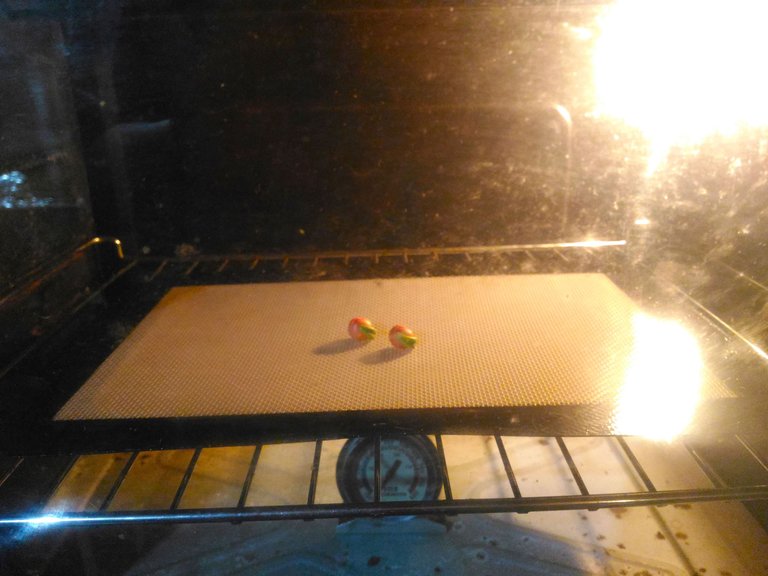
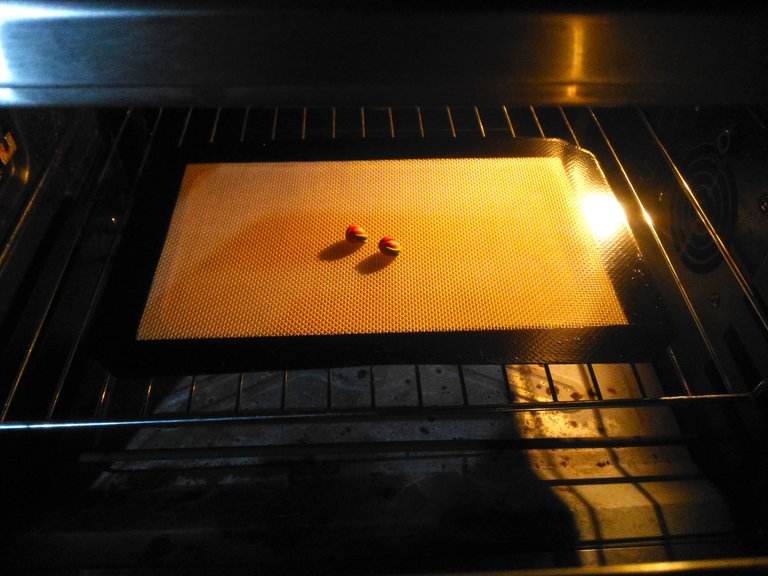
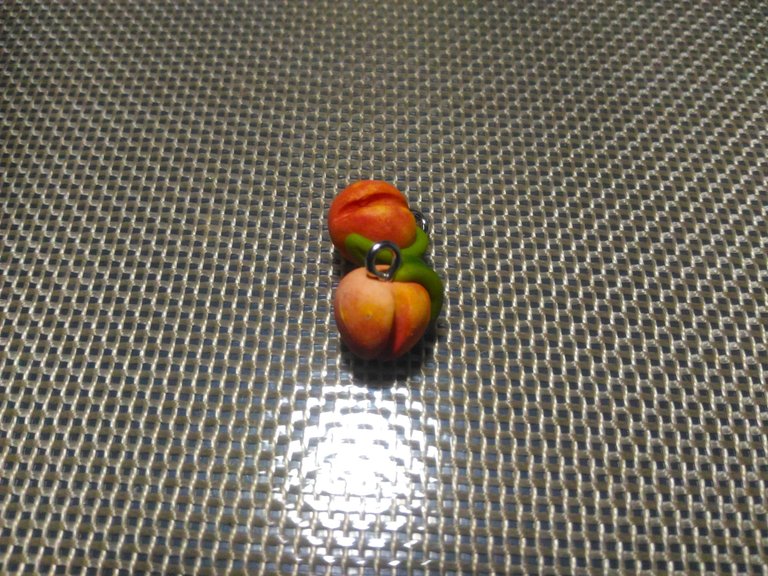
After they are baked they will mattify, I let them cool down first.
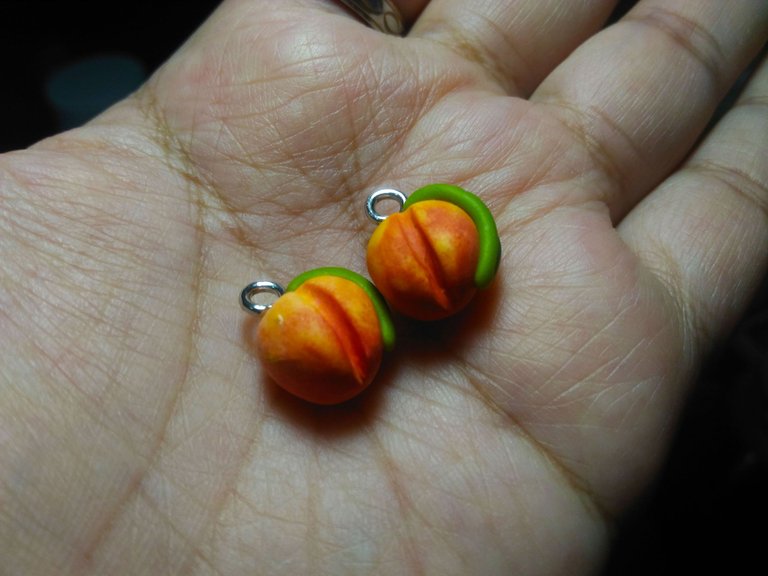
Ready to be glossed.
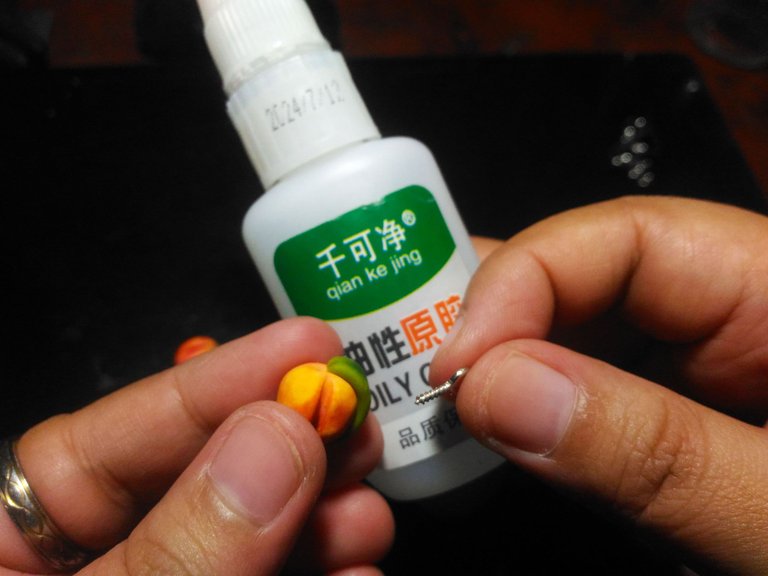
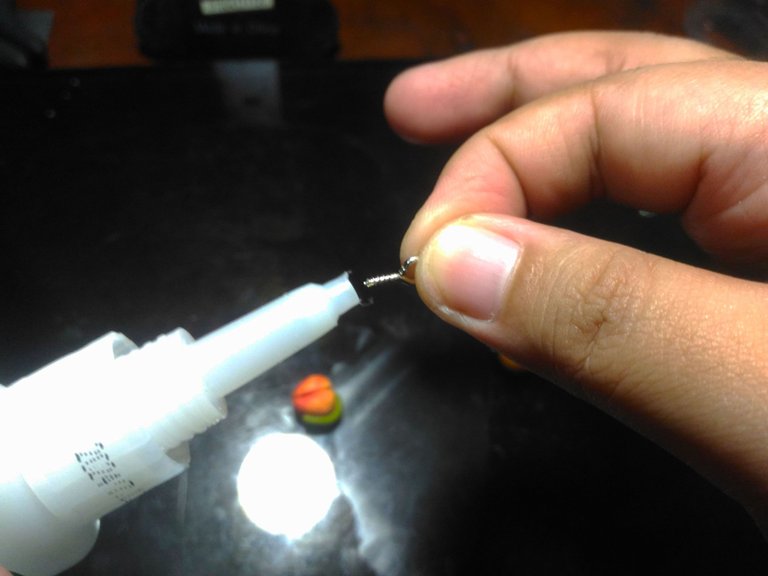
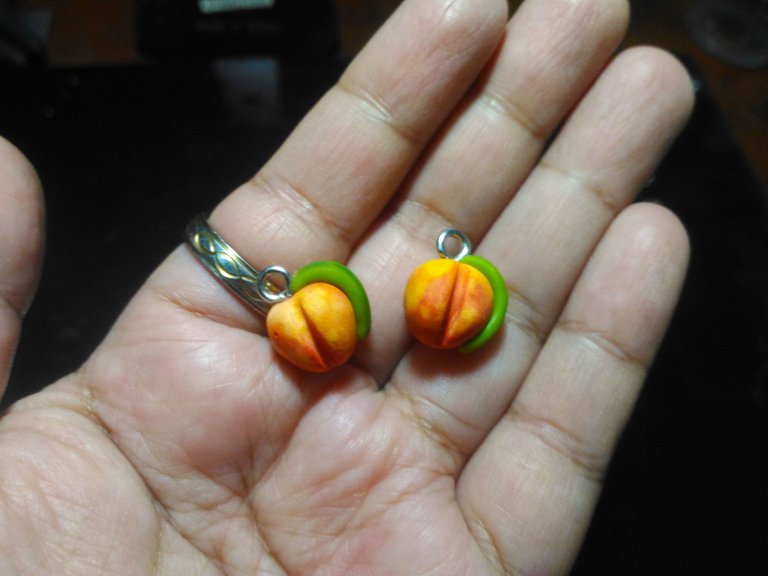
But before that to make the eye pins secure I glue them with super glue.

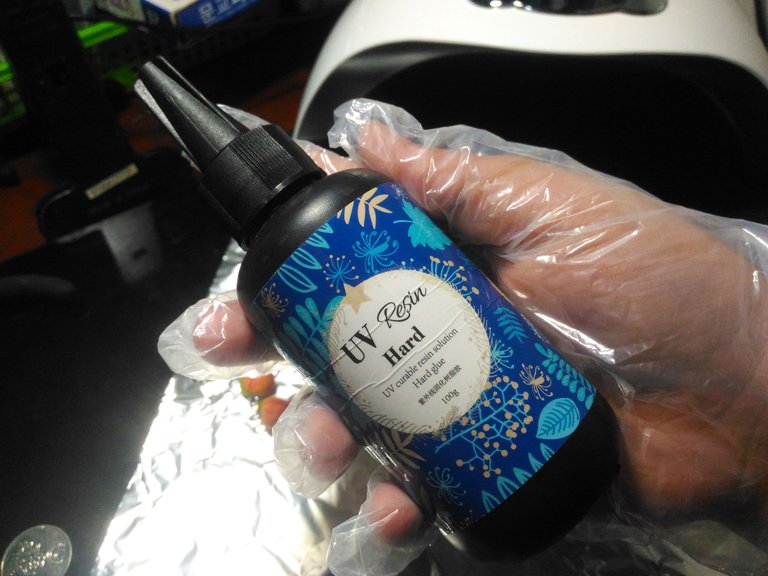
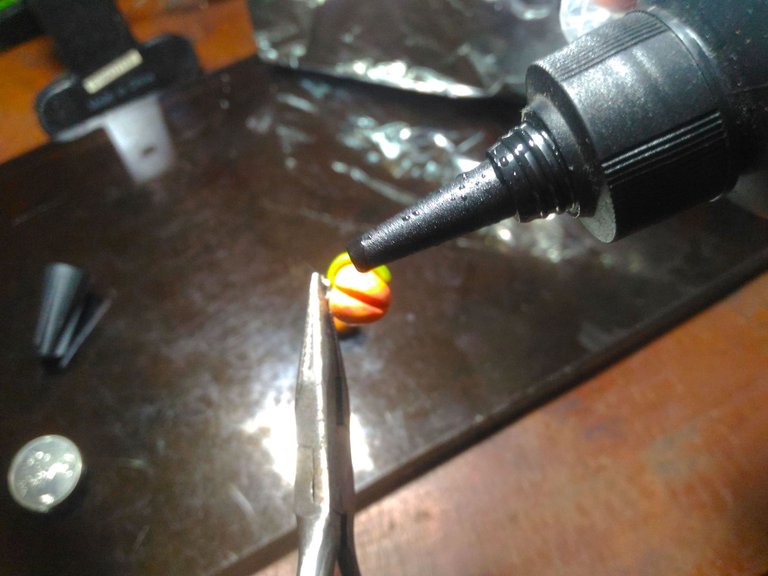
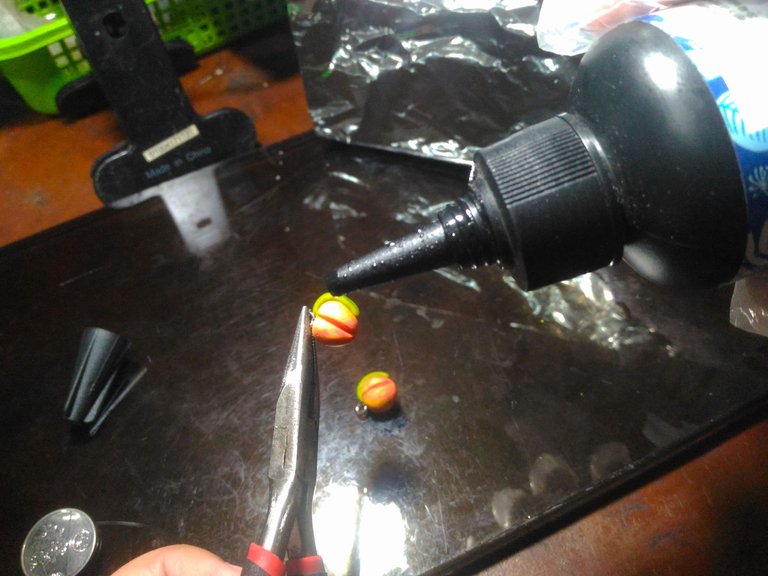
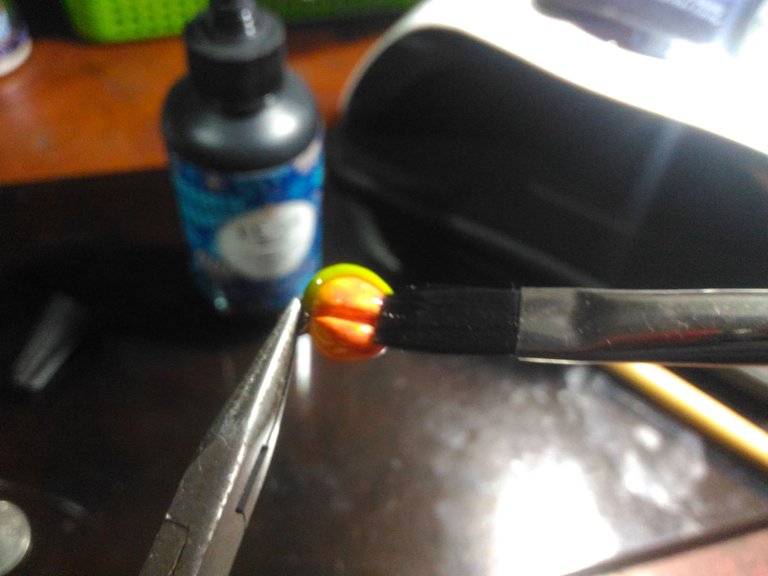
I used the plier to hold on to the eye pin so I could coat everything without any problem, and then I poured enough UV resin onto the peach and then I used a brush to apply it evenly.
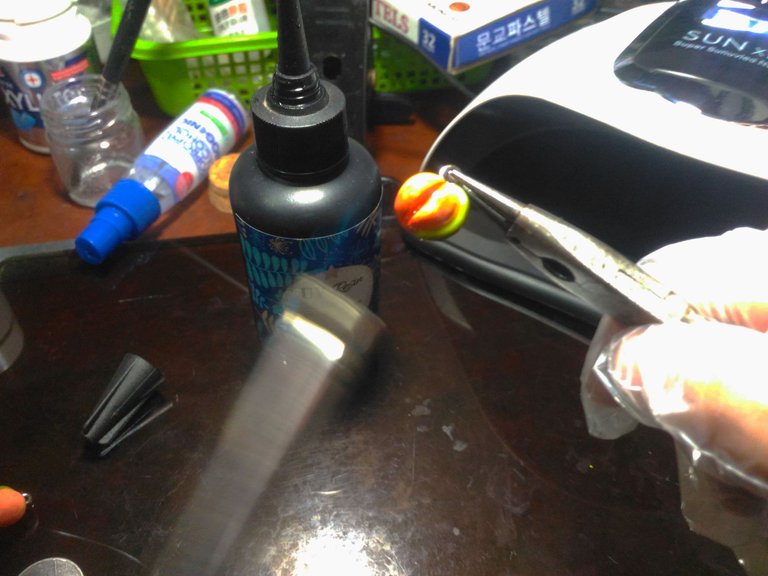
To remove any bubbles from applying UV resin I use light for just a second onto the peach.
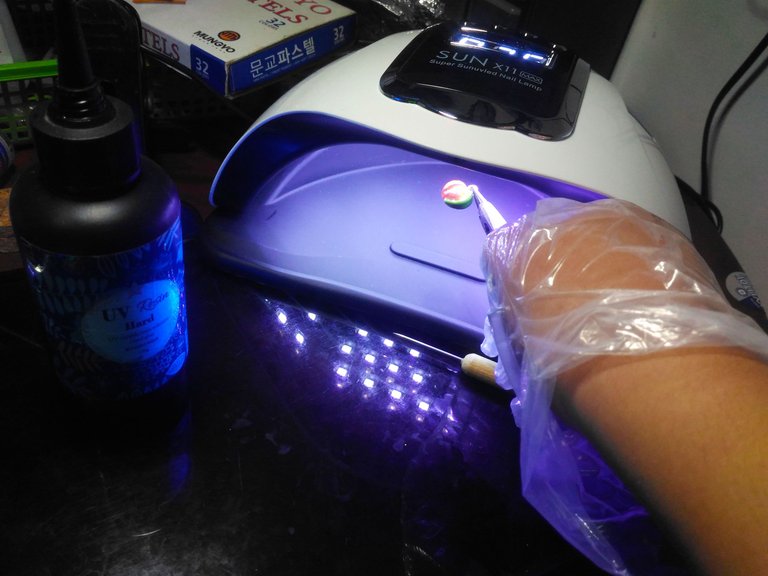
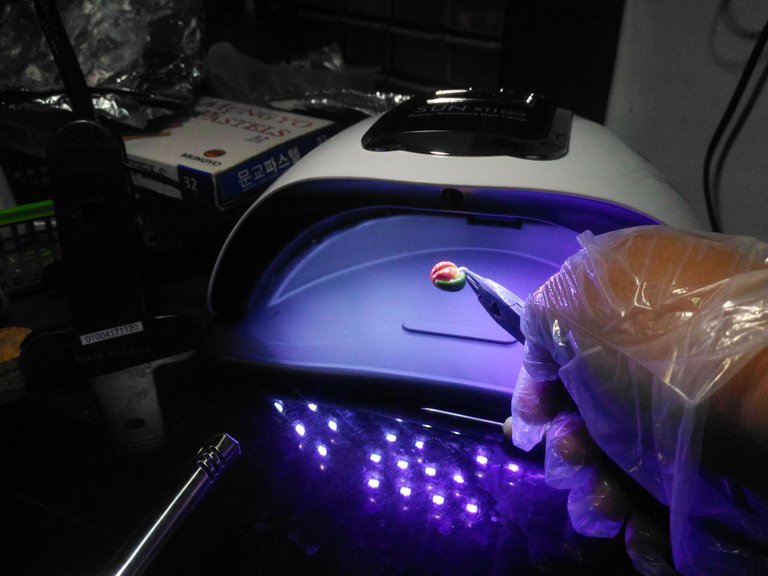
And then cure it on the UV Lamp I rotate the peach to cure it evenly do this repeatedly until the peach is not sticky anymore.
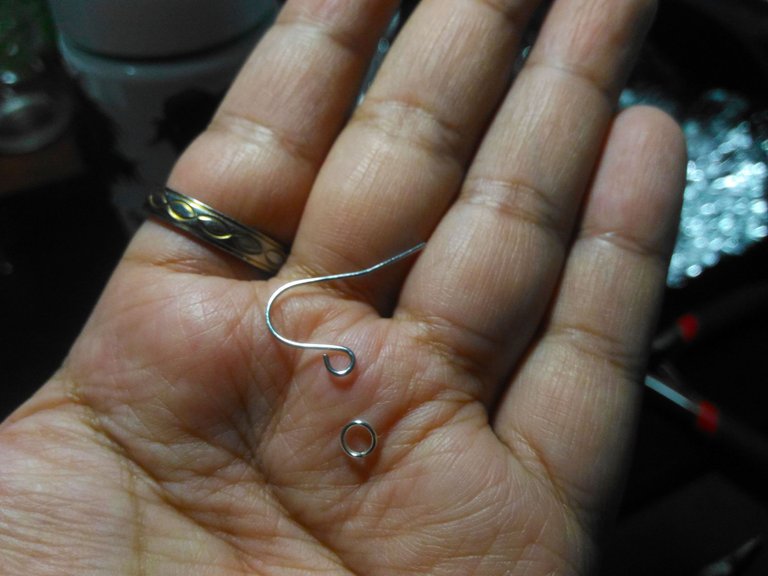
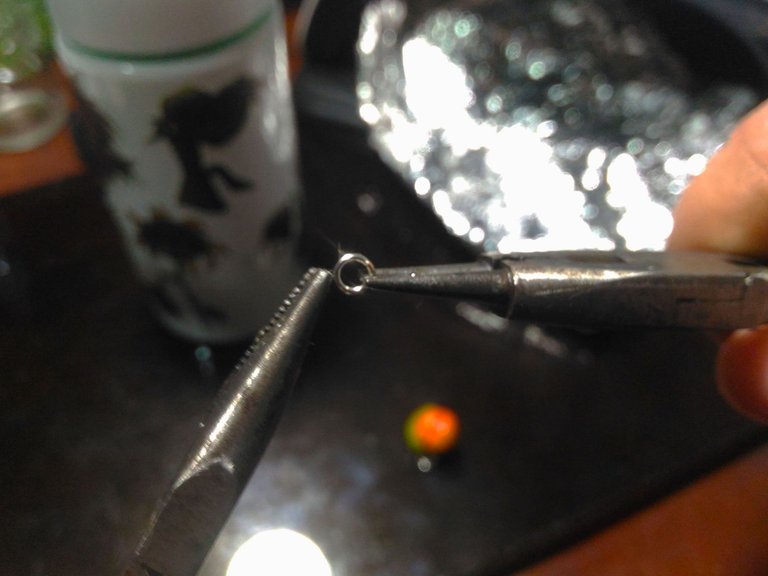
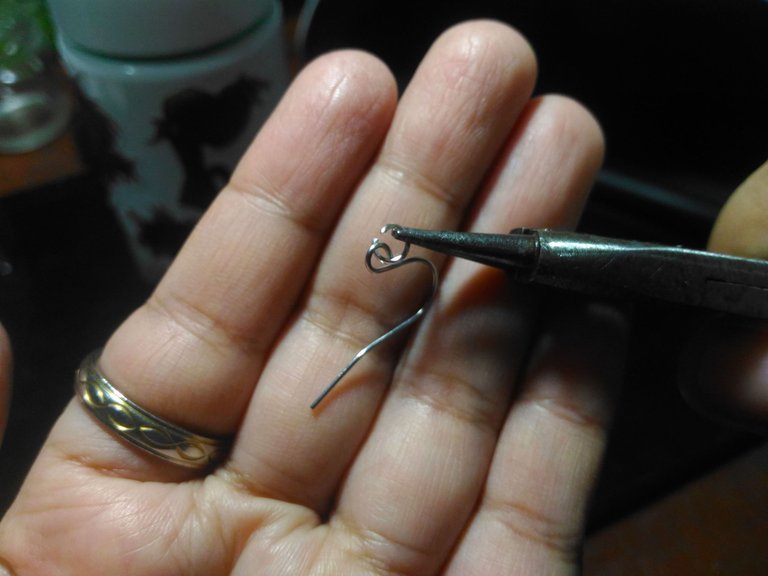
Next is to assemble the earrings, by adding jumping into the earrings hook.
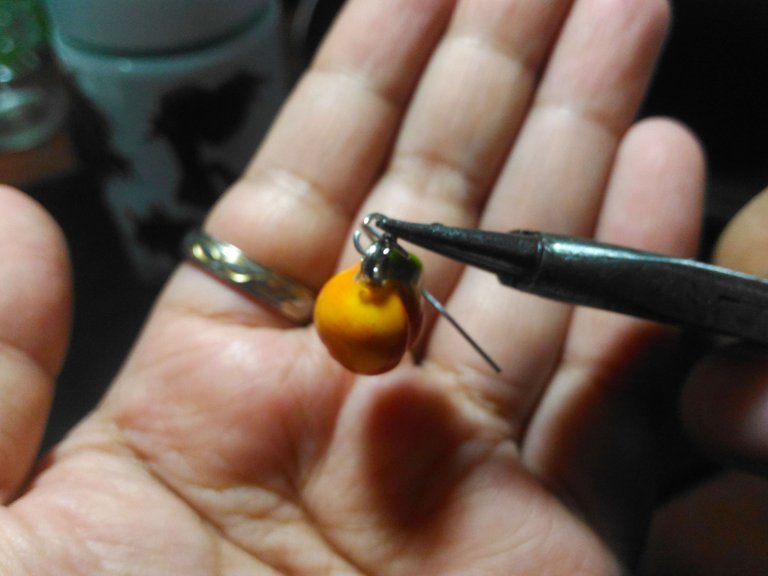
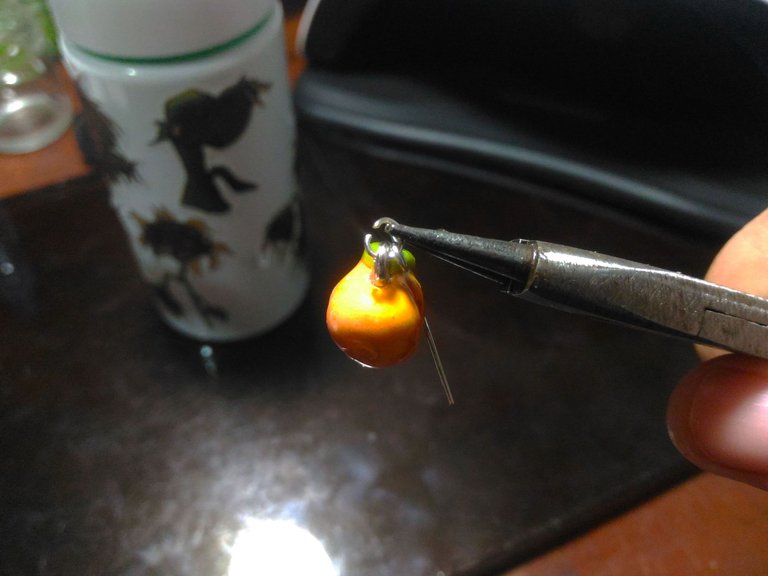
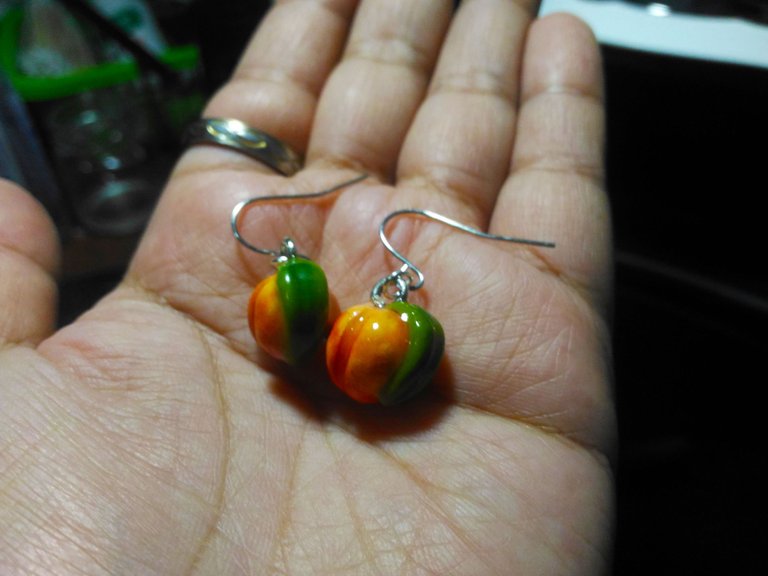
Before closing the jump ring I insert the peach in and then close it using the pliers.
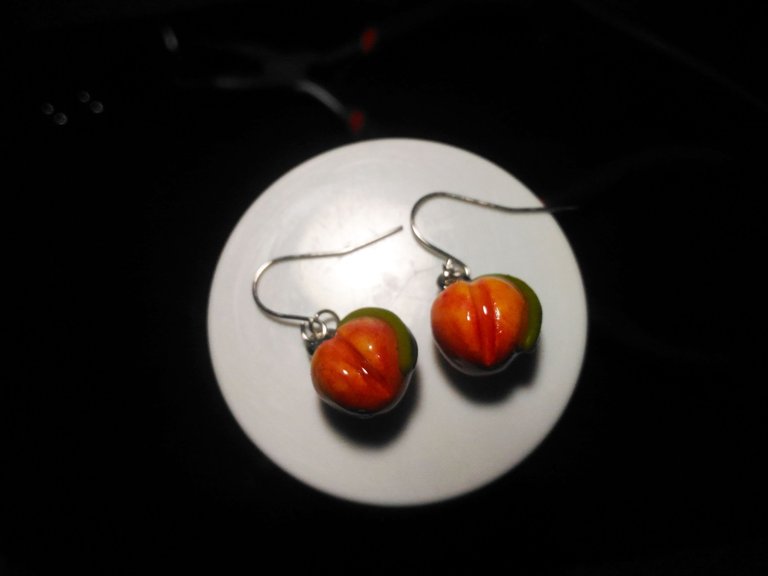
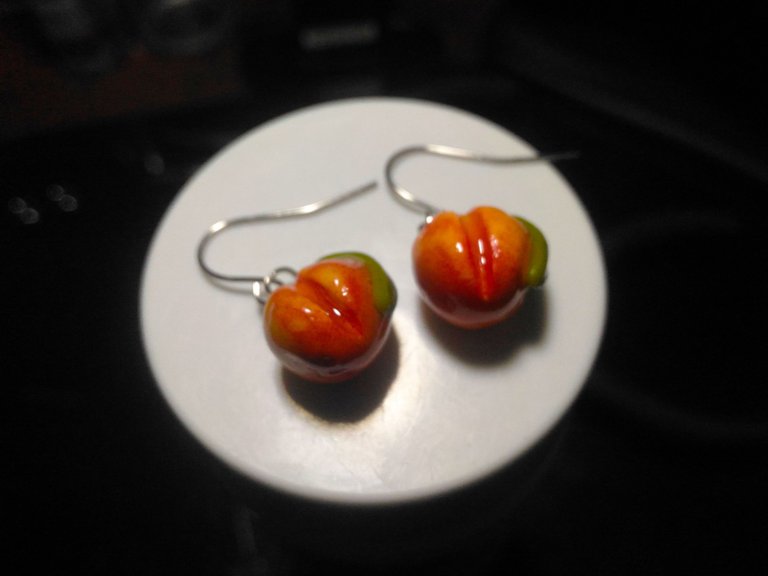
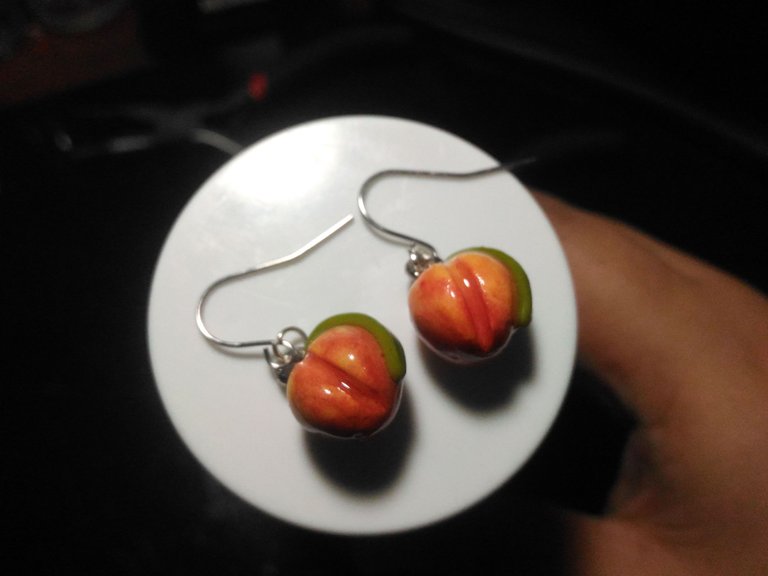
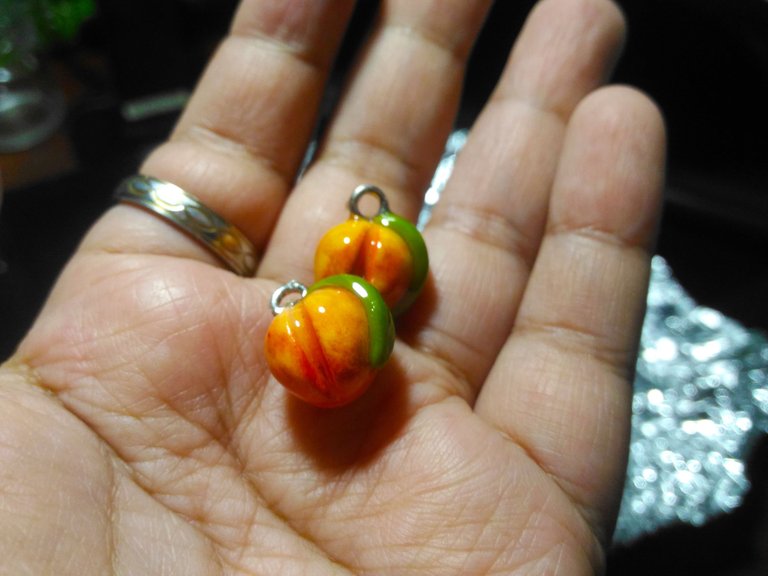
And done! I have my handmade earrings!
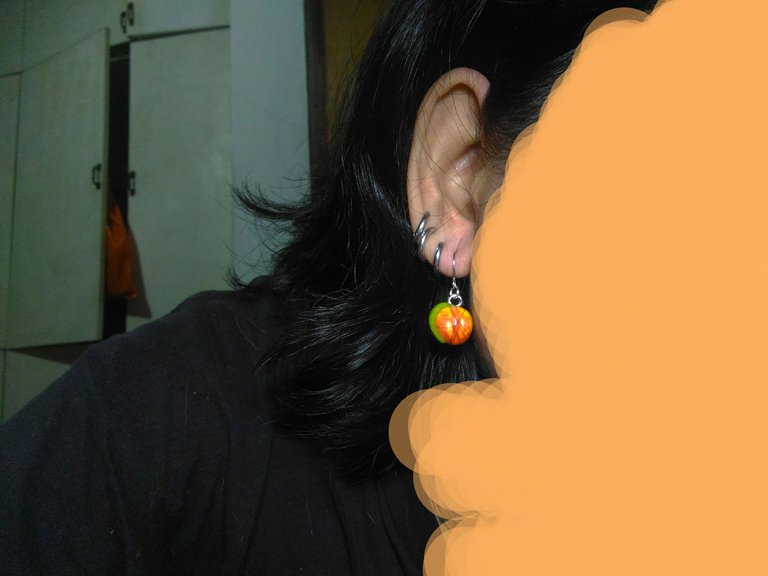
Wore it so you can see how it looks.
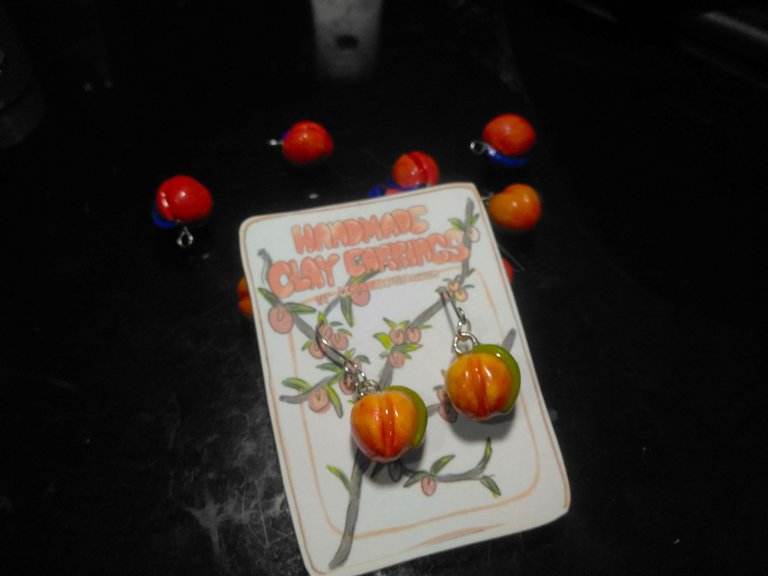
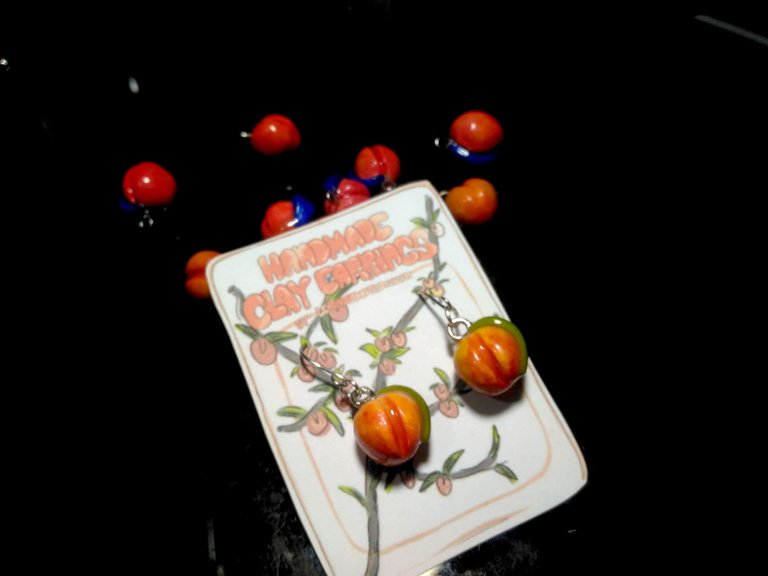
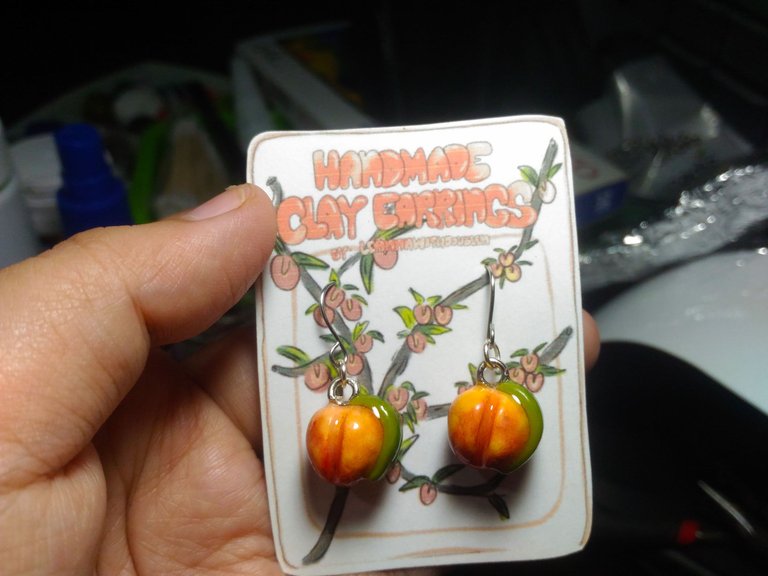
I found the backing paper I designed a few years ago so I tried to put the earring on it. :D
Thank you for visiting, see you on my next blog. :D
Please take care of your mental health as well.
I hope you are okay today :))
Please take care of your mental health as well.
I hope you are okay today :))
