WELCOME TO MY BLOG
Hellooooo, hellooooo. My dear friends from Jewelry. Almost everything is ready to celebrate the Nativity, the hardest work is in the kitchen but that is already the day of the celebration, that is why we have to prepare all the small details that, sometimes by leaving them for the last minute, we do not have enough time. So I am already preparing my outfit with my accessories so that I am not caught off guard.
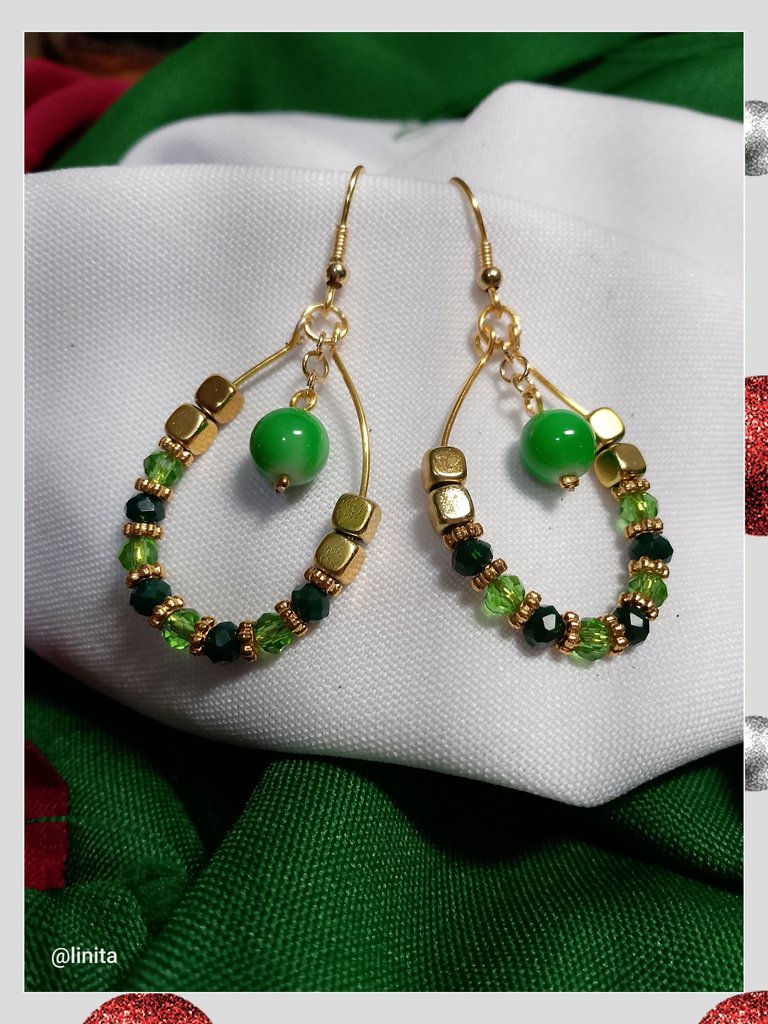
On this occasion I made a pair of earrings that will match a white blouse with green details. I love making pieces with gold wire, and combined with the appropriate beads, the result is great. Let me show you how I made them. Let's get started.
BIENVENIDOS A MI BLOG
Holaaaaa, holaaaa. Mis apreciados amigos de Jewelry. Ya casi todo listo para celebrar la natividad, el trabajo más fuerte es el de la cocina pero eso ya es el día de la celebración, por eso es que hay que preparar todos los pequeños detalles que, a veces por dejarlos para última hora, el tiempo no nos alcanza. Así que ya yo estoy preparando mi outfit con mis accesirios para que no me agarre desprevenida.
En esta ocasión elaboré un par de zarcillos que harán combinación con una blusa blanca con detalles verde. Me encanta realizar piezas con alambre dorado, y combinado con los abalorios adecuados, el resultado es genial. Vamos que te enseño cómo los realicé. Comencemos.
MATERIALS
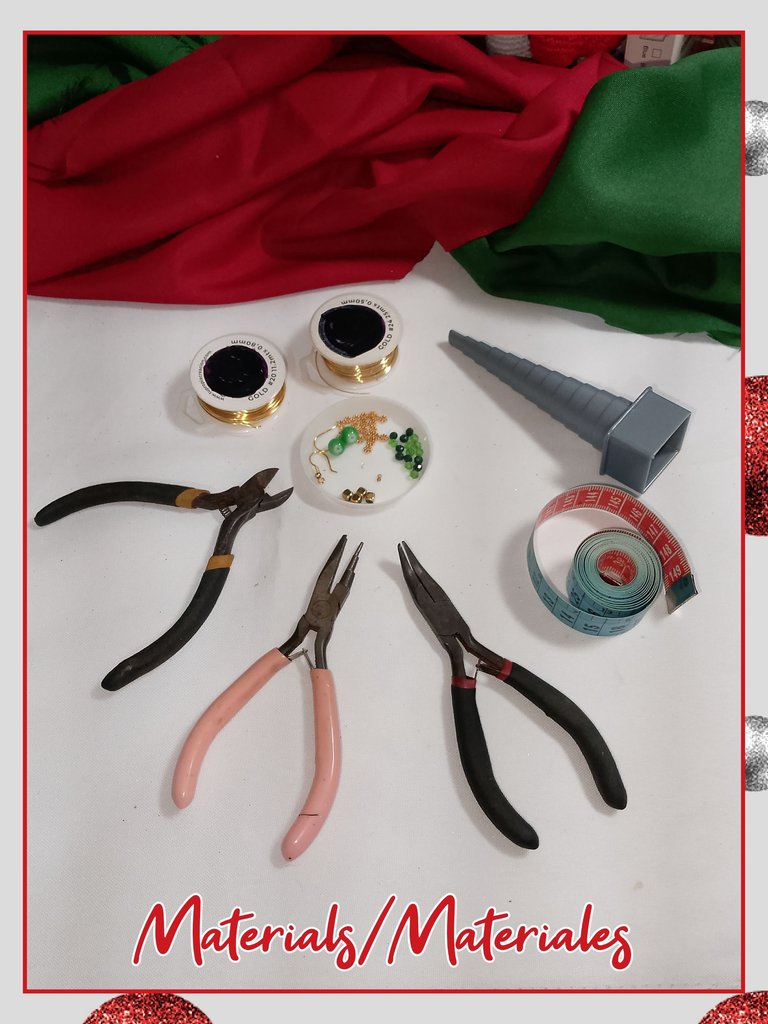
- Wires #20 and #22
- 8 light green 4 mm round beads
- 8 dark green 4 mm round beads
- 2 jade green round beads
- Pair of fish hooks
- 3 mm gold spacers
- 4 mm gold spacer cubes
- 2 jewelry staples
- Jewelry pliers
- Oval mandrel
- Measuring tape
MATERIALES
- Alambres N° 20 y N° 22
- 8 rondeles de 4 mm color verde claro
- 8 rondeles de 4 mm color verde oscuro
- 2 cuentas redondas verde jade
- Par de anzuelos
- Separadores doredos de 3 mm
- Cubos separadores dorados de 4 mm
- 2 grapas de bisutería
- Pinzas de bisutería
- Mandril ovalado
- Cinta métrica
STEP BY STEP // PASO A PASO
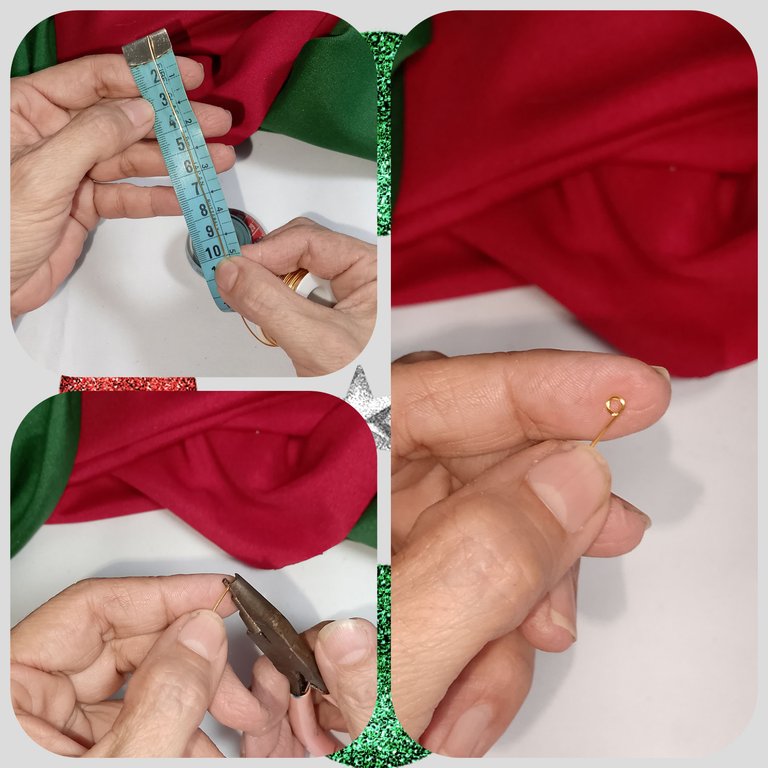
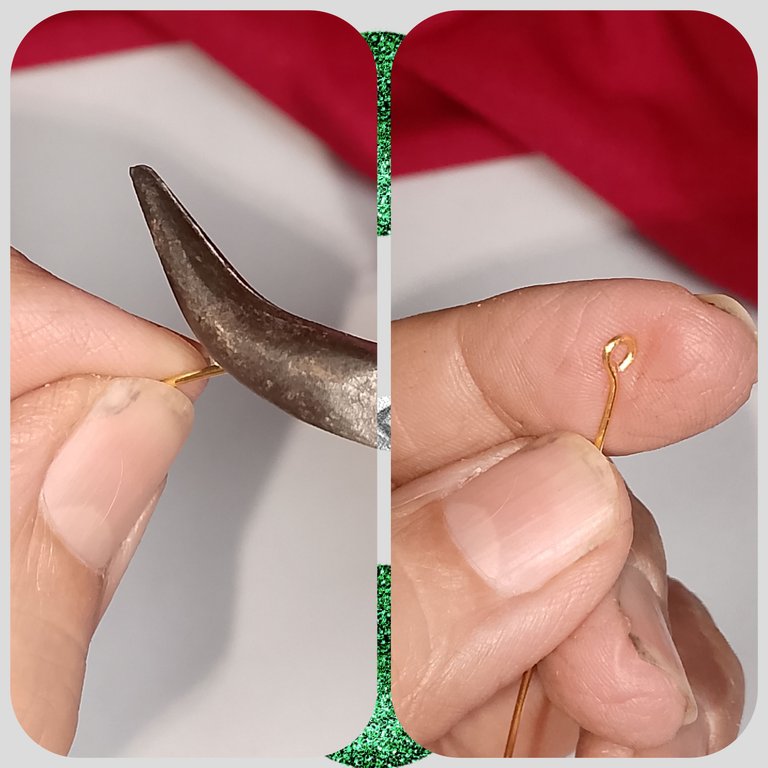
- Take the wire #20 and cut it to exactly 10 cm.
- Use the conical pliers to make a ring.
- Hold the ring with the flat pliers and bend the wire until it is in the middle of the ring.
- Tomamos el alambre N° 20 y cortamos 10 cm exactos.
- Con la pinza cónica realizamos una argolla.
- Sujetamos la argolla con la pinza plana y doblamos el alambre hasta situar en el medio de la argolla.
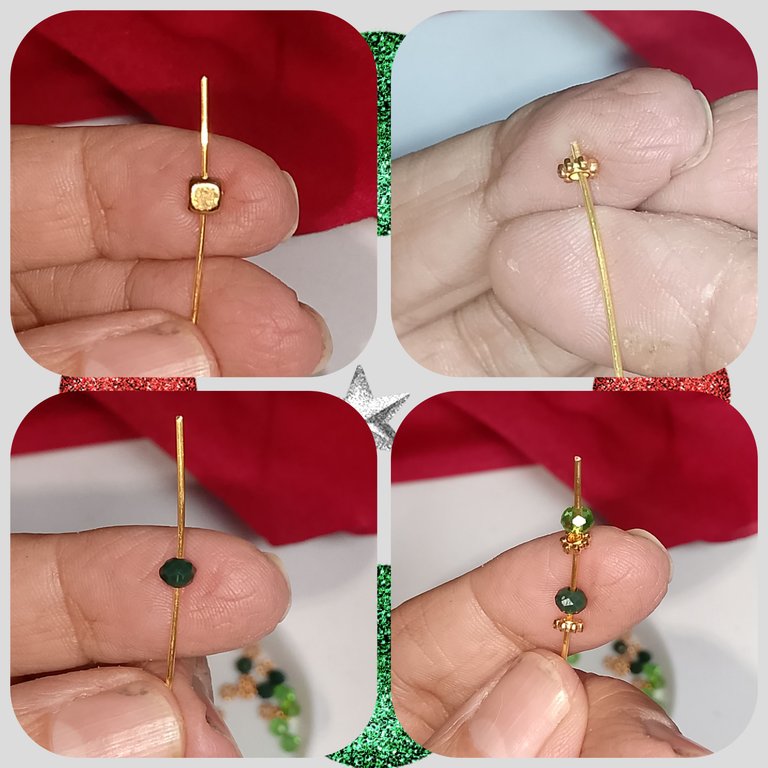
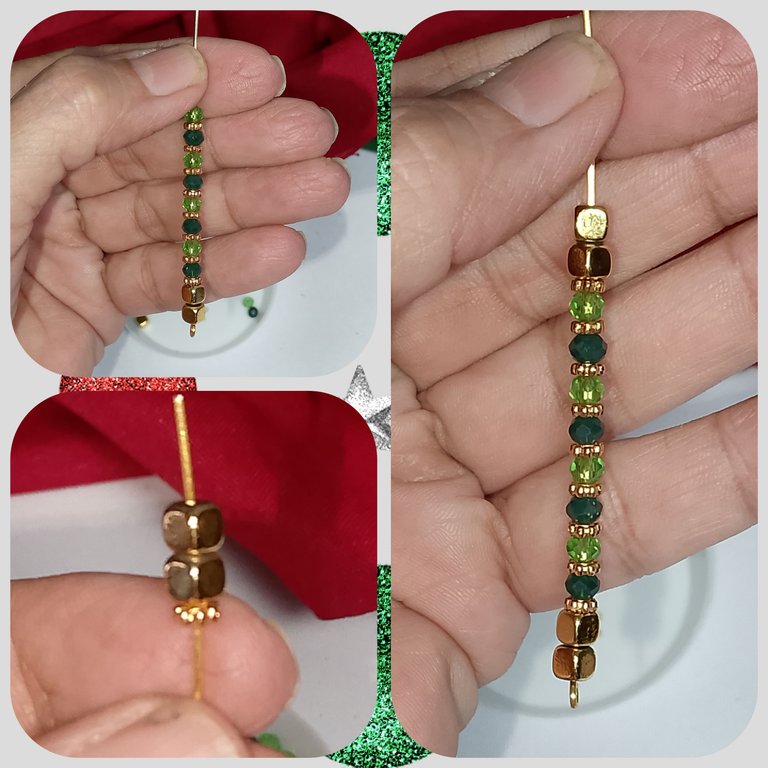
- We insert 2 golden square spacers, 1 round spacer, 1 dark green rondel, 1 round spacer, 1 light green rondel on the opposite end of the ring.
- We repeat 3 more series of: 1 round spacer, 1 dark green rondel, 1 round spacer, 1 light green rondel, until we reach 8 dark green and light green rondels.
- We close the design with 1 round spacer and 2 square spacers.
- Introducimos por el extremo contrario a la argolla, 2 separadores cuadrados dorados, 1 separador redondo, 1 rondel verde oscuro, 1 separador redondo, 1 rondel verde claro.
- Repetimos 3 series más de: 1 separador redondo, 1 rondel verde oscuro, 1 separador redondo, 1 rondel verde claro, hasta alcanzar 8 rondeles entre verde oscuro y verde claro.
- Cerramos el diseño con 1 separador redondo y 2 separadores cuadrados.
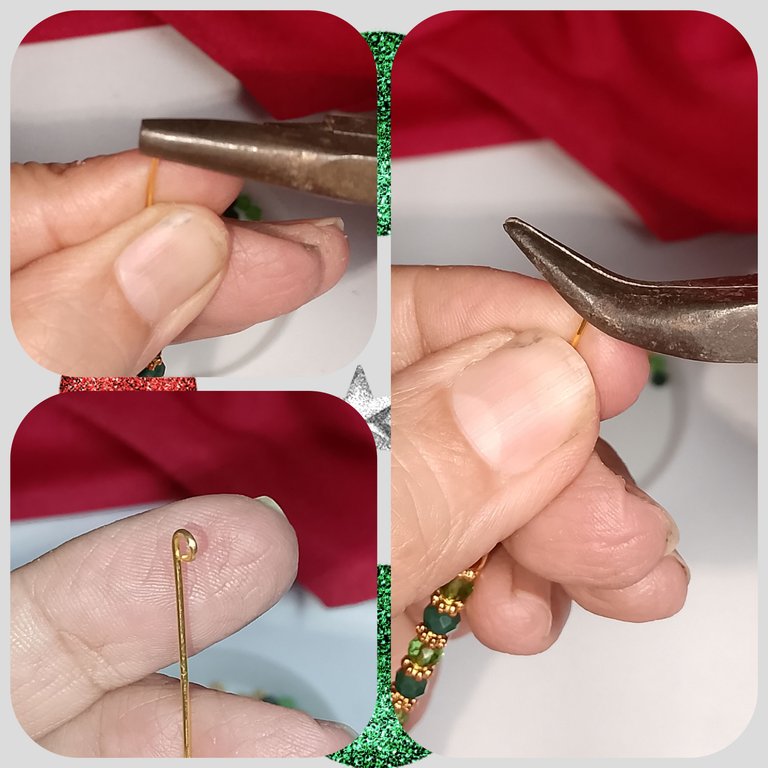
We close the design with a ring the same as the one we made at the beginning. We hold it with the flat pliers and place it in the center of the ring.
Cerramos el diseño con una argolla igual a la que realizamos al inicio. Sujetamos con la pinza plana y ubicamos al centro de la argolla.
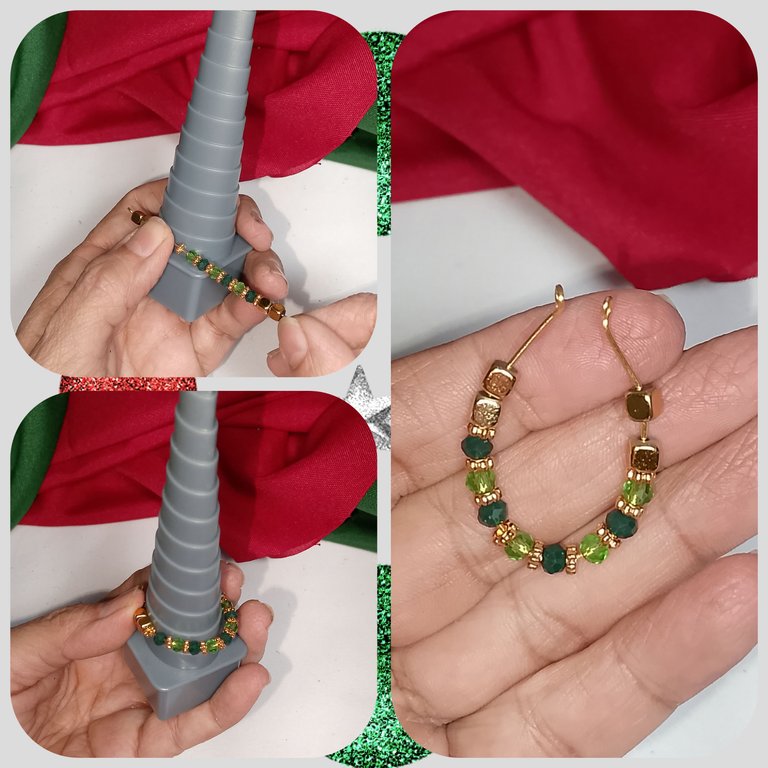
Now we are going to give it an oval shape, for this we will use the mandrel. We place the design at the measurement we want to have the shape, for the 10 cm, we will use the last measurement of the mandrel. We turn the wire in such a way that it covers the outline.
Ahora vamos a darle forma oval, para ello utilizaremos el mandril. Colocamos el diseño en la medida que deseamos tener la forma, para los 10 cm, utilizaremos la última medida del mandril. Giramos el alambre de tal forma que cubra el contorno.
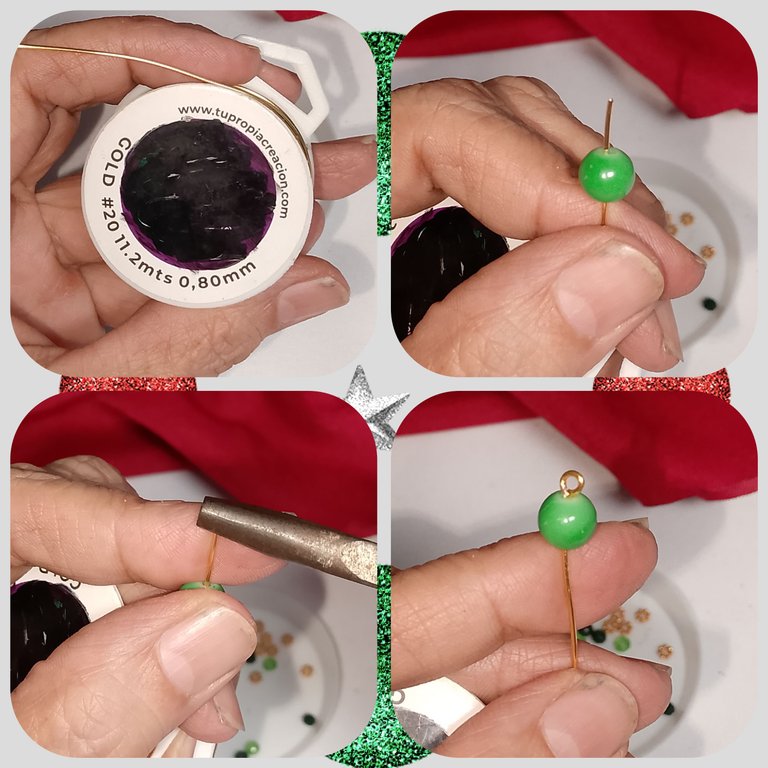
Now we are going to string the emerald green bead. We insert the bead onto the wire #20. We make a small ring and straighten it with the flat pliers until the wire is in the center.
Ahora vamos a engarzar la cuenta verde esmeralda. Introducimos la cuenta en el alambre N° 20. Realizamos una argolla pequeña y enderazamos con la pinza plana hasta ubicar el alambre en el centro.
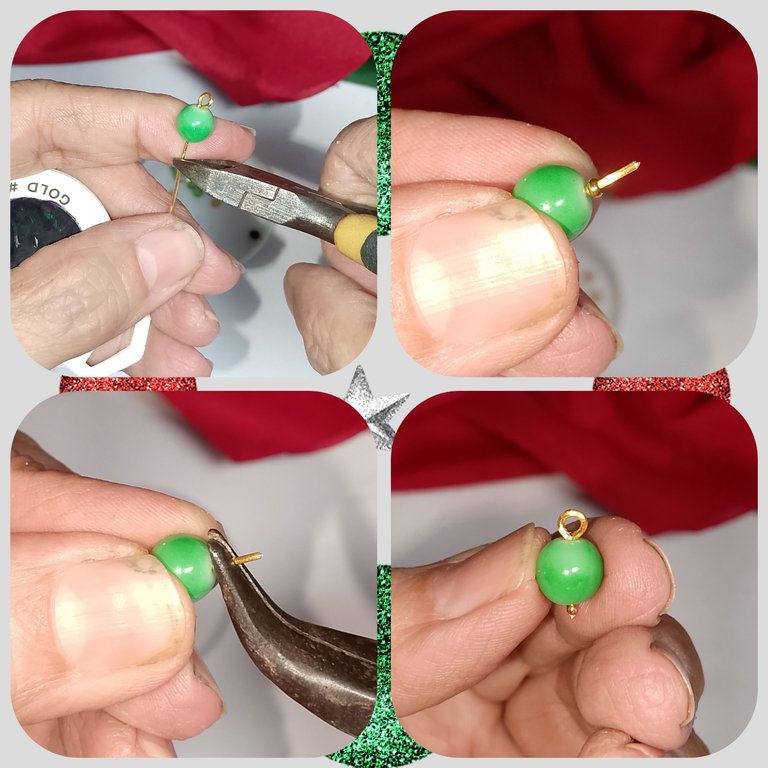
We cut the wire leaving approximately 1 cm. We insert a jewelry staple and close it tightly to the bead and cut the remaining wire.
Cortamos el alambre dejando aproximadamente 1 cm. Introducimos una grapa de bisutería y la cerramos bien pegada de la cuenta y cortamos el restante del alambre.
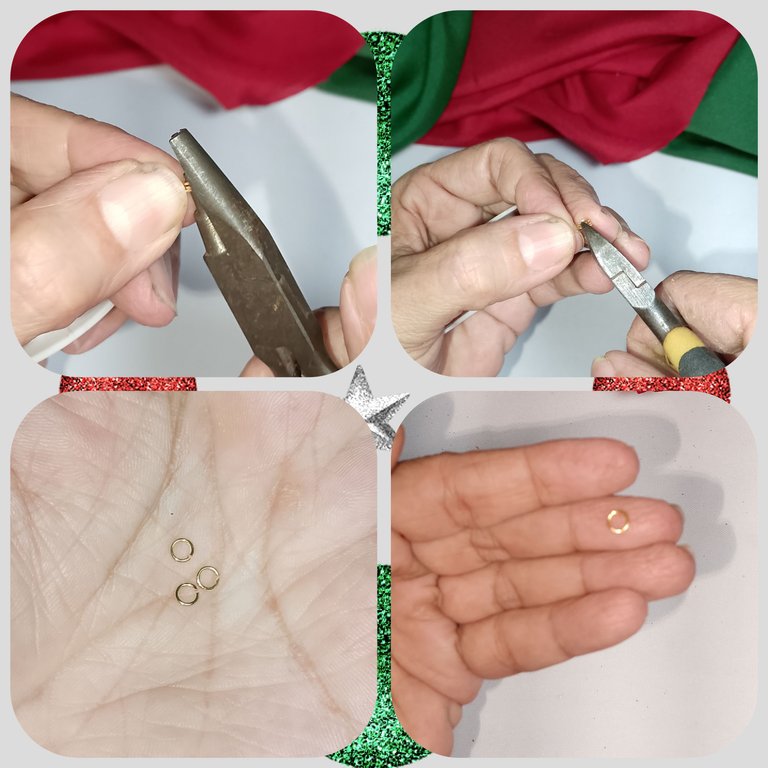
Next we will make 3 3 mm rings and 1 5 mm ring with wire No. 22.
A continuación vamos a realizar con el alambre N° 22, 3 aros de 3 mm y 1 aro de 5 mm.
- We make a chain with the 3 3 mm rings and insert the bead into one of the rings and close.
- Then we insert the chain through the 5 mm ring.
- We take the earring design and we are going to place the ring through each of the rings of the design.
- Realizamos una cadena con los 3 aros de 3 mm e introducimos la cuenta en uno de los aros y cerramos.
- Luego introducimos la cadena por el aro de 5 mm.
- Tomamos el diseño del zarcillo y vamos a colocar el aro por cada una de las argollas del diseño.
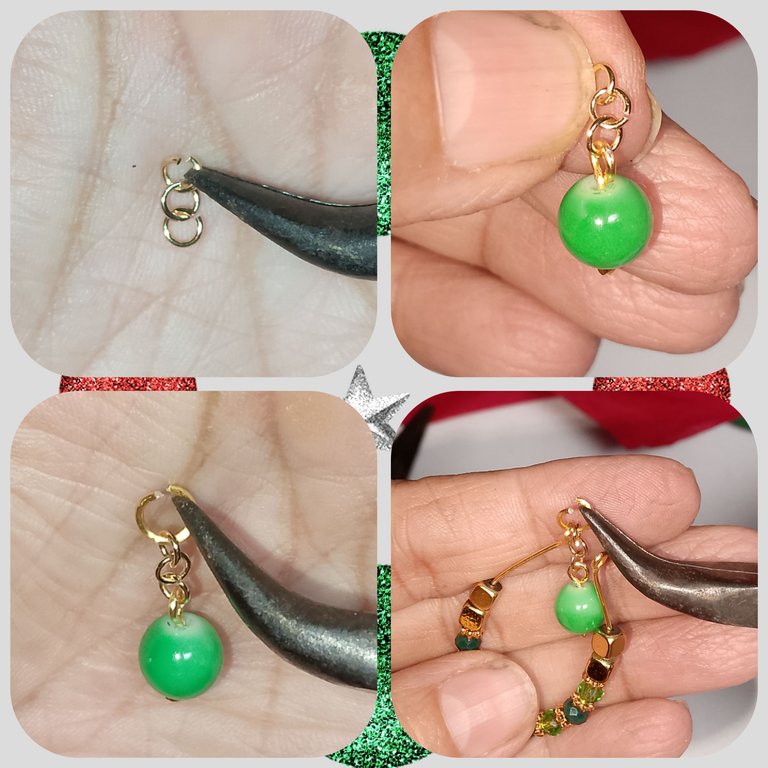
We place the earring hook and close the ring, making sure it is well closed.
- We make the other tendril by repeating the previous steps.
- Colocamos el anzuelo de zarcillo y cerramos el aro y nos aseguramos que quede bien cerrado.
- Realizamos el otro zarcillo repitiendo los pasos anteriores.
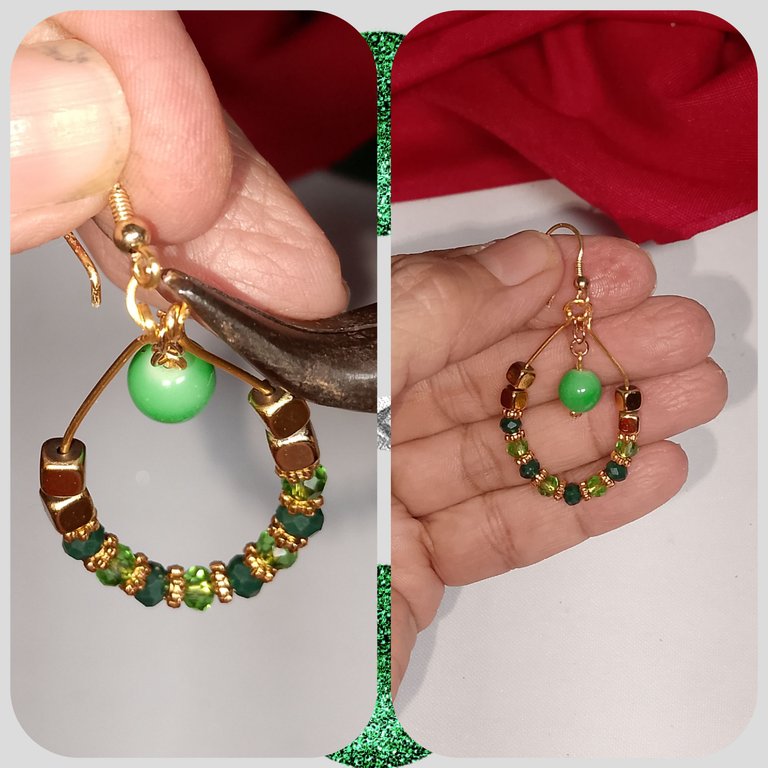
And now this pair of earrings is ready, which I will wear on Christmas Eve. I love them, they turned out just as I imagined. Now I have to wait for the day to wear them. I hope you liked them. See you next time.
Y ya están listos este par de zarcillos que luciré la nochebuena de navidad. Me encantan, quedaron tal cual como me los imaginaba. Ahora a esperar el día para el estreno. Espero les haya gustado. Nos vemos en la próxima.
