Hello guys!
I hope you all are doing great, today I’ll share with about the bouqet making process using satin ribbon.
I was seeing this trend all over the internet and I really wanted to try it. It turned out great, so I’m sharing a step by step guide with you guys too.
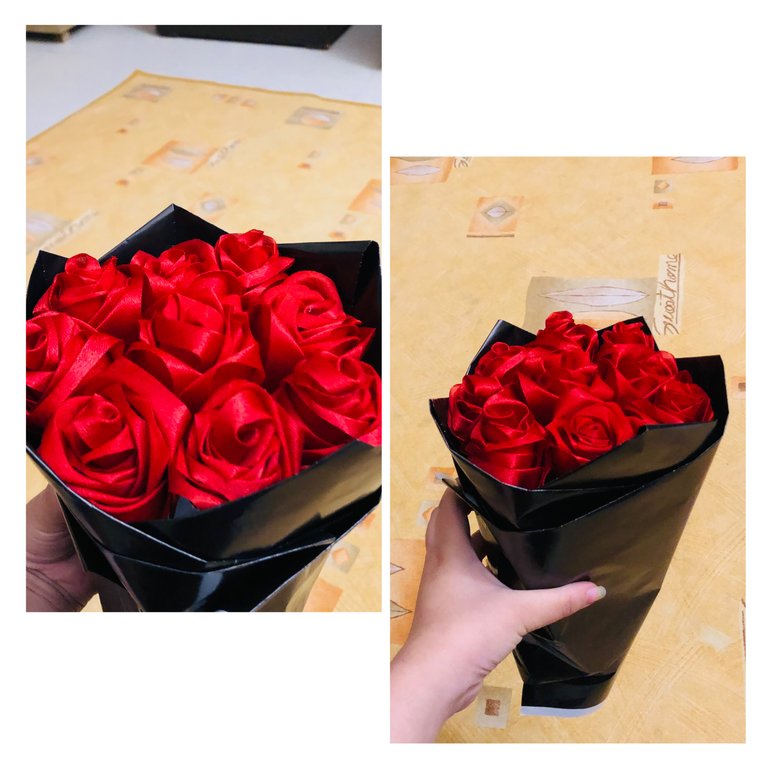
Materials needed:
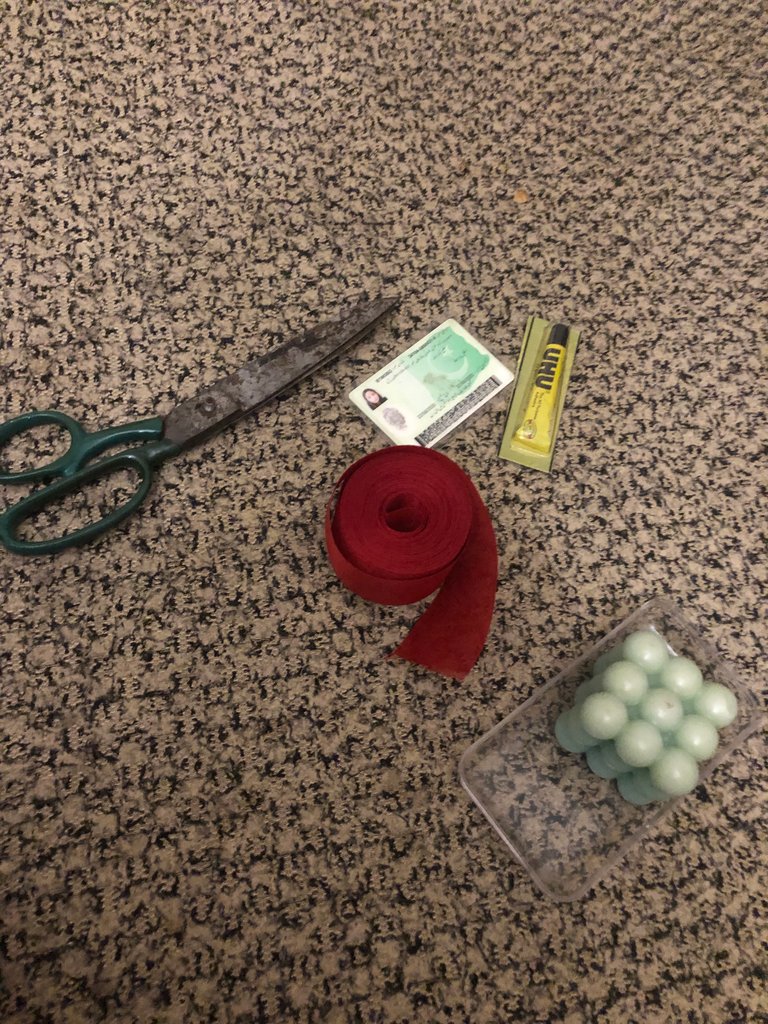
Firstly, I’ll talk about the things needed to make this out.
Satin ribbon - maroon
Glue
A card
Scissors
Candle or lighter
Black paper sheets
Tape
Process:
Firstly, I took out all the materials needed.
Then I started the process by rolling the ribbon over the card, until 13 turns take.
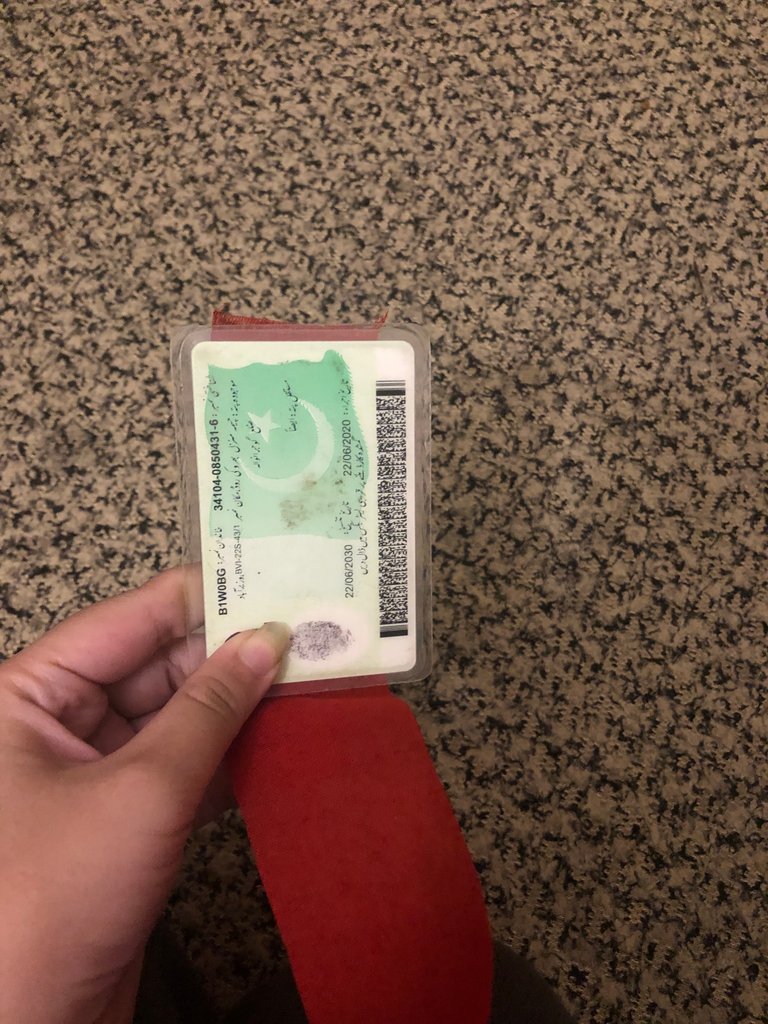
The card helps to make equal sized patches.
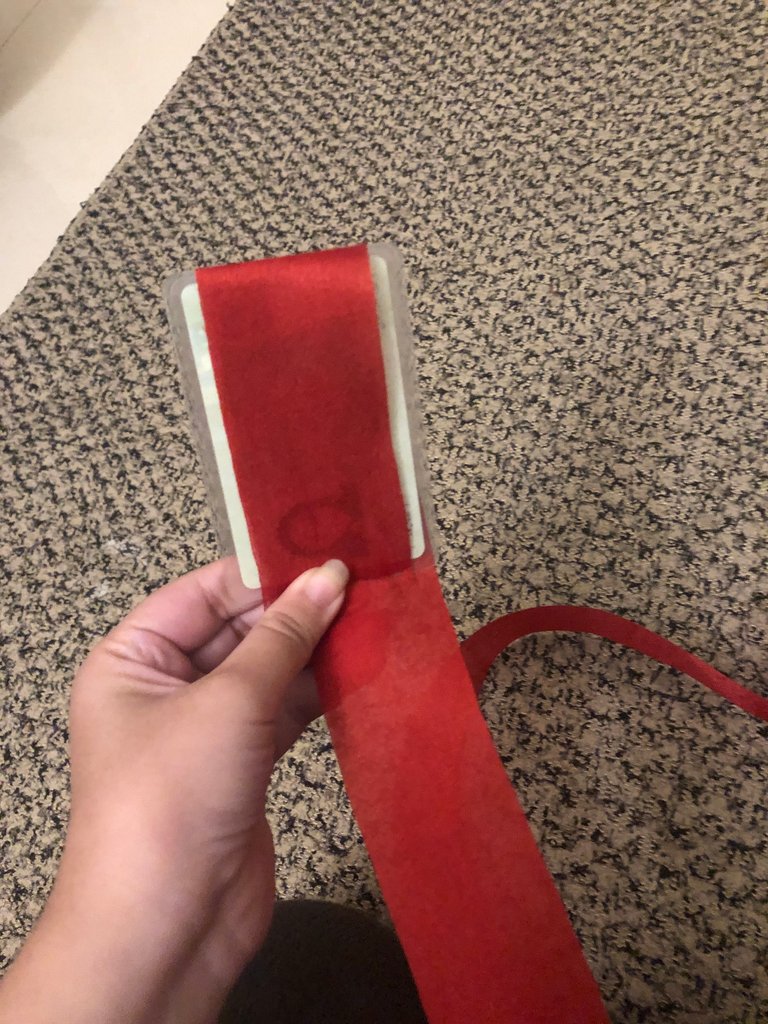
Then, I cut the ribbon after completing 13 turns
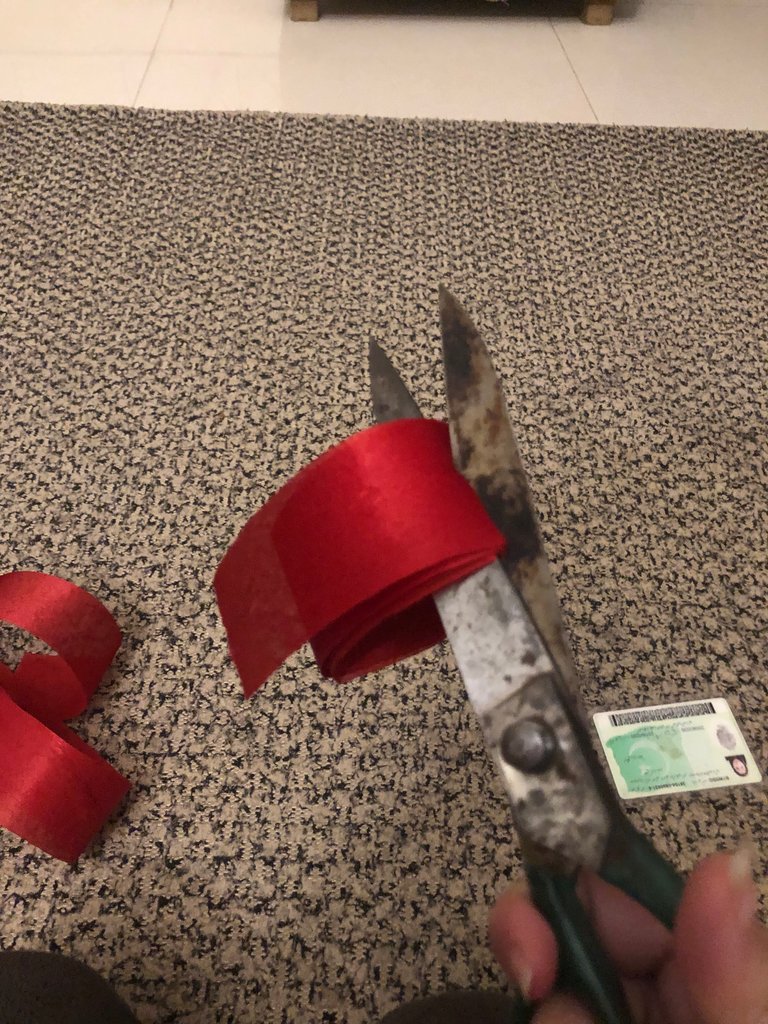
And after that I cut the ribbon sides to create short patches.
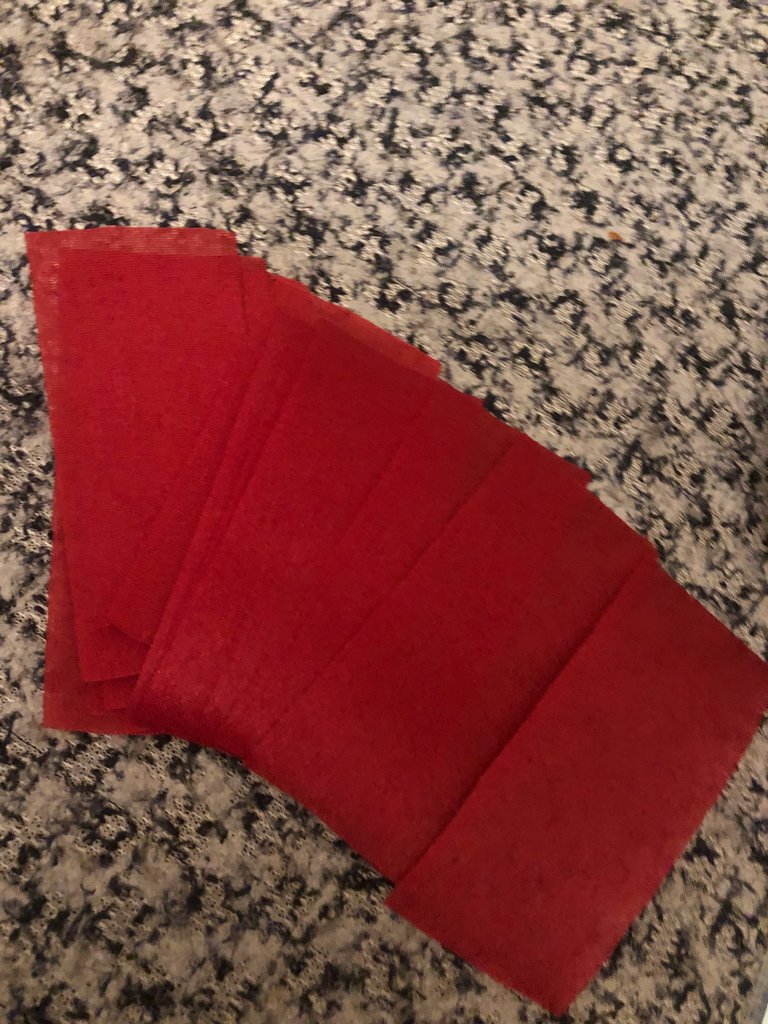
For the next step I lighted the candle.
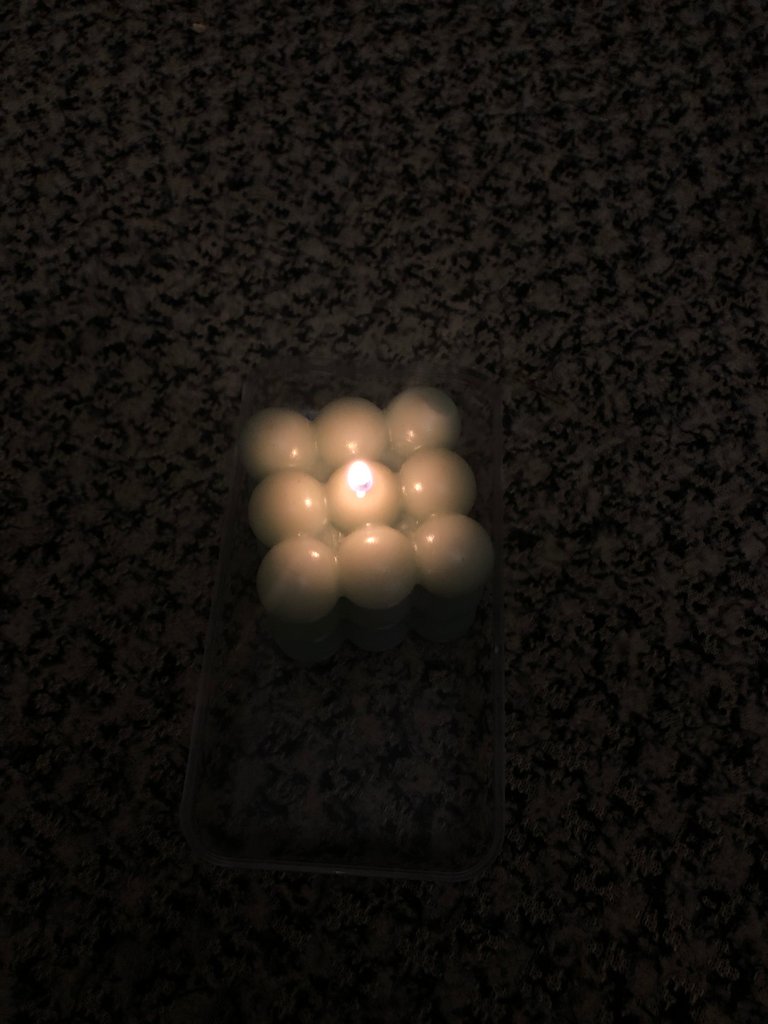
Now I picked on of the ribbon patch and folded its on end.
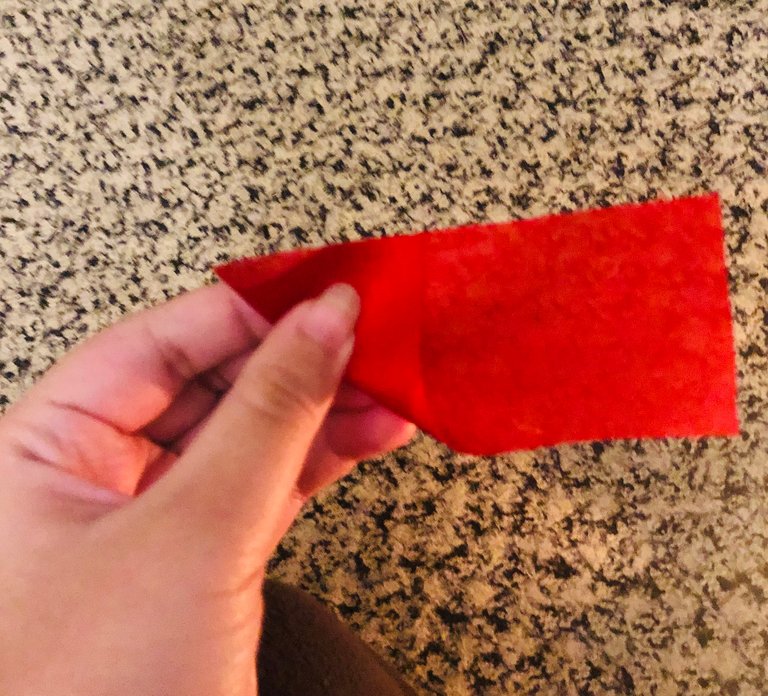
And after folding it, I bring that folded patch close to the candle and then the ribbon got a little dissolved with heat, it helped to make the folded part held in the place.
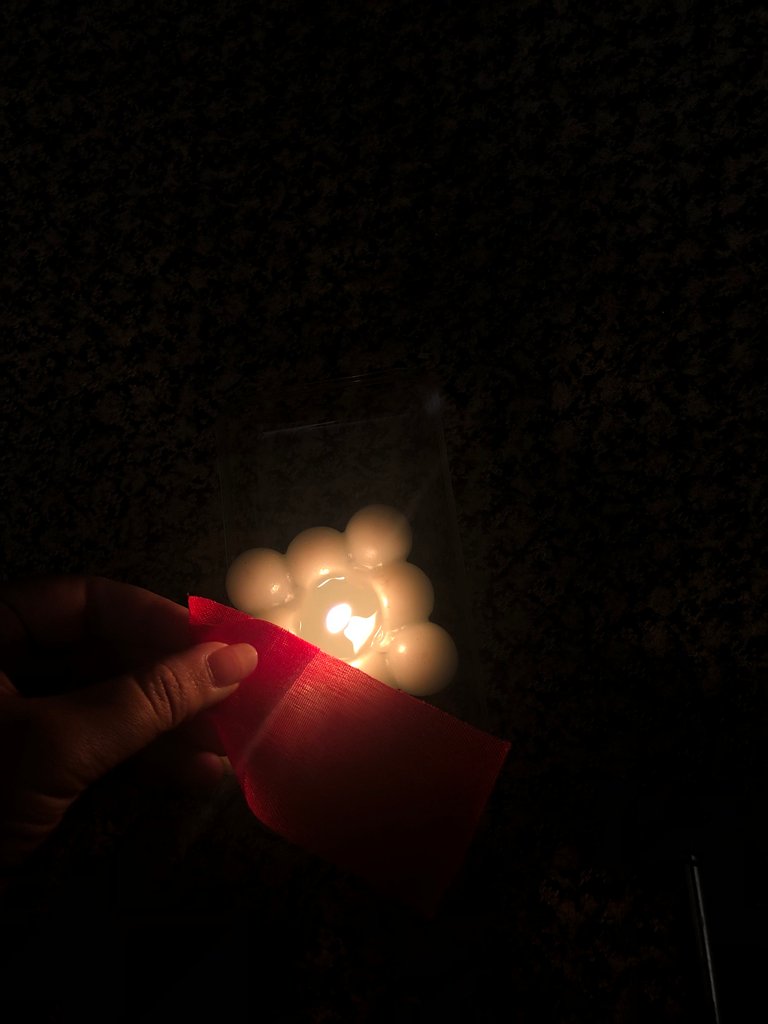
Now I took the folded corner of the ribbon and refolded it inwards, like this:
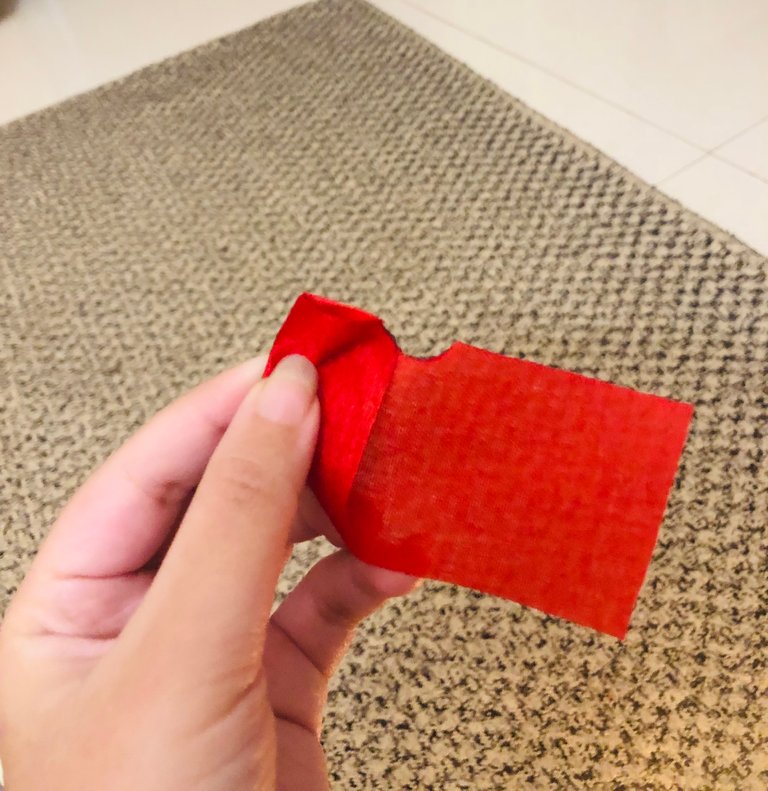
And the again used the candle to hold this new fold into place.
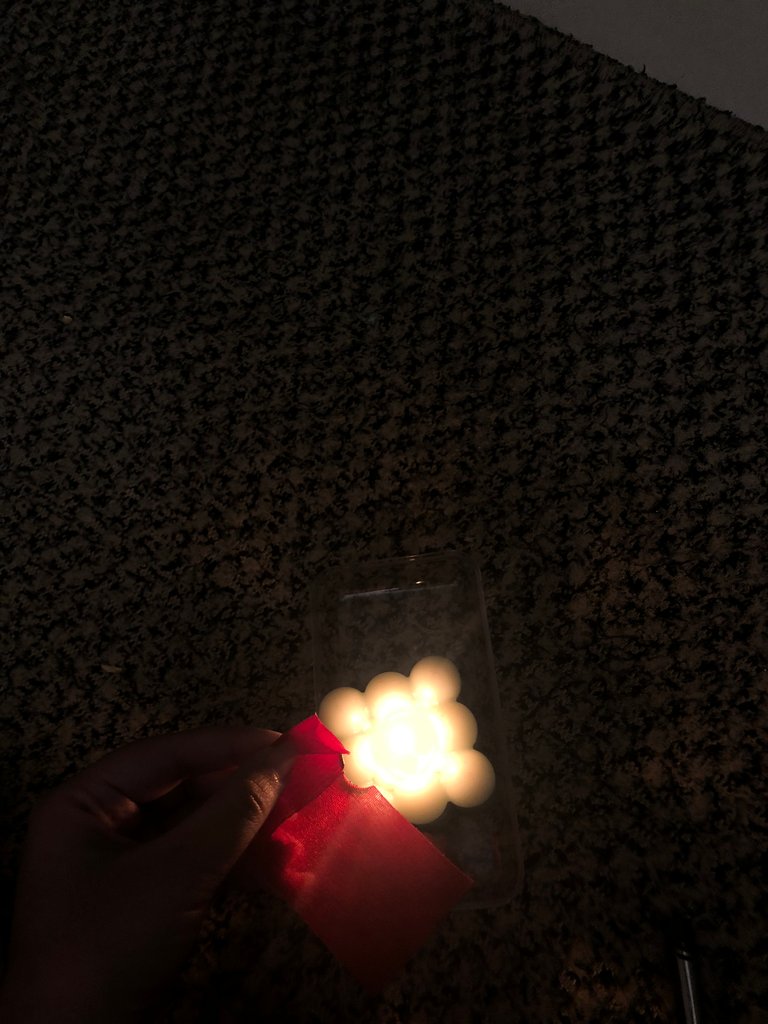
Now I repeated the same process with the other end of the ribbon by folding the end first then locking it in place and the refolding that end again and then locking it in place.
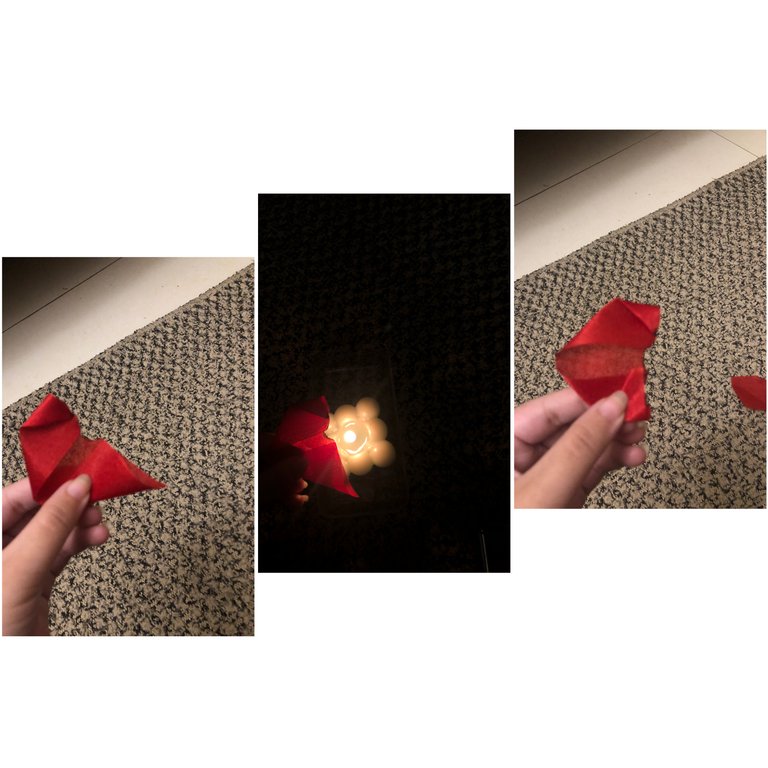
At this point i got my first petal for the rose, and this is how it looked like:
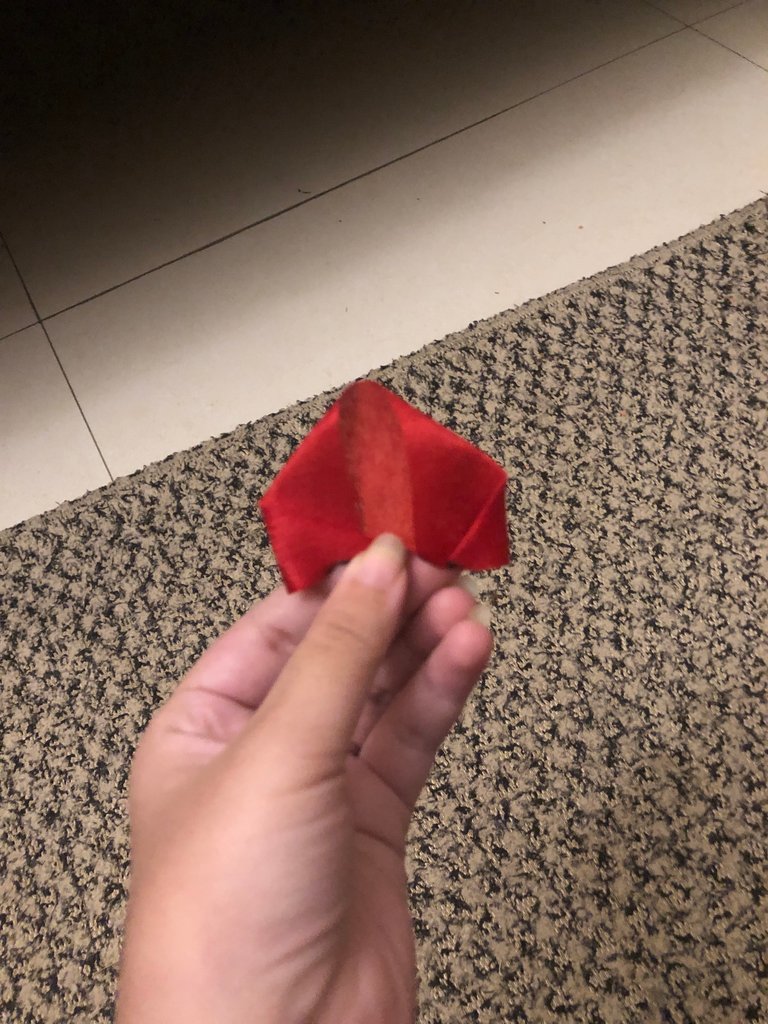
By repeating the same process, I made 12-13 of these.
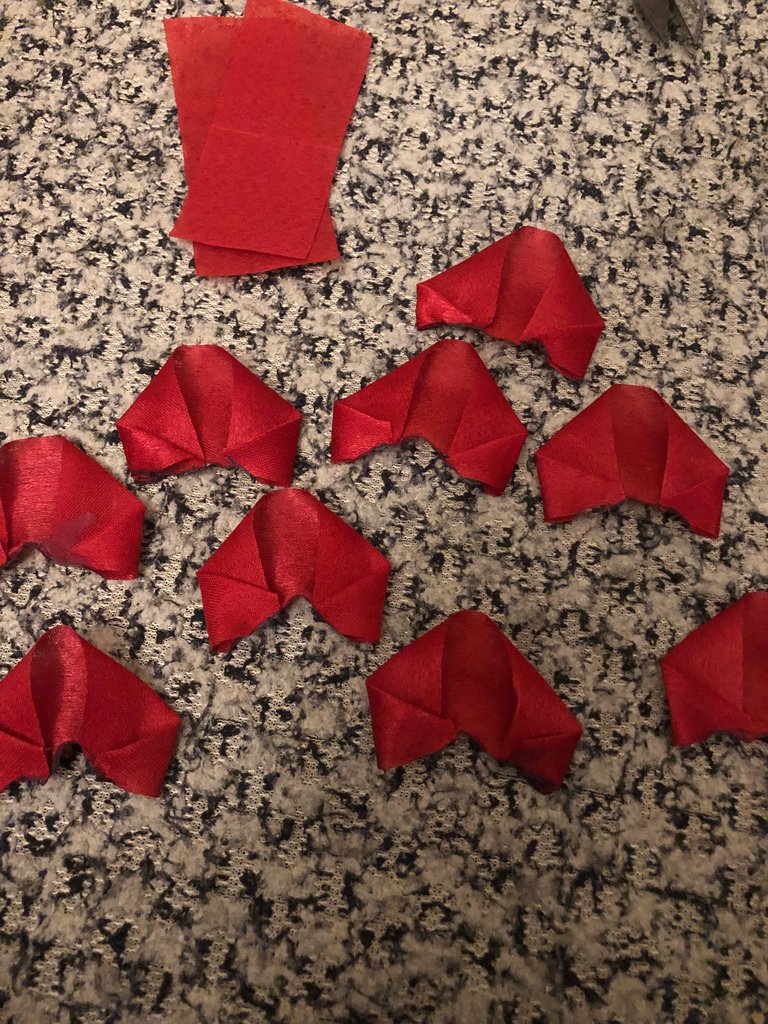
Now I arraged them in a row and started to glue them.
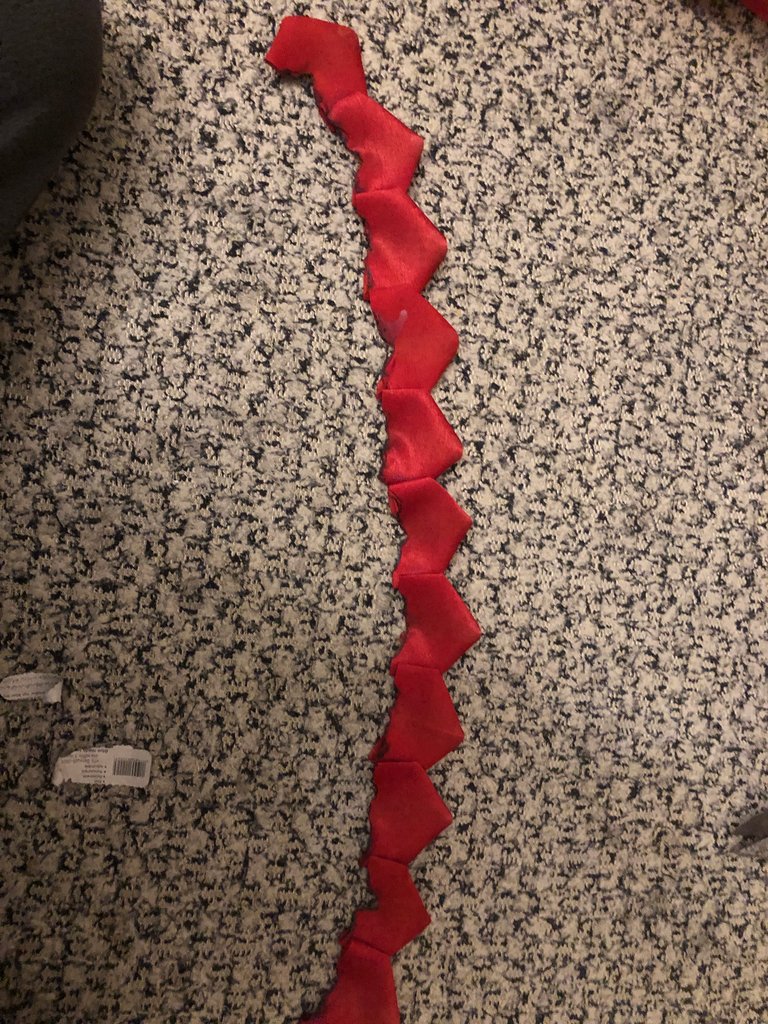
Added the glue to the one end of each petal and sticked the other petal over it.
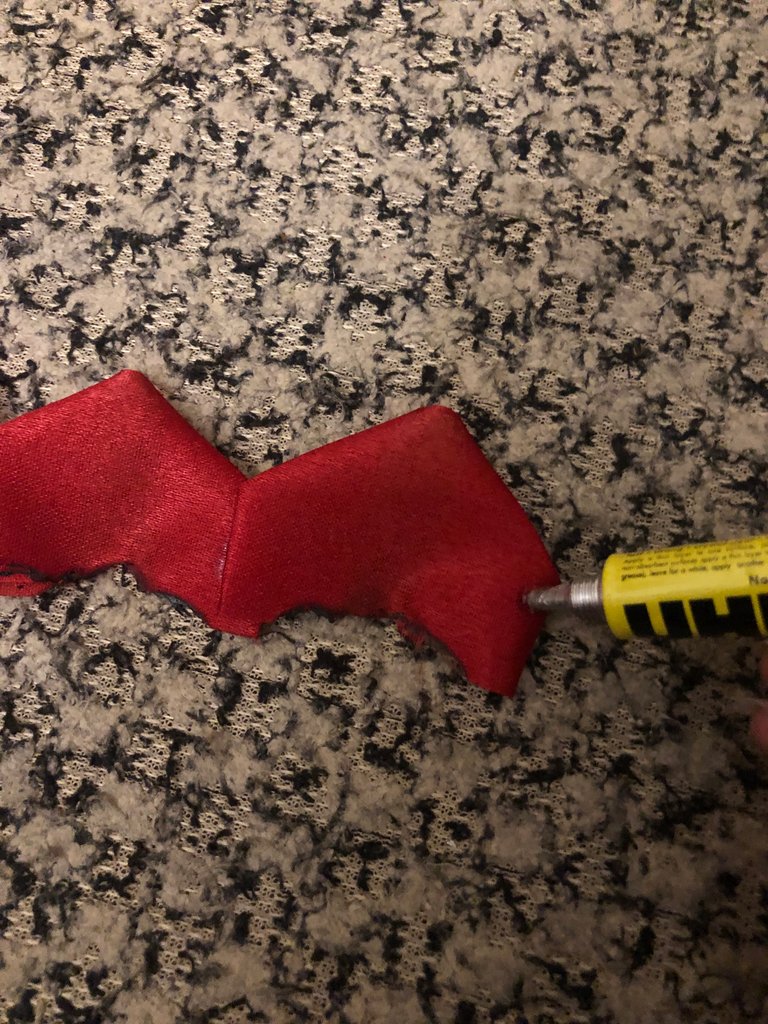
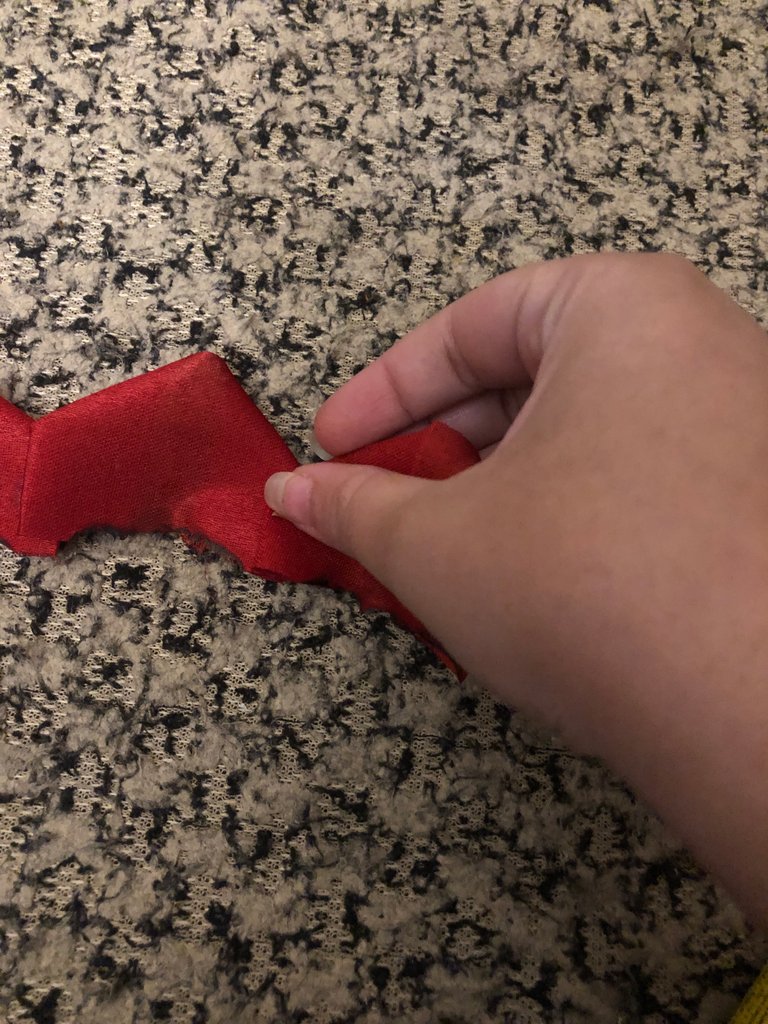
Now that the row is completed, the final step in making the rose is to add the glue to the row of that petals.
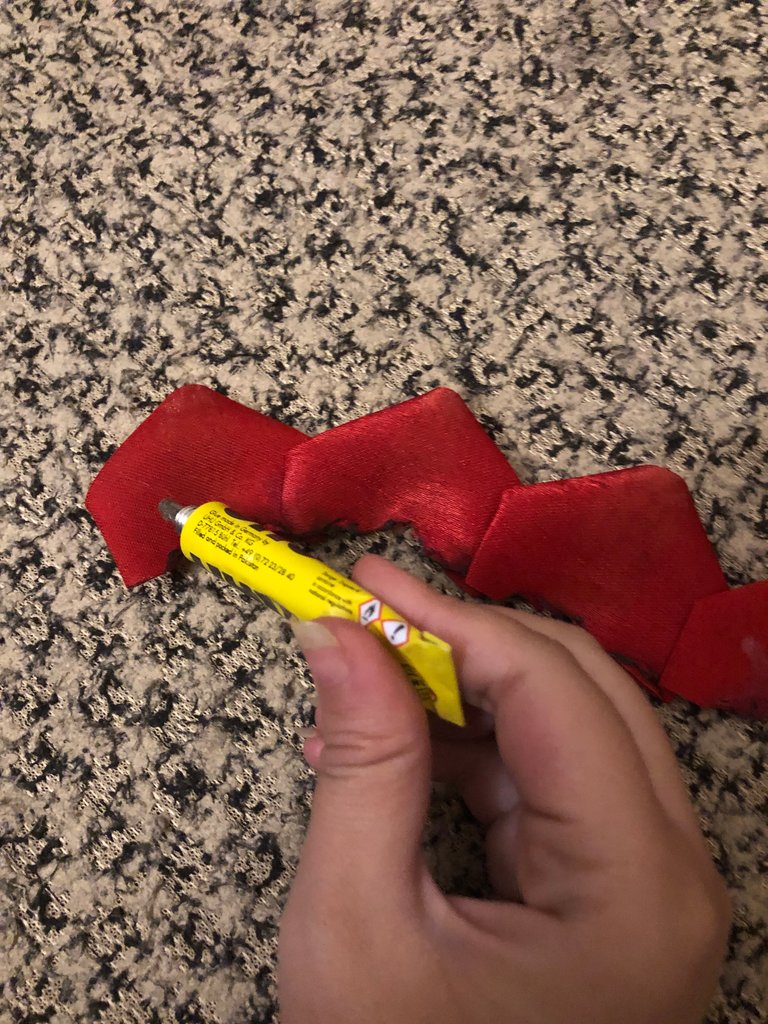
Now I took the tikka stick and started to roll that row of petals over it.
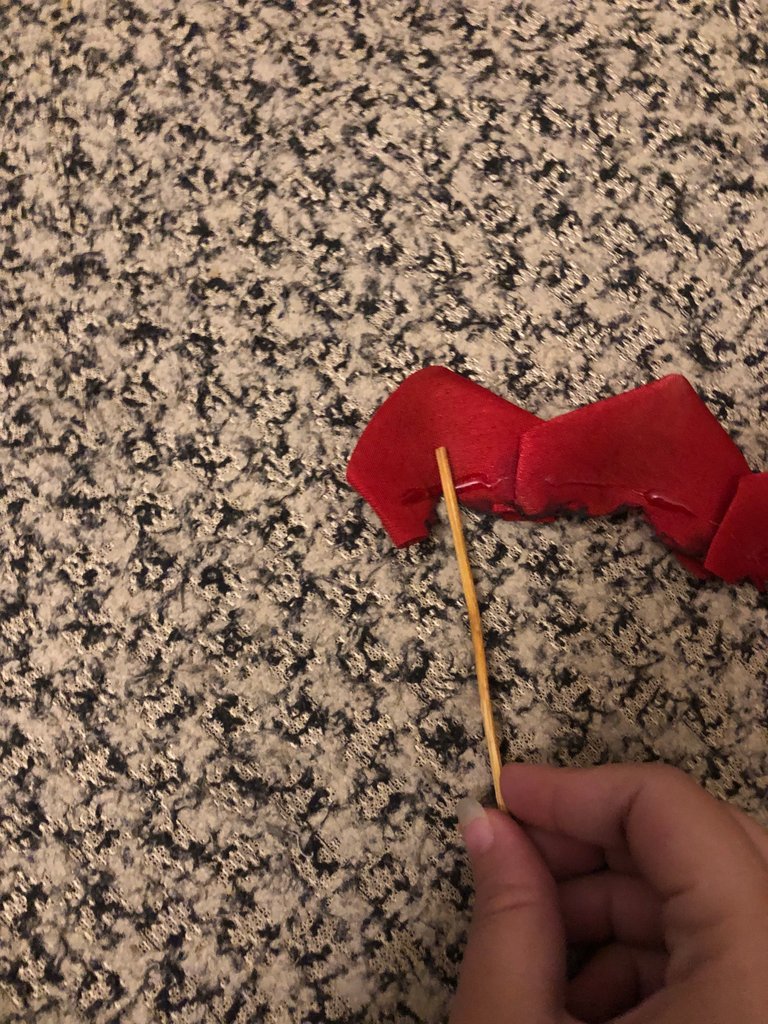
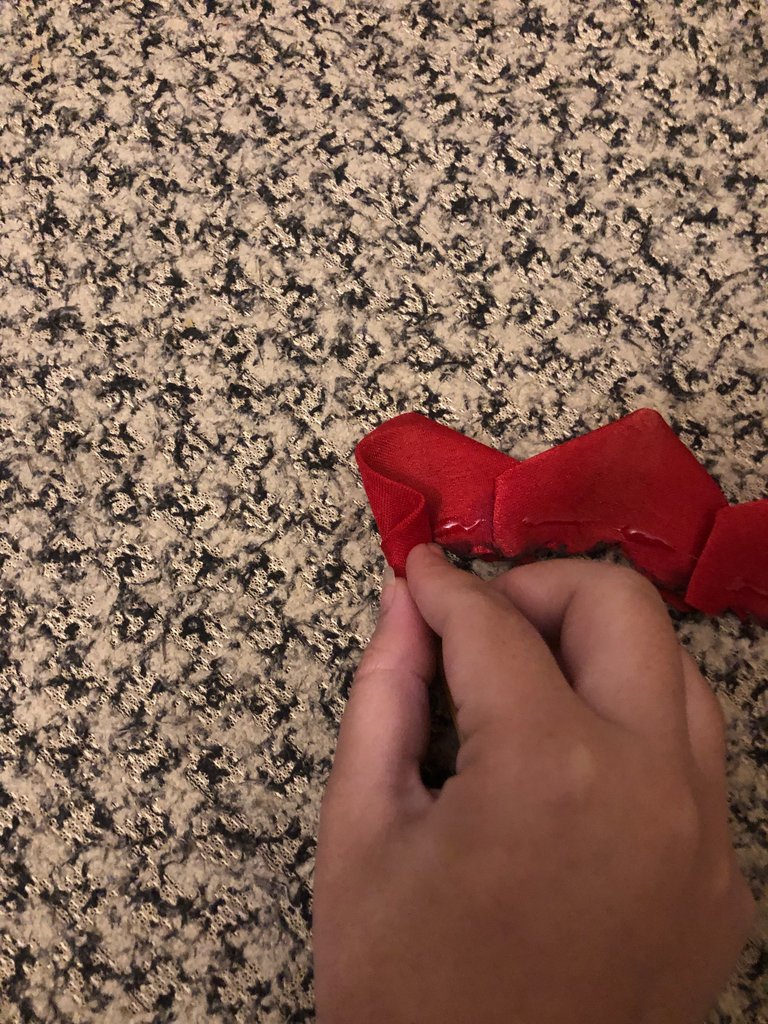
After rolling it completely, first rose is ready.
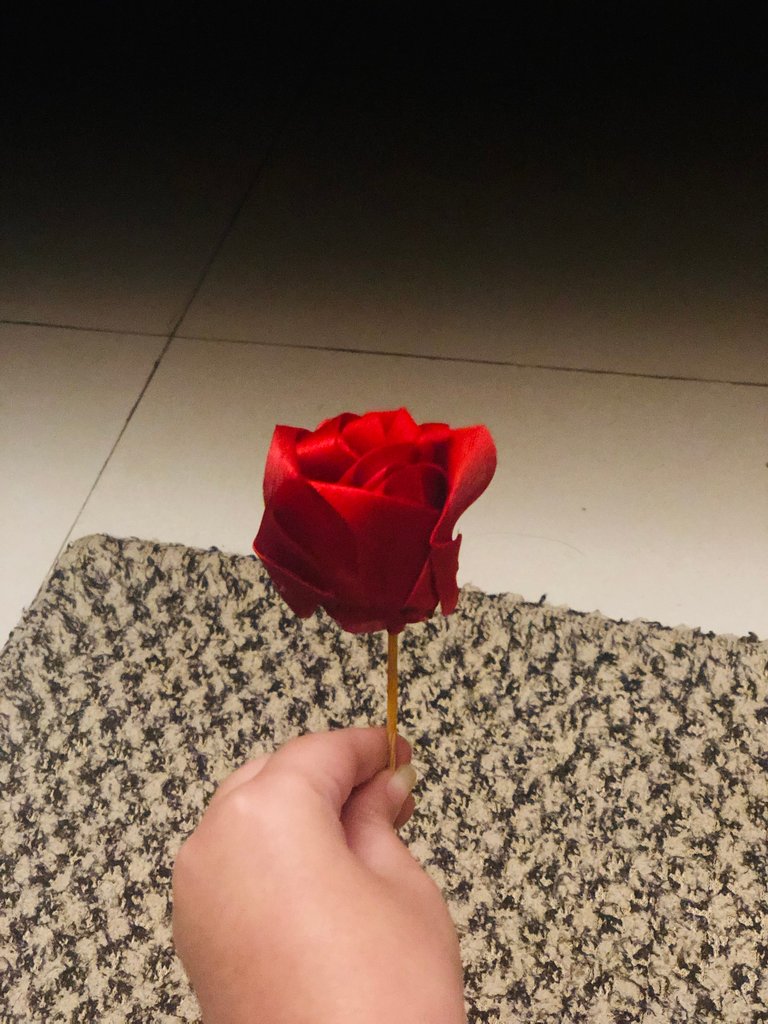
Then, I used the same process to make other roses too, but I switched from candle to lighter.
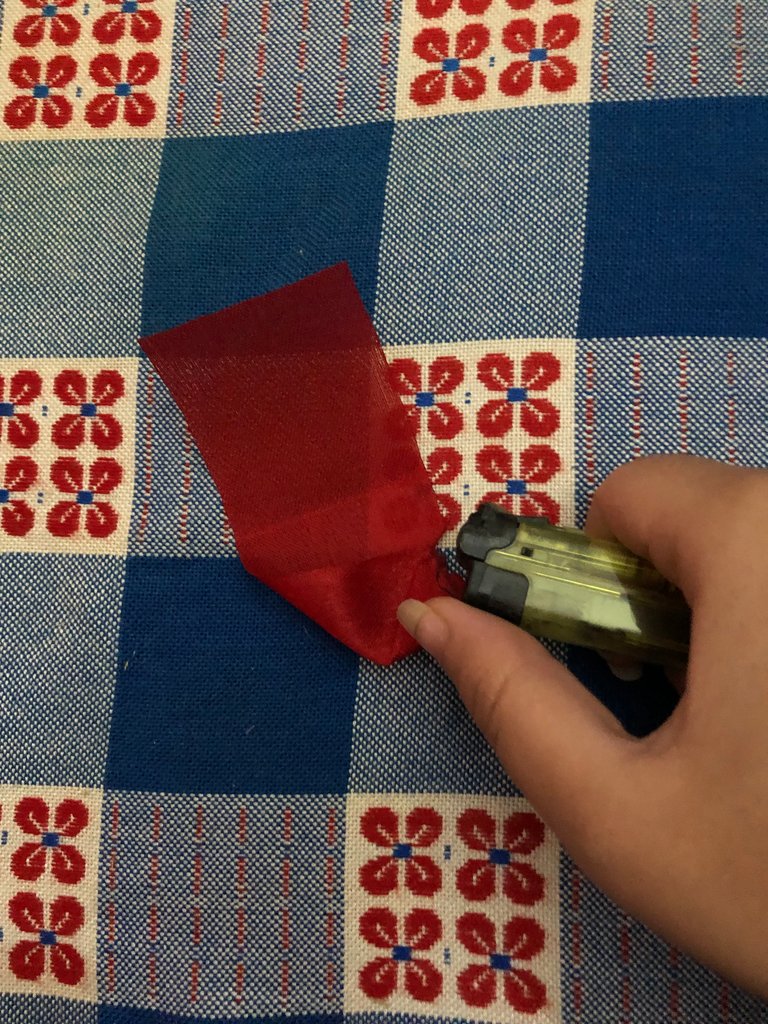
And I was making the petals for each rose first, so that the lighter work was done in one go, and then i could glue them in go.
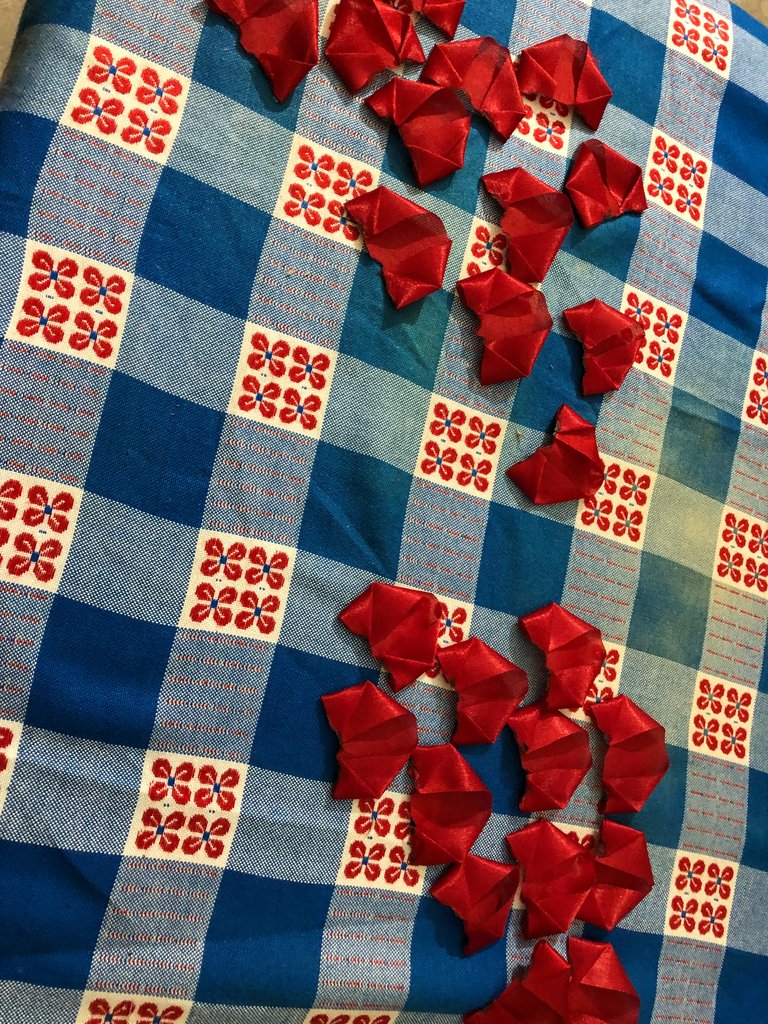
However, after repeating the same process I made 9 roses.
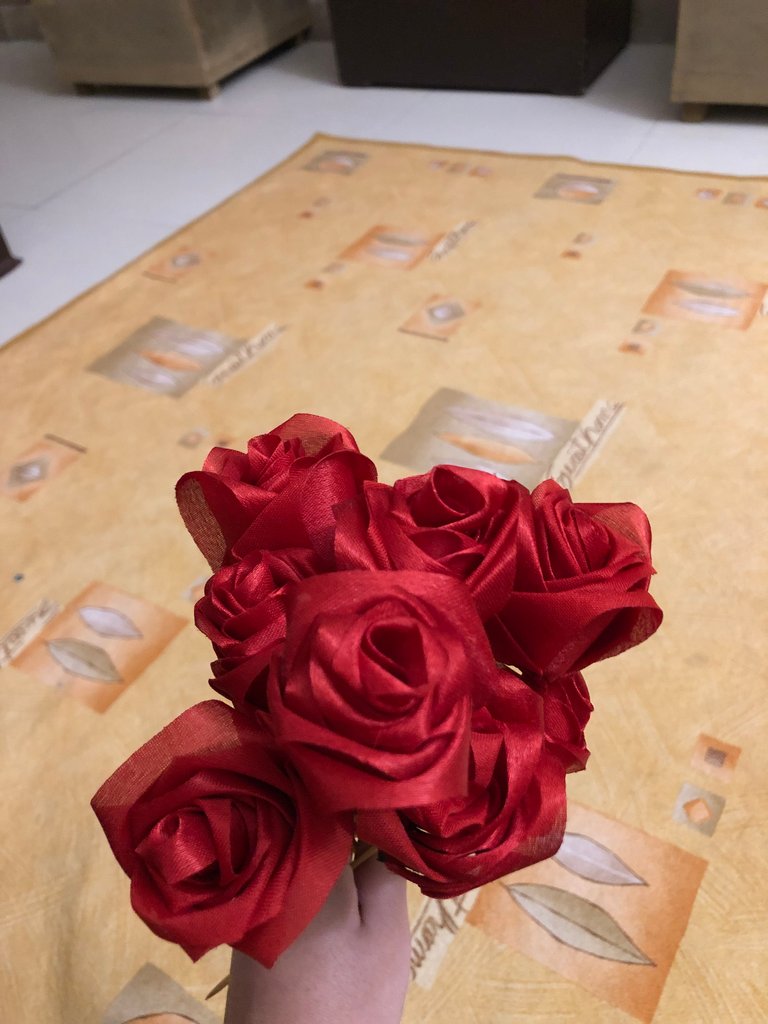
They were looking so good. Then, I took the styrofoam block.
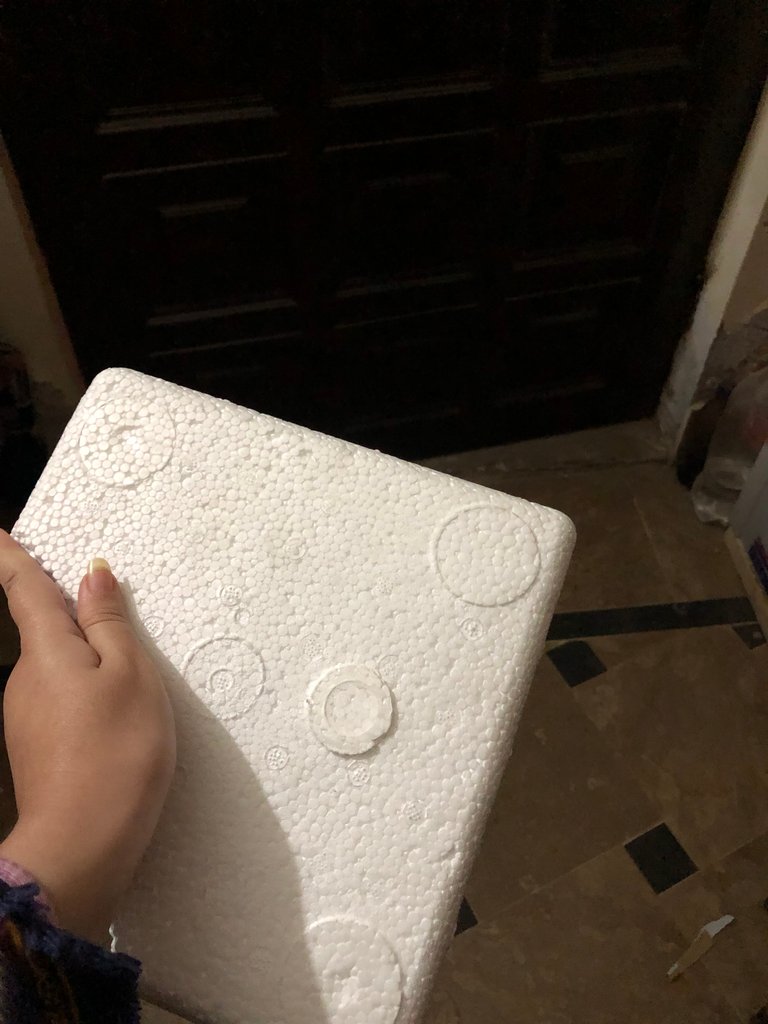
And cut a small piece of it.
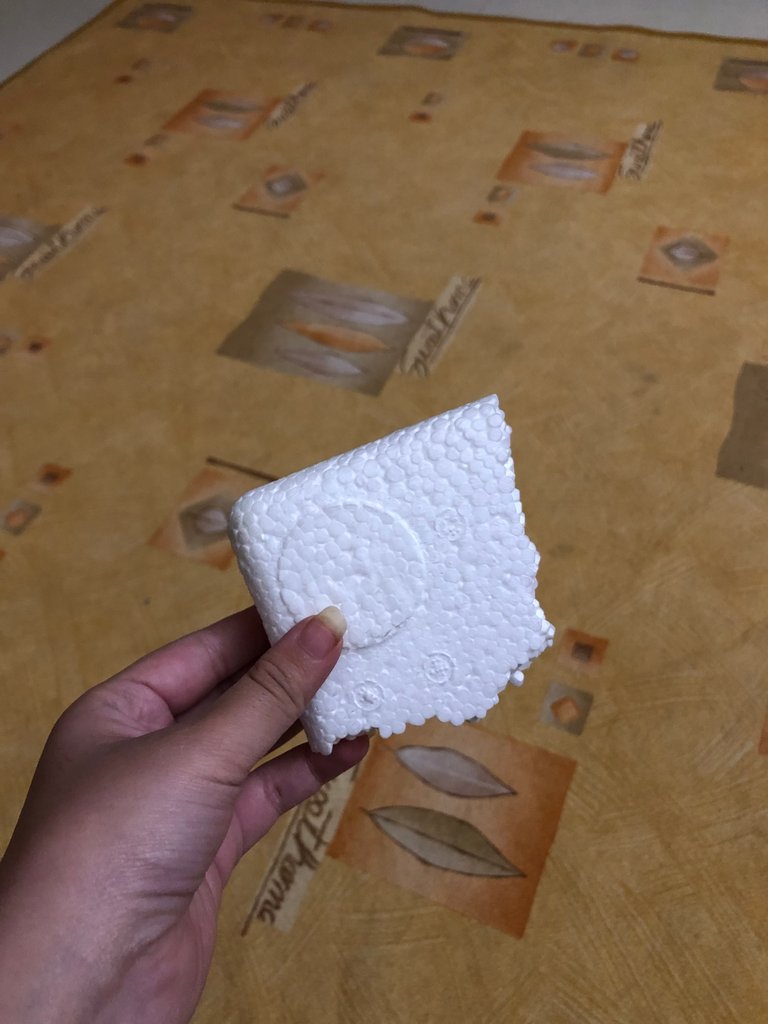
Then I added the rose inside it. So that the rose is held tightly in the place.
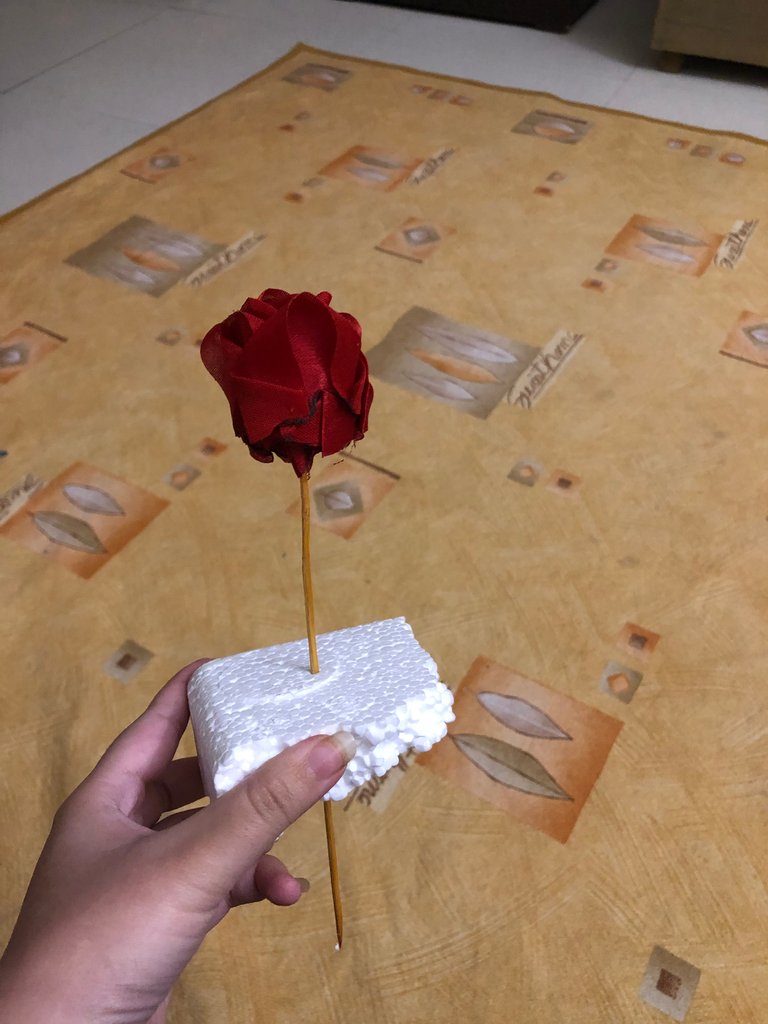
Then I started adding each rose according to the suitable arrangement, till all the roses were added.
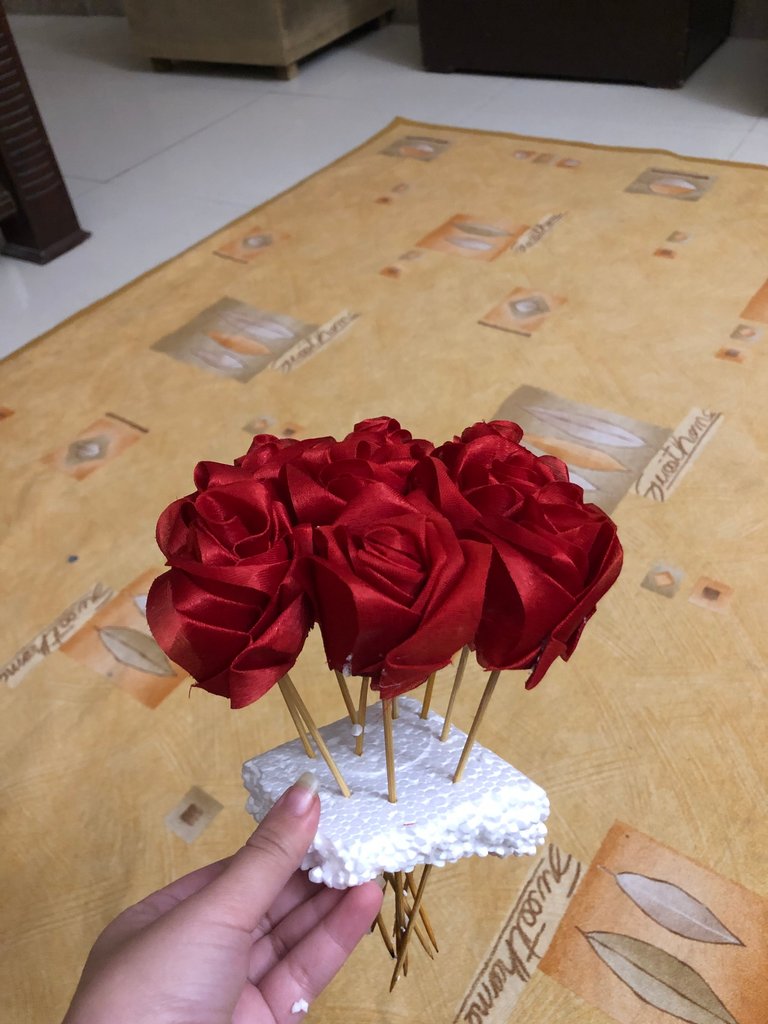
Now the roses were held firmly in the place. I took the double sided black paper sheet.
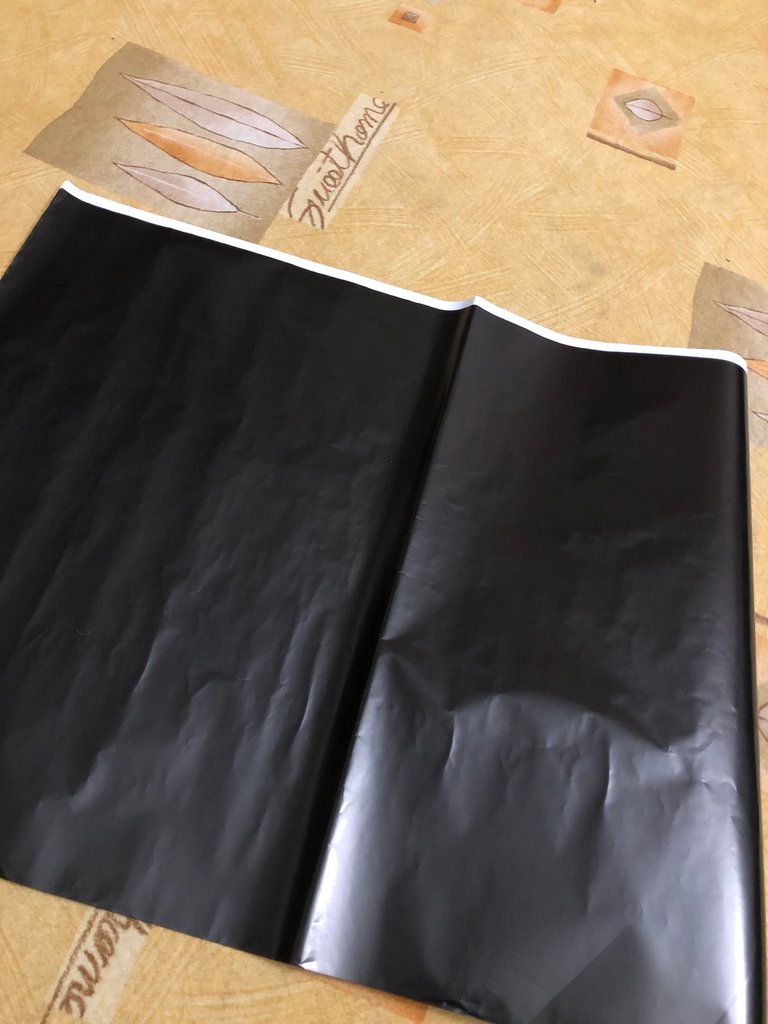
And then folded it from the middle like this:
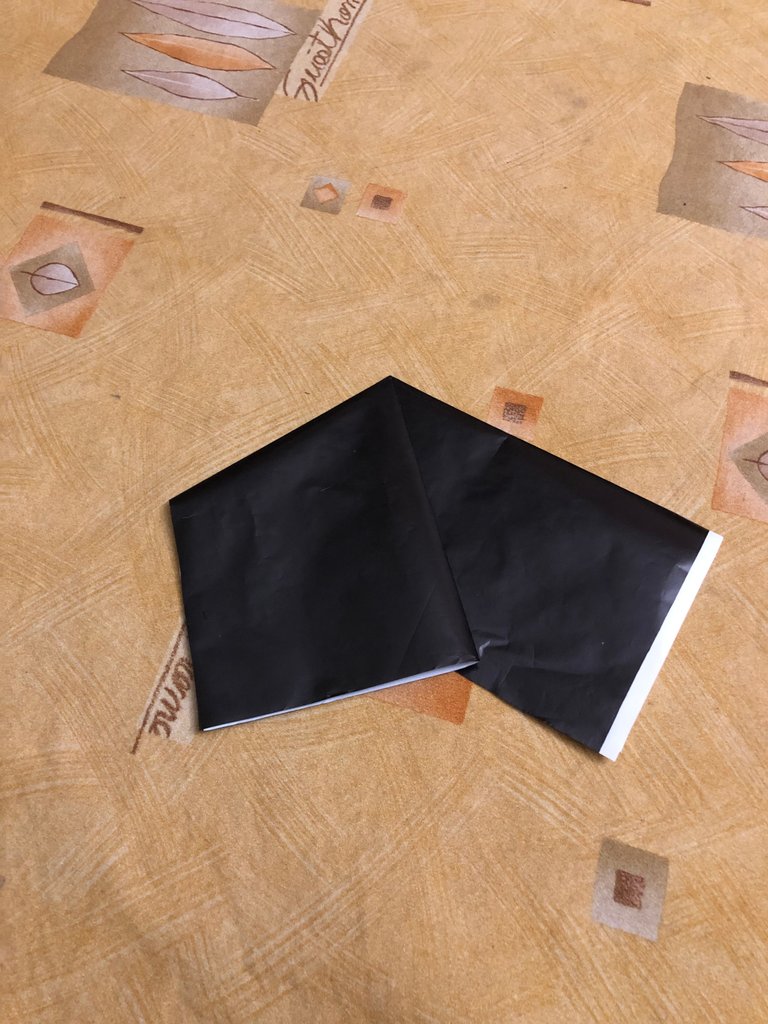
Now I placed the flower set on this sheet and wrapped it around the set.
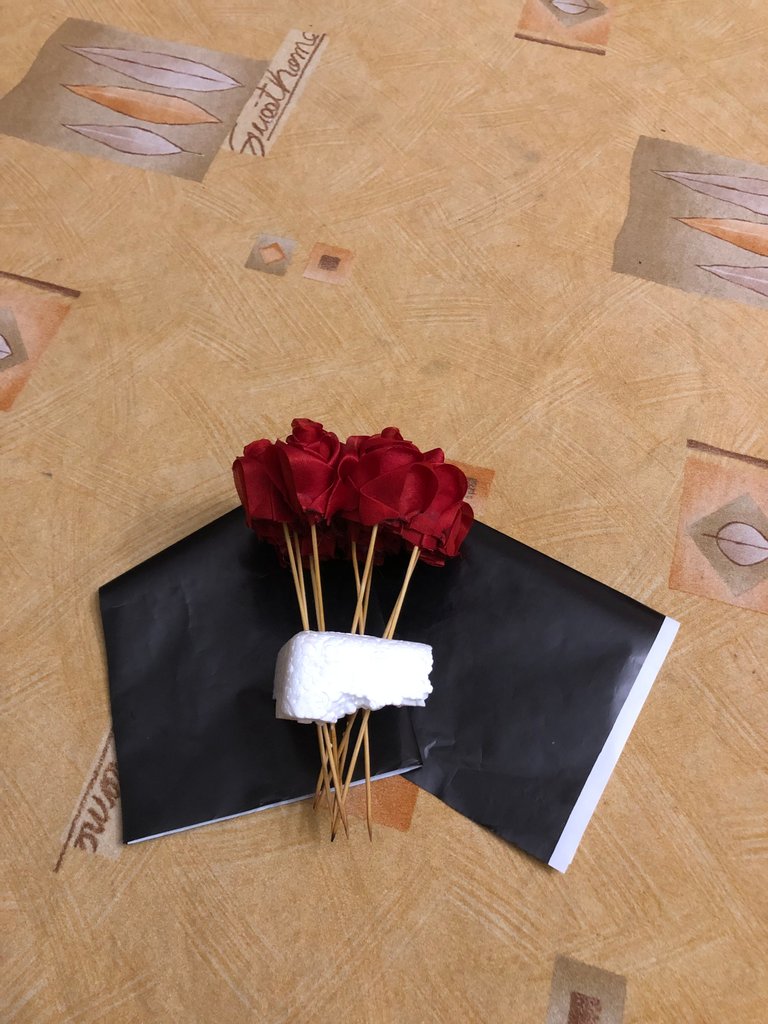
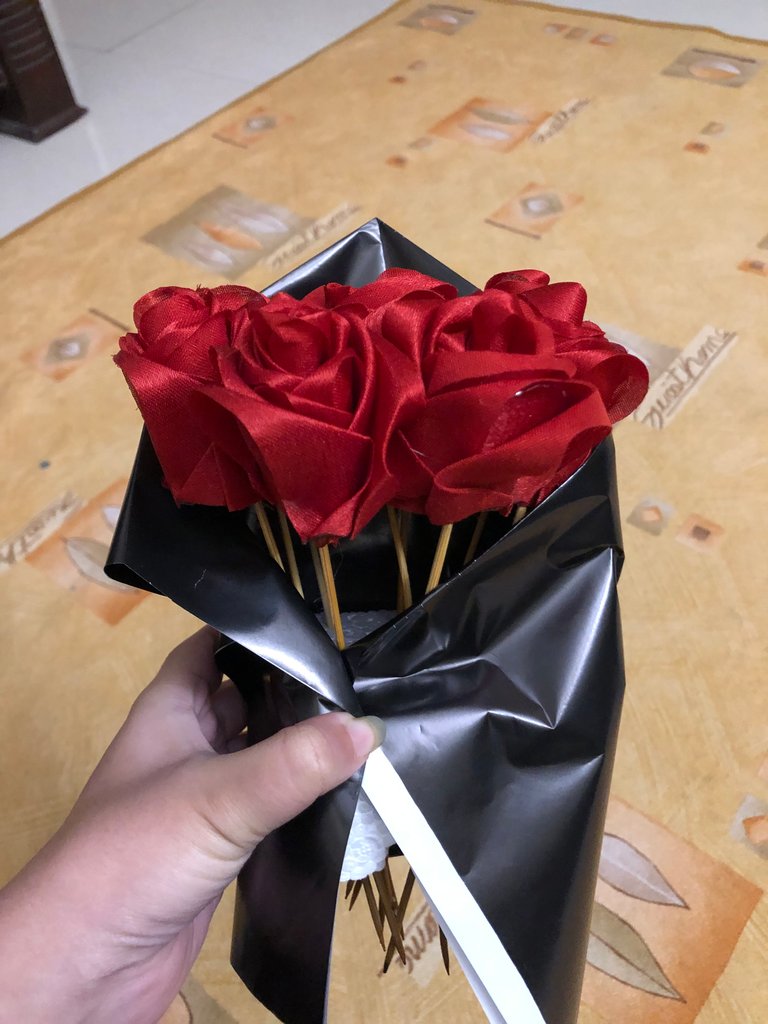
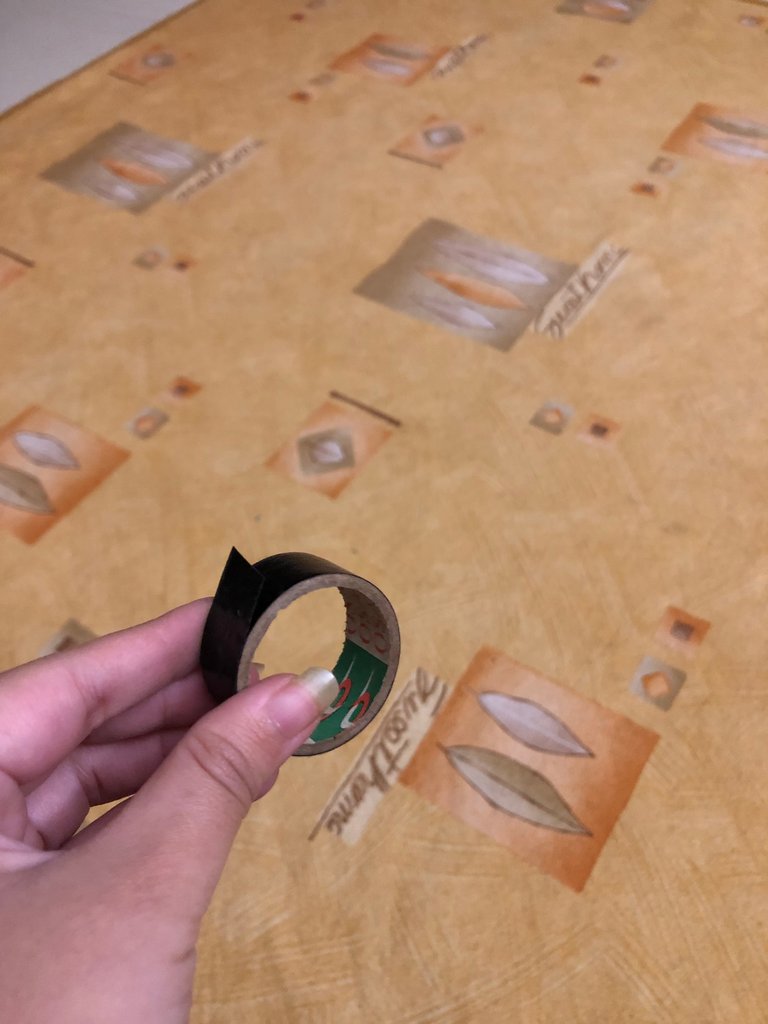
I used the black tape to make it stay in the place
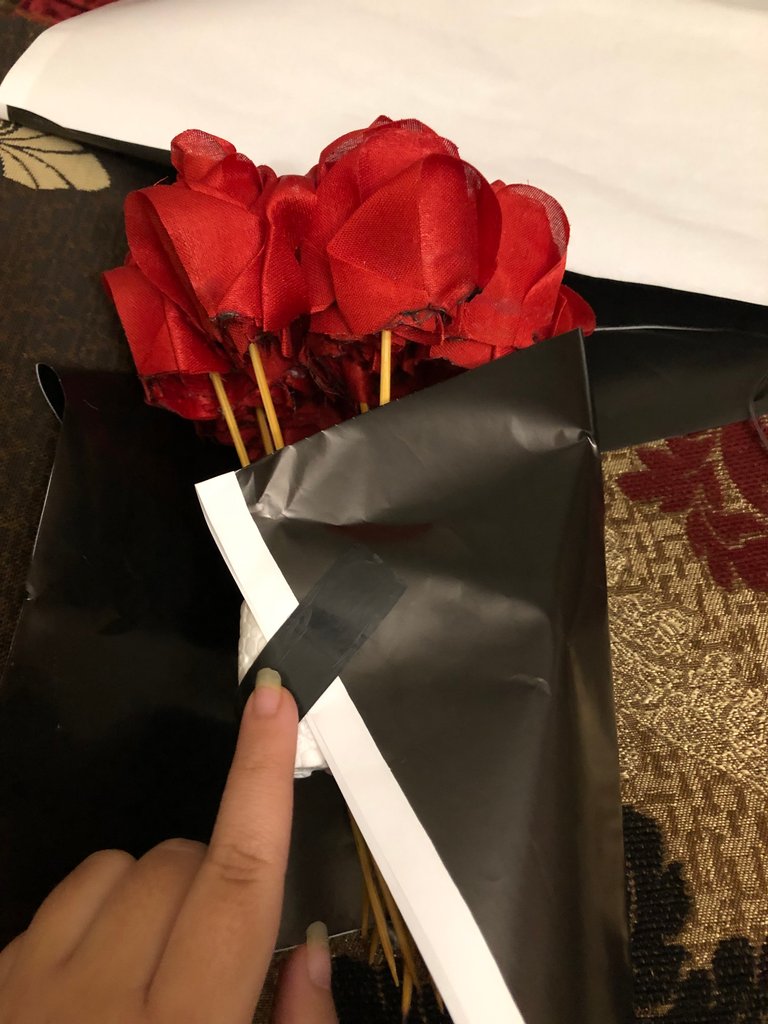
And this is how it looked after settling it down:
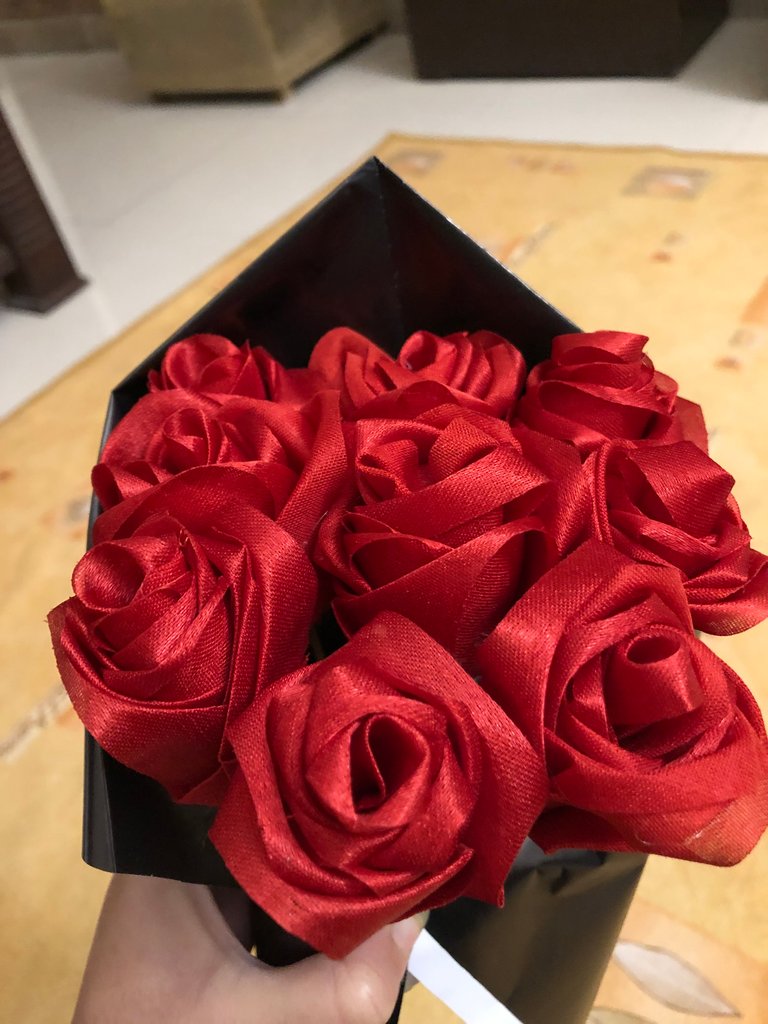
Then I used multiple sheets in the same way to maintain the same warpping style. After wrapping it up completely, this is how the final bouquet turned out.
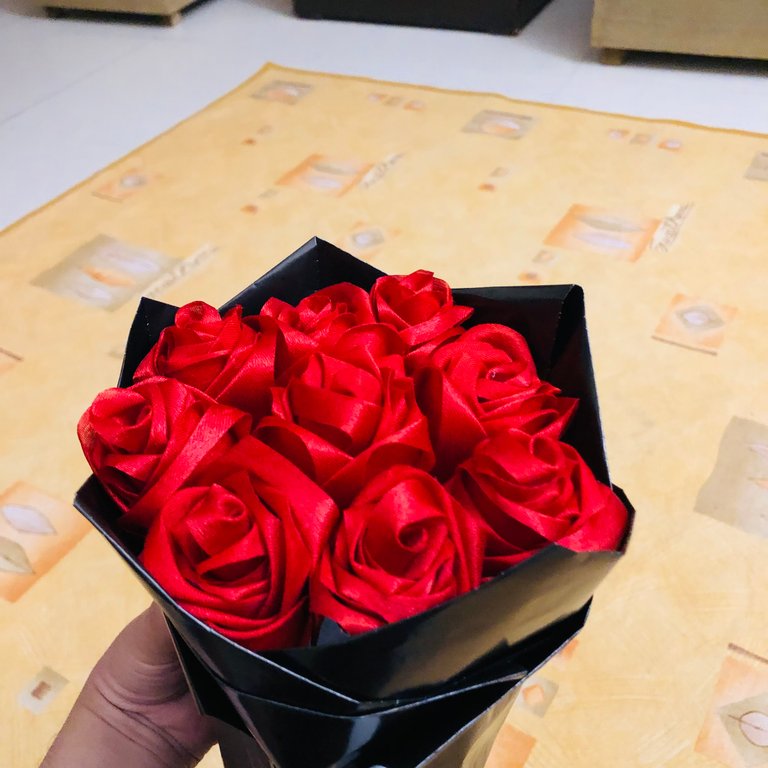
I really loved the final outcome, I hope you guys liked the blog and the bouquet too. That’s it for todays blog. See you guys in the next one. 🌸


