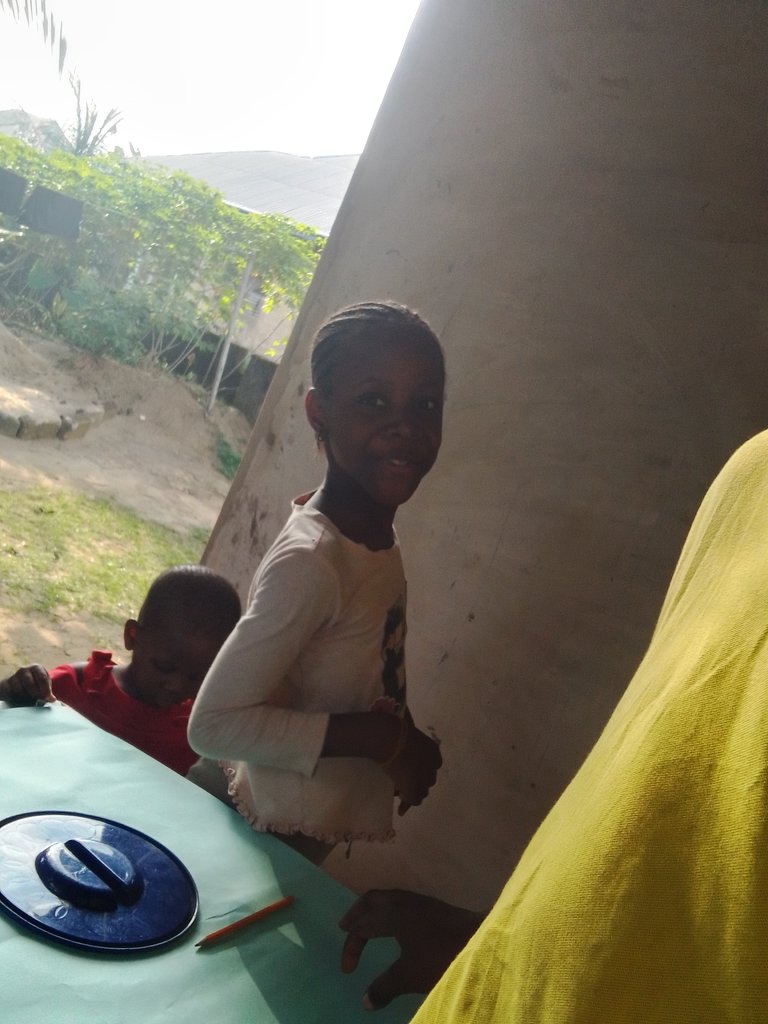
As a teacher, I try to engage my kids with more practical than theory, even when I am explaining certain terms for them, I make sure I use proper illustration for a clear understanding.
Over the weekend, we decided to be creative and put what we have always learned to practice.
In our exercise one, I taught one of the kids on how to create a colour wheel using a cardboard paper.
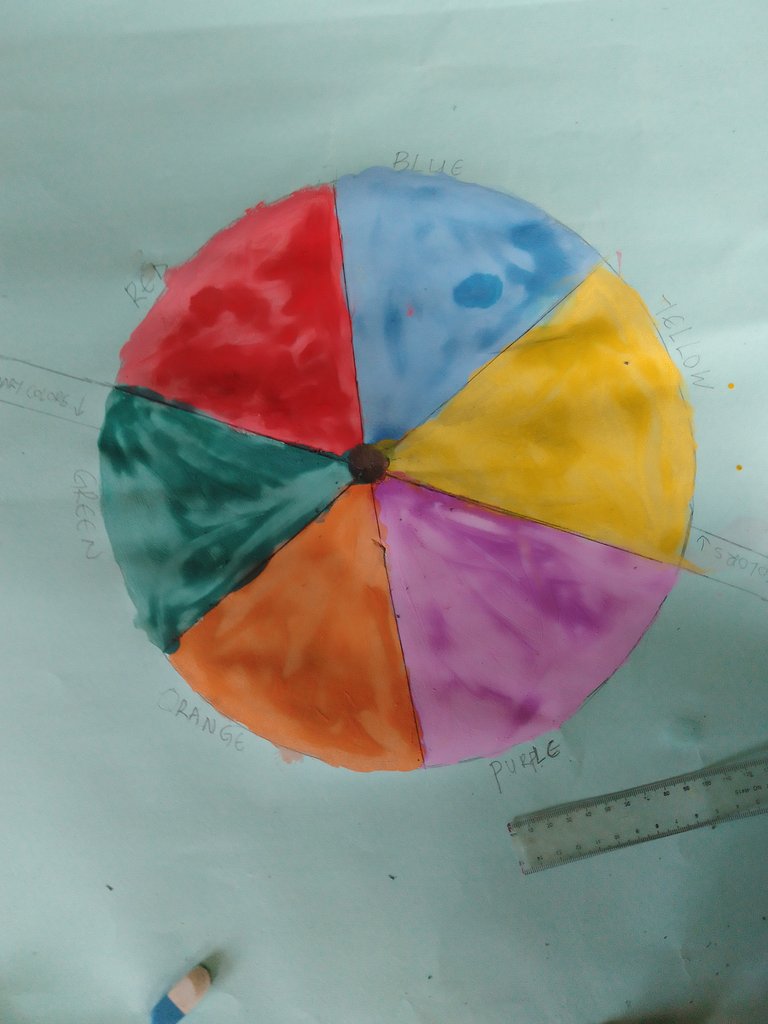
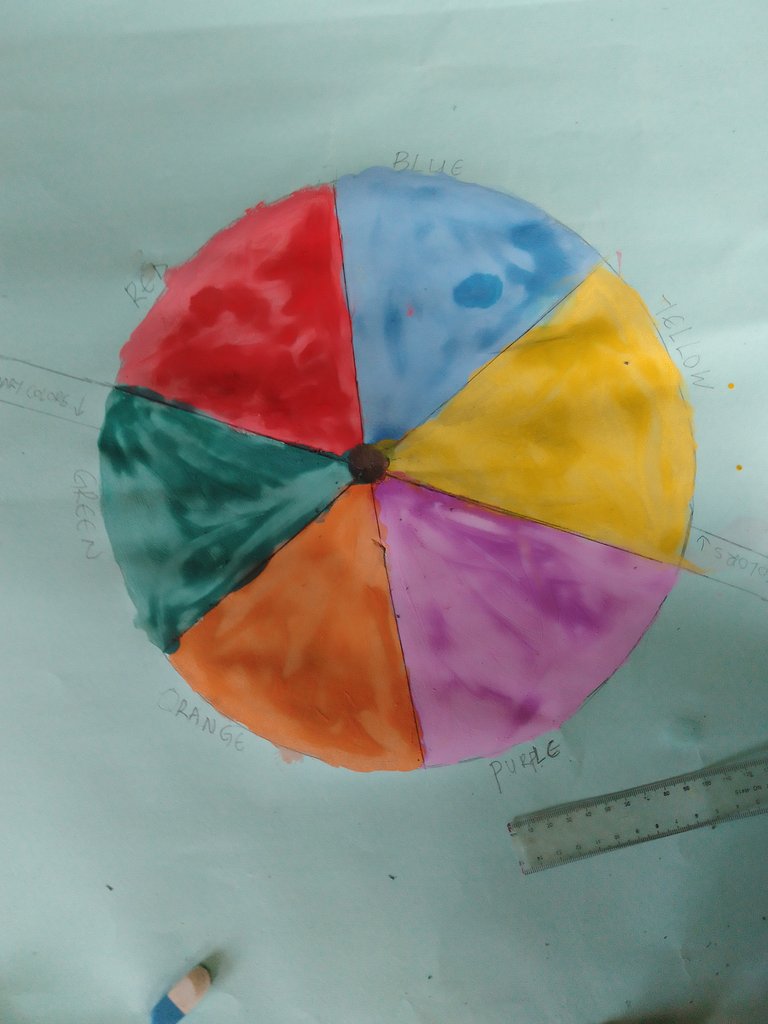
For their level and for a quick understanding, we firstly learnt what a color wheel is. A colour wheel is a circular diagram showing how colors relate to each other. It looks like a big pie chart with different colours.
We have the primary colour which consist of Red, Blue and Yellow 🔴🔵🟡
We also have the secondary colour which consist of * Purple, Green and Orange* 🟪🟩🟧 and we got the secondary by combining two primary colors together.
For the colour wheel, we made use of the following materials: A pencil, a cardboard, ruler, a round object and poster colors.

We started by placing the cardboard on a table, where we glue the ages to avoid it being folded.
Then we moved to drawing a big circle using a big round rubber cover.

After that, we used a ruler and divided the circle into six places, each starting from a particular point so as to form a wheel.

We divided the section into primary and secondary colors.
We proceeded by painting the primary colors with red, blue and yellow respectively.
Moving to the secondary colours:
We got the Green color by mixing blue + yellow color
We got the orange color by mixing red + yellow colour
And we got the purple color by mixing blue + red Colour
We applied them on the cardboard and we got this beauty.

Isn't this beautiful?
Guess what we will be creating next?
See you tomorrow.
Thank you for reading.


