Hello needlework.
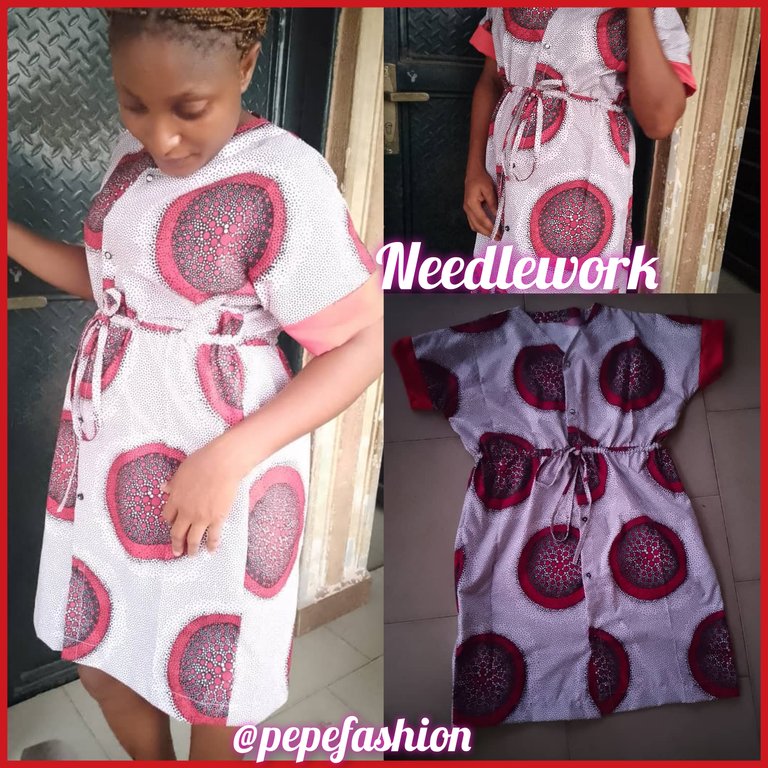
Happy new week and happy needleworkmonday, how are you all doing today? I hope everything goes pretty well with you all, i want to use this opportunity to share with you all on how i cut and sew this stylish Bubu shirt free dress with drawstring waistline for myself.
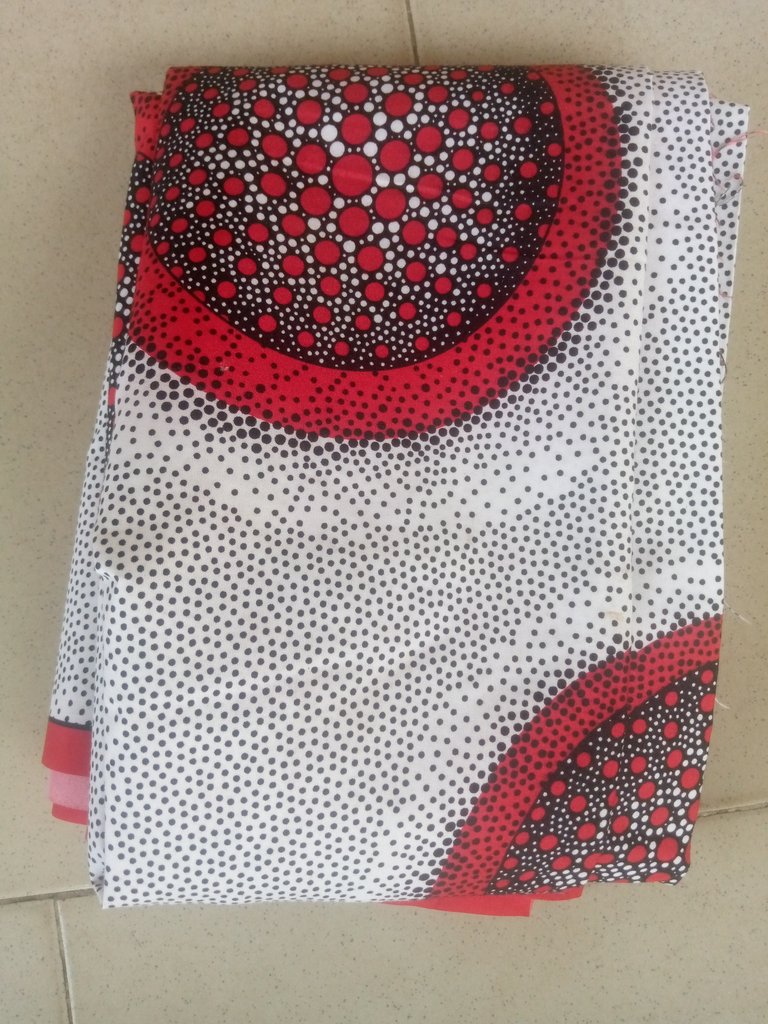
It's a good and sweet season, so we had a plan to visit our Aunty, i looked around my wardrope and i noticed that i don't have a new free dress, i was thinking on something free and simple to wear, i felt so bad asking myself how can i be a seamstress and I'm looking for something to wear each time i want to go out, so i remember that i had a beautiful Ankara material that my Sister in-law gave to me and i kapt, so i was brought it out.
Without cutting it and i didn't have enough time to wait so i started thinking on a free simple style to used then i remembered i saw this beautiful style on a traditional marriage that i went, sometimes we the seamstress or tailor needs to went out for occasion uninvited or invited especially for traditional marriage or wedding, because we sew through people's style, i saw this style and i love it so much, so i pimp the style and i dicided to sew the same style for myself.
let's move to the procedure
I started by folding the fabric by four i measured out 1.5 inch for the front shirt button, i took out the shoulder and the sleeves length i then took the full length measurement, after that i took the body measurement divided by four, in this body measurement i took only my body measurement because of my prenancy so it will be enough free, then i added 6 inches allawance plus 1 inch for sewing then i moved to the neck point, for tue back side i took 1.5 inch for length then 3 inches for the withd then i took the front neck length by 9 inches length and 3 inches withd, i cut out the back neck and make a V neck at the front side, then i cut the both front and back out.
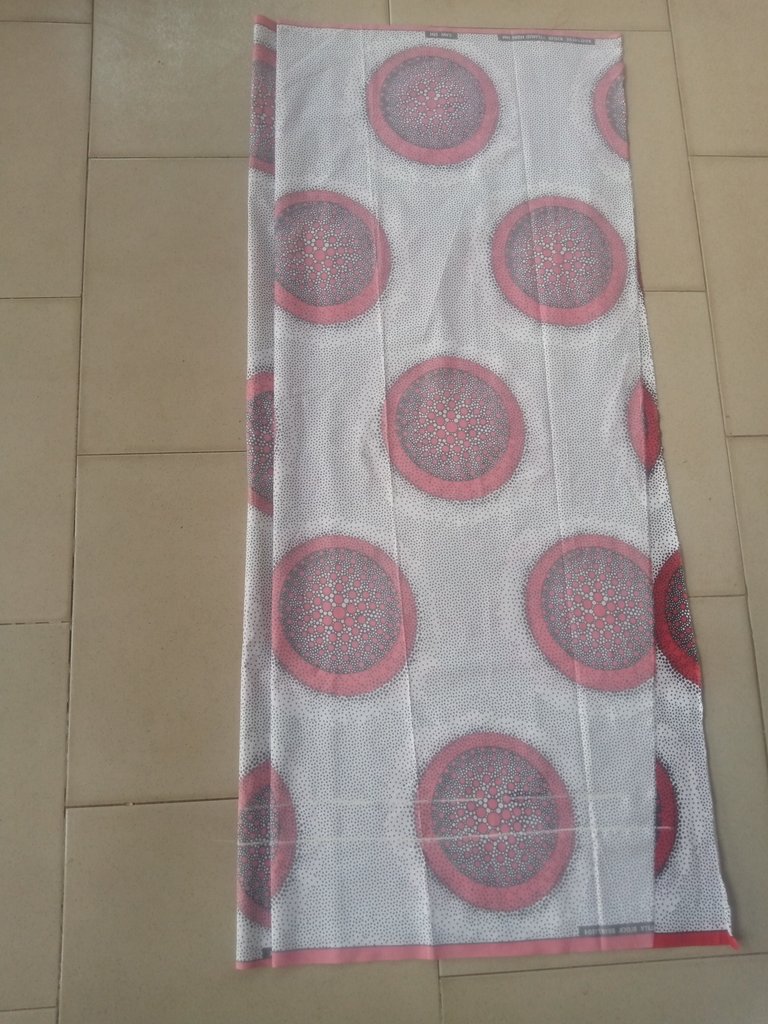
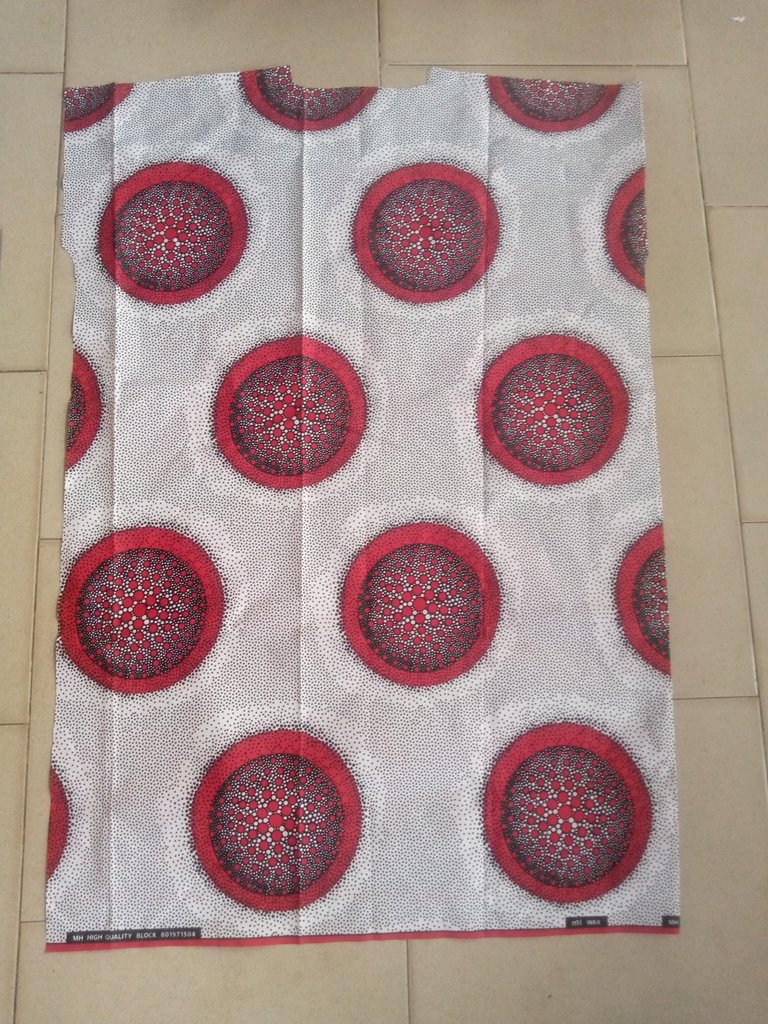
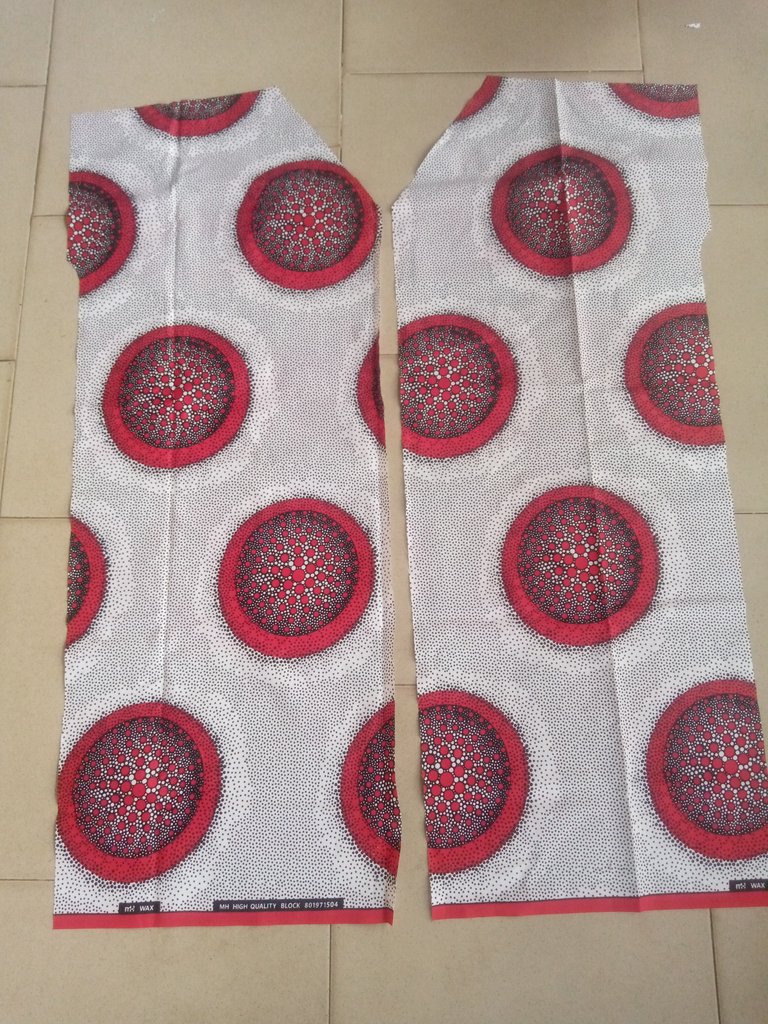
After cutting them out i now cut out a piece of 1.5 inch for the necklace turning, i firstly turned out the front button point and turned out the necklace too.
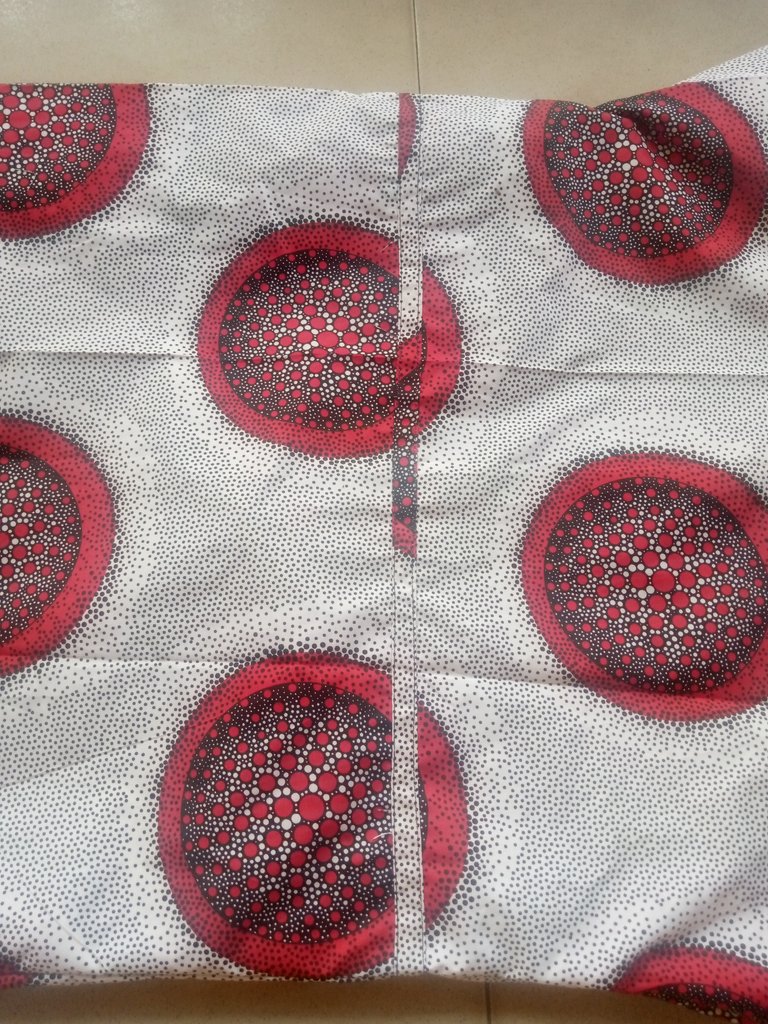
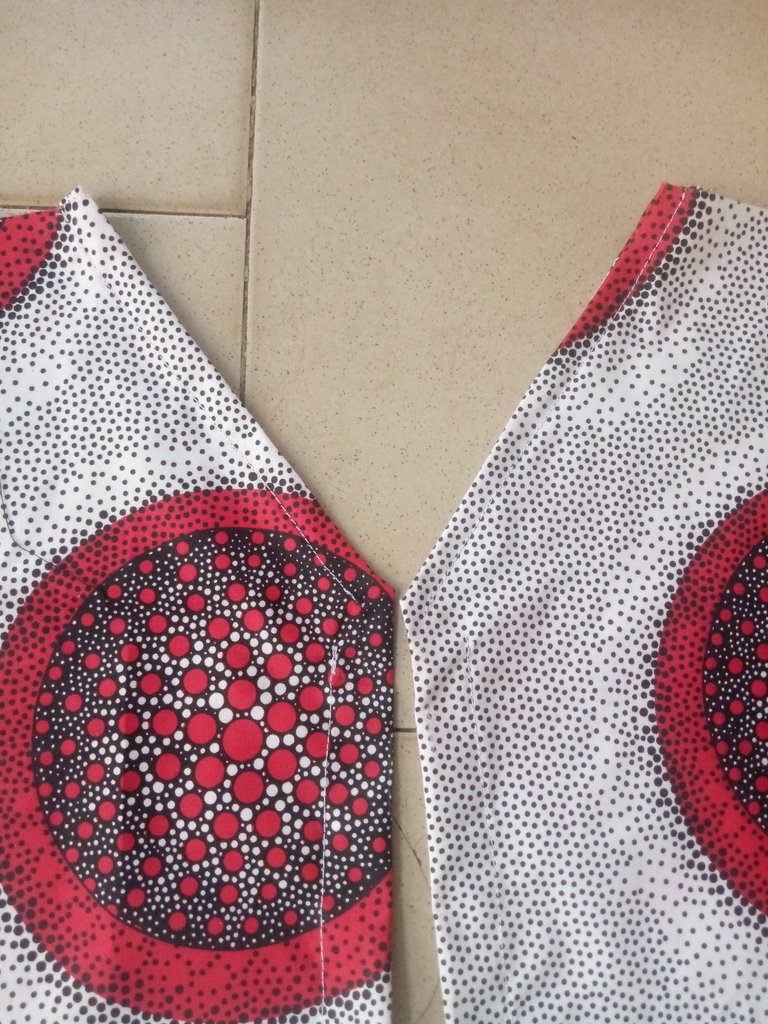
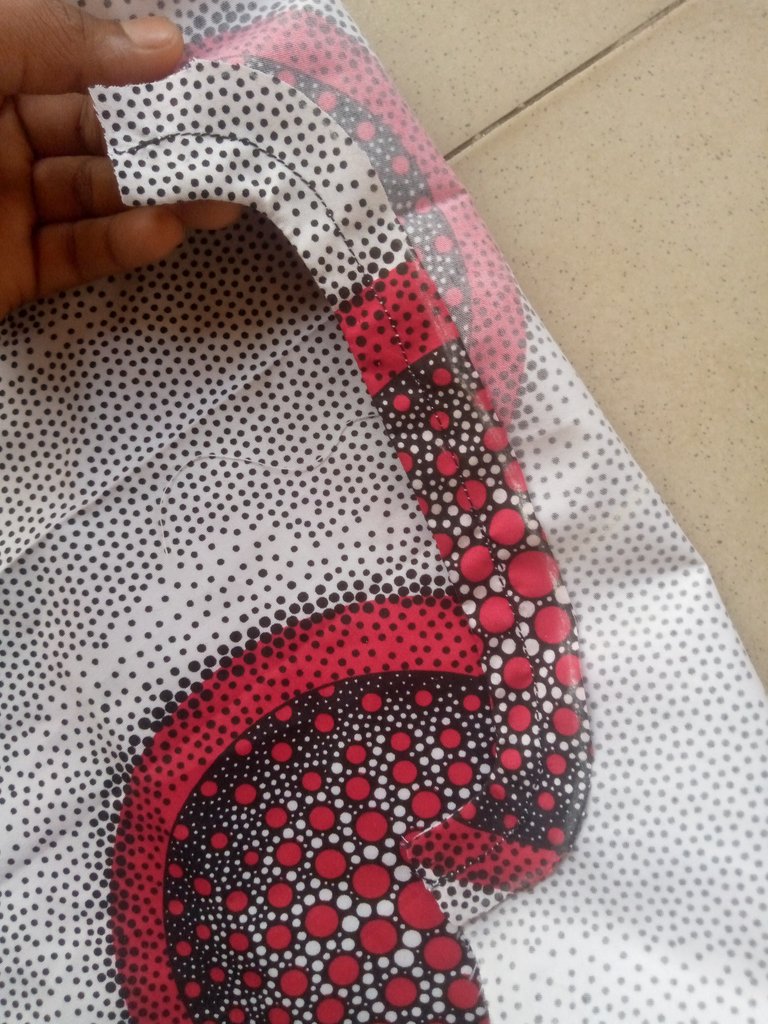
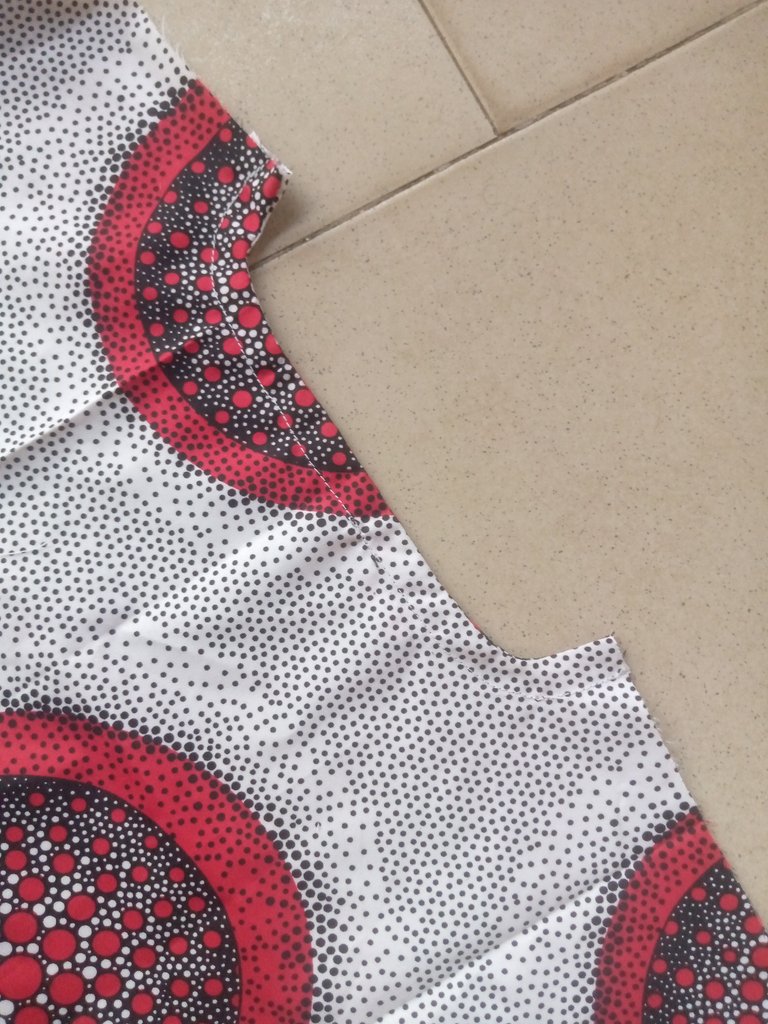
Finishing with turning i now went and joined the shoulder, the back and front body together.
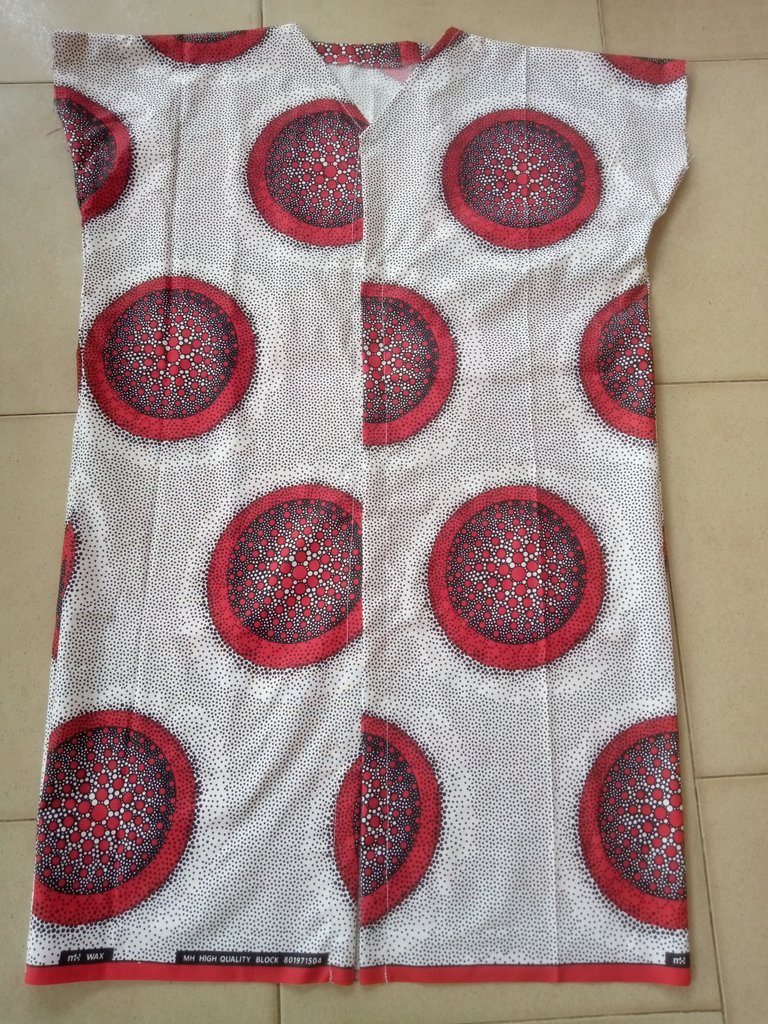
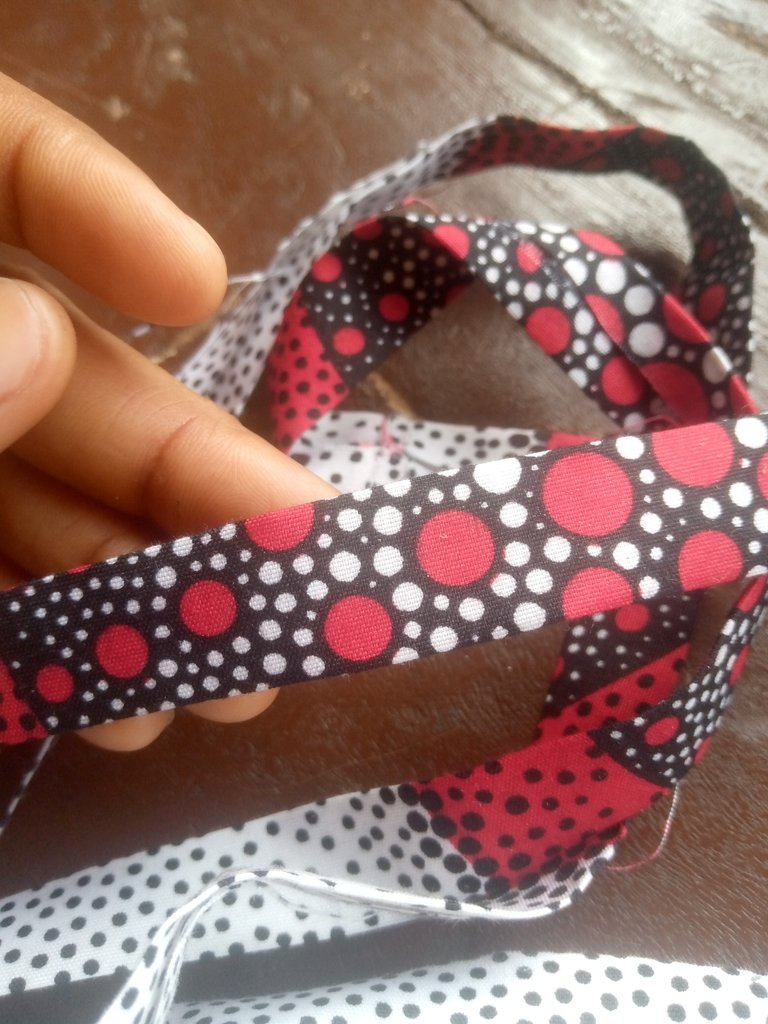
After joining them i cut out 1.5 inch for the waistline string and for the roop then i bend the roop and sew it down in a very straight line.
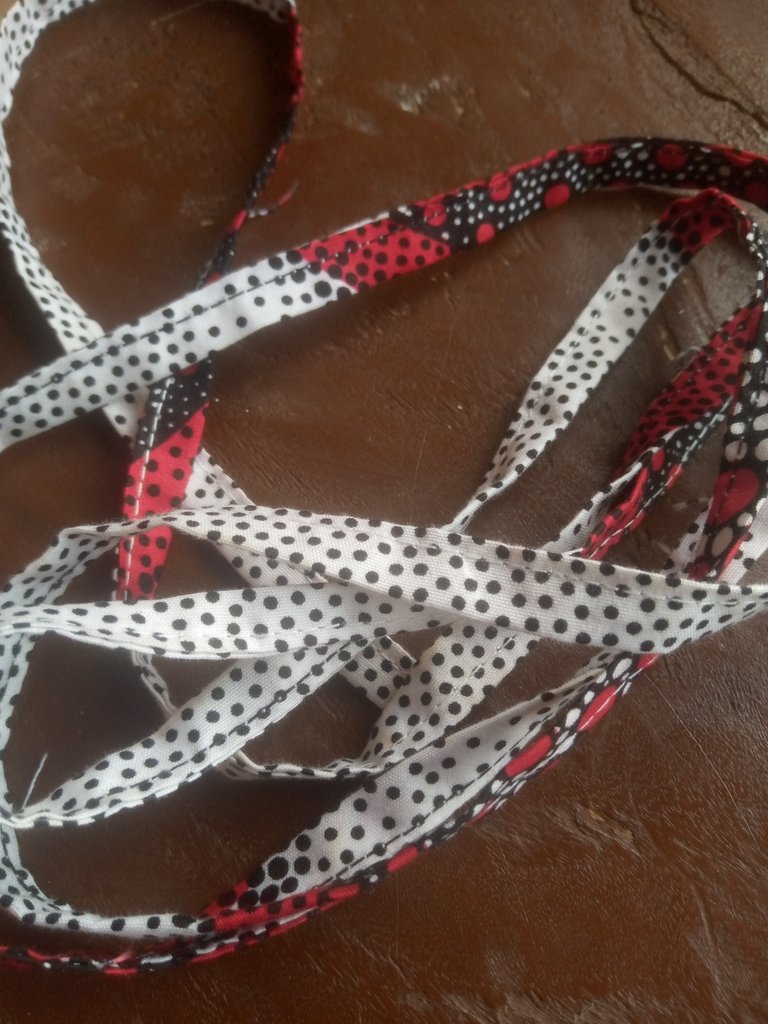
I now keep the dress down and measured from the shoulder down to by half length and draw down a staright line then i place it on the half length point and sew the two side with straight line to the end.

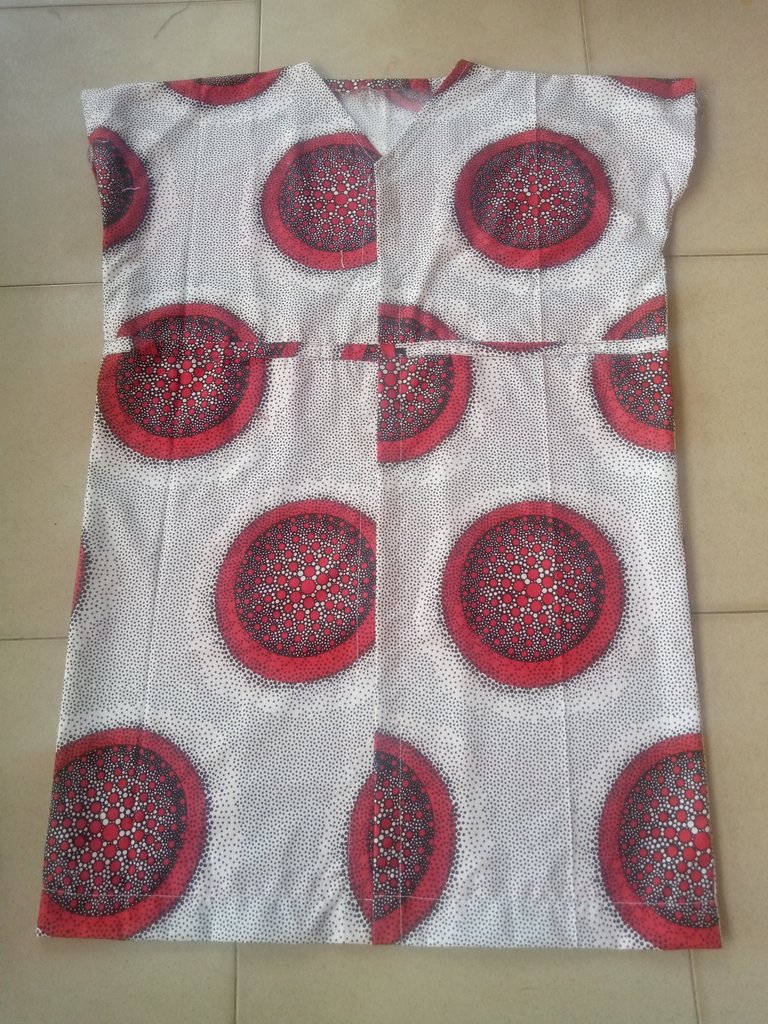
I then brought out my red satin material and cut out 5 inches for the sleeves hem turning then i folded it into two and iron them down.
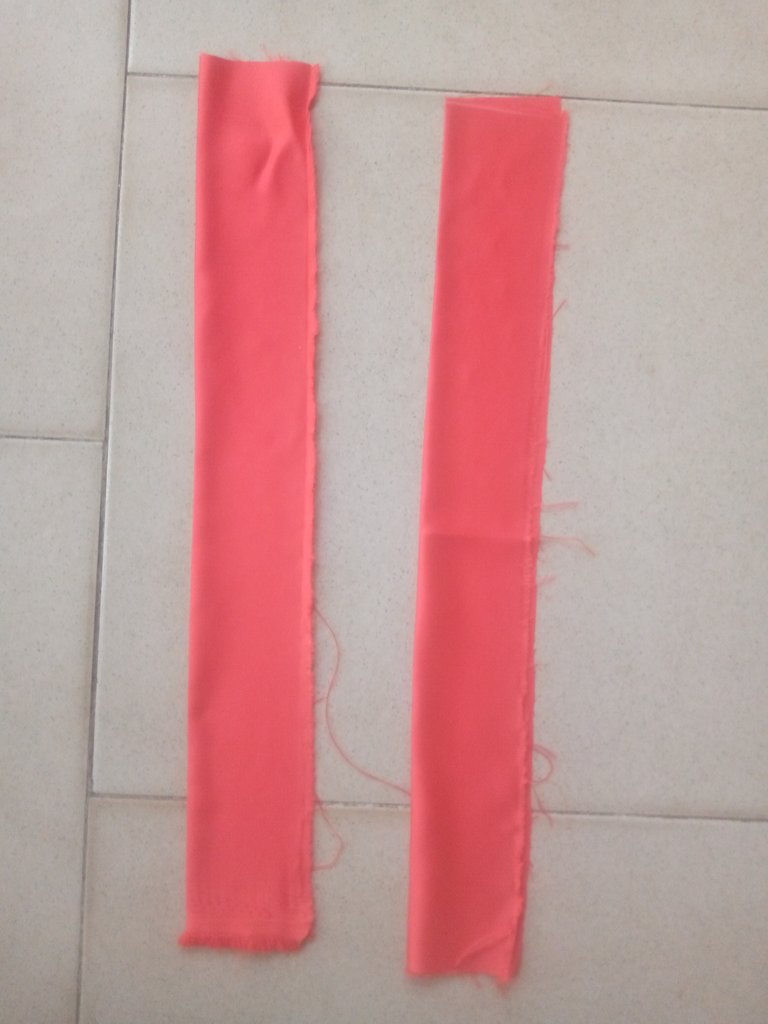
After that i give a bending to the hem of the dress and used a safty pin and inserted the roop on the waist trap properly.
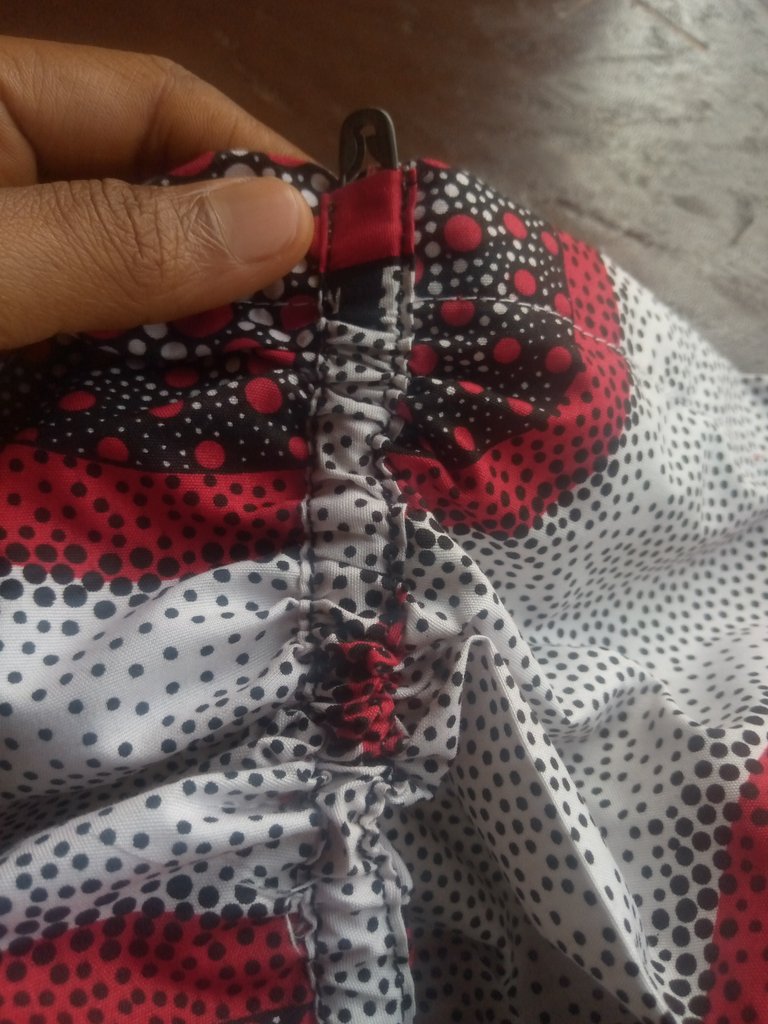
So for the finishing work i joined the satin material on the both side of the sleeves properly.
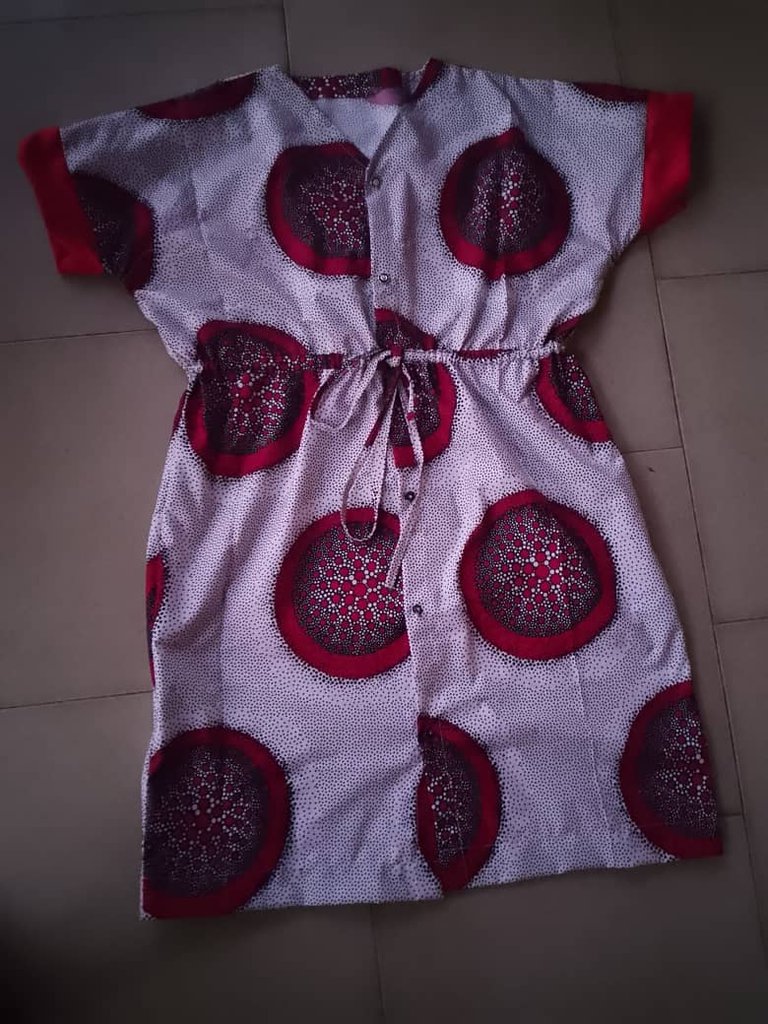
So here is the outcome of my dress
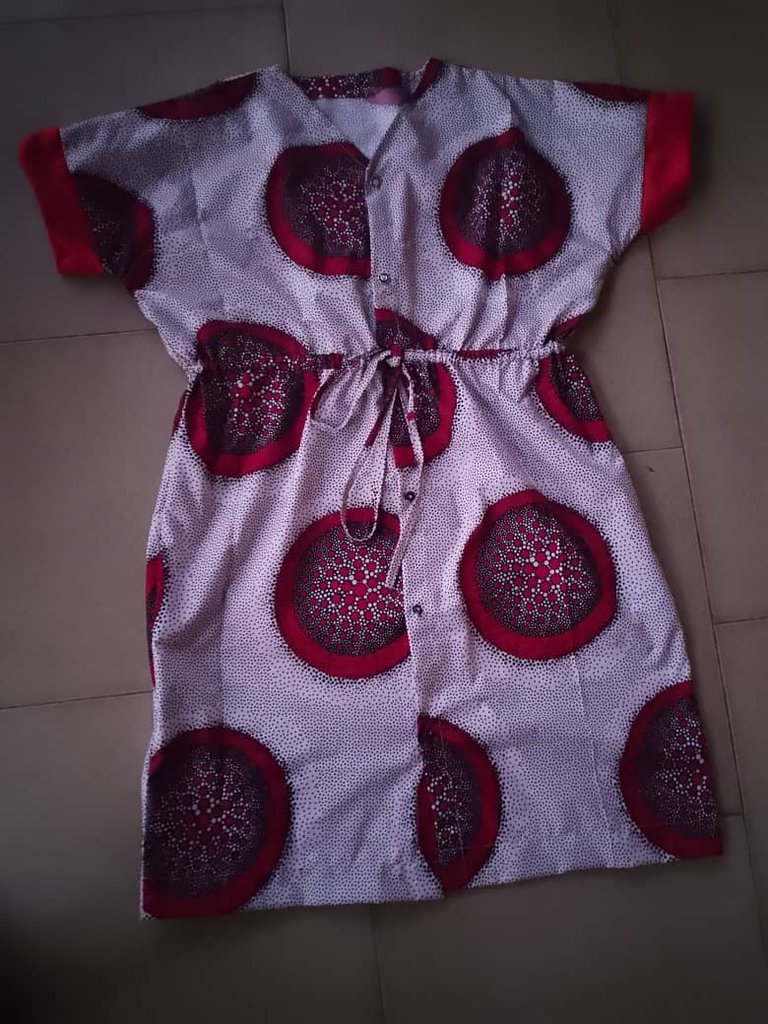
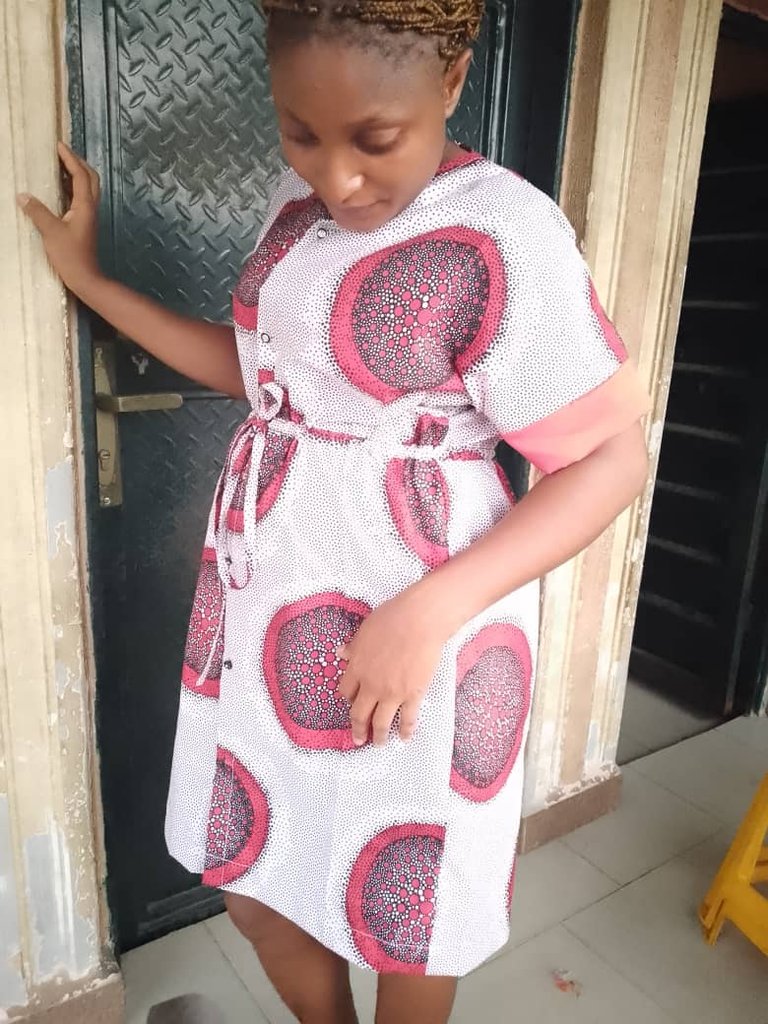
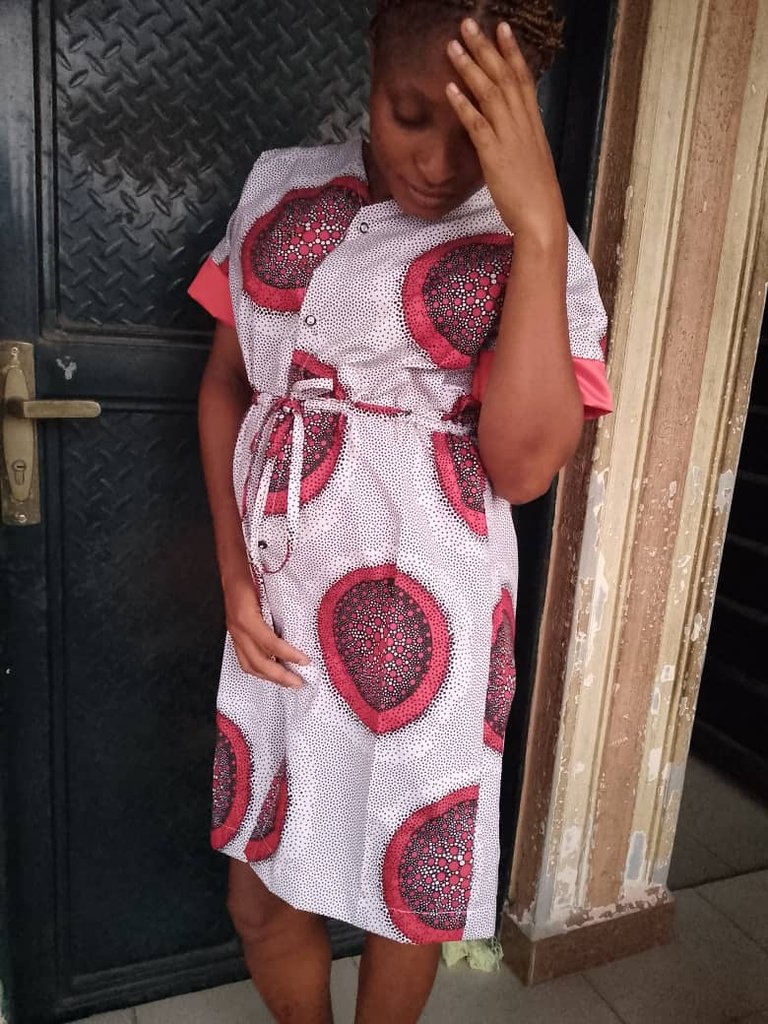
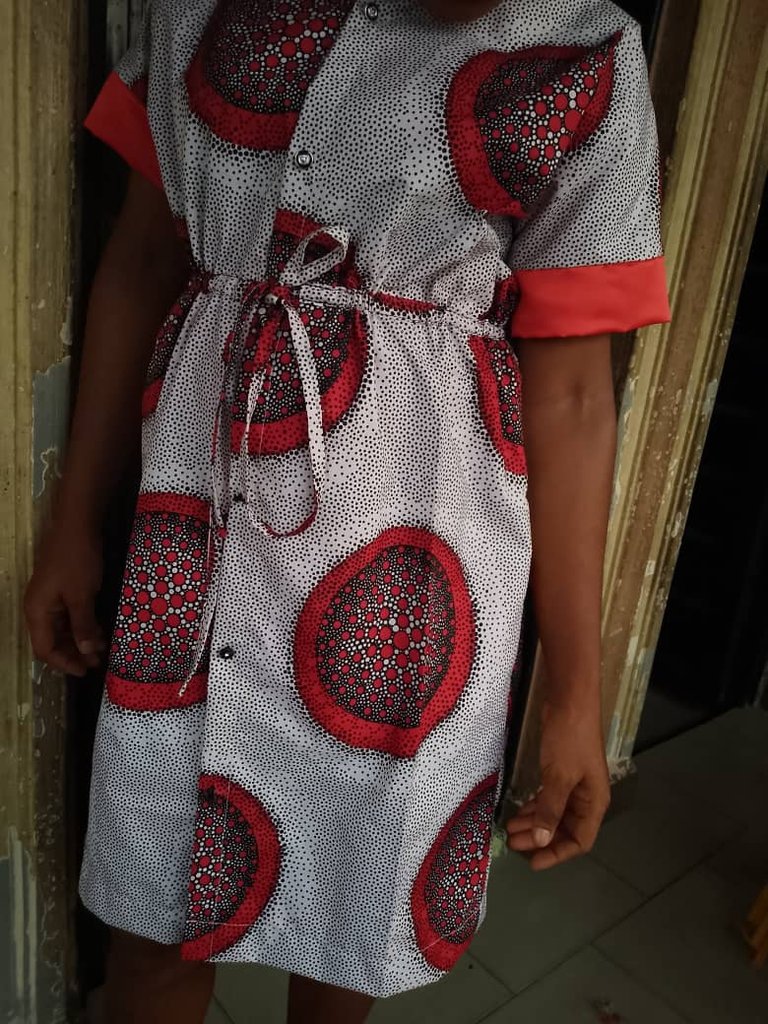
Wow, i didn't expect it will come oit this beautiful, i was thinking on how it will look on me, after sewing it i hangout on a hagger and my neighbors sew it and love it then some of them to me that they will bring their fabric for me to sew for them, i was so happy because i brought a customer to myself, how do you see the dress?
Thank you so much for reading through my post, i wish you all the best in life💖💓 Marry xmas💓💖🙋🙋