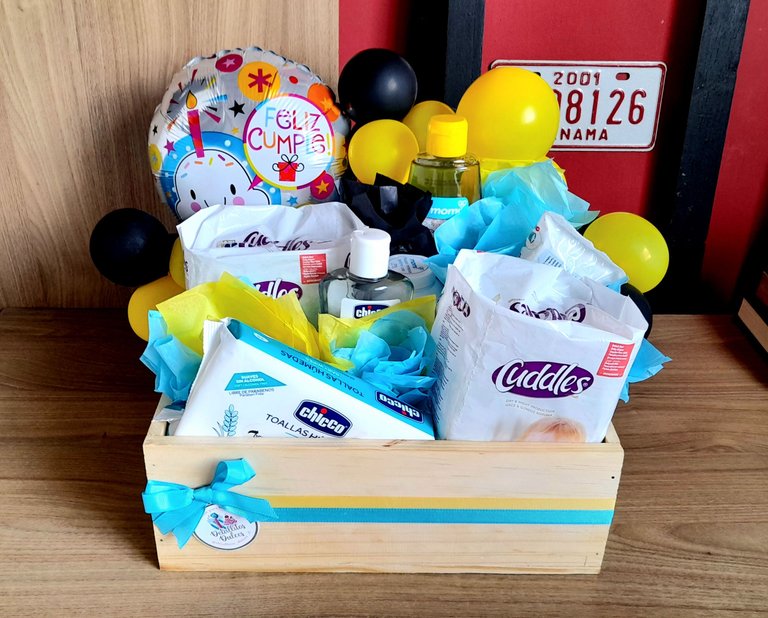
Una nueva semana y nuevo mes por delante y he decido iniciarlo en esta comunidad que me encanta, con un tutorial, y se trata de un arreglo que estuve realizando el fin de semana, y esta vez no se trata de un encargo como tal de mi emprendimiento, sino de un favor para un familiar.
Resulta que esta chica que es hija de un primo me escribe para preguntarme cuanto le cobro por armar un arreglo si ella me trae todo lo necesario, al ser familia cercana, le dije que no le cobraría, que solo me trajese todo con tiempo, peroooo, como suele pasar cuando hacemos este tipo de acuerdos, los dias pasaban y la chica no me traía nada, y cuando finalmente lo hizo, solo me dio la cajita, unos globos de latex y las cosas que iba a regalar (pañales, champu, talco de bebe, etc).
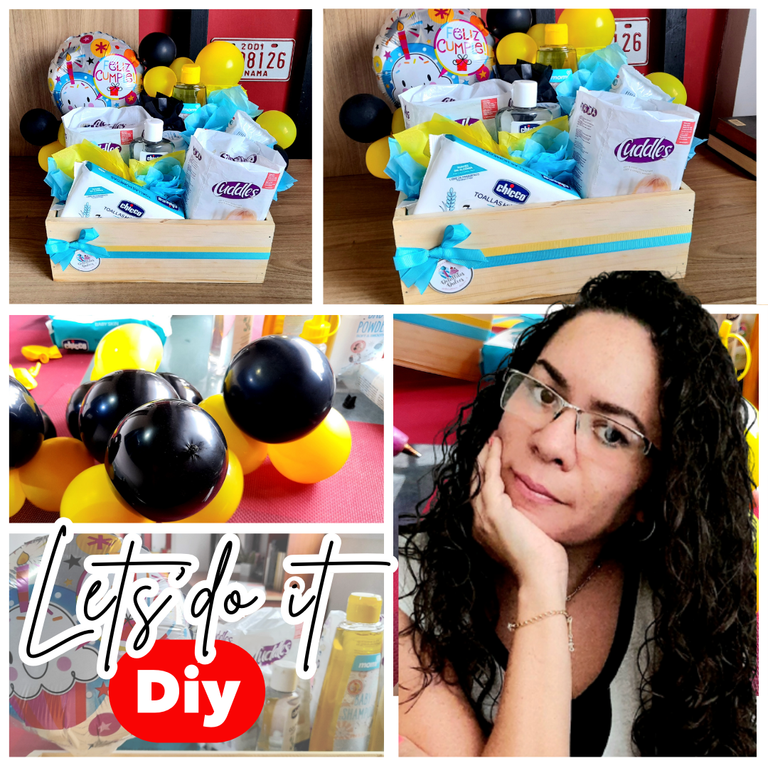
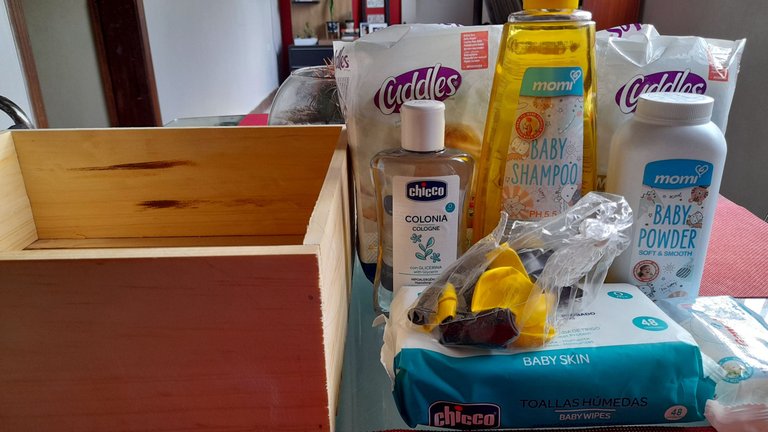
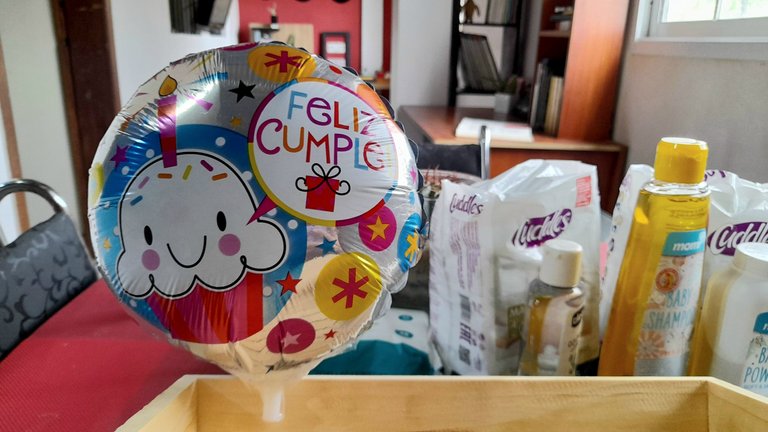
Por supuesto que casi entro en crisis, pues para elaborar un arreglo se necesita MUCHO más que eso, así que me tocó improvisar, poner patas arriba mi casa buscando cuanta cosa me pudiese servir para tratar de armar algo faltando tan solo un día para el cumple, y por aqui les dejo los materiales que utilicé para este arreglo con articulos de bebé.
MATERIALES
Caja de pino
Papel de seda
Anime
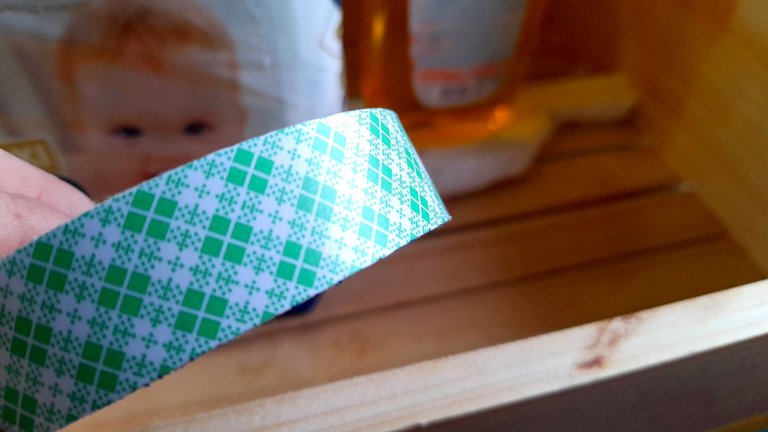
Cinta de tela
Globo metalizado
Globos de latex
Silicon líquido
Silicón en barra
Pistola de silicon
Tijera
PROCEDIMIENTO
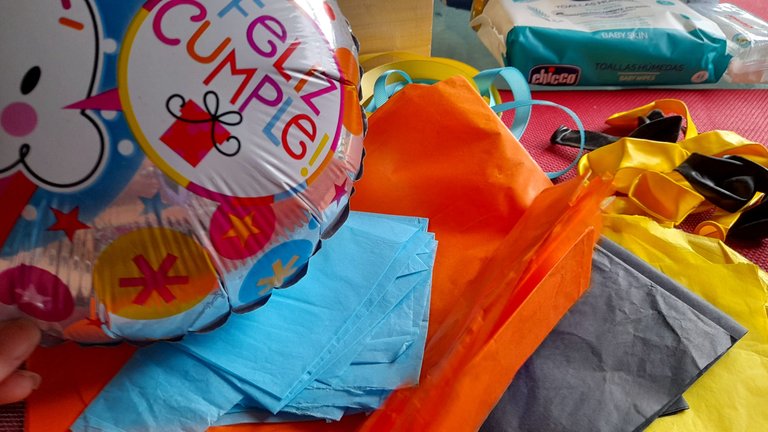
Lo primero que hice fue tratar de encontrar la mayor cantidad de cosas para hacer el arreglo, porque como les dije prácticamente no tenía nada para decorar y la caja era enorme, así que había mucho espacio por llenar, y para empeorar la situación los globos de látex me los trajo amarillos y negros, así que hacer algo con esos colores era medio complicado, por suerte tenía un globo metalizado genérico de cumpleaños, que tenía unos pequeños toques de negro y amarillo y de esa manera estaba un poco mas tranquila con los colores, en cuanto a combinación.
Lamentablemente no tenía suficiente papel de seda en esos colores, pero el globo tenía tambien azul, así que decidí usar amarillo y azul, y en mi colección de cintas pude encontrar unas en esos mismos tonos, asi que con eso trabajaría.

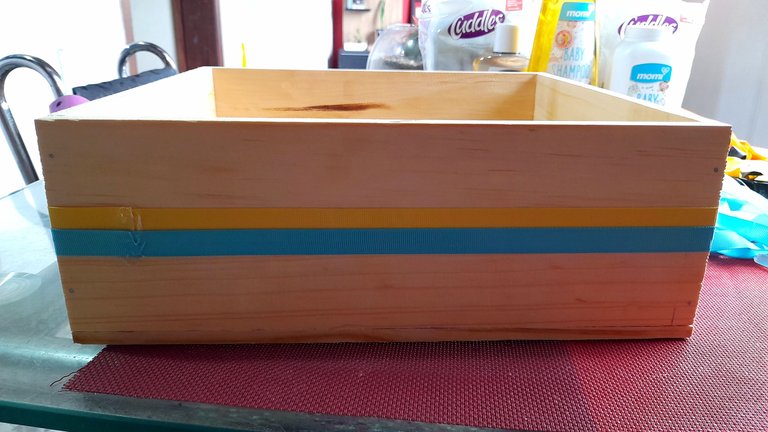
Lo primero que hice fue colocar a la caja un listón de cinta amarilla y una azul, fijándolas con silicón caliente.
Luego procedí a ubicar el globo metalizado en la cajita. En este caso, solo le puse la copa para poder fijarlo en la caja. No usé el palito para darle más altura porque necesitaba ocupar espacio, porque como les dije, la caja era muy grande, así que tocó hacerlo de esa manera.
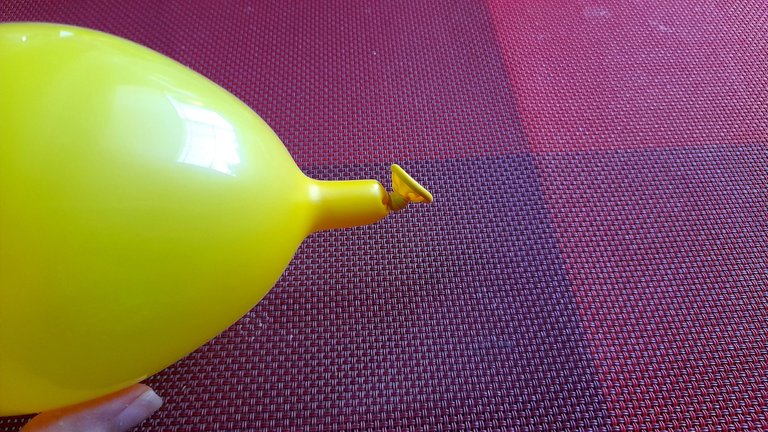
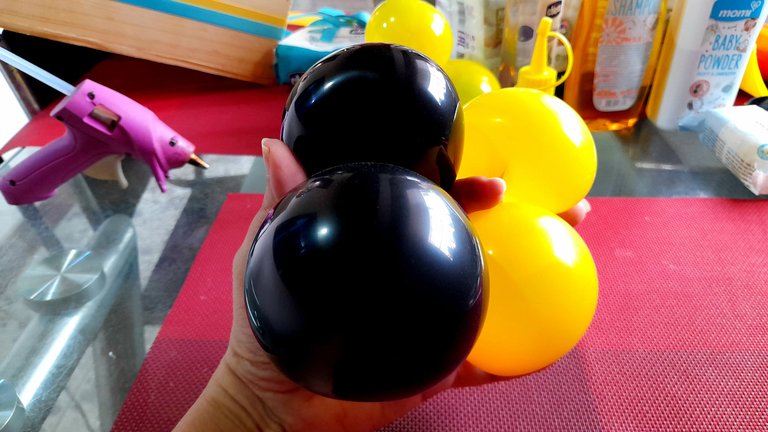
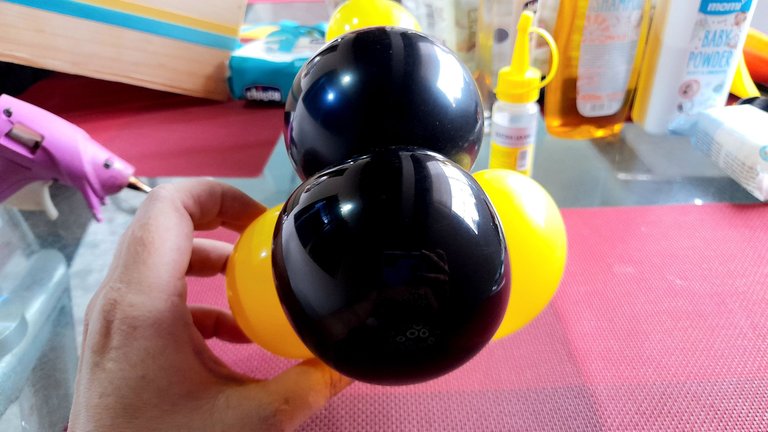
El siguiente paso fue trabajar con los globos pequeños, y la idea era que cada globo se dividiera en dos bolitas, para lo que llené solo un poco cada globo y el nudo lo até hacia la punta para poder manipularlo con facilidad ya que el aire tendría espacio para moverse.
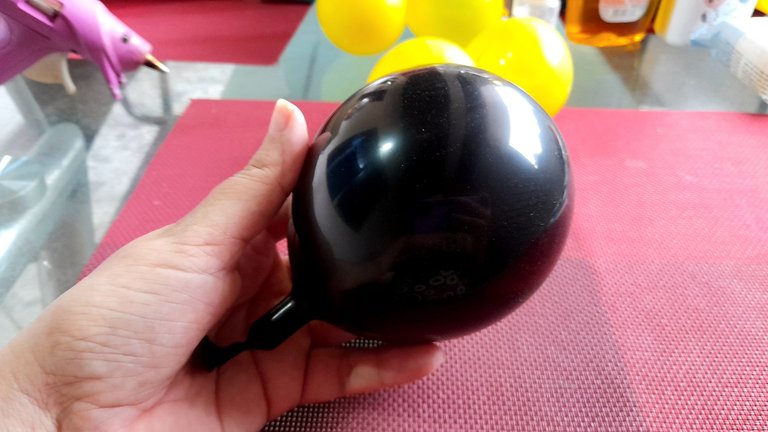
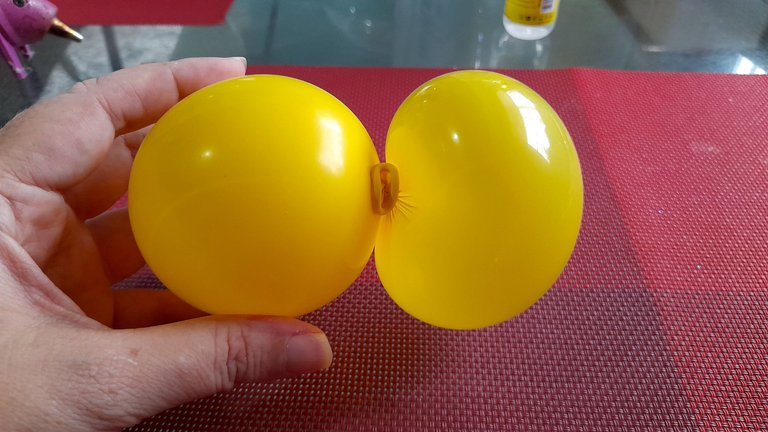
Luego con las manos ubiqué el centro del globo, le dí unas vueltas y lo até con la punta del globo, lo siguiente fue unir un par de globos amarillos con uno negro, y de esa forma tenía un bouquet de cuatro bolitas.
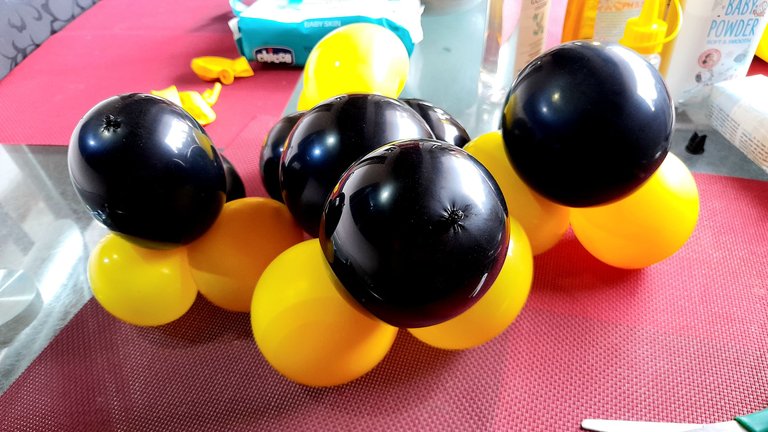
Para continuar, con ayuda del silicón frío pegué los globos de látex tomando en cuenta los productos que iba a colocar dentro se la caja, de manera que no los tapase todos.
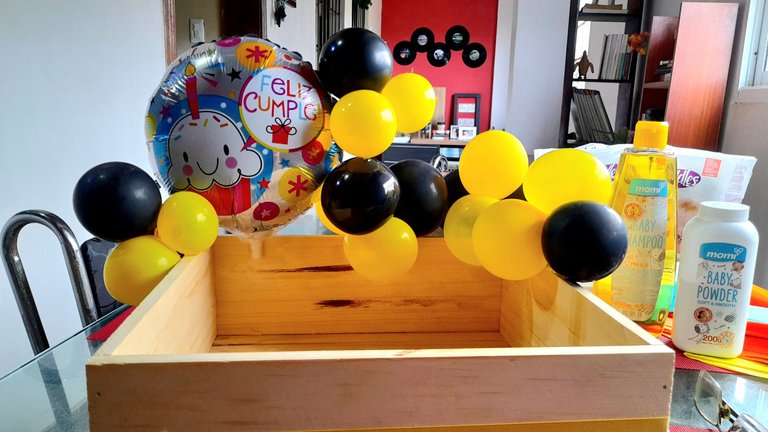
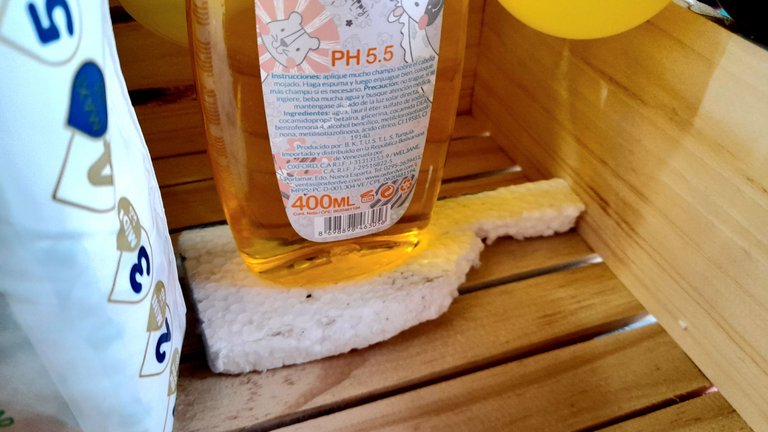
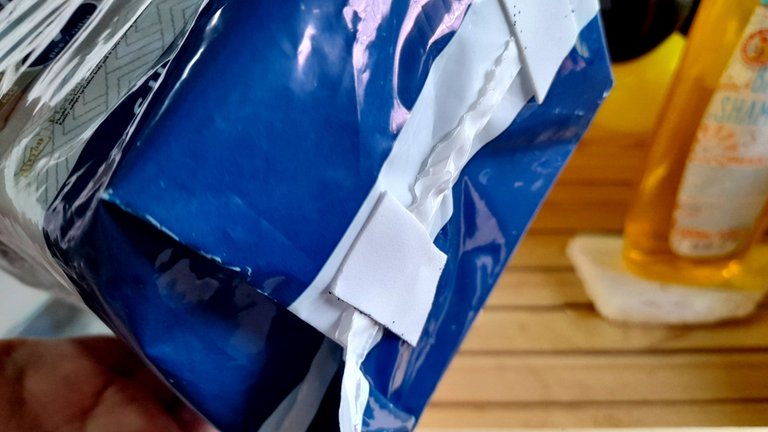
El siguiente paso fue ubicar los productos dentro de la cajita, para lo que me ayudé con anime, para darle altura a algunos productos, además de fijar otros a la cajita con adhesivo doble faz para darles estabilidad.
Una vez ubicados todos en su lugar, solo rellené los espacios vacíos con el papel de seda, y todo estuvo listo.
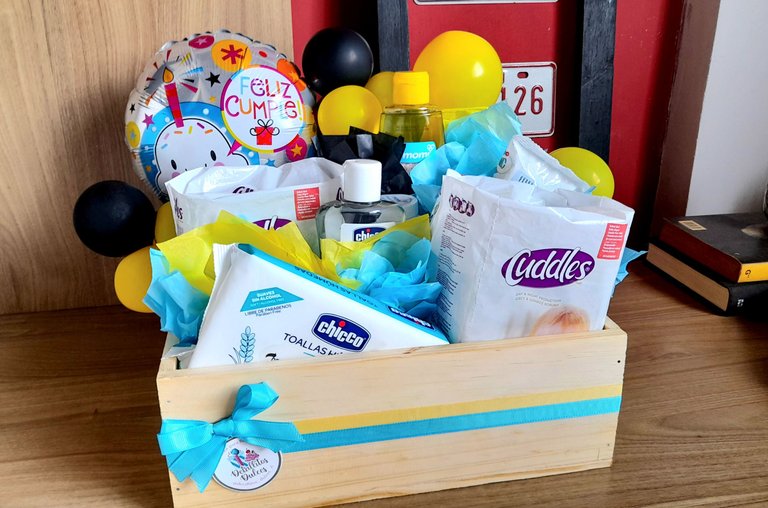
Obviamente no es como lo hubiese hecho de haber tenido todos los materiales necesarios, y aunque siento que los colores no combinaron, quedé satisfecha con el resultado porque pude resolver usando la creatividad con lo que tenía a la mano.
¿Ustedes qué piensan, que hubiesen hecho diferente? Los leo en los comentarios.

A new week and a new month ahead and I have decided to start it in this community that I love, with a tutorial, and it is about an arrangement that I was doing over the weekend, and this time it is not an order as such of my venture, but a favor for a family member.
It turns out that this girl who is the daughter of a cousin writes to me to ask me how much I charge for putting together an arrangement if she brings me everything I need, being close family, I told her that I would not charge her, just bring me everything in time, butooo, as usually happens when we make this kind of agreements, the days passed and the girl did not bring me anything, and when she finally did, she only gave me the box, some latex balloons and the things she was going to give away (diapers, shampoo, baby powder, etc).
Of course I almost went into crisis, because to make an arrangement you need MUCH more than that, so I had to improvise, turn my house upside down looking for anything I could use to try to put something together just one day before the birthday, and here are the materials I used for this arrangement with baby items.
MATERIALS
Pine box
Tissue paper
Anime
Fabric ribbon
Metallic balloon
Latex balloons
Liquid silicon
Silicone stick
Silicone gun
Scissors
PROCEDURE
The first thing I did was to try to find as many things to make the arrangement, because as I said I had practically nothing to decorate and the box was huge, so there was a lot of space to fill, and to make matters worse the latex balloons were yellow and black, so doing something with those colors was a bit complicated, luckily I had a generic metallic birthday balloon, which had a few small touches of black and yellow and that way I was a little calmer with the colors, in terms of combination.
Unfortunately I didn't have enough tissue paper in those colors, but the balloon was also blue, so I decided to use yellow and blue, and in my collection of ribbons I could find some in those same shades, so that's what I would work with.
The first thing I did was to attach a strip of yellow ribbon and a blue ribbon to the box, fixing them with hot silicone.
Then I proceeded to place the metallic balloon in the box. In this case, I only put the cup to fix it in the box. I didn't use the stick to give it more height because I needed to take up space, because as I told you, the box was very big, so I had to do it that way.
The next step was to work with the small balloons, and the idea was that each balloon was divided into two little balls, so I filled each balloon just a little bit and tied the knot towards the tip to be able to manipulate it easily since the air would have room to move.
Then with my hands I located the center of the balloon, I gave it a few turns and tied it with the tip of the balloon, the next thing was to join a pair of yellow balloons with a black one, and that way I had a bouquet of four balls.
To continue, with the help of cold silicone I glued the latex balloons, taking into account the products that I was going to place inside the box, so as not to cover them all.
The next step was to place the products inside the box, for which I helped myself with anime, to give height to some products, besides fixing others to the box with double-sided adhesive to give them stability.
Once they were all in place, I just filled in the empty spaces with the tissue paper, and everything was ready.
Obviously it's not how I would have done it if I had all the necessary materials, and although I feel that the colors didn't match, I was satisfied with the result because I was able to solve it using creativity with what I had on hand.
What do you think, what would you have done differently? I'll read you in the comments.

