ENGLISH
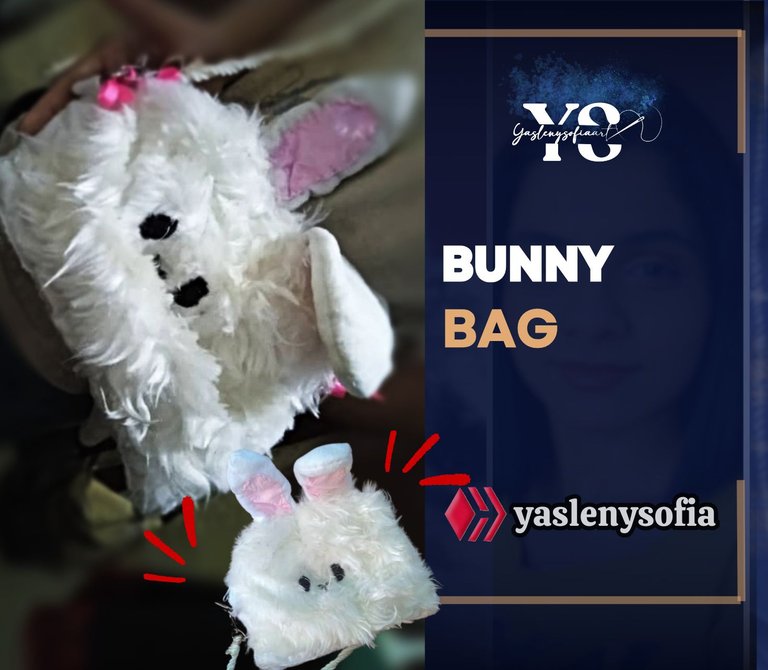
Greetings @needleworkmonday community, today I want to share with you a little purse in the shape of a rabbit, as a gift I want to give to a cousin-niece, who likes rabbits and therefore, I decided to do it this way. The sewing was not so good, but for being the first time I make a purse and in this style, I feel that it was not bad; I hope you like the result.

-1 yard of white fleece or felt.
-1 yard of lining fabric, in the shape and color of your choice.
-½ of pink cotton fabric.
-Black ball of yarn.
-embroidery hoop.
-Embroidery needle.
-2 half moons.
-2 carabiners.
-metric tape.
-Scissors.
-Cord or backpack strap or nylon strap, as you know it (this is for the wallet to hang).
-Zipper.
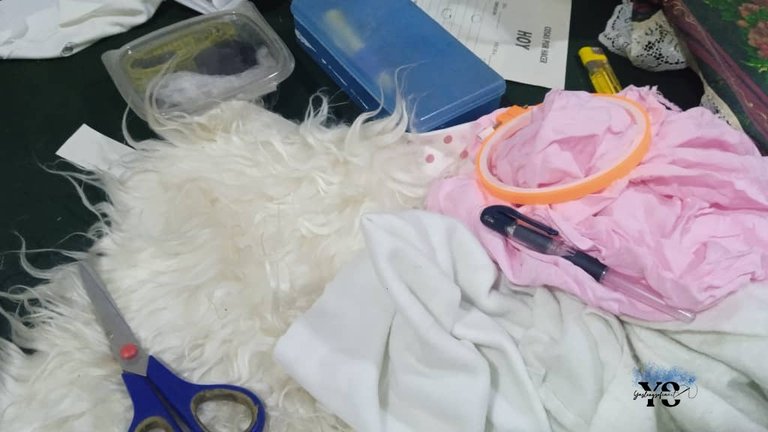

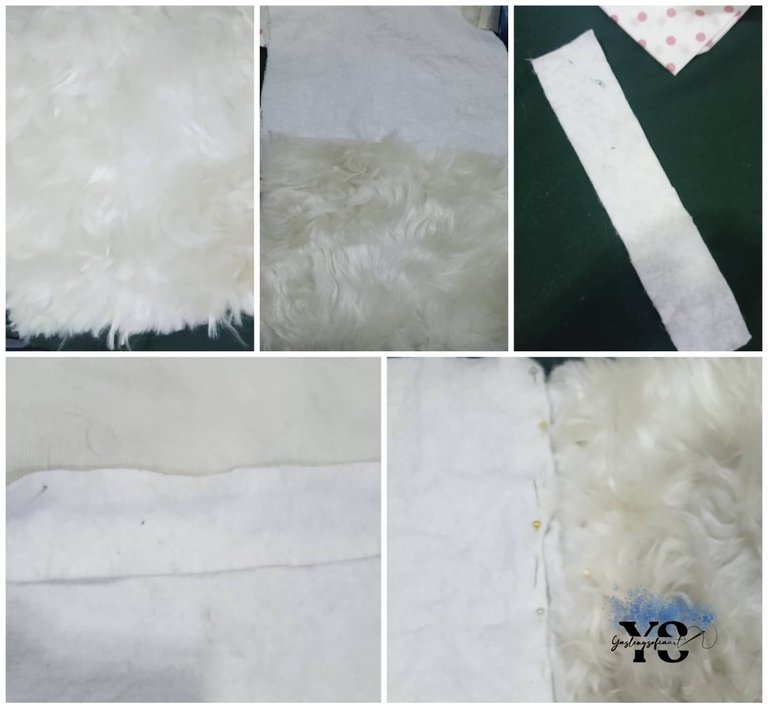
The first thing I did was to take out the base pieces of my bag, which would be a rectangle about 25 cm wide and 20 cm long. One rectangle of the furry fabric and another of the felt or polar blanket fabric, whichever you want; after that I cut a rectangle of 5 cm wide and 25 cm long, to join both large rectangular pieces.
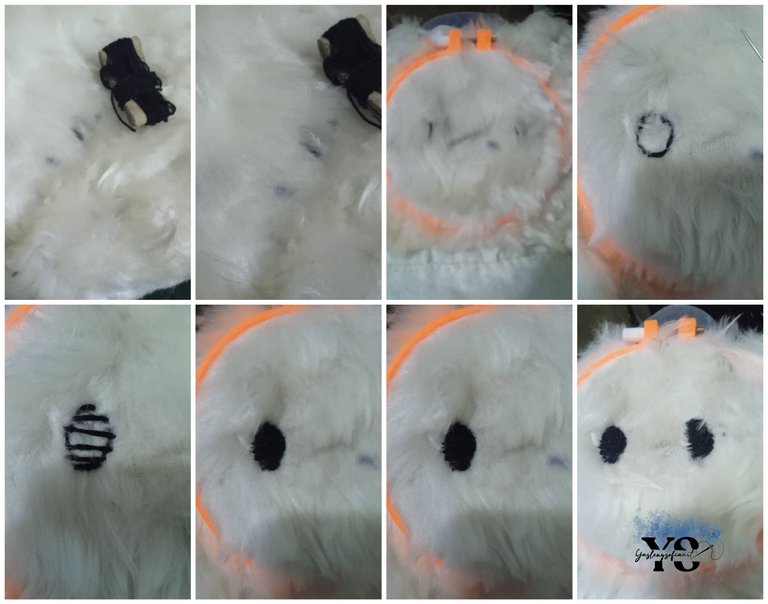
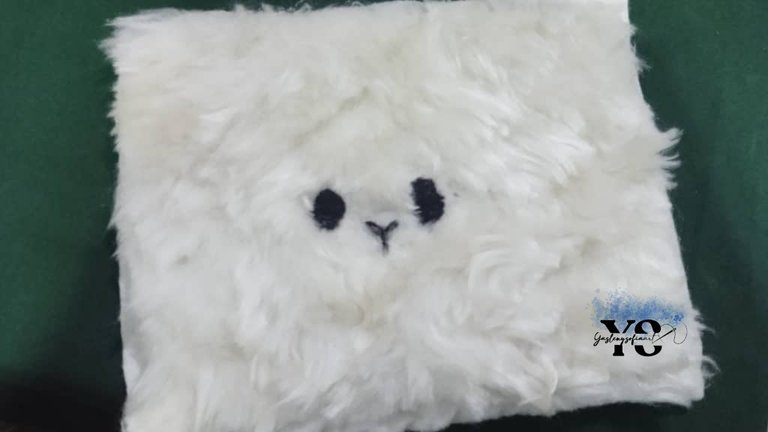
Having both sides joined, I proceeded to embroider the eyes and the mouth of our bunny on the side of the furry face, with the black yarn ball, I did not want to make these details out of fabric, because I felt they would look better. To do this I first used the step back technique to determine the shape and then I filled it in; the same with the nose part.
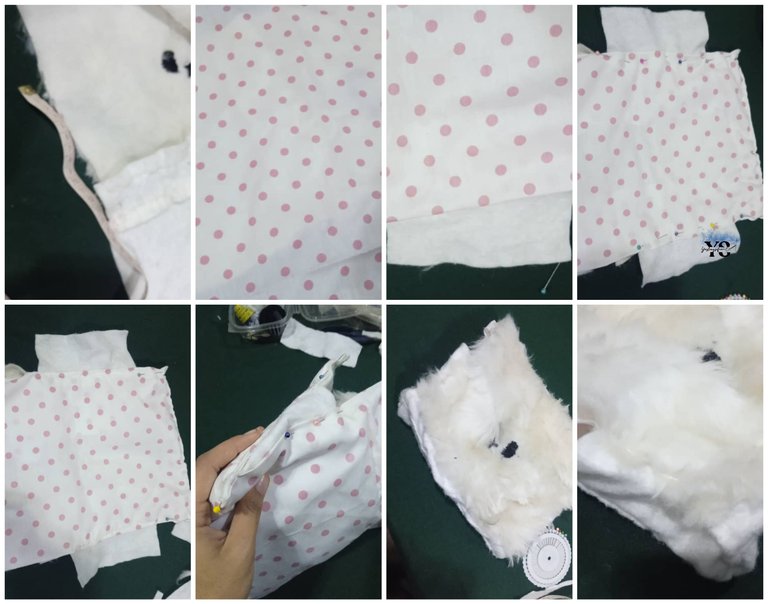
Now I had to join the sides of the faces, here I didn't know how to do it, so I could more or less solve it and it was by cutting two rectangular pieces, 20cm long and 6 cm wide, this would allow me to join both pieces when folded. But, before that, I took the fabric that would be inside, the lining, that white one with pink dots, adjusting it with some pins; those two pieces of 20 x 6 cm, would go inside this lining.
After sewing it on the back, the result was not what I expected, but it worked, I left about 5 cm left over in the upper areas, to sew the fabric where the zipper would go.
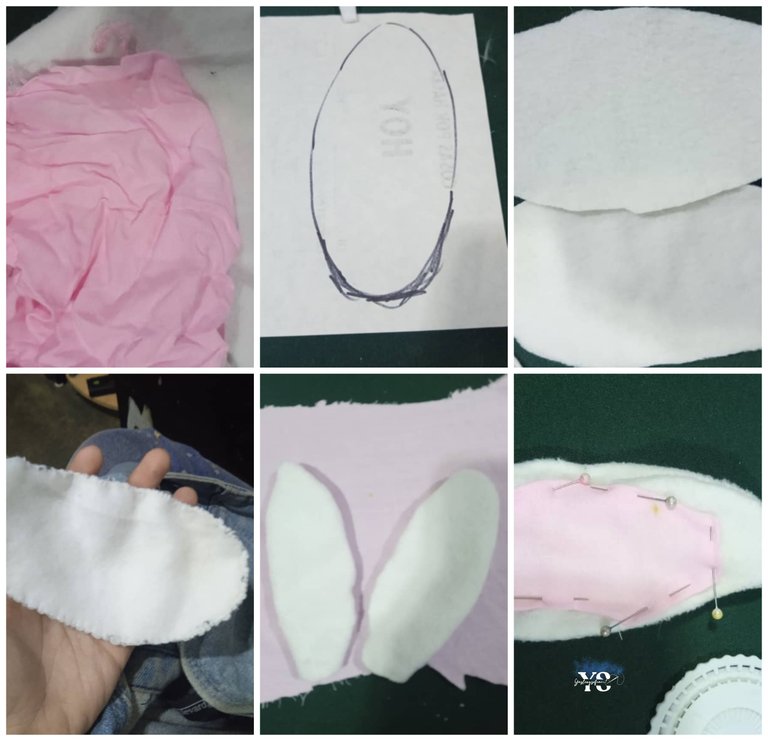
Before continuing to give shape to the bag, I decided to make what would be the ears of the rabbit, for this I grabbed a piece of white fleece blanket that I had and a pink cotton fabric, which I ironed (well wrinkled it was); on a paper I made the respective forms of these ears, taking a total of 4 pieces of white fabric and two smaller pieces of pink. Joining them to the back of the 4 pieces, I sewed the same shape, but smaller, that is to say of the pink ones, here I made a mistake and it was not to sew first the pink one and then join it.
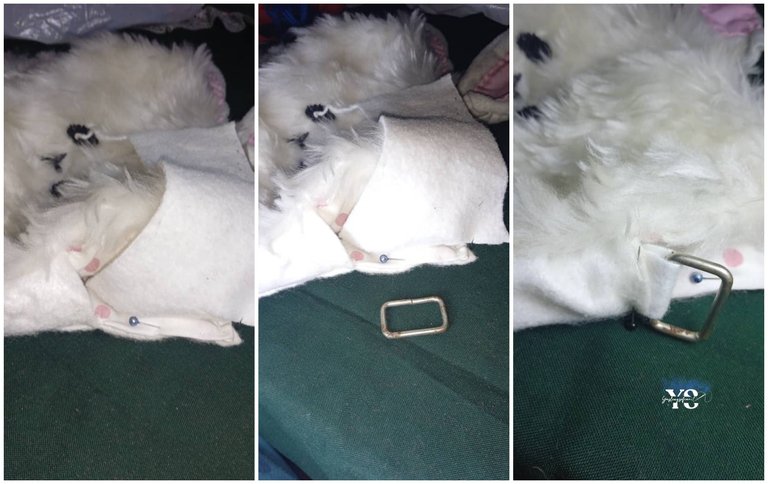
Despite this mistake, I proceeded to sew the half moons at both ends of the bag, for this I took a piece of white felt fabric, about 5cm long and the width of the bag and this piece we pass one end through the half moon, this is to fit the bag.
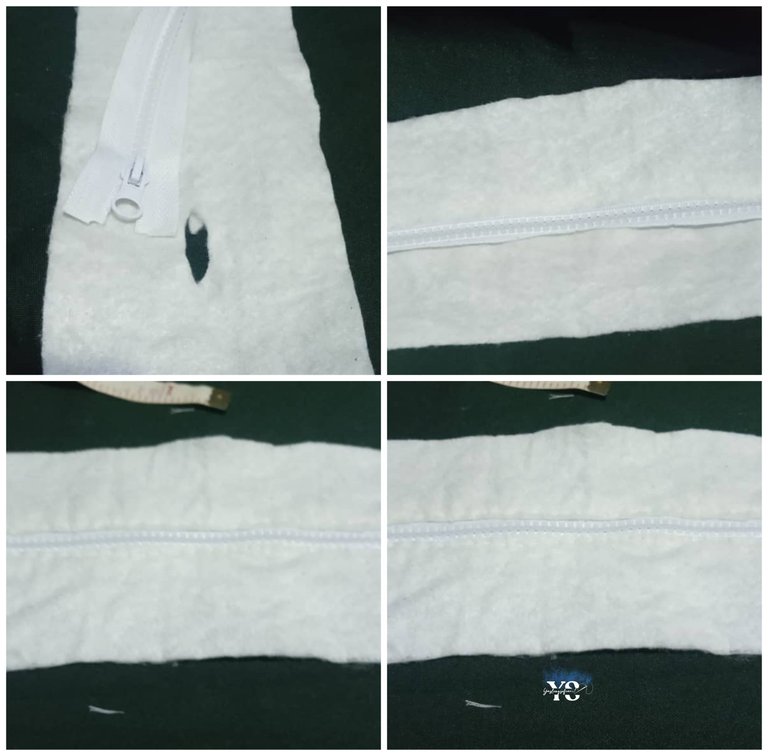
Now with the zipper, basically I cut a rectangle of white fabric, about 10 cm wide and the length that would give me the ends of the bag. In the middle of it, I cut it in half, only 0.5 cm, because there I would adjust the zipper, I don't know if it is done like that, but that's how I managed to sew the zipper.
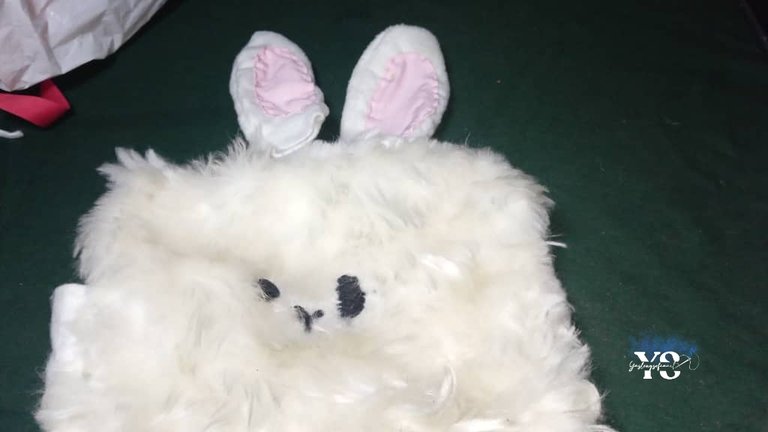
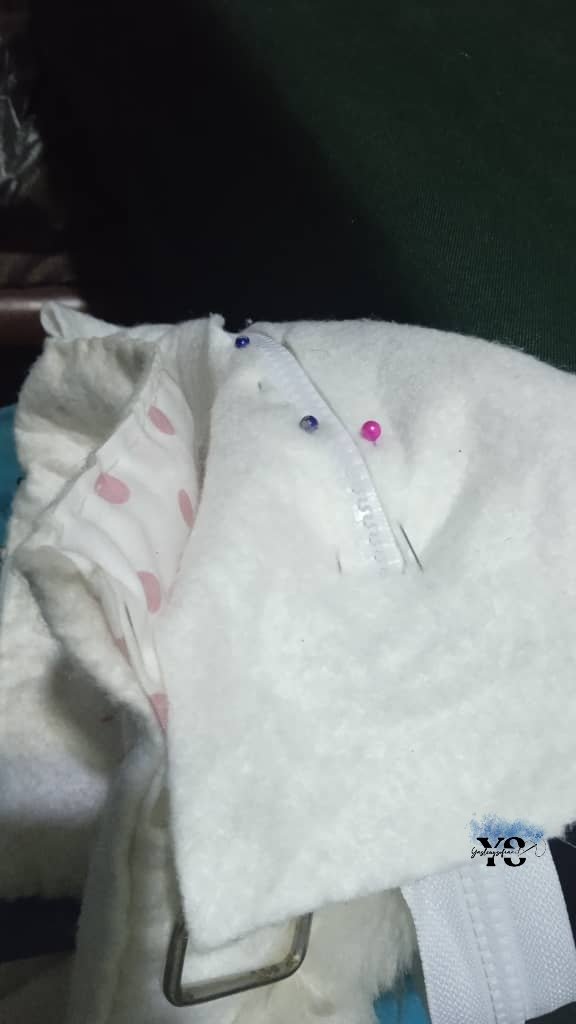
Before sewing the fabric with the zipper, I proceeded to sew the ears, since they would be inside that rectangle of white fabric. With the pins I gradually adjusted it to the shape of the bag, to be honest it didn't fit, the fabric was coming out of one side, cutting it a little in the curve of the bag, was how I managed to make everything fit well.
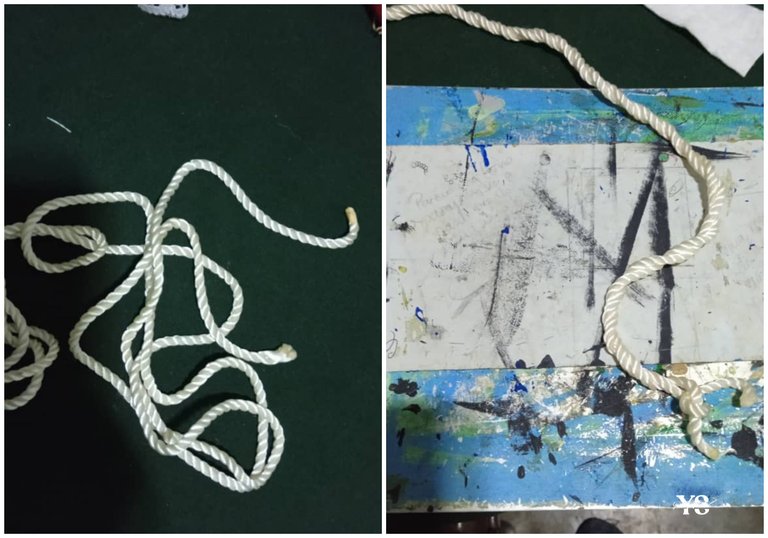
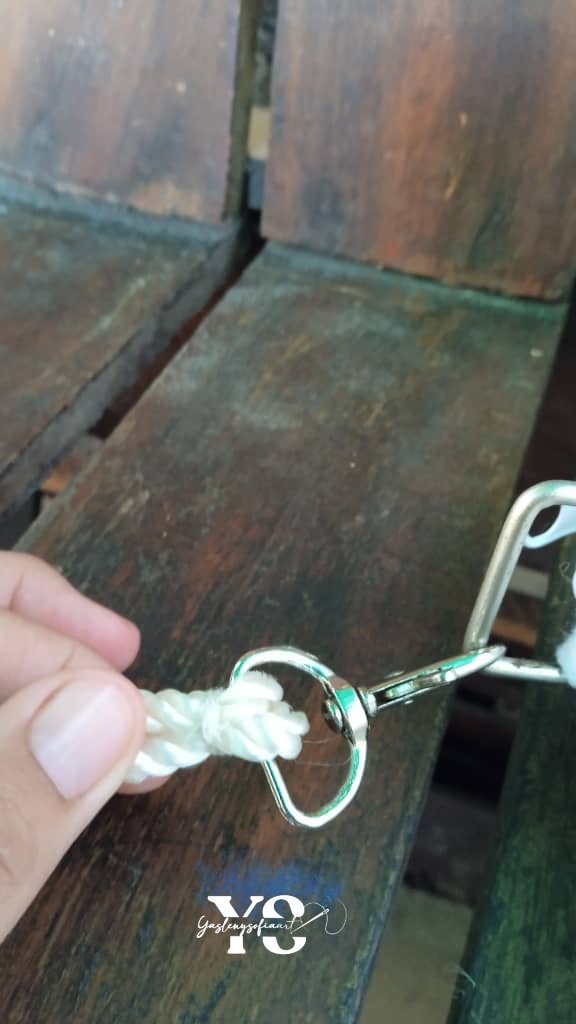
With the bag ready, I was missing the cord to hold it, at the beginning I thought of making it out of the same fabric, but it was not enough, until I got among my ribbons, this cord that I do not know how it is called; to make it thicker I folded it in half and rolled it, like a mane, but two sections, I passed it through the middle of the ring of the carabiner and with a white thread I rolled it tightly and sewed it.
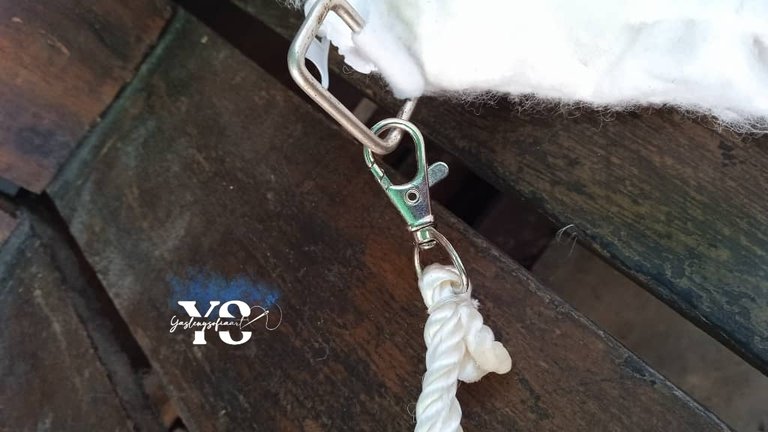
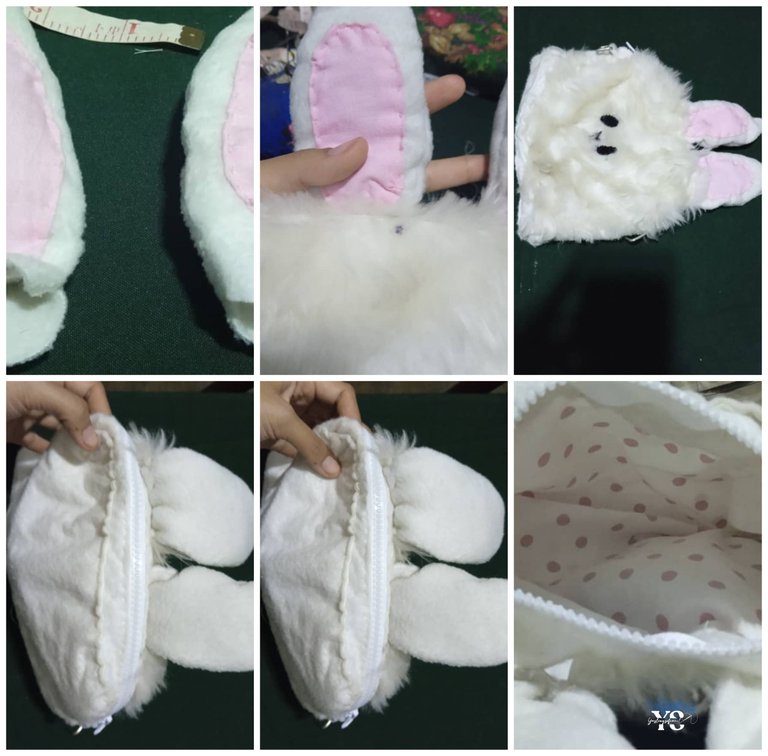
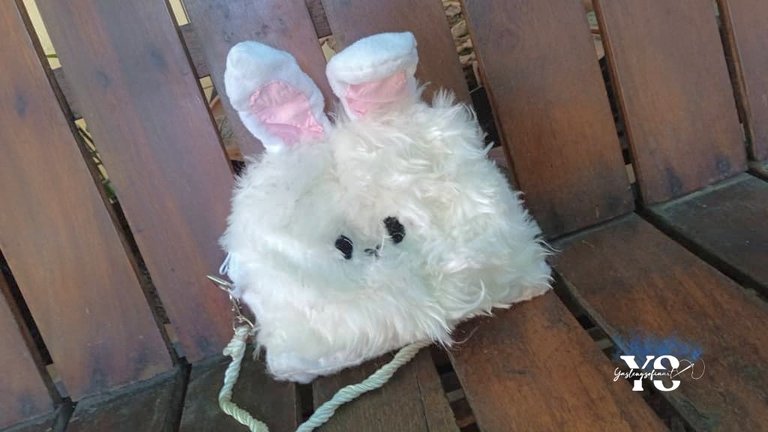
This is the final result, where I ended up putting a pink ribbon on each side, to make the bunny look prettier, I hope my little cousin likes it.
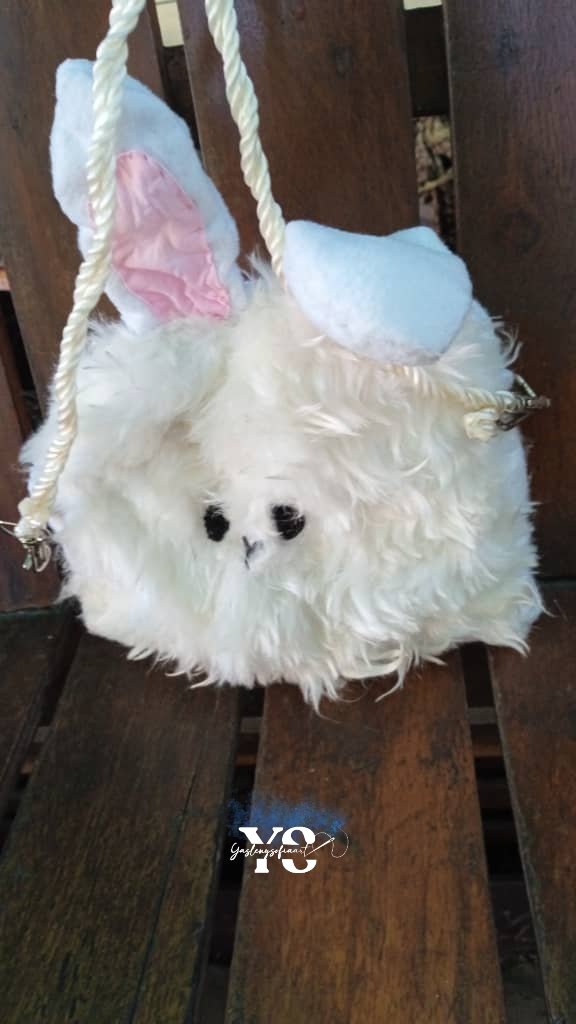
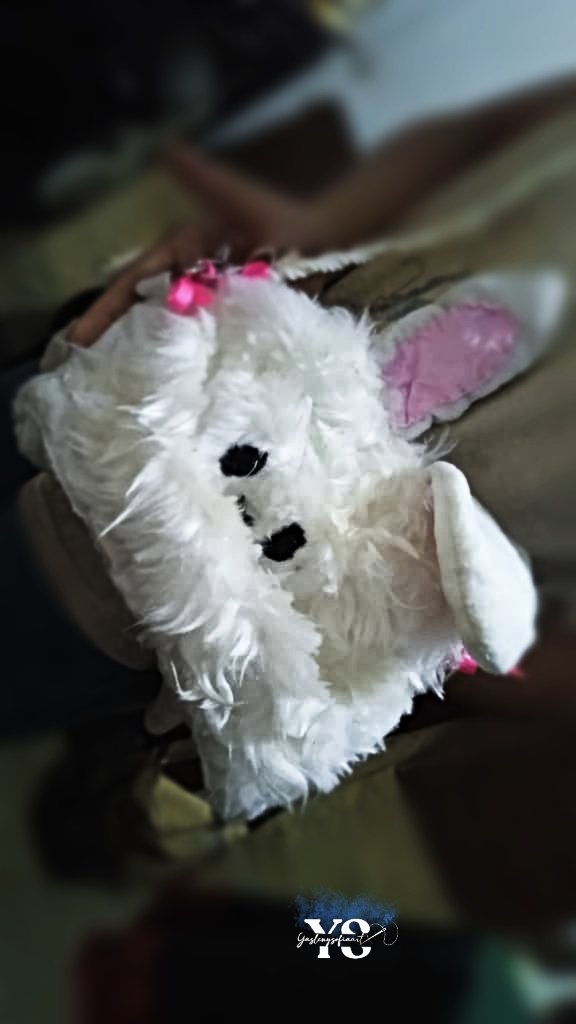


Thank you for reading my post. I hope you liked it. I will be attentive to answer your comments. You can visit my blog, follow my content and social networks.
FACEBOOK / INSTAGRAM / TWITTER

ESPAÑOL
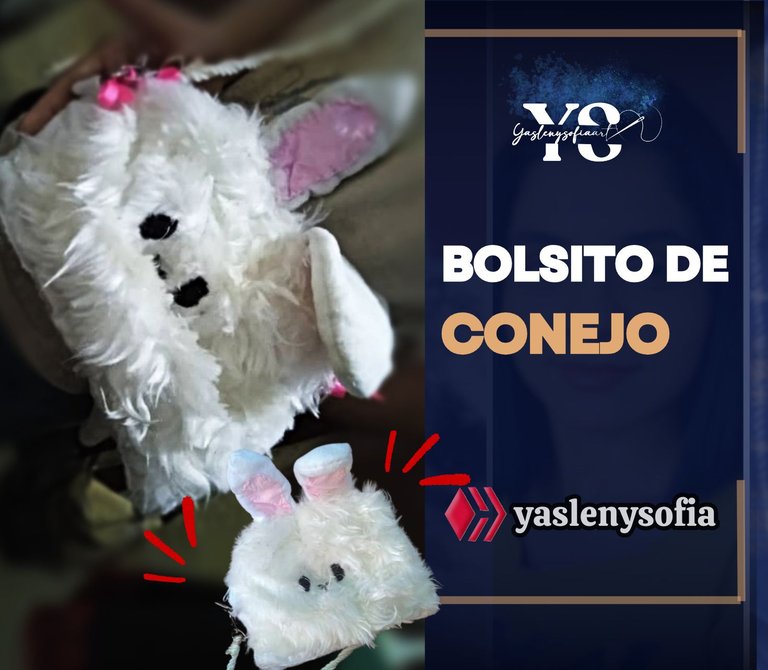
Saludos comunidad de @needleworkmonday, el día de hoy les quiero compartir un bolsito en forma de conejo, como un regalo que le quiero hacer a una primita-sobrina, quien le gusta los conejos y por ello, decidí hacerlo de esta forma. No quedó tan bien la costura, pero para ser la primera vez que hago una cartera y de este estilo, siento que mal no me quedó; espero les guste el resultado.

-1 metro de tela polar blanca o de fieltro.
-1 metro de tela para forrar, de la forma y color que desee.
-½ de tela de algodón color rosado.
-hilo ovillo negro.
-aro de bordar.
-aguja para bordar.
-2 media lunas.
-2 mosquetones.
-cinta métrica.
-tijera.
-Cordón o cinta para mochila o de nylon, como la conozcan (esto es para que la cartera cuelgue)
-Cierre.


Lo primero que hice fue sacar las piezas base de mi bolsito, que sería un rectángulo de unos 25 cm de ancho y 20 cm de largo. Un rectángulo de la tela peludita y otro de la tela de fieltro o manta polar, la que deseen; tras ello corté un rectángulo de 5 cm de ancho y 25 cm de lago, para unir ambas piezas rectangulares grandes.


Al tener ambas caras unidas, procedí bordar los ojos y la boquita de nuestro conejit@ por el lado de la cara peludita, con el hilo ovillo negro, no lo quise hacer de tela estos detalles, porque sentía que quedarían mejor. Para ello recurrí primeramente a la técnica de paso atrás, para determinar la forma y luego fui rellenándolo; igualmente con la parte de su nariz.

Ahora venia unir los laterales de las caras, aquí si no sabia como hacer, por lo que más o menos pude solventarlo y fue cortando dos rectangulares, de 20cm de largo y 6 cm de ancho, esto me permitiría que al doblarlo uniera ambas piezas. Pero, antes de eso, tomé la tela que estaría en el interior, la del forro, que esa blanca con puntitos rosas, ajustándola con unos alfileres; esas dos piezas de 20 x 6 cm, irían adentro de esta de forro.
Ya después de coserla al reverso, el resultado no era lo que esperaba, pero funcionó, le deje como 5 cm sobrantes en las zonas superiores, para coser la tela donde iría el cierre.


Antes de seguir dándole forma al bolsito, decidí hacer lo que serian las orejas del conejo, para ello agarre un pedazo de manta polar blanco que tenia y una tela de algodón rosado, la cual planche (bien arrugada que estaba); en un papel hice las respectivas formas de estas orejas, sacando en total 4 piezas de la tela blanca y dos más pequeñas de la rosada. Uniéndolas al reverso la de las 4 piezas, cosí la misma forma, pero más pequeña, es decir de las rosadas, aquí cometí un error y fue el no coser primero la de rosado y luego unirlo.

A pesar de ese error, procedí a coserle las medias lunas en ambos extremos del bolsito, para ello tomé un pedacito de la tela blanca de fieltro, como uno de 5cm de largo y del ancho en el que quedó el bolso y este retazo pasamos un extremo por la media luna, esto es para que quede ajustado al bolsito.


Ahora con el cierre, básicamente corté un rectángulo de tela blanca, de unos 10 cm de ancho aproximadamente y del largo que me diera los extremos del bolso. En el medio de este, lo corté a la mitad, solo 0.5 cm, porque ahí ajustaría el cierre, no sé si se hace así, pero fue como logre coserle el cierre.

Antes de coserle la tela con el cierre, procedí a coser las orejas, ya que estas quedarían dentro de ese rectángulo de tela blanca. Con los alfileres fui poco a poco ajustándolo a la forma del bolso, siendo sincera no me da, se me salía la tela de un lado, cortándolo un poco en la curva que da el bolso, fue como logré que todo encaja bien.

Con el bolso listo, faltaba el cordón para que se agarrara, pensaba en un inicio hacerlo de la misma tela, pero ya no me alcanzaba, hasta que me conseguí entre mis cintas, este cordón que no sé como se llama; para que fuese más grueso lo doblé a la mitad y lo enrolle, como una crineja, pero dos tramos, lo pasé por medio del aro del mosquetón y con un hilo blanco lo enrolle fuertemente y lo cosí.


Este es el resultado final, donde terminé poniéndole a cada lateral un lazo rosado, para que se viera más linda la conejita, espero le guste a mi primita.


Gracias por leer mi post. Espero que les haya gustado. Estaré atenta a responder sus comentarios. Pueden visitar mi blog, seguir mis contenidos y redes sociales.

FACEBOOK / INSTAGRAM / TWITTER
