Hola amigos de la comunidad Hive Food, por ahí he estado viendo sus ricas recetas y enterándome de sus experiencias.
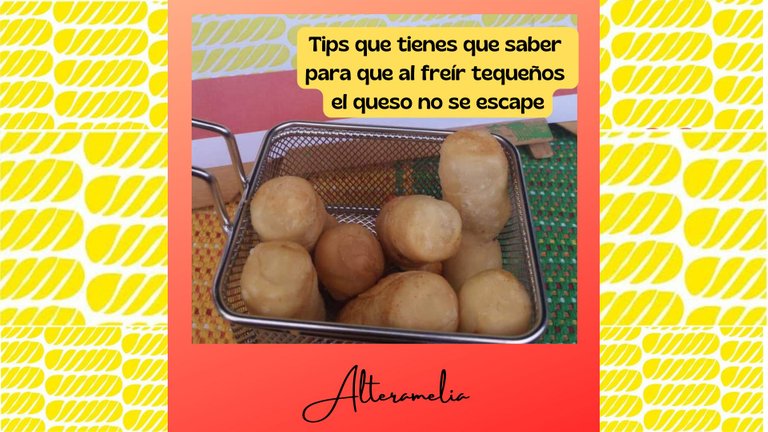

Hoy vengo por aquí con el compromiso de que juntos terminemos de realizar los deliciosos tequeños Tekeesu de la receta que hace algún tiempo les enseñé por aquí y que fue mi primera publicación en esta comunidad.
En esa oportunidad les dejé la receta de los tequeños y muy detalladamente todo el proceso para que obtuvieran una buena masa y también sobre la importancia de la calidad de los materiales y de verdad, humildemente el paso a paso quedó bien fino, así que recomiendo que vayan a ese post a refrescar la receta y los pasos previos, porque ahora vamos a dedicarnos al proceso de armado de los tequeñitos, el único motivo para no haber hecho todo junto fue porque en el día de esa producción no pude tomar las buenas y necesarias fotos del proceso de armado y había pasado mucho tiempo sin volver a fabricarlos.
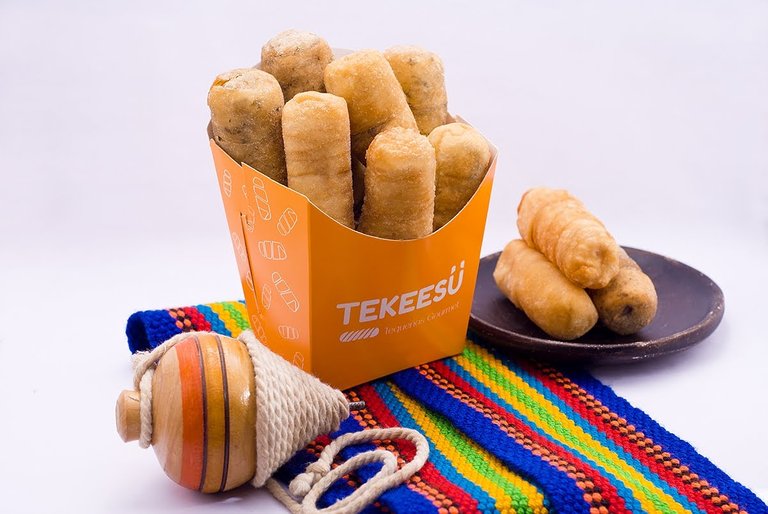
Foto de Roldán Rosero para Tekeesü
Pero ahora estamos mejor, porque además de explicarles con mucho cariño los mejores tips que debes saber para qué al freír los tequeños el queso no se escape, viene acompañado de unos videitos que grabé en el proceso y convertí en GIF para que los puedan apreciar de forma muy ligera y además al final del post,un bonus track de un hermoso trabajo que hicieron en la escuela de mis hijos en su taller de cocina, en la que invitaron a mi familia a enseñar a los niños a hacer tequeños y todo el trabajo fue grabado y editado por otra familia de la escuela que reconocemos como excelentes productores audiovisuales, el trabajo fue realizado para el canal de YouTube del colegio y les compartiré aquí en este post para que no pierdan detalle de principio a fin de como se hacen los tequeños de nuestra marca Tekeesü, pero como les dije, eso es un bonus con sus respectivos créditos, ese material no cuenta para quienes quieran curar rigurosamente mi post original.

Ya hicimos la masa, mientras reposa piquemos el queso
Vamos a iniciar por la preparación de los palitos de queso: Tenemos nuestro queso, que sea un queso blanco de la mejor calidad, semi duro y de un buen gusto, ya que estos tequeños se caracterizan porque sobresale la calidad y el sabor del queso, la calidad de ese ingrediente no la podemos subestimar.
Teniendo el queso refrigerado, estando bien frío, lo vamos a picar del tamaño que queramos, yo recomiendo que tengan aproximadamente 5 cm de largo para que sean aptos para fiestas, pero a la vez bien sustanciosos para una meriendita o desayuno, y su grosor puede estar entre 1 cm a 1,5 cm y tendrán una buena proporción.
Pica ese queso con cuidado de que todos los palitos queden del mismo tamaño y se verán de lo más bonitos y presentables.
Lista la masa y listo el queso es hora de armar tequeños
Bueno, nos vamos a las manos a la masa, ya lista y reposada, para luego ser estirada finamente en una superficie bien enharinada y lograr que, una vez separada en pelotitas de unos 8 cm de diámetro, pueda ser muy bien estirada hasta apenas unos 4 mm de grosor.

Vamos a realizar unos tequeños que se caracterizan por ser puuuuro queso, así que esa masa tiene que quedar bien finita.
Al tener las láminas de masa, vamos a ir cortándolas a lo largo en un ancho de aproximadamente 1, 5 cm y con estas tiritas que nos van a quedar vamos a seguir los siguientes:
Tips para armar los tequeños
Envolver el palito de queso como lo ves en la imagen de forma vertical sellando la masa en todos sus lados de manera que queden metidos en una pijamita.
Comenzar a envolver en forma de espiral de arriba hacia abajo, cuidando que la siguiente vuelta quede superpuesta a la mitad de la vuelta anterior.
Al llegar al final, cortar la tira de masa sobrante y sellar muy bien arroba, abajo y por todos lados.
Pasar el tequeño ya listo por suficiente harina que se le pegue completamente y disponer en una bandeja donde serán congelados.
Si vas a realizar muchos tequeños no puedes esperar que todos estén listos para congelarlos, cuando lleves 20 tequeños introdúcelos al congelador y sigue produciendo los demás, porque si los dejas fuera, el queso ira destilando agua y esa humedad romperá la masa.

Consejo extra. Saca los quesos poco a poco del refrigerador para que al momento de hacer cada tequeño el queso esté bien frío.
Llegó la hora de freír

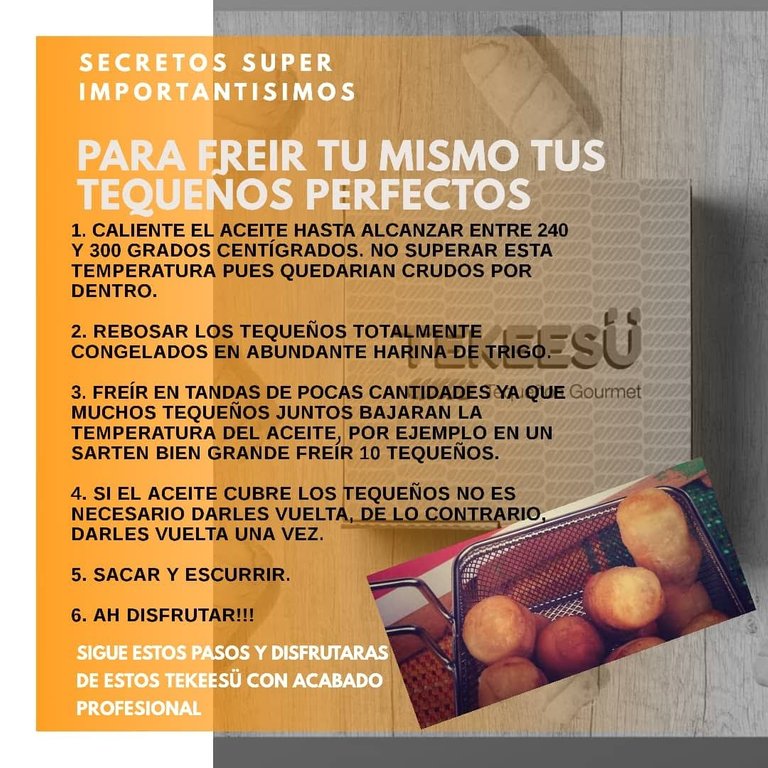
Tips al momento de freír los tequeños
- Obtendrás mejores resultados si fríes los tequeños luego de congelados, reposando fuera del congelador no más de 15 minutos.
- Pon a calentar aceite en un sartén en el que este alcance una profundidad de unos 2 cm de hondo y espera que esté bien caliente y luego baja la temperatura a nivel medio.
- Dispón una fuente amplia con una taza de trigo en la que vas a revolcar cada tequeño antes de meterlo al sartén.
- Vas metiendo los tequeños al sartén sin que este quede muy lleno porque esto haría disminuir la temperatura drásticamente y no quedaría bien. Si el sartén tienen unos 20 a 25 cm de diámetro, de 10 a 12 tequeños será lo correcto.
- Da vuelta cuando vayan tomando tono dorado y retira cuando este color ya esté por todos lados.
- Al sacar del sartén deja reposar en una bandeja con papel absorbente.
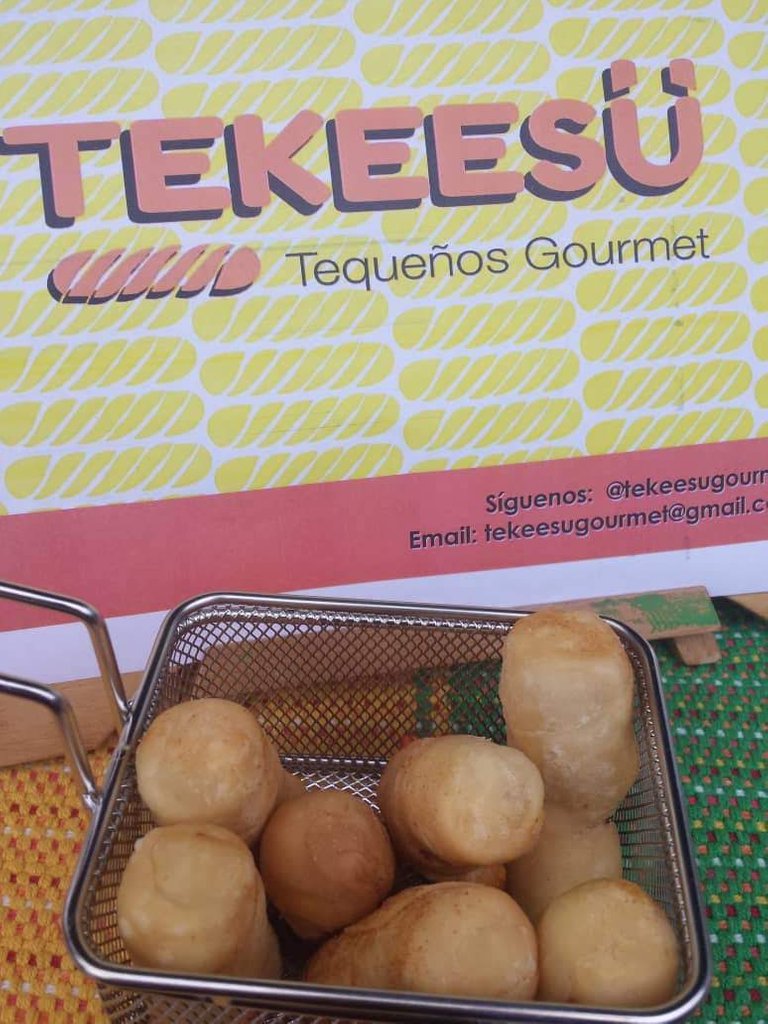

Resultado: comenzales satisfechos. Por aquí hay una foto de Ilaz y las demás tomadas con mi teléfono
Disfruta el video de cuando hicimos tequeños con los niños de la escuela que no pierdas ningún detalle. Está de lujo, los productores, Ricardo Castillo y familia son mágicos e hicieron el vídeo para el canal de Rondalera en Youtube. 👇
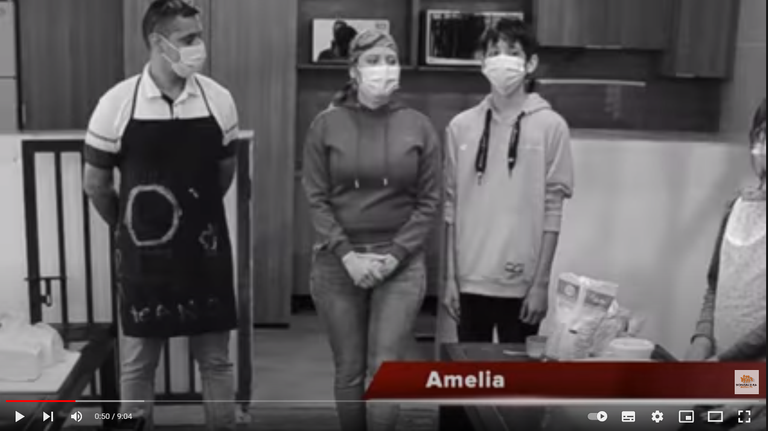
Captura de pantalla de nuestro video en YouTube
Ver en YouTube nuestra elaboración completa de los tequeños
Aho!
Tips you need to know so that when frying tequeños the cheese does not leak out
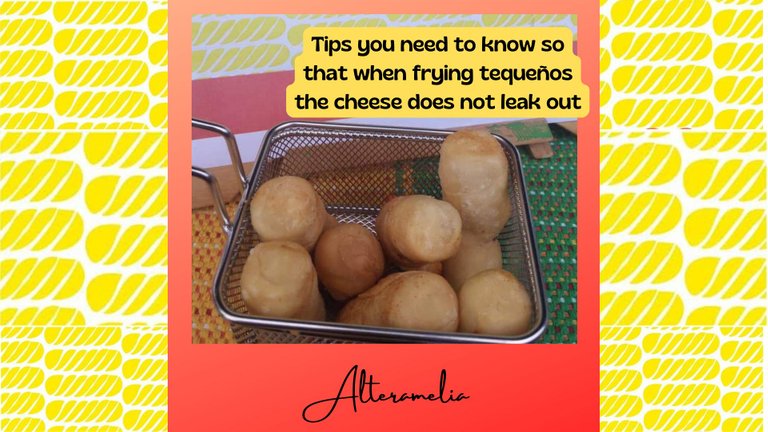

Hello friends of the Hive Food community, I've been watching your delicious recipes and learning about your experiences.
Today I come here with the commitment that together we finish making the delicious Tekeesu tequeños from the recipe that some time ago I showed you here and that was my first publication in this community.
In that opportunity, I left you the recipe for the tequeños and very detailed the whole process to get a good dough and also about the importance of the quality of the materials, humbly the step by step was fine, so I recommend that you go to that post to refresh the recipe and the previous steps, because now we are going to dedicate ourselves to the process of assembling the tequeñitos, the only reason for not having done everything together was because on the day of that production I could not take the good and necessary photos of the assembly process and it had been a long time without making them again.

Photo by Roldán Rosero for Tekeesü
But now we are better because, in addition to explaining with love the best tips you should know so that when frying the tequeños the cheese does not escape, it is accompanied by some videos that I recorded in the process and converted into GIF so you can appreciate them in a very light way and also a bonus track of a beautiful job they did in my children's school in their cooking workshop, in which they invited my family to teach the children to make tequeños and all the work was recorded and edited by another family of the school that we recognize as excellent audiovisual producers, the work was done for the YouTube channel of the school and I will share here in this post so you do not lose detail from beginning to end of how tequeños of our brand Tekeesu are made, but as I said, that's a bonus, that material does not count for my original post.


Now that we have made the dough, while it rests we are going to chop the cheese.
Let's start by preparing the cheese sticks: We have our cheese, which is a white cheese of the best quality, semi-hard and good flavor, as these tequeños are characterized because it highlights the quality and flavor of the cheese, you can not underestimate the quality of this ingredient.
Having the cheese refrigerated, being well chilled, we are going to chop it in the size we want, I recommend that they are approximately 5 cm long so that they are suitable for parties, but at the same time very substantial for a snack or breakfast, and its thickness can be between 1 cm to 1.5 cm and will have a good proportion.
Chop the cheese carefully so that all the sticks are the same size and look nice and presentable.
Once the dough is ready and the cheese is ready, it is time to assemble the tequeños.
Well, we are going to take the dough, already ready and rested, and then stretch it finely on a well-floured surface and get that, once separated into balls of about 8 cm in diameter, can be stretched very well to just about 4 mm thick.

We are going to make some tequeños that are characterized by lots of cheese, so this dough has to be very thin.
Once we have the sheets of dough, we will cut them lengthwise to a width of approximately 1, 5 cm, and with these strips that we will have left we will follow the following steps:
Tips for assembling the tequeños.
Wrap the cheese stick as you see in the photo vertically sealing the dough on all sides so that they are tucked into pajamas.
Start wrapping in a spiral from top to bottom, making sure that the next round overlaps half of the previous one.
When you reach the end, cut the remaining strip of dough and seal well on top, bottom, and all sides.
Dredge the ready tequeño in enough flour so that it sticks completely and place it on a tray where it will freeze.
If you are going to make many tequeños you can not wait until they are all ready to freeze, when you have 20 tequeños put them in the freezer and continue making the rest because if you leave them out, the cheese will distill water and that moisture will break the dough.

Extra tip. Take the cheeses out of the fridge little by little so that at the moment of making each tequeño the cheese is well chilled.
It is time to fry.
Tips when frying tequeños
- You will get better results if you fry the tequeños after they are frozen, resting them out of the freezer for no more than 15 minutes.
- Heat oil in a frying pan to a depth of about 2 cm deep and wait until it is very hot and then lower the temperature to medium.
- Arrange a large bowl with a cup of wheat in which you are going to stir each tequeño before putting it in the pan.
- Put the tequeños in the pan without filling the pan too much because this would lower the temperature drastically and it would not look good. If the pan has a diameter of 20 to 25 cm, 10 to 12 tequeños will be the correct size.
- Turn them when they turn golden brown and remove them when this color is already all over.
- Remove from the pan and let them rest on a tray with absorbent paper.

They are ready to enjoy, don't burn yourself, let them rest for a few minutes.

Result: satisfied starters. Here's a picture of Ilaz and the others taken with my phone.
Enjoy the video of when we made tequeños with the school children so you don't miss any detail. It's deluxe, and the producers, Ricardo Castillo, and family are magical. 👇
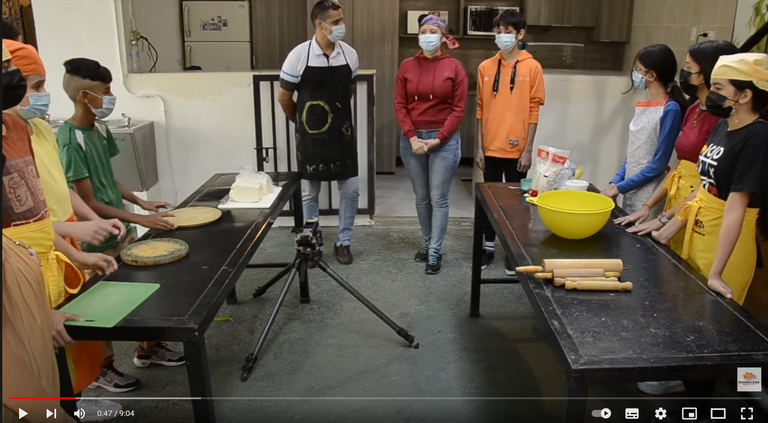
Screenshot of our YouTube video
Ver en YouTube nuestra elaboración completa de los tequeños
¡Aho!
 |  |  |  |  |  |
|---|
All content expressed herein is my intellectual property.
Photos taken with the camera of my Xiaomi Redmi 11 Lite phone and edited en Pixlr
Credit for Roldán Rosero for profesional photo and Ilaz anda Lunaticanto for photo in the gif.
Banners in Canva, Mi Avatar in Zepeto, Gif n Adobe Express, collages and icons produced in Canva.


