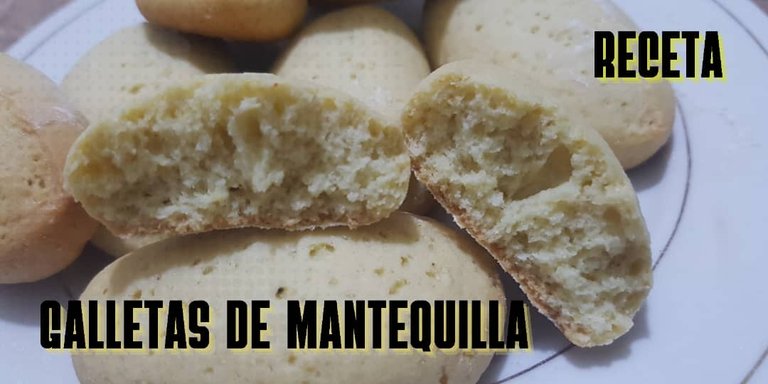
How are you friends of hive food, I'm here again and this time I want to share with you this recipe I made a few days ago when I felt like eating something sweet with coffee, so I made some delicious butter cookies that took me much longer making them than eating them hahaha. Here I am leaving the materials and the step by step so you can also make them at home.
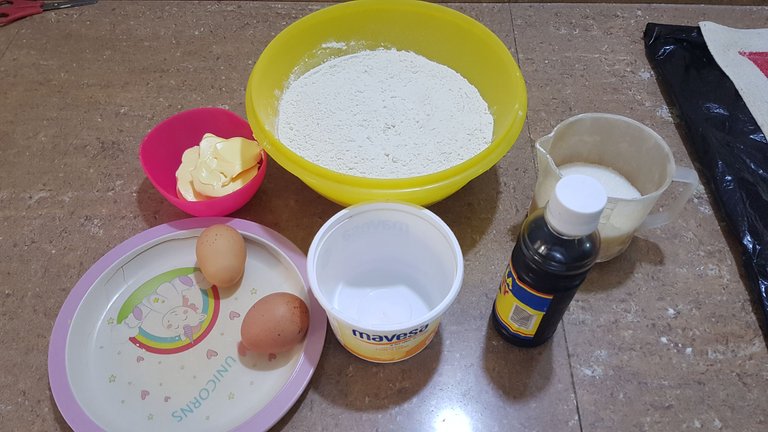
Ingredientes
• 100 gr de mantequilla
• 230 gr de azúcar
• 2 huevos
• vainilla
• 375 gr de harina de trigo
• una cucharadita de polvo para hornear
Ingredients
- 100 gr butter
- 230 gr sugar
- 2 eggs
- vanilla
- 375 gr wheat flour
- 1 teaspoon of baking powder
1er paso
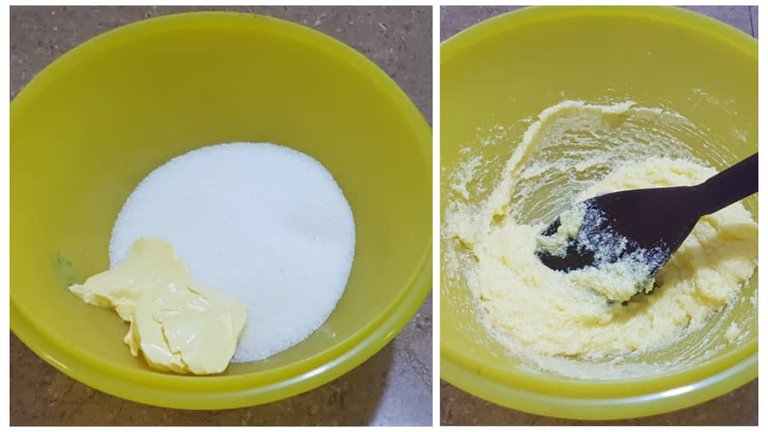
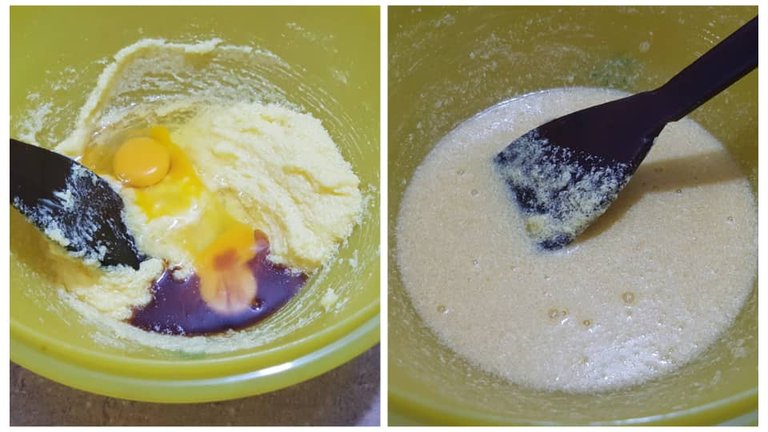
Pues lo primero es tomar un bold para colocar nuestras mantequilla y azúcar, posteriormente mezclarlas para fundir la azúcar con la mantequilla. Esto hasta tener una consistencia entre líquida y pastosa, para dar paso a incorporar los dos huevos y un poco de vainilla. La medida no es exacta pero con un chorrito estará bien.
1st step
Well the first thing is to take a bold to place our butter and sugar, then mix them to melt the sugar with the butter. This until you have a consistency between liquid and pasty, to give way to incorporate the two eggs and a little vanilla. The measure is not exact but a splash will be fine.
2do paso
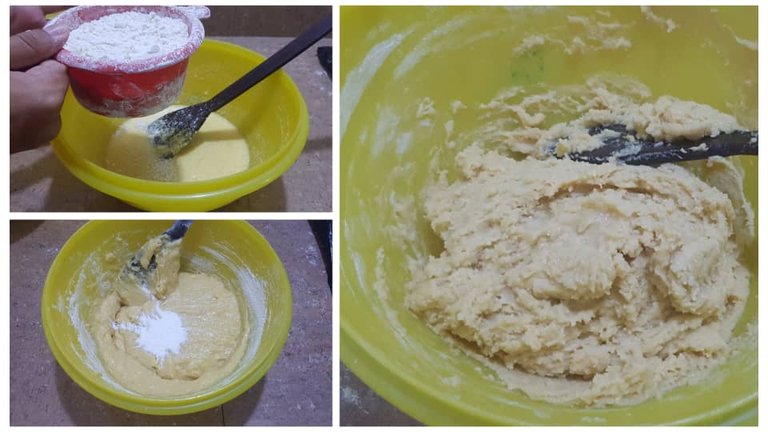
Debemos íntegrar muy bien los huevos y la vainilla a la mantequilla y azúcar, revolviendo de forma envolvente hasta tener una consistencia lo más líquida y lo más homogénea posible. Al tener lista la mezcla podemos comenzar a integrar la harina poco a poco, pase la harina a través de un tamiz para quitar los grumos que pudiese tener y lo dividí en dos partes.
Junto con la segunda parte de la harina también agrego el polvo para hornear e íntegro todo hasta tener una máscara con una consistencia pastosa y moldeable.
2nd step
We must integrate very well the eggs and vanilla to the butter and sugar, stirring in an enveloping way until we have a consistency as liquid and as homogeneous as possible. Once the mixture is ready we can begin to integrate the flour little by little, pass the flour through a sieve to remove any lumps and divide it into two parts.
Along with the second part of the flour I also add the baking powder and integrate everything until I have a mask with a doughy and moldable consistency.
3er paso
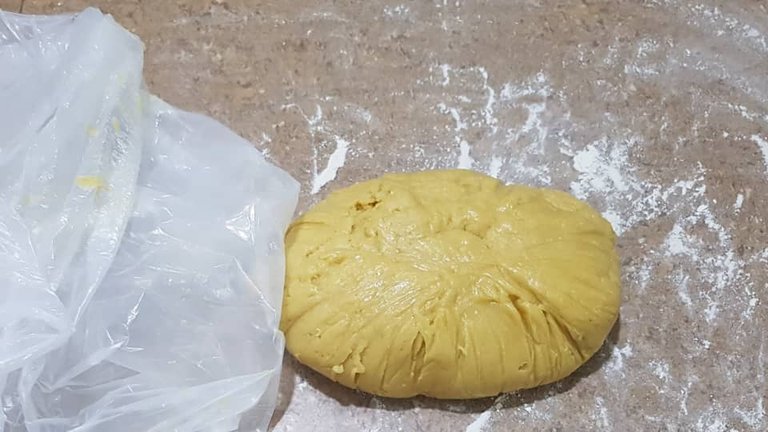
Ya con nuestra masa lista y bien mezclada la dejaremos reposar 30 minutos en la nevera adentro de una bolsa o papel film.
Después de 15 minutos podemos ir calentando el horno a 180°
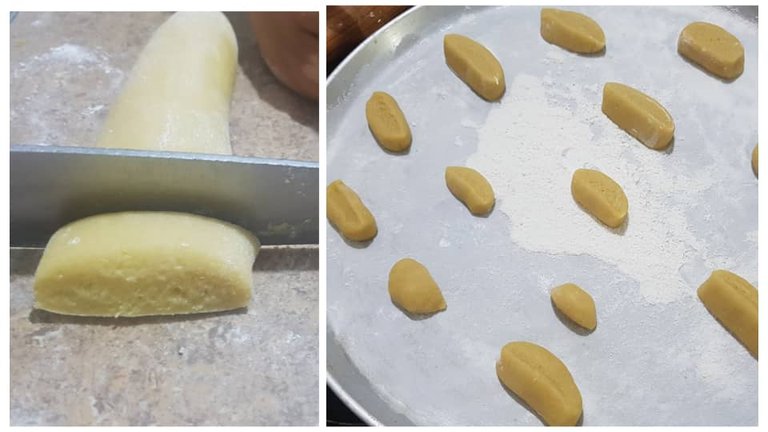
Una vez pasen los 30 minutos la masa estará mucho más consistente y se hará muy fácil el hacer las galletas, mi forma de hacerlas es bastante rústica pues así me gustan pues quedan gorditas. La técnica consiste en agarrar la masa y hacerla un cilindro para luego comenzar a cortarla a un centímetro de grosor. Las pondremos en una bandeja encamisada con mantequilla y harina para que las galletas no se peguen.
3rd step
Once our dough is ready and well mixed, we will let it rest for 30 minutes in the refrigerator inside a bag or plastic wrap.
After 15 minutes we can heat the oven to 180°.
Once the 30 minutes have passed the dough will be much more consistent and it will be very easy to make the cookies, my way of making them is quite rustic because that's the way I like them because they are chubby. The technique is to take the dough and make a cylinder and then start cutting it to a centimeter thick. We will put them on a tray coated with butter and flour so that the cookies do not stick.
4to paso
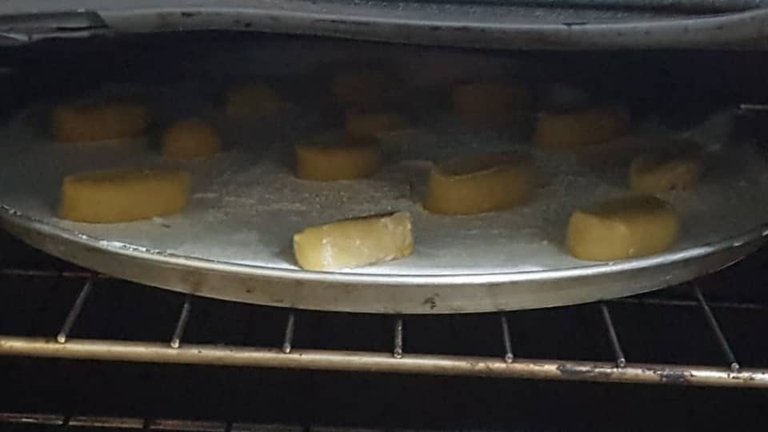
Con el horno ya calentado a 180° y nuestras galletas ya en la bandeja bien colocadas las podemos hornear durante 12 o 15 minutos. Debemos estar muy atentos pues pueden quemarse.
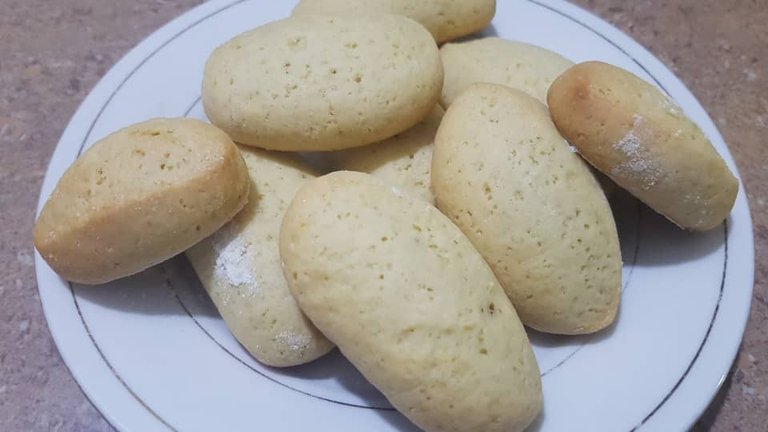
Una vez pase el tiempo y las galletas estén listas deben de verse así de apetecibles. Deben saber que saben igual de bien que como se ven.
Espero les disfruten de esta receta tanto como yo que ya estoy comprando más materiales para hacerme más de estás galettas de mantequilla ❤️
4th step.
With the oven already heated to 180° and our cookies already on the tray well placed we can bake them for 12 to 15 minutes. We must be very careful because they can burn.
Once the time has passed and the cookies are ready, they should look as appetizing as this. You should know that they taste just as good as they look.
I hope you enjoy this recipe as much as I do and I am already buying more materials to make more of these butter cookies ❤️
Traducido con DeepL