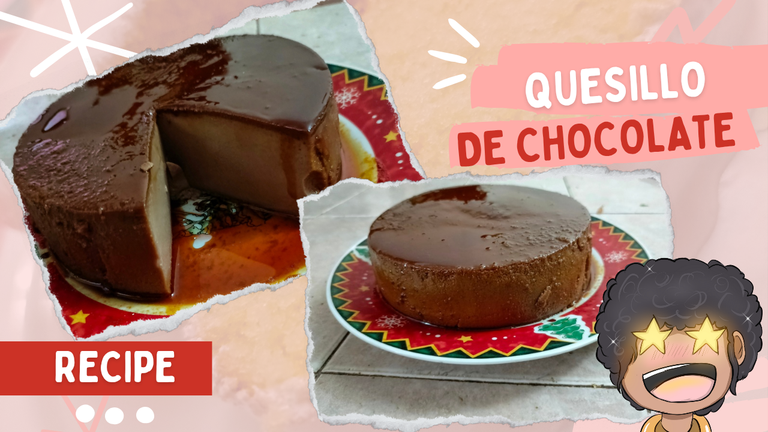
El 24 de diciembre mi mamá y yo queríamos comer un postre super rico después de la cena, y se nos antojó hacer quesillo (flan).
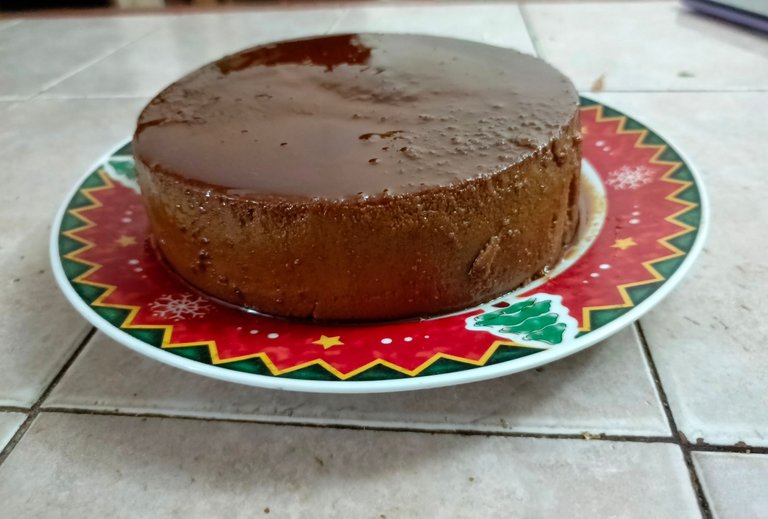
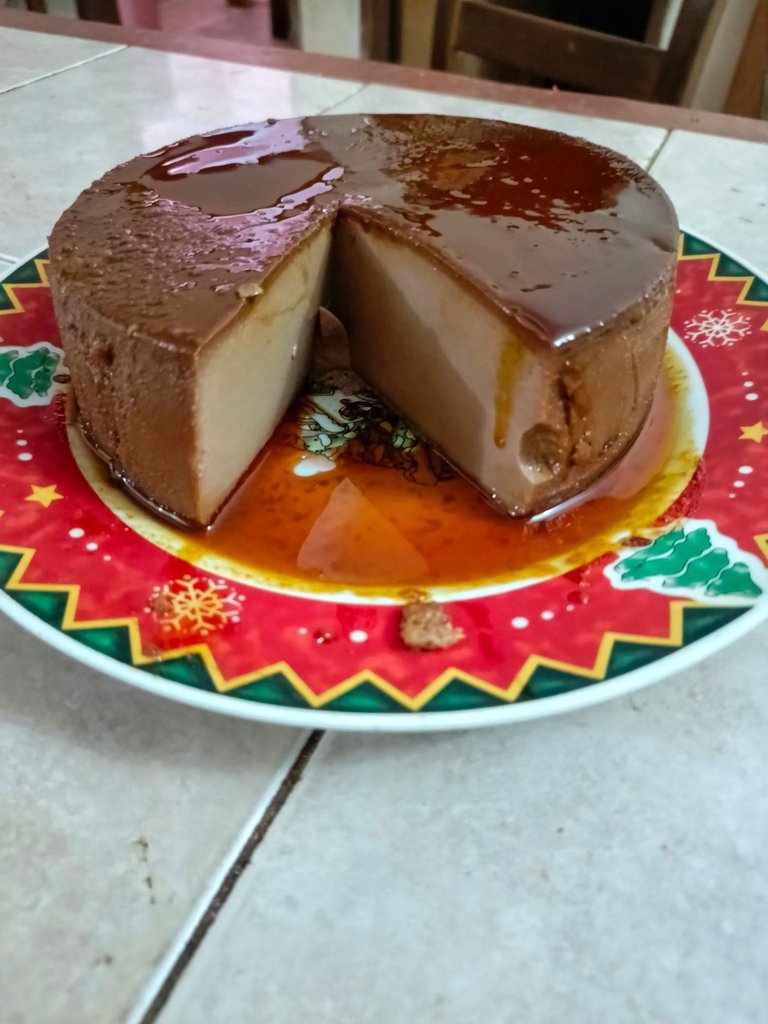
Yo amo con locura el quesillo, me parece de los postres más nobles y deliciosos que tenemos en el país. Porque es fácil de hacer, económico y es sumamente divino. En esta ocasión quisimos hacer quesillo de chocolate.
La verdad, estaba un poco apurada mientras lo hacía y se me olvidó tomarle fotos al proceso, pero quedó tan rico que no podía dejar de compartirles la receta para que la hicieran en casa cuando tuviesen antojo de algo dulce.
Yo dupliqué la receta porque quería que quedara alto y bonito,pero si tú quieres hacerlo más pequeño puedes dividir los ingredientes a la mitad.

Ingredientes:
Para el caramelo
- 2 tazas de azucar
Para el quesillo
- 10 huevos
- 790 g o 2 latas de leche condensada
- 790 ml de leche completa (líquida)
- 2 cucharadas de ron
- 2 cucharadas de cacao
- 2 cucharadas de esencia de vainilla

Preparación
Lo primero que haremos será poner a precalentar el horno en 190° y luego empiezas a preparar el caramelo.
En el molde o quesillera que utilizaremos, agregamos el azúcar y la distribuiremos de manera uniforme y ponemos el molde en el fuego a una llama media. Hay que tratar de no moverlo demasiado, solo un poco para que se vaya derritiendo de forma pareja, pero ni se te ocurra moverlo con algún utensilio o corremos el riesgo de que se cristalice. Solo muevelo agarrando el molde con algún paño o guante de cocina.
Estará listo cuando veamos que tiene un color marroncito medio o ambar. Y aprovechando que está caliente, distribuye el caramelo por todo el molde, hasta cubrir todas sus paredes. Luego lo dejas tranquilo mientras se enfría.
Por otro lado, harás la mezcla del quesillo añadiendo todos los ingredientes al la licuadora. La leche líquida la puedes medir con el mismo envase de la leche condensada. Licuas todo durante aproximadamente 3 minutos o hasta que notes que ya sea una mezcla totalmente homogénea.
Agregas la mezcla encima del caramelo que ya debería estar endurecido, tapas la quesillera con su tapa o si no tienes con papel aluminio y lo metes en el horno a baño María (la quesillera la metes dentro de un recipiente un poco más grande con agua hirviendo).
Usualmente está listo en una hora, pero igual te recomiendo que vayas revisando cada media hora, si está listo o si le falta agregarle más agua hirviendo porque suele irse evaporando con el paso de los minutos.
Estará listo tu quesillo cuando introduzcas un palillo en el centro y salga limpio.
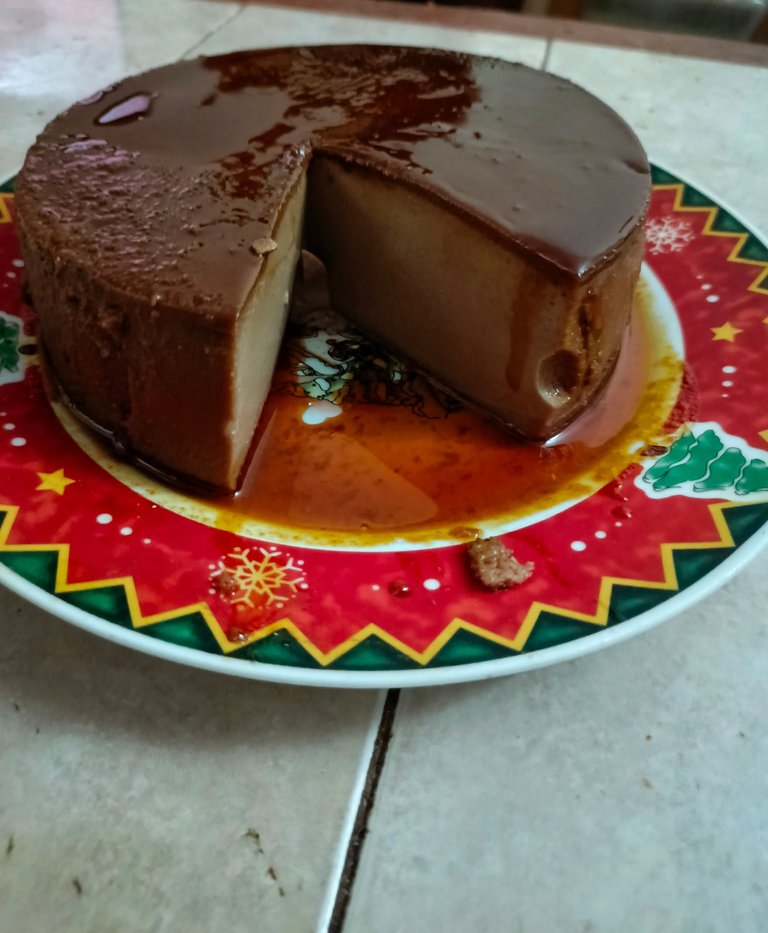
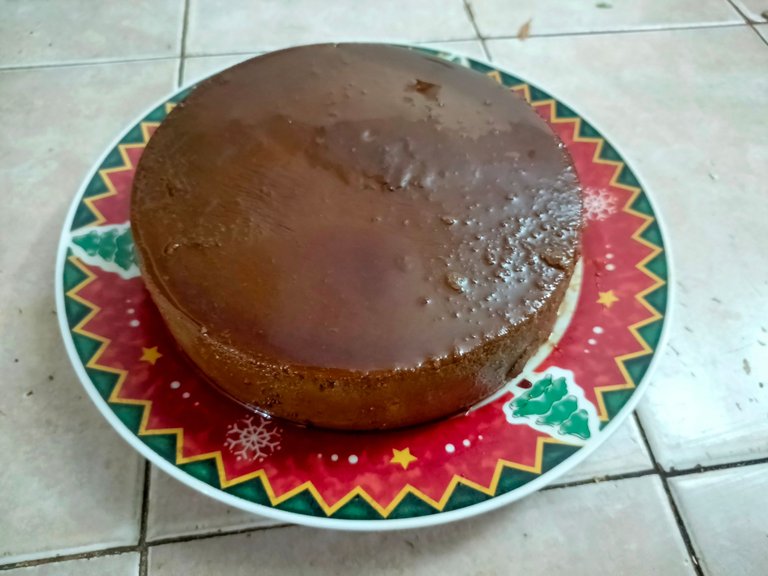
Posteriormente lo sacas del baño María y lo dejas enfriar un poco, hasta que esté tibio, desmoldas en el plato más lindo que tengas, y lo refrigeras por al menos 4 horas. Si lo dejas hasta el día siguiente, mejor.
¡Y listo! Ya tienes un delicioso y cremoso quesillo para compartir, o para comer tu solo 😸
Espero que te animes a preparar esta receta y te guste 🩷

Portada hecha en Canva
Identidad visual por @pentaghast


On December 24 my mom and I want to eat a super delicious dessert after dinner, and we wanted to make quesillo (flan).
I madly love quesillo, I think it is one of the most noble and delicious desserts we have in the country. Because it is easy to make, economical and extremely divine. This time we wanted to make chocolate quesillo.
To tell you the truth, I was in a bit of a hurry while I was making it and forgot to take pictures of the process, but it turned out so delicious that I couldn't help but share the recipe with you so you could make it at home when you have a craving for something sweet.
I doubled the recipe because I wanted it to be nice and tall, but if you want to make it smaller you can divide the ingredients in half.


Ingredients:
To make the caramel
- 2 cups sugar
To make the quesillo (flan)
- 10 eggs
- 790 g or 2 cans of condensed milk
- 790 ml of whole milk (liquid)
- 2 tablespoons rum
- 2 tablespoons cocoa
- 2 tablespoons vanilla essence

Preparation
The first thing to do is to preheat the oven to 190° and then start preparing the caramel.
In the mold or cheese mold that we will use, add the sugar and distribute it evenly and put the mold on the fire at a medium flame. Try not to move it too much, just a little so that it melts evenly, but don't even think of moving it with any utensil or you run the risk of it crystallizing. Just move it holding the mold with a cloth or oven mitt.

It will be ready when we see that it has a medium brown or amber color. And taking advantage of the fact that it is hot, spread the caramel all over the mold, until it covers all the walls. Then leave it alone while it cools down.
On the other hand, you will make the quesillo mixture by adding all the ingredients to the blender. You can measure the liquid milk with the same container as the condensed milk. Blend everything for about 3 minutes or until you notice that the mixture is completely homogeneous.
Add the mixture on top of the caramel that should already be hardened, cover the quesillera with its lid or if you don't have it with aluminum foil and put it in the oven in a bain-marie (the quesillera is placed inside a slightly larger container with boiling water).

It is usually ready in one hour, but I still recommend that you check every half hour to see if it is ready or if you need to add more boiling water because it tends to evaporate as the minutes go by.
Your quesillo is ready when you insert a toothpick in the center and it comes out clean.
Then take it out of the water bath and let it cool a little, until it is lukewarm, unmold it in the most beautiful dish you have, and refrigerate it for at least 4 hours. If you leave it until the next day, even better.
And that's it! Now you have a delicious and creamy quesillo to share, or to eat on your own 😸
I hope you are encouraged to prepare this recipe and that you like it 😸


Cover made in Canva
Visual identity by @pentaghast
