🍰 ¡Hi, guys! 🍰
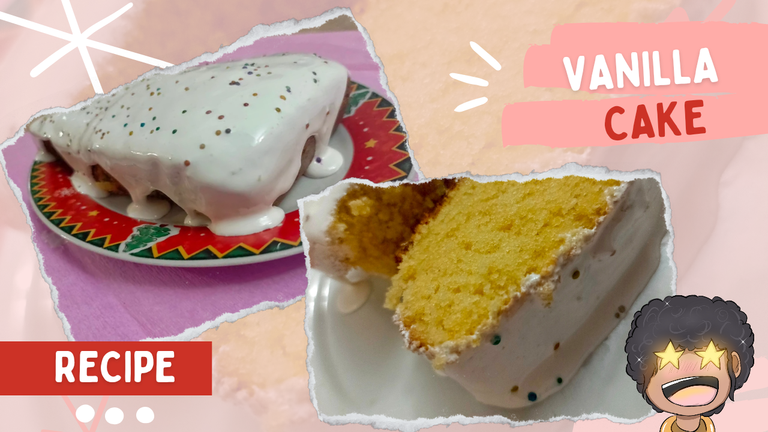
As I told you recently, I have a new kitchen, and I've been dying to bake delicious things in the oven. I wanted to start with something simple, so I made a vanilla cake with frosting. It turned out so divine and fluffy that I couldn't keep it just for myself.
below I leave you the whole preparation process 😍 ⬇️⬇️⬇️

INGREDIENTS:
For the cake
- 250 grams or 2 cups of leavening wheat flour (pastry flour)
- 250 grams granulated sugar (1 1/4 cups)
- 2 teaspoons baking powder
- 2 grams or 1/2 teaspoon salt
- 1 cup or 226 grams of butter or margarine
- 2 whole eggs
- 3 egg yolks
- 1 tablespoon vanilla
- 1 cup of milk mixed with 1 tablespoon of white vinegar (let stand 5 minutes before using in recipe)
For the glaze:
- 250 grams of powdered sugar
- Liquid milk (approximately 30 ml)
- 1 teaspoon vanilla

PREPARATION
Step 1 🍰
The first step is to weigh and measure all the ingredients you will use, separate the 3 egg yolks from the egg whites, and have the cup of milk and the tablespoon of vinegar ready to be joined almost at the end of the preparation. These measurements are not the normal tablespoons or cups that we use to eat, I use the measuring cups.

Step 2 🍰
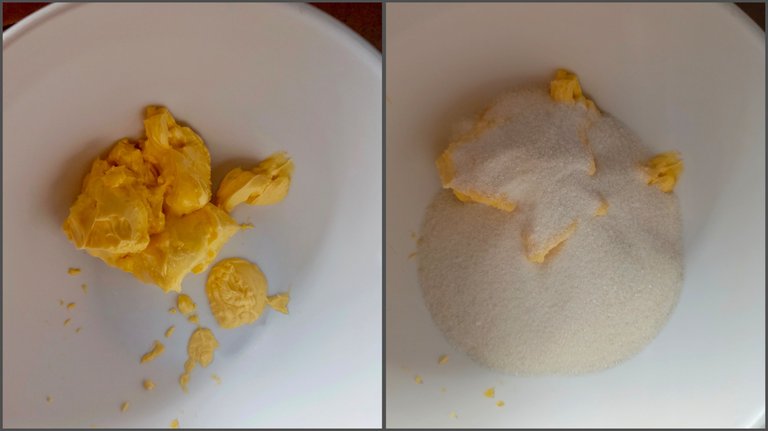
In the bowl of your choice and with the help of a mixer, mix the butter with the sugar long enough until the sugar granules have almost completely disappeared and the mixture has a light color.

Step 3 🍰
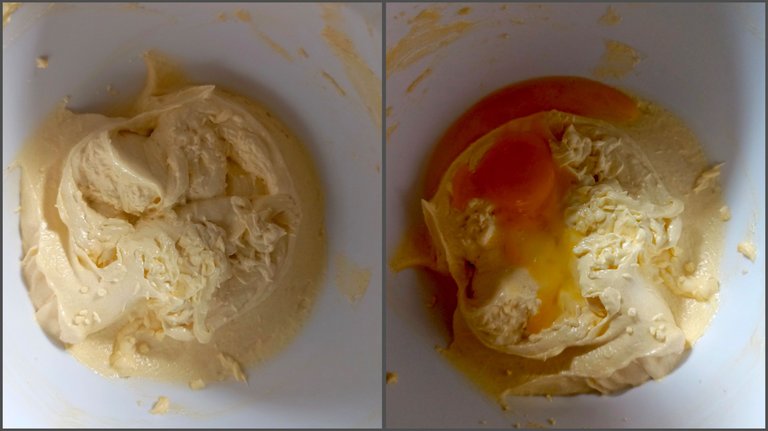
Then add the eggs, one at a time, while continuing to beat. Here you add the salt and vanilla. Beat for approximately 5 minutes at medium high speed.

Step 4 🍰
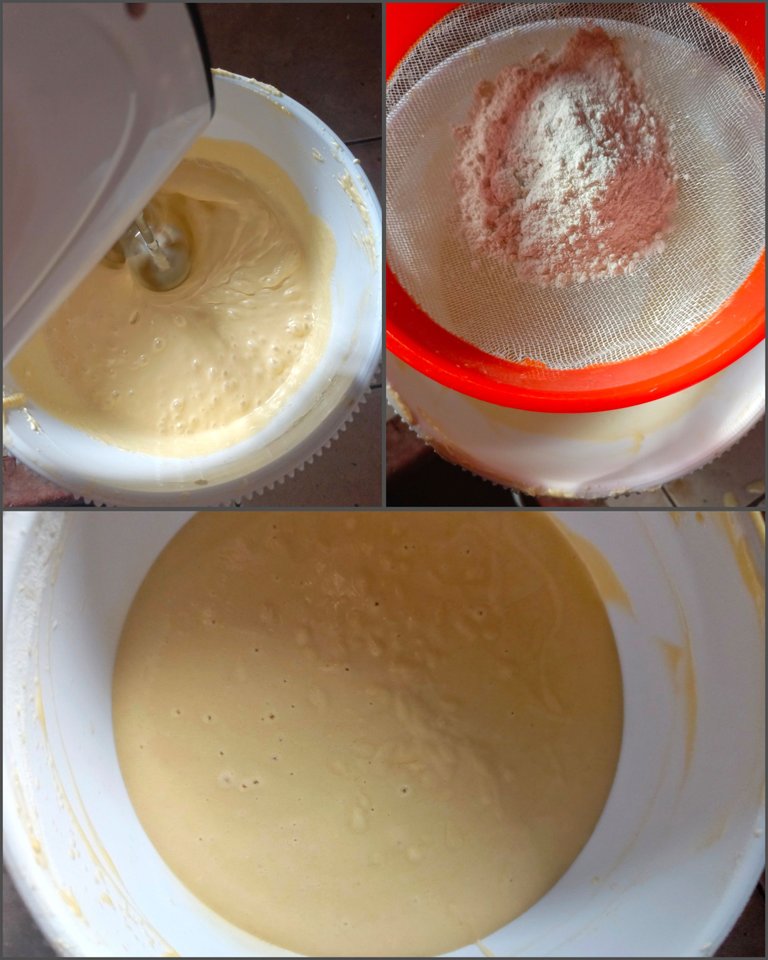
Then proceed to add the sifted flour and baking powder, to avoid lumps. Add little by little, alternating with the milk and vinegar. This mixture of milk and vinegar is to make the crumb of the cake fluffier and lighter.
Beat at low speed, as low as possible, since we cannot overbeat the flour. If you beat too much, the cake can become lumpy and you will not have a cake that is soft, fluffy and will not rise. So just beat enough until there are no lumps. If you want you can do it with a spatula. For practicality, I did it with the mixer at low speed in small quantities.

Step 5 🍰
This mixture could be baked perfectly well in a 22-24 cm round mold, or in two 18-20 CM molds. I do not recommend that you bake it all in one small pan because it will be a lot of mixture, it will take a long time to bake, the edges will be very stiff and you run the risk of it being raw in the center.
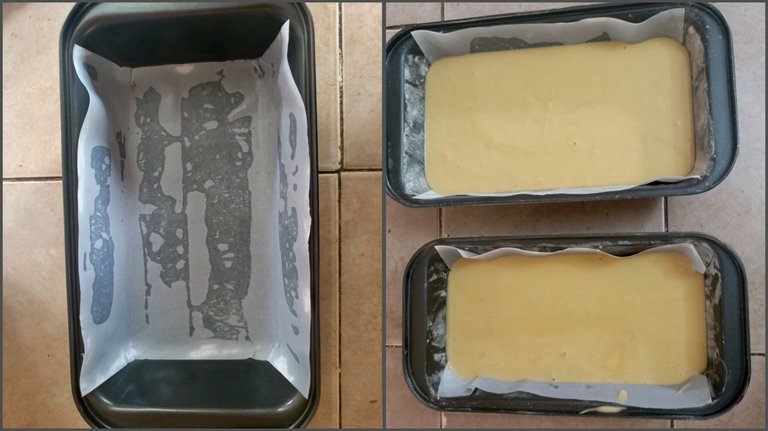
I used two small rectangular molds. And I poured the mixture only halfway into each one.
Since the molds were new, I was afraid it would stick so I wanted to use baking paper. But since I didn't have baking paper, I used white sheets greased with oil. In the corners that were not covered by the paper I greased them with butter and flour.
Remember to heat the oven at least 10 minutes before putting the mixture in.

Step 6 🍰
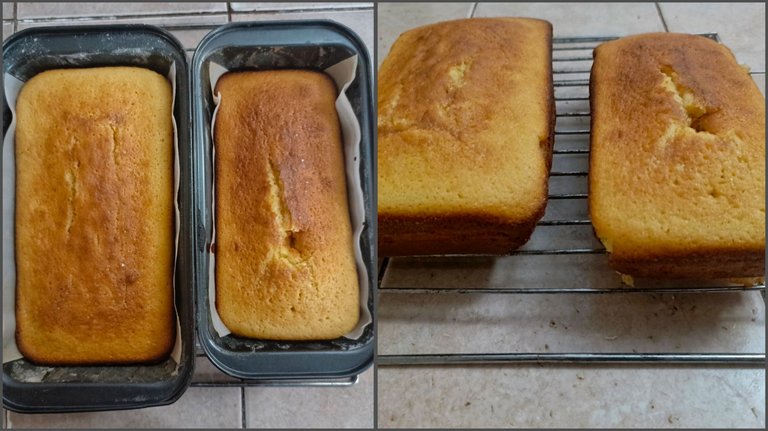
Bake at a temperature of 180° for approximately 30 minutes. The baking time will depend on the size of the pan you use and the power of your oven. You will know it is ready when you poke it with a wooden stick or a knife and it comes out clean.

Glaze 🍰
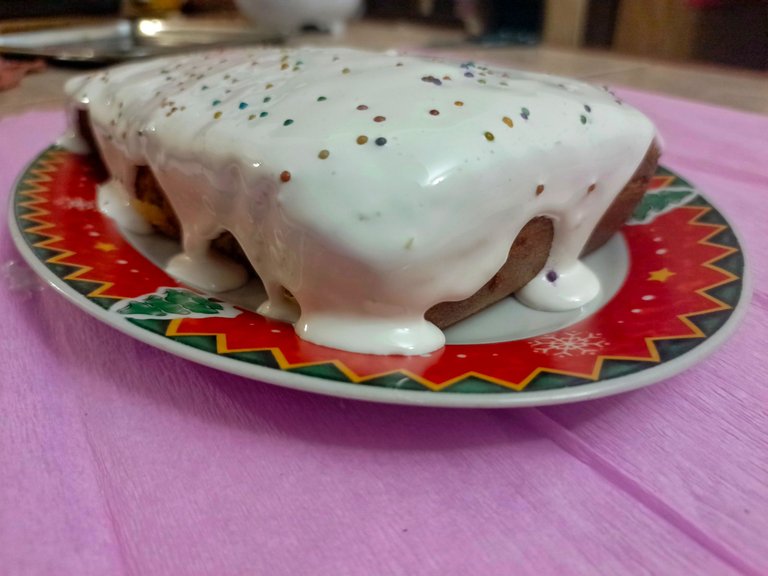
For the glaze, gradually mix the powdered sugar with the milk and vanilla. Add the milk in small spoonfuls until it has a fluid texture but not too runny. It should be thick but fluid enough to slide into the cake. I didn't take exact measurements but I estimate it was 2 or 3 tablespoons.
I made it with vanilla but you could also make the frosting with lemon juice. Just keep the balance in the liquids when adding the milk and lemon.
In case you want to add some coloring, I recommend that you mix it with the milk beforehand.
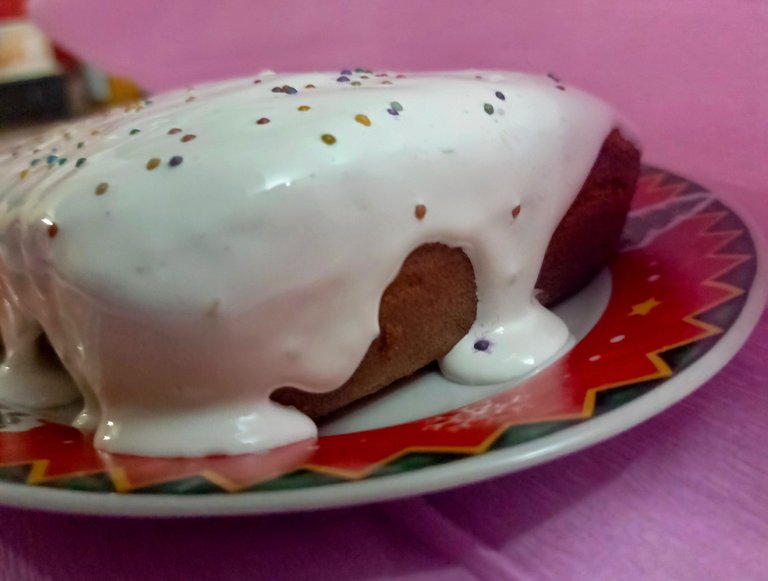
When it is ready, add it to the surface of the cake and let gravity do its job.
This way this beautiful and delicious cake will be ready!
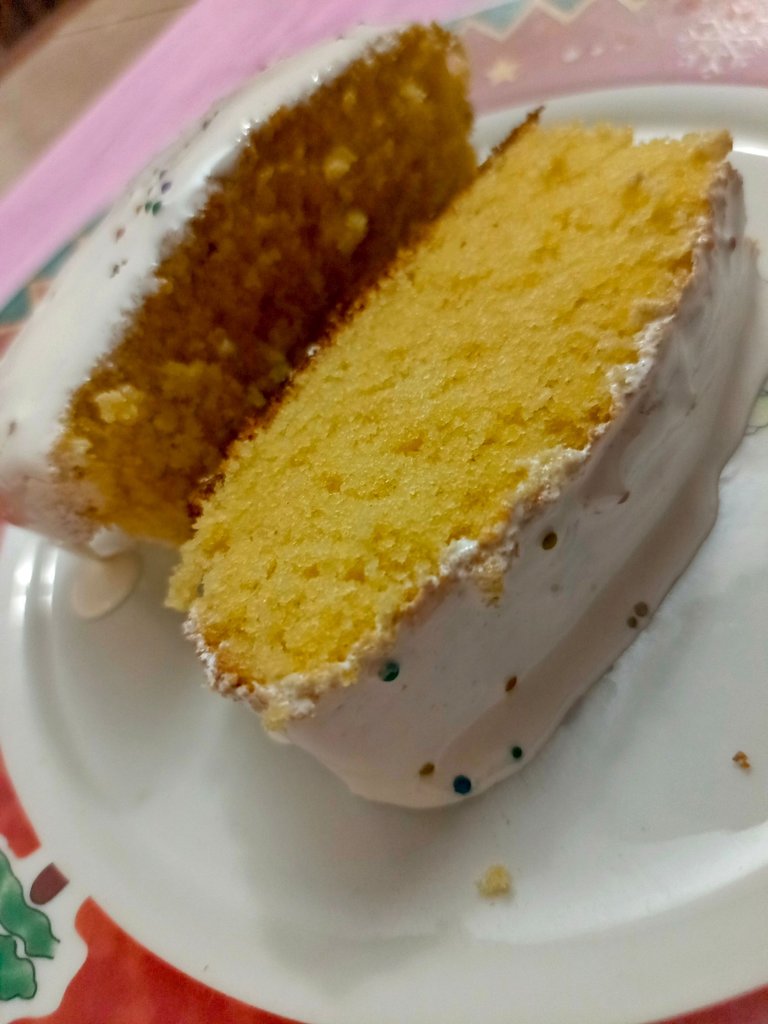
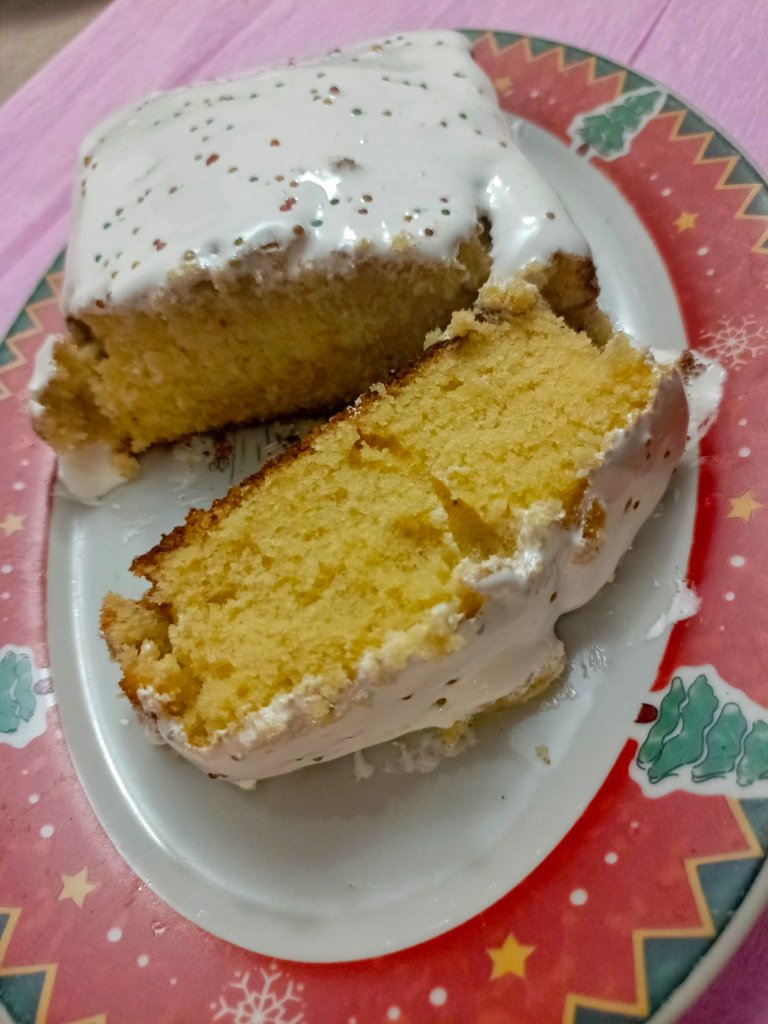
🍰 FINAL RESULT 🍰

Cover made in Canva
Visual identity by @pentaghast

🍰 ¡Hola, chicos! 🍰
Como les conté hace poco, tengo cocina nueva, y moría por hornear cosas deliciosas en su horno. Quise empezar con algo sencillo, así que preparé una torta de vainilla con glaseado. Quedó tan divina y esponjosa que no podía guardarla solo para mí.
Abajo les dejo todo el proceso de preparación 😍 ⬇️⬇️⬇️

INGREDIENTES:
Para la torta
- 250 gramos o 2 tazas de harina de trigo leudante (harina para repostería)
- 250 gramos de azúcar granulada (1 1/4 de taza)
- 2 cucharaditas de polvo de hornear
- 2 gramos o 1/2 cucharadita de sal
- 1 taza o 226 gramos de mantequilla o margarina
- 2 huevos completos
- 3 yemas de huevo
- 1 cucharada de vainilla
- Una taza de leche mezclada con una cucharada de vinagre blanco (dejar reposar 5 minutos antes de usarlo en la receta)
Para el glaseado:
- 250 gramos de azúcar glass
- Leche líquida (aproximadamente 30 ml)
- 1 cucharadita de vainilla

PREPARACIÓN
Paso 1 🍰
El primer paso es pesar y medir todos los ingredientes que usarás, apartar las 3 yemas de huevo de las claras, y tener la taza de leche y la cucharada de vinagre listas para ser unidas casi al final de la preparación. Estas medidas no son de cucharadas o tazas normales que usamos para comer, yo uso las tazas medidoras.

Paso 2 🍰
En el bowl de tu preferencia y con la ayuda de una batidora, vas mezclar la mantequilla con el azúcar el tiempo suficiente, hasta que los gránulos de azúcar hayan desaparecido casi por completo y la mezcla tenga un color claro.


Paso 3 🍰
Luego agregarás los huevos, uno a la vez, mientras sigues batiendo. Aquí aprovechas y añades la sal y la vainilla. Bates durante, aproximadamente, 5 minutos a velocidad media alta.


Paso 4 🍰
Luego procedes a añadir la harina y el polvo de hornear tamizados, para evitar grumos. Añades poco a poco, intercalando con la leche cortada con vinagre. Está mezcla de leche con vinagre es para que la miga de la torta quede más esponjosa y ligera.
Bate a velocidad baja, lo más bajo posible, ya que no podemos batir en en exceso la harina. Si se bate mucho, la torta puede quedar apelmazada y no tendrás una torta ni suave, ni esponjosa y tampoco crecerá. Así que solo bate lo suficiente hasta que no hayan grumos. Si quieres puedes hacerlo con una espátula. Yo por practicidad, lo hice con la batidora a velocidad baja en pequeñas cantidades.


Paso 5 🍰
Esta mezcla podrías hornearla perfectamente en un molde redondo de 22-24 cm, o en dos moldes de 18-20 CM. No te recomiendo que la hagas toda en un solo molde pequeño porque será mucha mezcla, tardará mucho en hornearse, quedarán los bordes muy tiesos y corres el riesgo de que quede cruda en el centro.
Yo usé dos moldes rectangulares pequeños. Y eché la mezcla solo hasta la mitad de cada uno.
Como los moldes eran nuevos, me daba miedo que se me pegara así que quise usar papel de horno. Pero como no tenía papel de horno usé hojas blancas engrasadas con aceite. En las esquinas que no cubría el papel la engrasé con mantequilla y harina.
Recuerda poner a calentar el horno al menos 10 minutos antes de meter la mezcla


Paso 6 🍰
Hornea con una temperatura de 180° por 30 minutos, aproximadamente. De todas formas el tiempo de horneado dependerá del tamaño del molde que uses y de la potencia de tu horno. Te darás cuenta que está lista cuando pinches con un palito de madera o un cuchillo y salgan limpios.


Glaseado 🍰
Para el glaseado mezclas poco a poco el azúcar glass con la leche y la vainilla. Agrega la leche en pequeñas cucharadas hasta que tenga una textura fluida pero no demasiado líquida. Debe quedar espesa pero lo suficientemente fluida para que se deslice en la torta. No tomé las medidas exactas pero calculo que fueron 2 o 3 cucharadas.
Yo lo hice con vainilla pero también podrías hacer el glaseado con jugo de limón. Solo mantén el equilibrio en los líquidos a la hora de añadir la leche y el limón.
En caso de que quieras echarle algún colorante, te recomiendo que lo mezcles con la leche previamente.
Cuando esté listo lo agregas a la superficie de la torta y dejas que la gravedad haga su trabajo.
¡De esta manera estará lista está hermosa y deliciosa torta!
🍰 RESULTADO FINAL 🍰


Portada hecha en Canva
Identidad visual por @pentaghast


