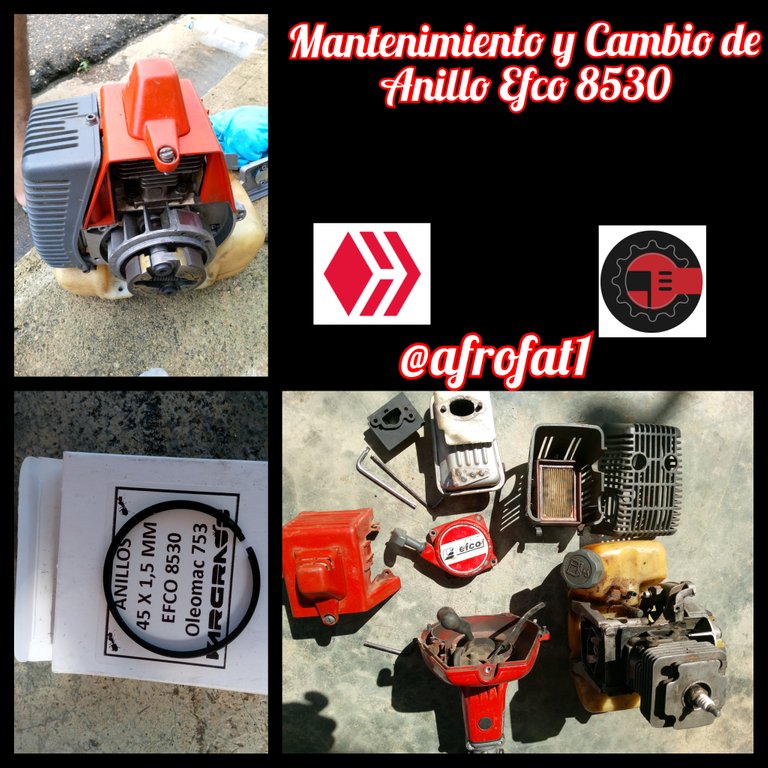
A continuación les estare presentando el paso a paso utilizado para el cambio de anillos de sujeción acompañenme:
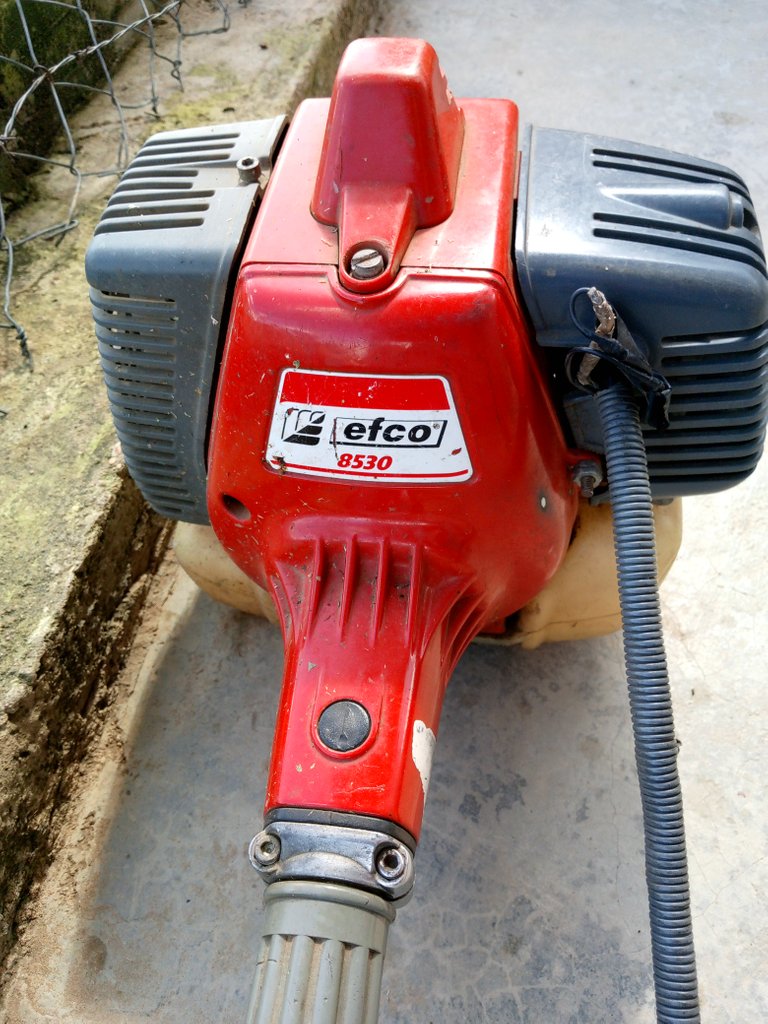
Paso 1
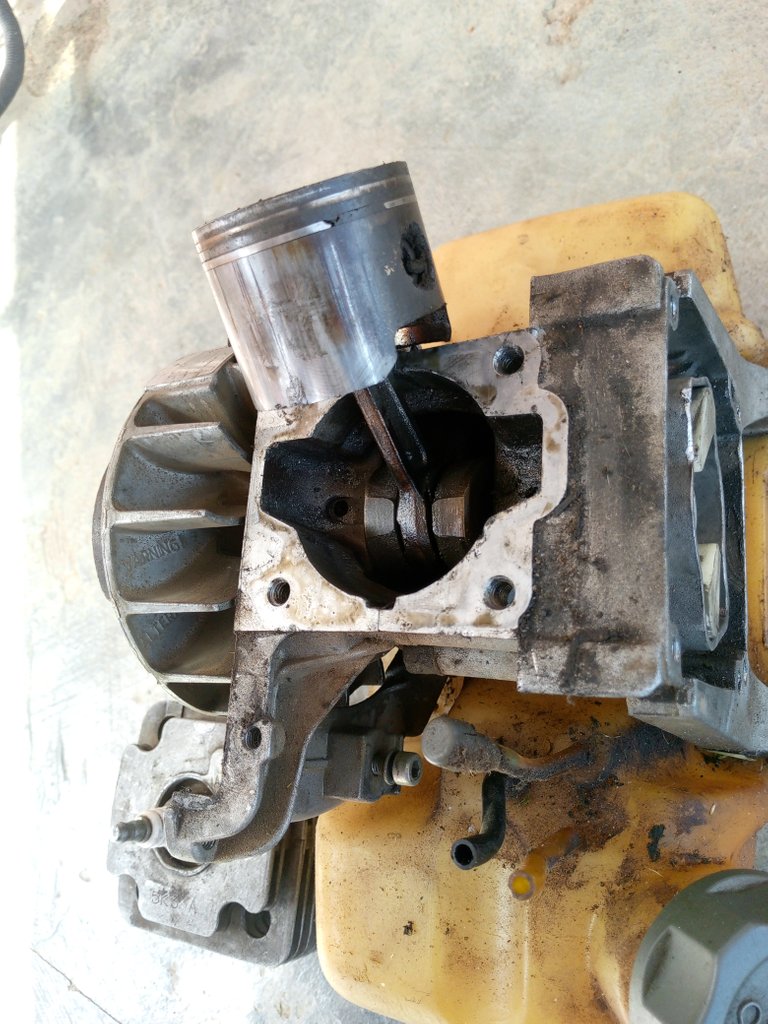
Lo primero que hicimos fue desarmar la desmalezadora para poder llegar a nuestro anillo y realizar el cambio correspondiente.
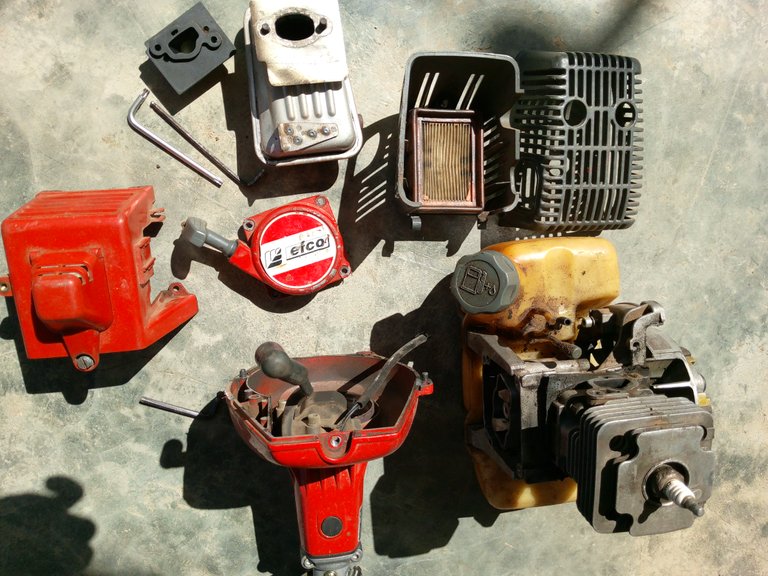
Al verlo mas de serca nos damos cuenta que el motor esta sucio y le hace falta mantenimiento
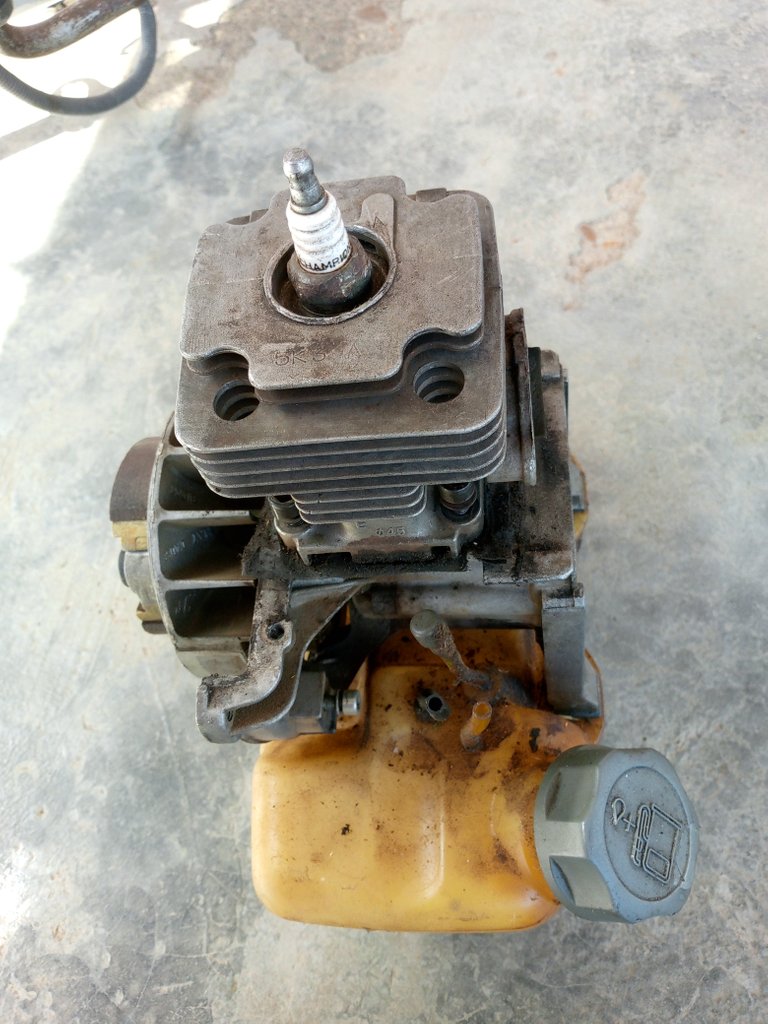
Paso 2
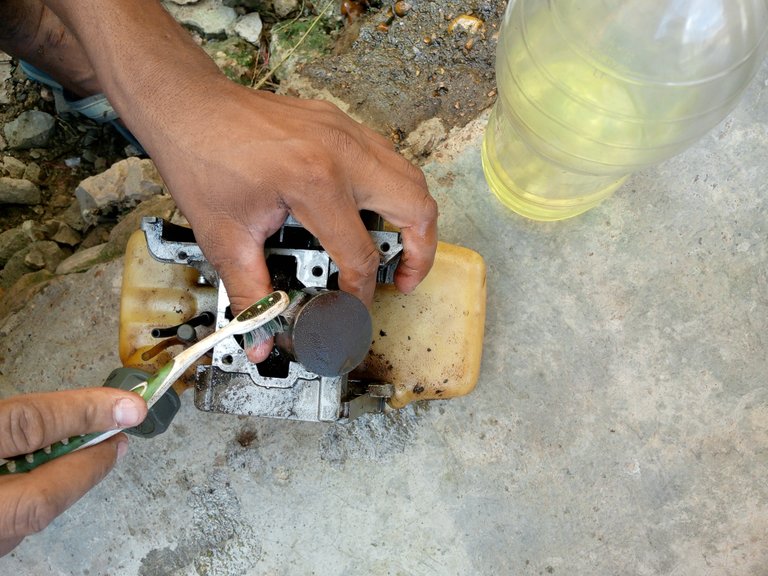
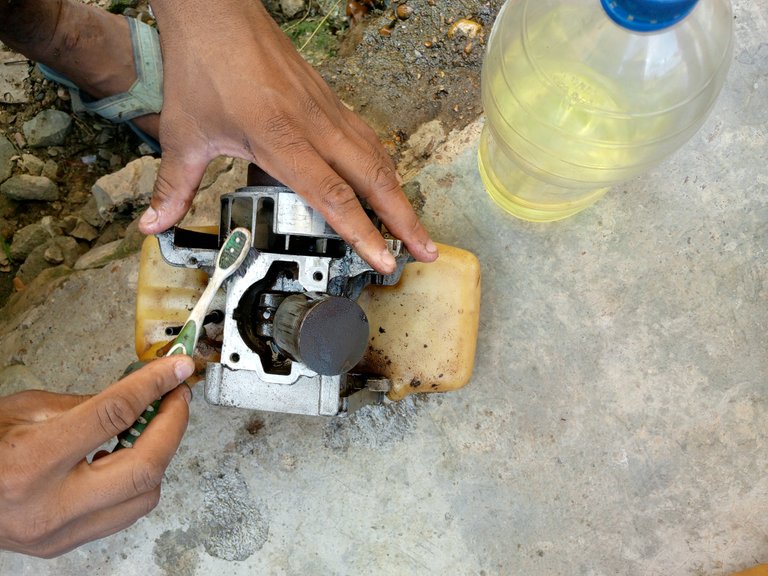
Luego de tener visible nuestro pistón y anillos con la ayuda de un cepillo y gasolina vamos quitando toda la grasa que este en los alrededores del motor, luego nos iremos a la parte del pistón haciéndole una limpieza, esto para ver en qué estado se encuentra, al cepillarlo nos dimos cuenta que el pistón estaba en buen estado
Paso 3
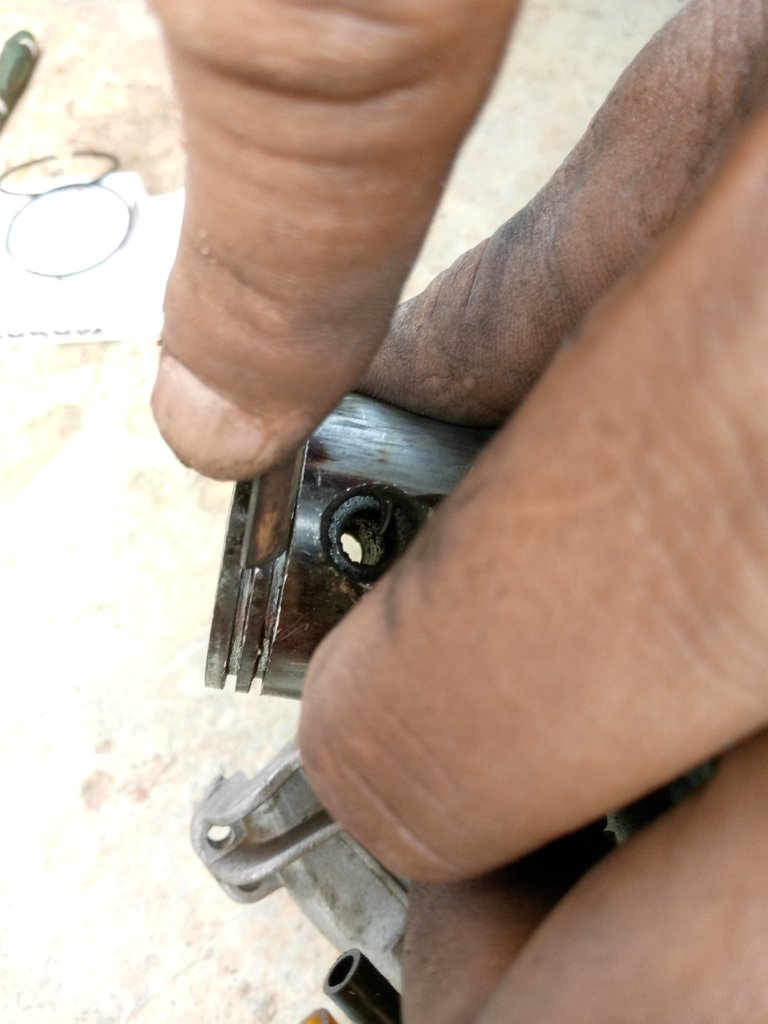
Para el siguiente paso lo que hicimos fue retirar los anillos de sujeción dañados, con la ayuda de un destornillador de pala o un cuchillo nos posicionaremos en los extremos de uno de ellos y con fuerza presionamos hasta que salga o se rompa, no importa si se rompen porque ya están dañados y los reemplazaremos por unos nuevos
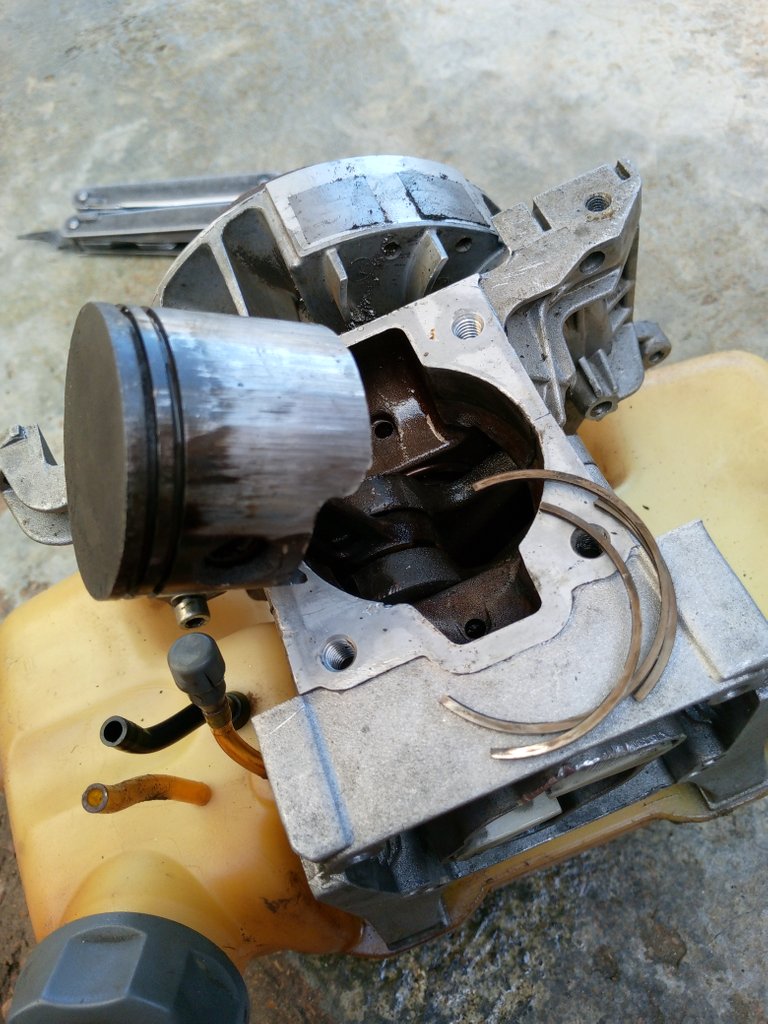
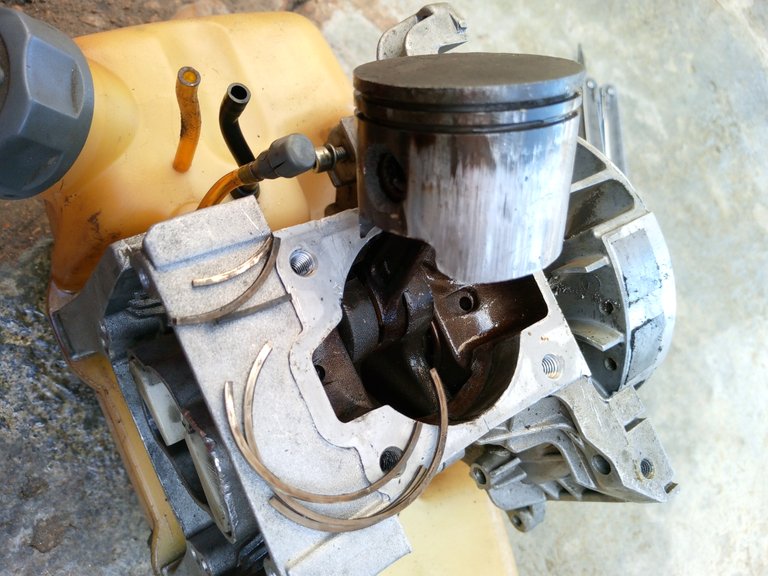
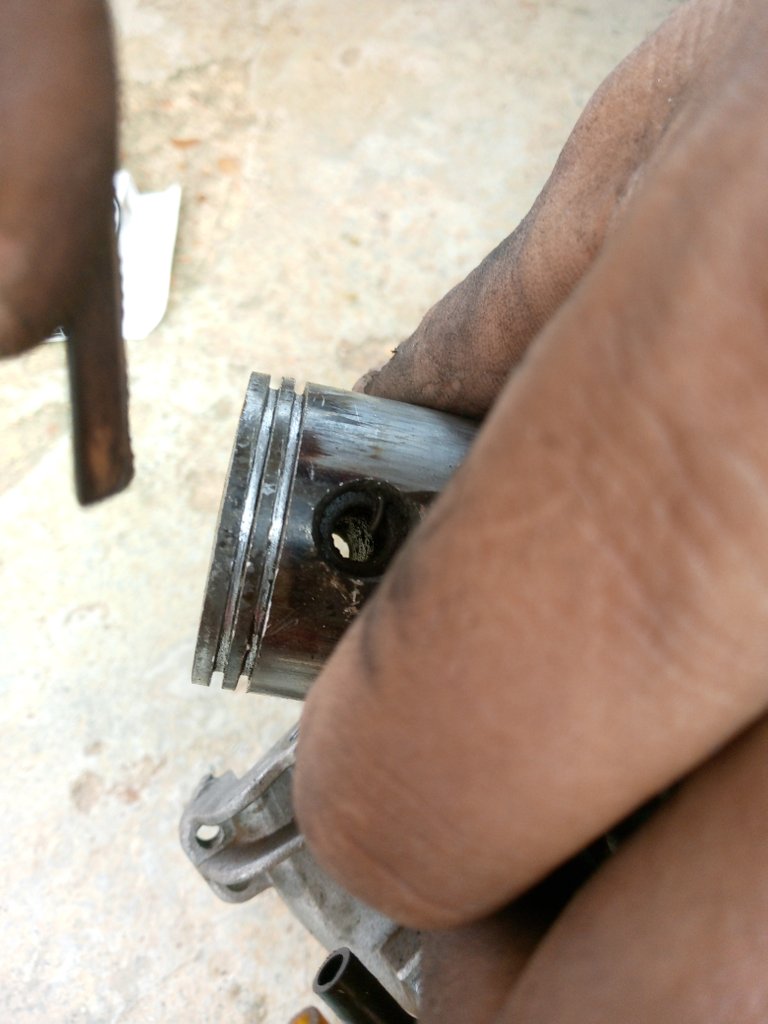
Una vez que los anillos viejos hayan sido retirados, es importante limpiar bien las ranuras del pistón para asegurarse de que no haya restos de suciedad o residuos.
Paso 4
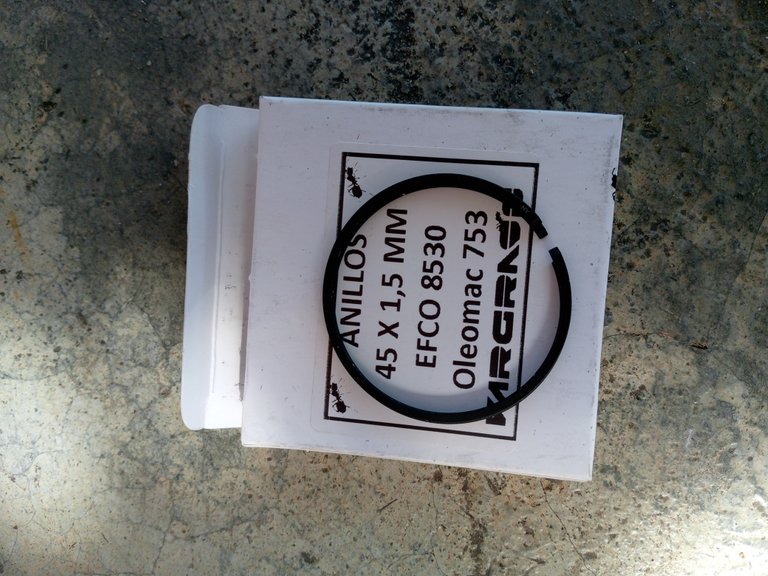
Ya teniendo las ranuras limpias procedemos a colocar los nuevos anillos, muy importante antes de colocar los nuevos anillos de sujeción, es recomendable lubricarlos ligeramente con aceite de motor 2 tiempos esto facilitará su inserción en las ranuras del pistón.
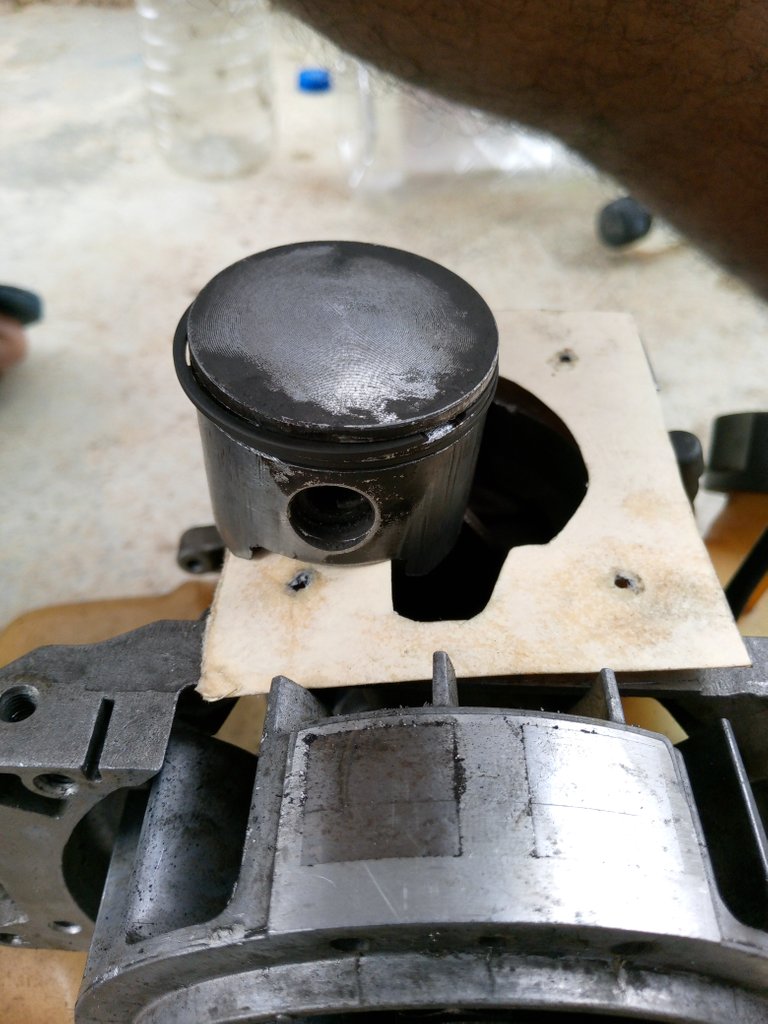
Una vez que los anillos estén en su lugar nos aseguramos de que estén correctamente asentados en las ranuras del pistón. Para hacerlo, puede utilizar una herramienta pequeña y plana, como un destornillador de pala, para verificar que estén correctamente encajados.
Paso 5
Para terminar volvemos a colocar la tapa del cilindro en su lugar y nos aseguramos que esté bien ajustada. Esto protegerá el pistón y los anillos de sujeción, evitando que entren suciedad o impurezas, Luego nos aseguramos que tenga compresión y comenzamos a armar hasta tener nuestro motor.
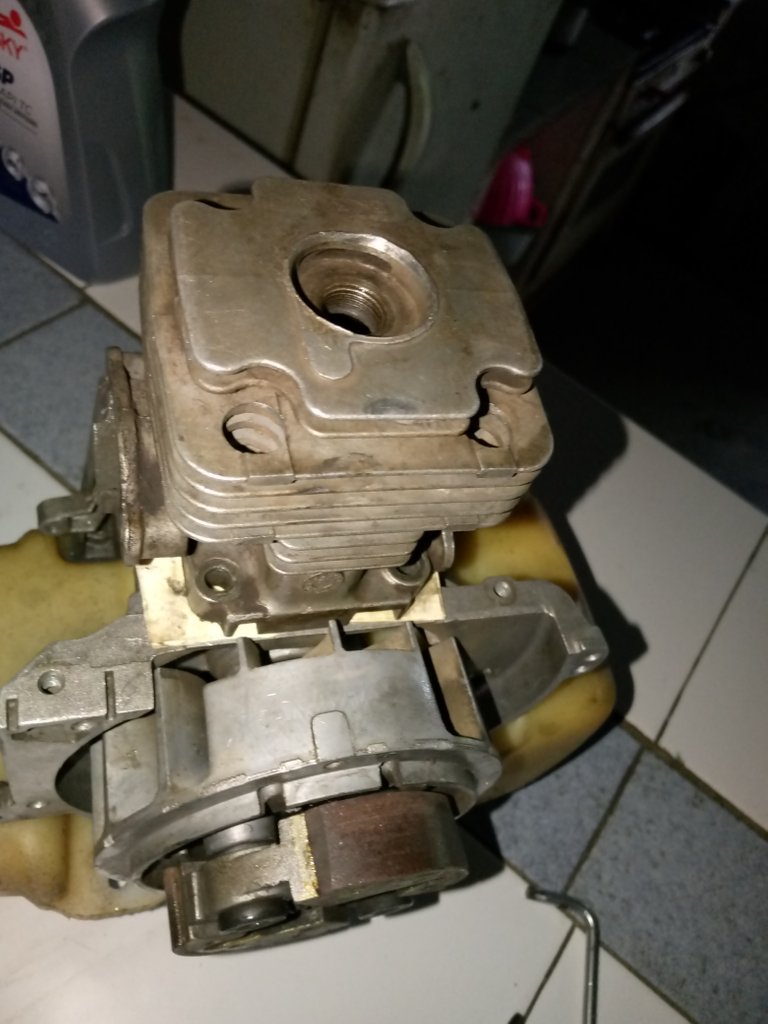
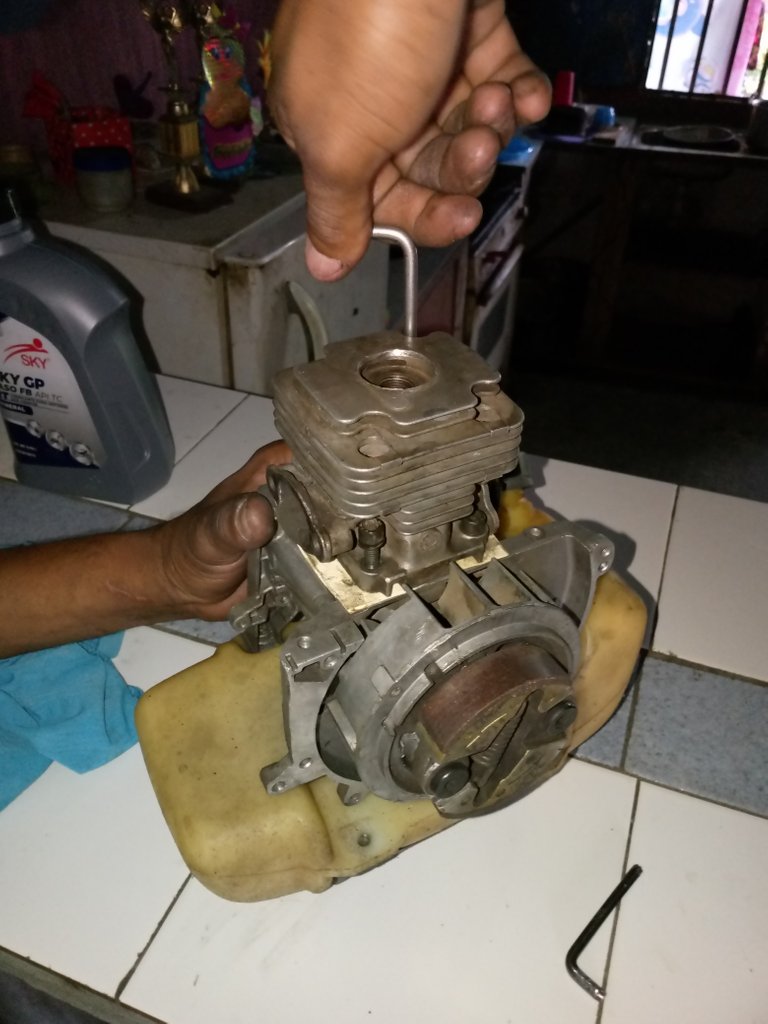
Es importante destacar que, aunque las desmalezadoras efco 8530 pueden ser desmontadas y reparadas por usuarios con cierta experiencia, en algunos casos puede ser recomendable acudir a un profesional para realizar este tipo de trabajos.
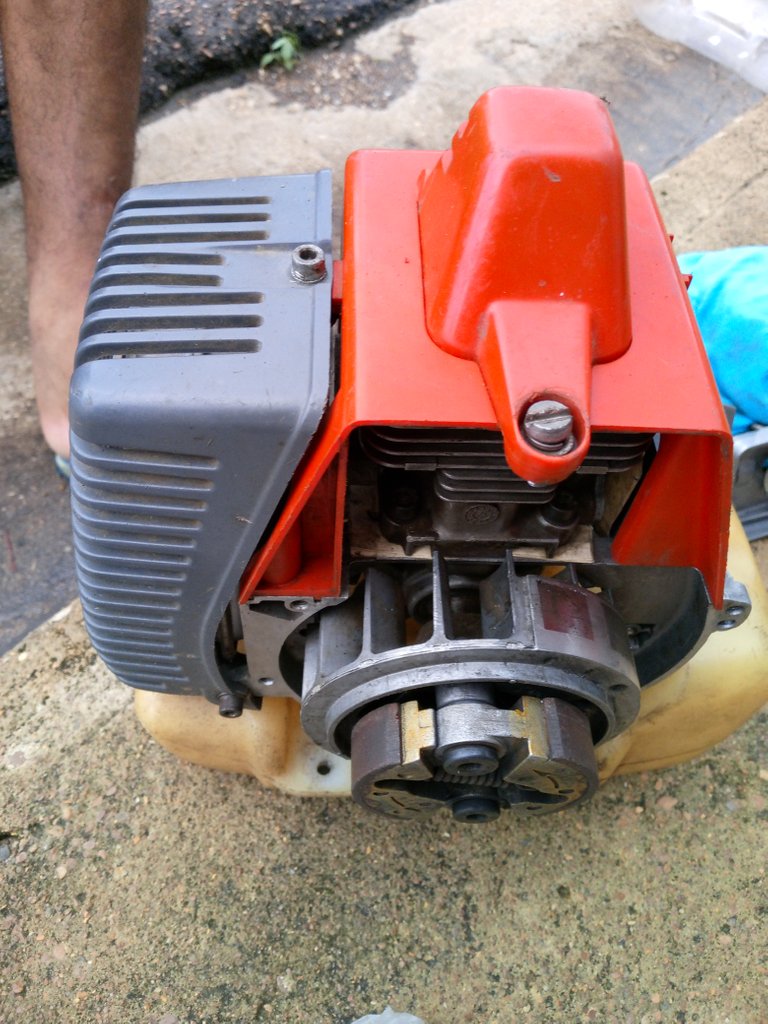
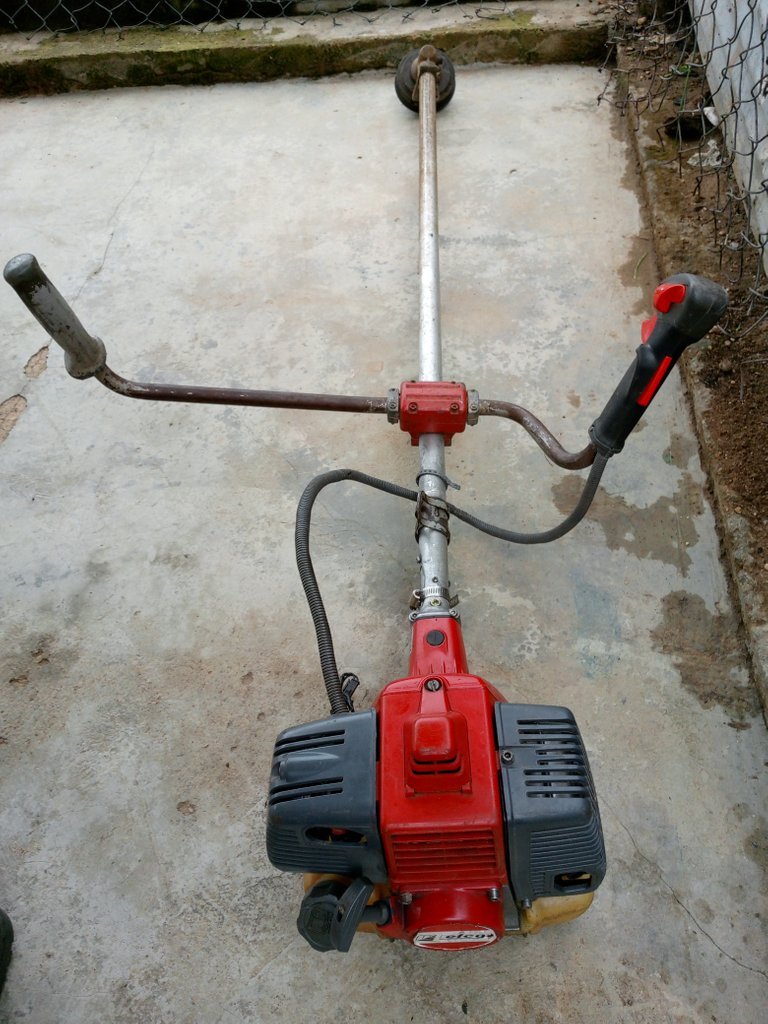
Y asi queda lista nuestra desmalezadora, este fue el paso a paso realizado en el cambio de anillos y mantenimiento de la desmalezadora Efco 8530. Espero este post haya sido de su ayuda. Muchas gracias por su atención
- Las fotos son de mi autoria y fueron tomadas por mi teléfono tenco spark go 2023.
- Traductor utilizado Deelp traductor
- Las imágenes son editadas mediante la aplicación editor de fotos polish

Below is the step by step procedure used to change the retaining rings, please follow me:

Step 1
The first thing we did was to disassemble the weed trimmer so we could get to our ring and make the corresponding change.

When we took a closer look we realized that the engine is dirty and needs maintenance.

Step 2
After having our piston and rings visible with the help of a brush and gasoline we will remove all the grease that is around the engine, then we will go to the piston part making a cleaning, this to see what state it is in, brushing it we realized that the piston was in good condition.


Step 3
For the next step what we did was to remove the damaged retaining rings, with the help of a spade screwdriver or a knife we will position ourselves at the ends of one of them and with force we press until it comes out or breaks, it does not matter if they break because they are already damaged and we will replace them with new ones.


Once the old rings have been removed, it is important to clean the piston grooves thoroughly to ensure that there is no dirt or debris.


Step 4

Once the grooves are clean we proceed to place the new rings, very important before placing the new retaining rings, it is advisable to lubricate them lightly with 2 stroke engine oil, this will facilitate their insertion into the piston grooves.

Once the rings are in place we make sure that they are properly seated in the piston grooves. To do this you can use a small, flat tool such as a spade screwdriver to check that they are correctly seated.
Step 5
To finish we put the cylinder cap back in place and make sure it is tight. This will protect the piston and retaining rings, preventing dirt or impurities from entering, then we make sure it has compression and begin to assemble until we have our engine.


It is important to note that although efco 8530 weed cutters can be disassembled and repaired by experienced users, in some cases it may be advisable to call in a professional to carry out this type of work.


And this is how our weed trimmer is ready, this was the step by step done in the change of rings and maintenance of the Efco 8530 weed trimmer. I hope this post has been helpful. Thank you very much for your attention
- The photos are my authorship and were taken by my tenco spark go 2023 phone.
- Translator used Deelp translator.
- Images are edited using polish photo editor application.


