Welcome to the next post in a seemingly endless series where I show all the things I'm doing to try to get my 1978 Kawasaki Z650B1 back on the road.
I'm currently working through possible causes for the bike running fine on tickover but fluffing and dying as soon as I let the clutch out and try to move off. It's very much a case of working through the possible reasons logically testing, measuring and diagnosing until I hopefully find out what's causing the problem.
Please forgive me for the shortage of photos in this post... I got so involved in actually doing the job that I forgot to stop and take photos for some of it !
The goal for today's job was to check the valve clearances. The key thing I am checking for is if any of the exhaust vales clearances are too tight. If they are, it means the exhaust vales aren't closing fully, allowing exhaust gases to escape rather than pushing the pistons down and potentially burning the valves and/or seats.
As always, I started by gathering all the tools I might need for the job. In this case, quite a few of them were added on a "just in case" basis, and would only be needed if I had to adjust any of the clearances.
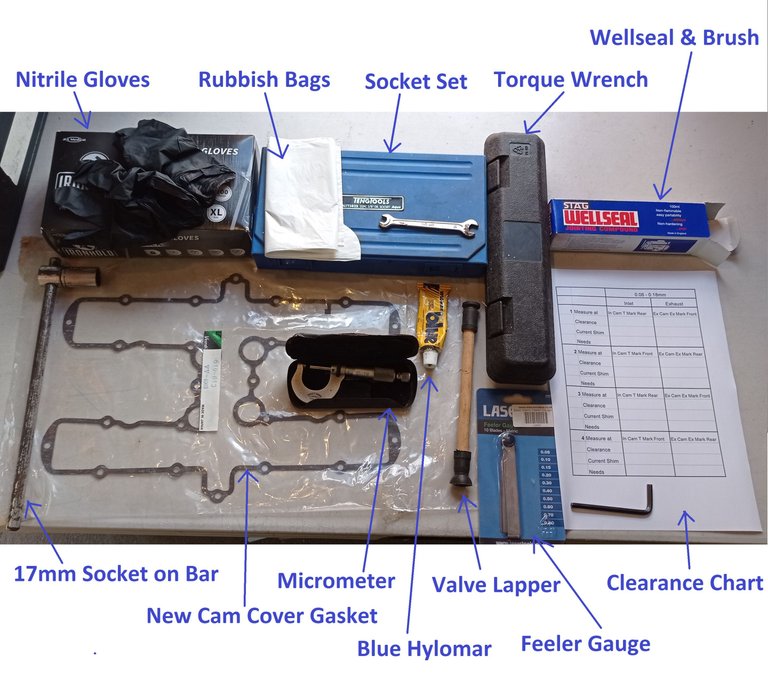
The ones needed in the end were;
- Nitrile gloves. To protect my hands.
- Socket set. For undoing bolts and doing them up again.
- Torque wrench. To make sure bolts were done back up to the correct tightness, and most especially not over-tightened.
- Rubbish bags. To protect things from contamination.
- 17mm Socket on bar. Used on the crankshaft end nut to turn the engine over. The bar is longer than the socket wrench, meaning I can turn the engine more smoothly and with more precision.
- Feeler gauge. For checking valve clearance.
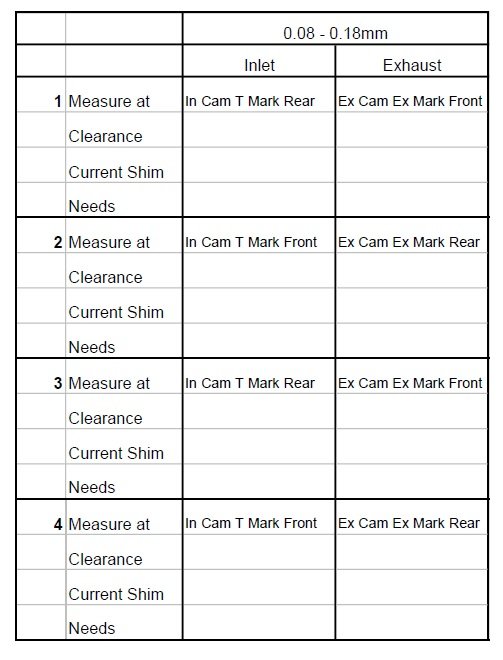
- Clearance chart. Made by me in Excel. Allows me to record the measurements, as well as summarising what I needed to know so I didn't have to keep going back and forth to the manual.
- Not shown; prodigious amounts of coffee 😁
Tools turning out not to be needed;
- New gasket. The old one turned out to be in incredibly good condition, and appears to be a Kawasaki genuine item (now rarer than rocking horse poo on the moon).
- Micrometer. Would have been used to check shim thickness. Never believe what is printed on the shims, they can wear over time !
- Valve lapper. The rubber suction cups are good for pulling the buckets up.
- Blue Hylomar. Would have been needed if the exhaust cam needed to be removed, to re-seal the tacho drive unit.
- Wellseal. Would have been used as gasket sealant if the cam cover gasket had to be renewed. Not as gooey as Blue Hylomar, easier to open the cover up next time it would be removed.
The Z650 uses a shim-under-bucket valve clearance system.
It has the advantage over tappets that it doesn't just go out of adjustment as crews vibrate loose, and is better than shim-over-bucket (as used on the Z900/Z1) because at high revs there's no risk of it spitting shims out to bounce around inside the engine at high speed.
However, it has the big disadvantage that if the clearances are out (which can happen as valves and seats gradually wear) it's a fairly major job to change them. The cams have to be taken out, the buckets lifted off the shims, then the shim measured and changed as appropriate before the whole cam assembly has to be replaced and re-set.
Putting cams back in is possibly my absolute least favourite job, because it comes with so many risks. Getting the cam timing right is a fiddly job counting links on the cam chain, and if you get it wrong it can destroy the engine. You're also tightening the cams down against resistance from the valve springs. They have to be tightened down gradually and evenly to exactly the right torque to avoid stripping the threads.
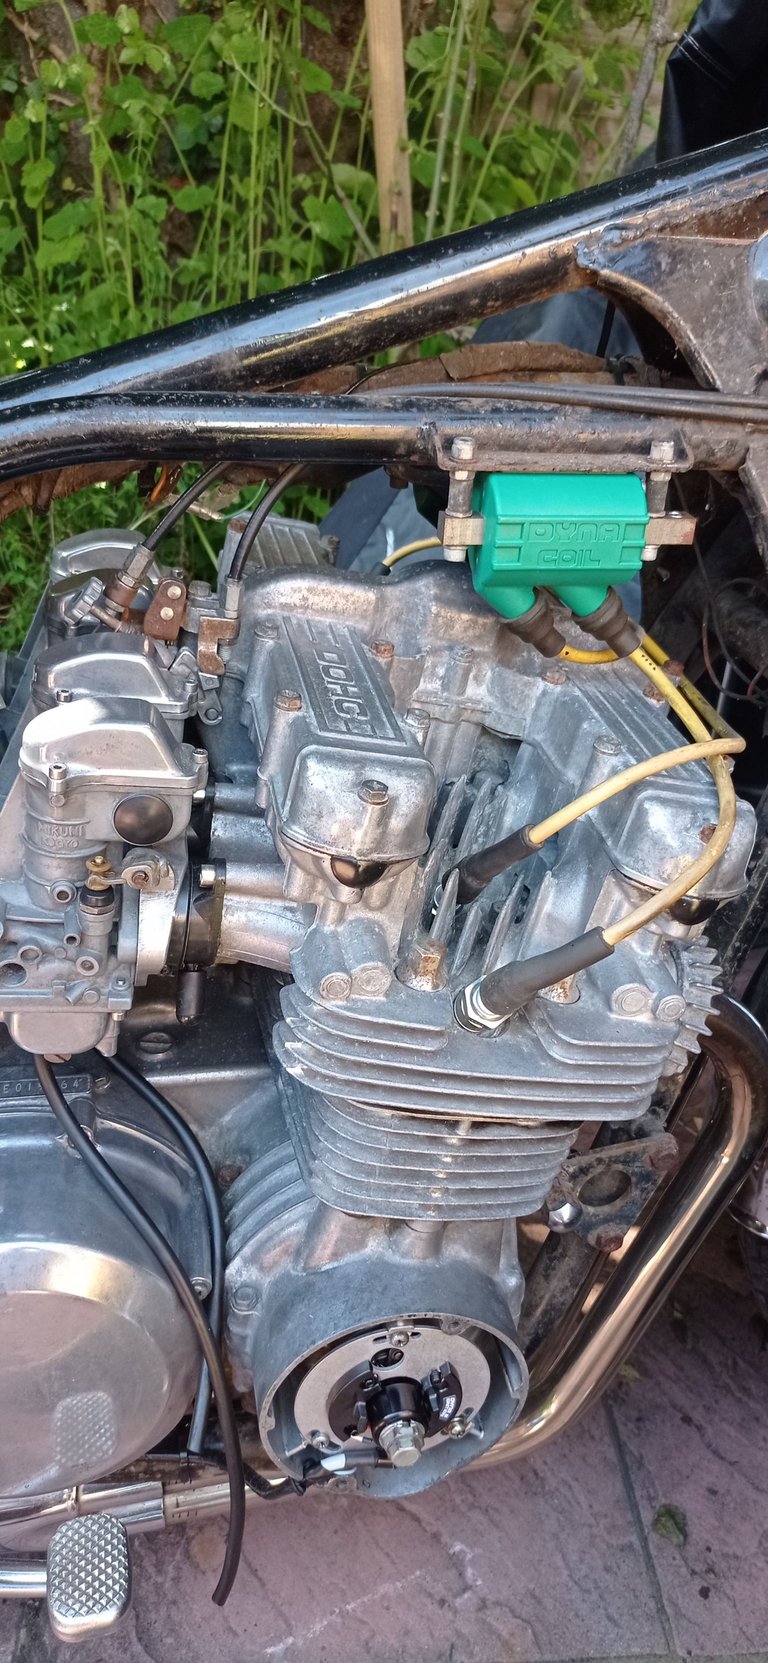
Step 1 is to take off the timing cover and fuel tank, and remove the ignition coils. If you look carefully, you'll see that I've added dots to the yellow HT leads with a Sharpie. The number of dots tells me which cylinder each one goes to, just to make re-assembly foolproof if I'm tired and brain dead at the end of the job !
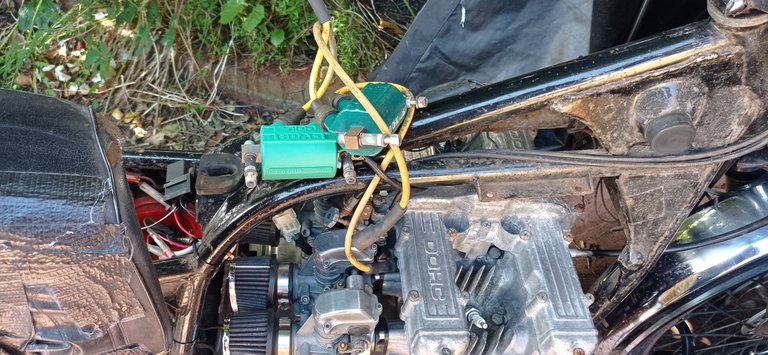
Rather than totally removing the coils, I moved them up and back without disconnecting all the wiring. It saves trying to remember which wires connect where at the end of the process.
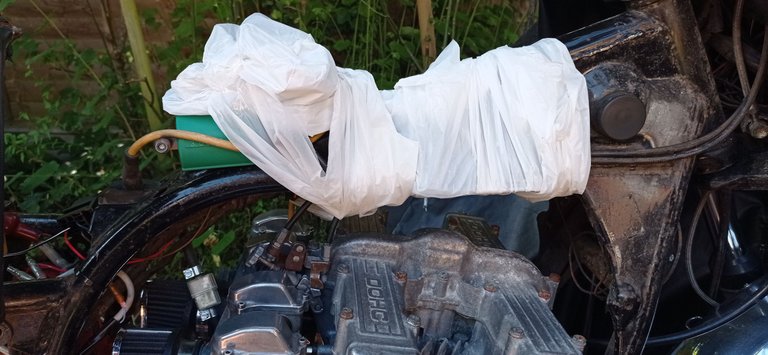
I then used two of the bin bags, held on with Sellotape. One to stop the coils moving around, and the other to cover the wiring loom and upper frame tubes. They are an absolute trap for dust and dirt, and using a bin bag like this prevents any of it from dropping into the engine. I so need to repaint or stove enamel the frame !
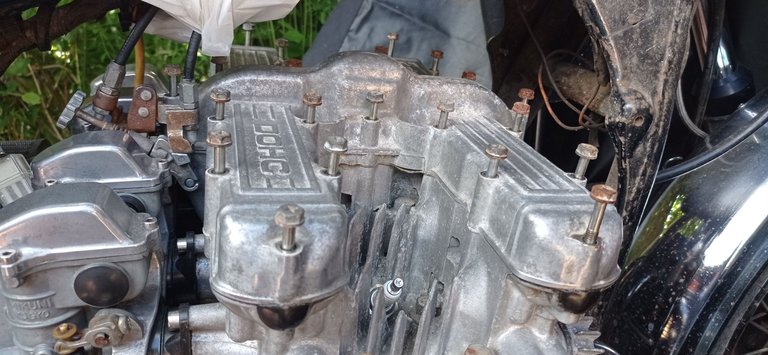
Undoing all the bolts holding the cam cover on made me very nervous ! They haven't been touched for at least 10-15 years, which creates the risk that galvanic corrosion has welded them in place. I undid them very carefully and gently, feeling for any sense that they might be stuck as I did it. While I think there was some corrosion, once they started moving they all undid smoothly. Thank goodness !
I then took the cam cover off, and was incredibly surprised to see that the gasket stayed in place wand was in virtually perfect condition. I'd been expecting to have to replace it, but I'll see if I can get away with not doing that yet.
This is the part where I stopped remembering to take photos.
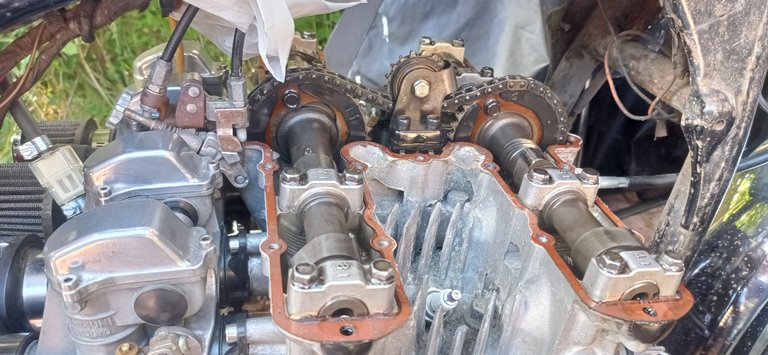
Basically, it was a case of turning the engine over using the 17mm socket bar on the crank end bolt until the "Ex" arrow on the exhaust cam (on the right of the photo above) and the "T" marks on the inlet cam (the one on the left) were level with the top surface of the engine. First facing forward for two cylinders, then facing rearward for the other two cylinders.
Trying to explain it is harder than actually doing it ! It was a case of checking the clearance using the feeler gauges. With the engine turned to the correct position, the cam lobe would be pointed away from the bucket underneath.
First, I'd try the 0.05mm gauge. If that didn't fit, then the clearance was too tight and would have to be adjusted. If it fitted, I'd go up the range of feeler gauge thicknesses until I came to one that didn't slide into the gap. The last one that fitted was the clearance - for example, if a 0.10mm one slid under, but a 0.15mm one didn't, then I'd record it as a 0.1mm, although the exact clearance would be somewhere between the two.
Having a chart I'd made which told me the maximum and minimum clearances specified by the manual, and the cam position to measure at made the whole job go much more smoothly !
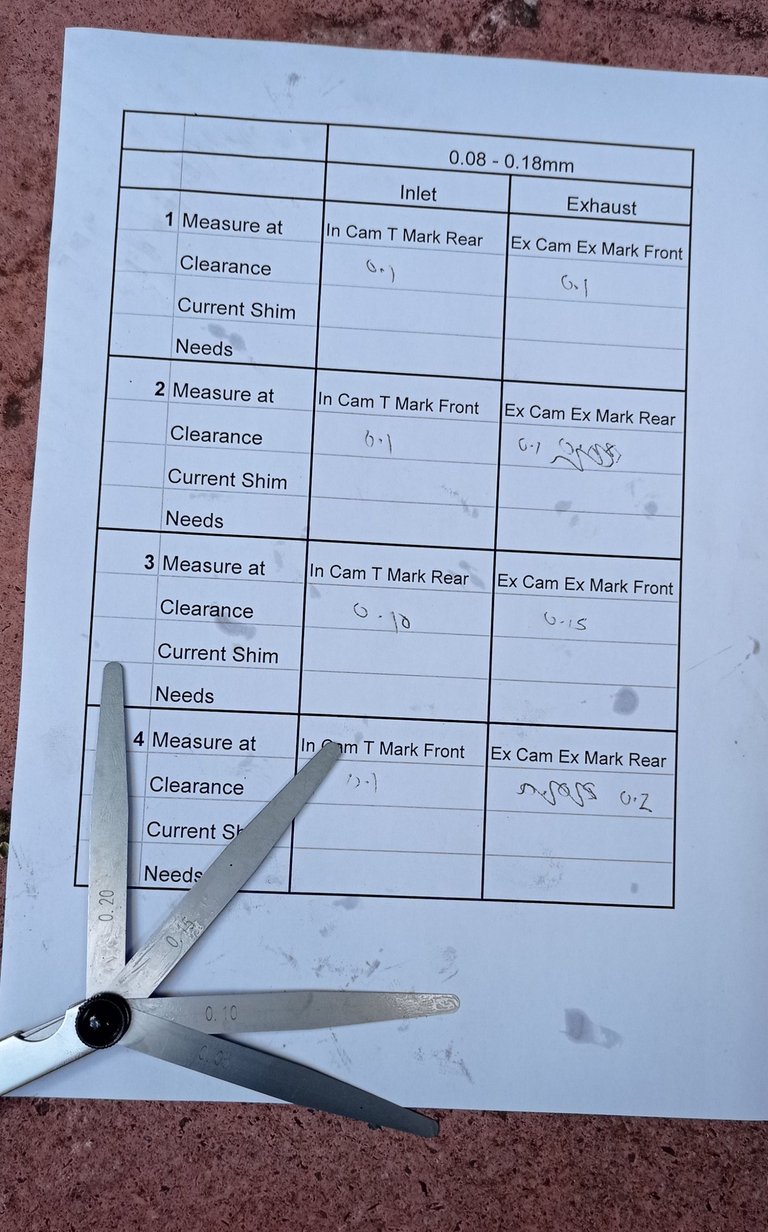
This is the completed chart, suitably covered in oil, as well as the feeler gauge showing the various thicknesses I actually used.
As you can see almost all of the clearances were identical and in almost the perfect range, which is awesome. The exhaust valve on number 4 has slightly too much clearance. While that will make the engine very slightly less efficient, it's not too tight, which is the issue I was looking for. More importantly it's not so far out that it'll cause a problem.
With any old engine like this, there is always a case of making the decision of whether doing a job could cause more problems than it solves, and I decided that this is one of them. Changing a single valve clearance by 0.05mm is not worth the stress it creates on the cam cap threads.
However I did check the torque on the cam cap, because if it had worked slightly loose it would have affected the measurement and tightening it correctly might bring it back within tolerance. It turned out to be correct.
So that rules out valve clearances as a cause of the problem. Next up is revisiting the inlet manifolds, which may have been damaged by the ethanol in the petrol. If it's not that, then we may be getting onto expensive things like totally replacing the carburettors or stripping the engine top end to check for slightly bent exhaust valves. Hopefully that's not the case.
Just in case it's useful to anyone with a Z650 needing to check valve clearances, here's a clearer copy of the chart I made. It's designed for the B1 model, but should work for B2, C1 and D2 up until 1979-80 when they switched to the hy-vo cam chain.