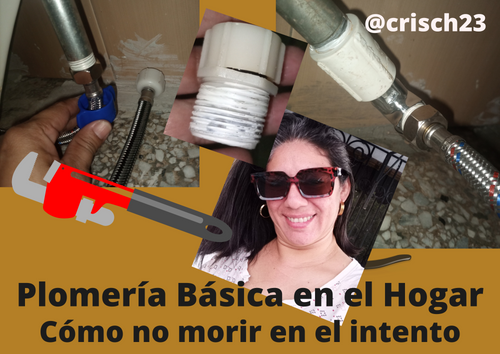
Hola queridos amigos de nuestra plataforma hive, hoy por aquí visitando a esta maravillosa comunidad de hivemotors, para mostrar de qué manera solucione un percance en casa, cuando limpiando golpee una pequeña rosca ubicada en la parte de abajo del tanque de la poceta que sirve para apretar la válvula de llenado, y por ser una muy poco común y de alto costo, el repuesto no se consigue en San Fernando de Apure.
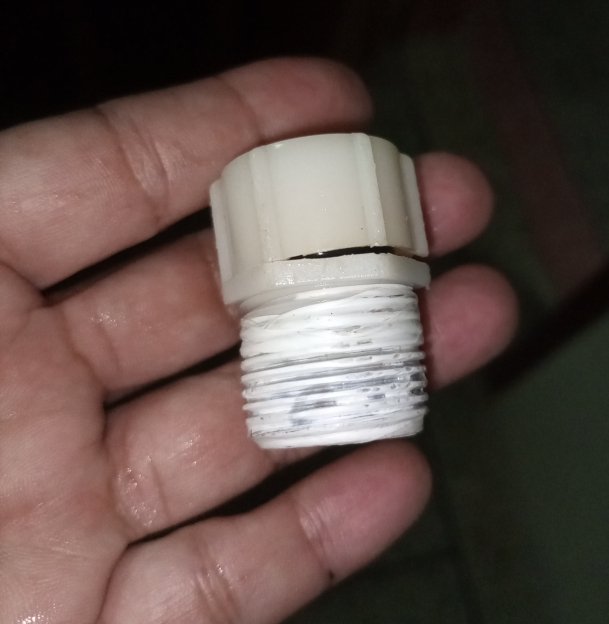
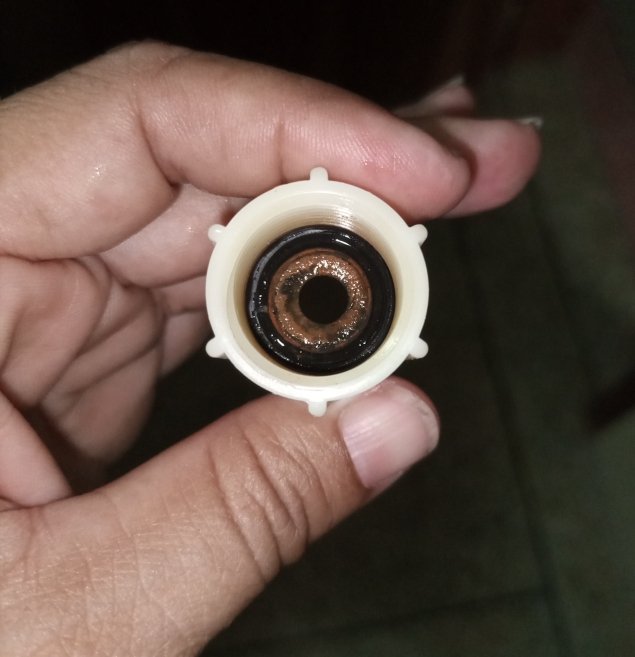
Se que en algunos de mis viajes. a Valencia puedo fácilmente comprar el repuesto, pero la cuestión es que el bote de agua, hace que el hidroneumático nunca descanse y puede vaciar el tanque, para evitar un daño mayor debemos colocar una llave de paso y solucionar, solo que a veces es difícil si no tenemos los respuestos.
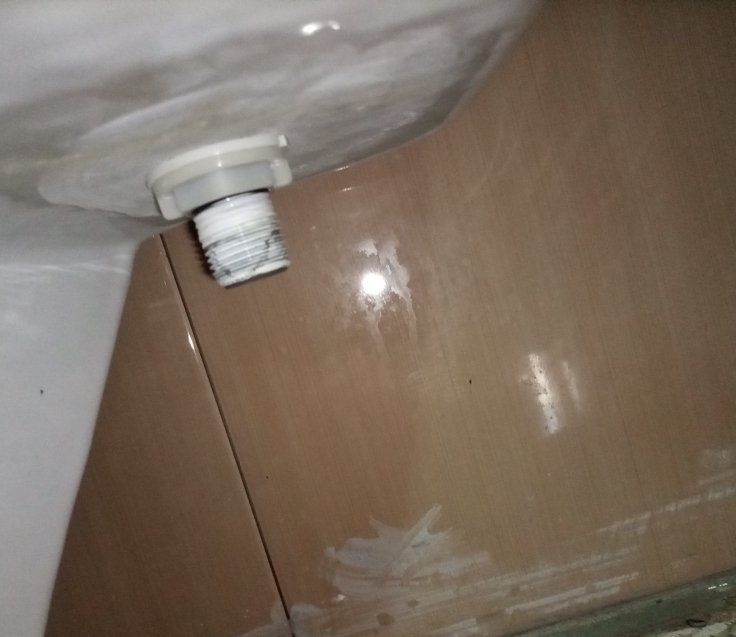
Luego de reunir las herramientas necesitas y comprar los materiales, tales como teflón, llave de paso, Niple, anillos y por supuesto la manguera de poceta la cual tiene dos salidas, una más pequeña que es la que está conectada al surtidor de agua y la más grande que se conecta debajo de la poceta.
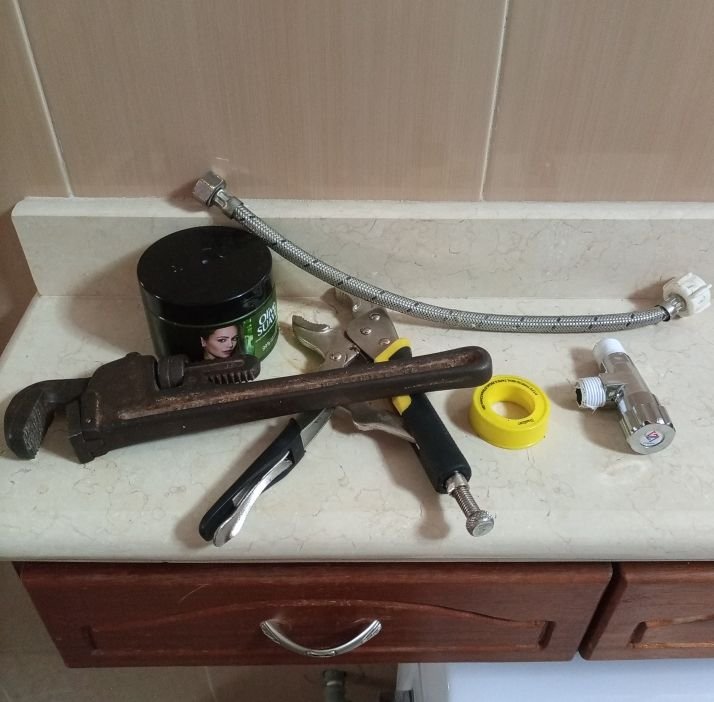
Debemos aflojar la manguera utilizando las herramientas, colocar debidamente el teflón en cada una de las uniones, en vista de que no encontré la pieza que buscaba, porque pretendían que comprara todo el herraje completo o al menos la parte de la válvula de llenado.
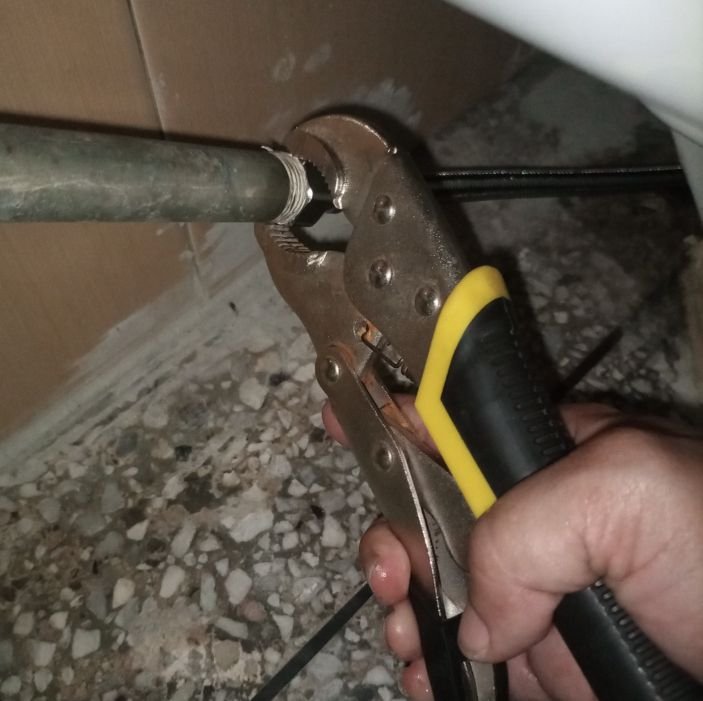
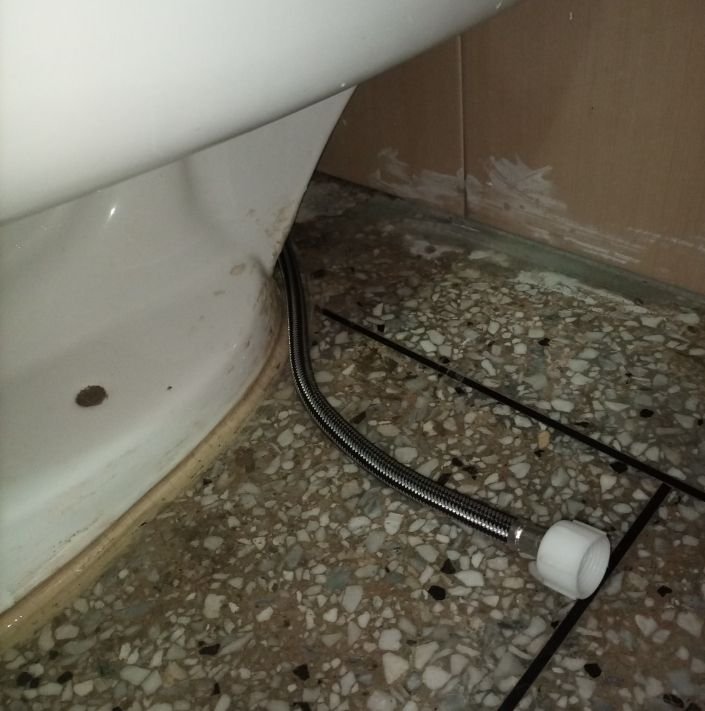
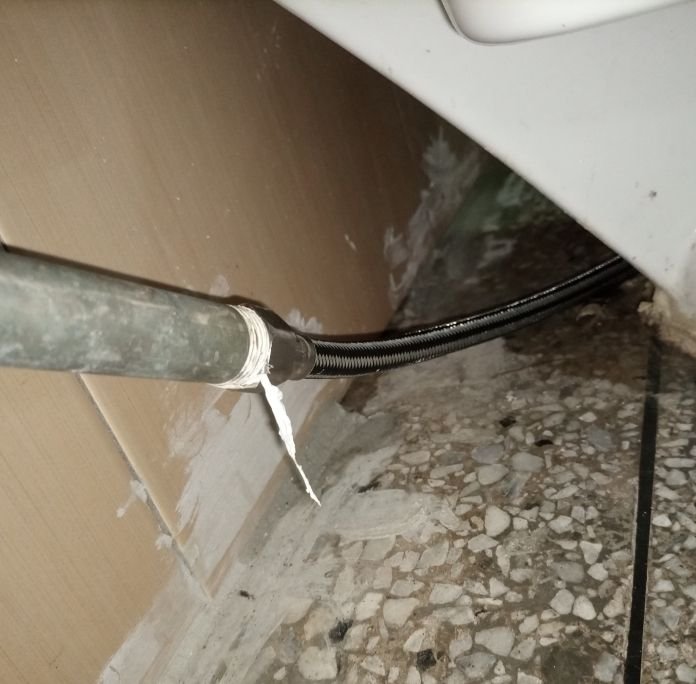
Fue así como buscamos opciones diferentes, con un anillo y un Niple, además de utilizar una manguera de fregadero o de lavamanos, colocar cada uno de estas piezas puede parecer sencillo pero no es fácil debes apretar lo suficiente, teniendo cuidado de no dañar las piezas, además que cuando abrimos la llave de tubo, a veces hay una fuga la cual debemos reparar, lo importante es que armes bien la secuencias de cada una de las uniones.
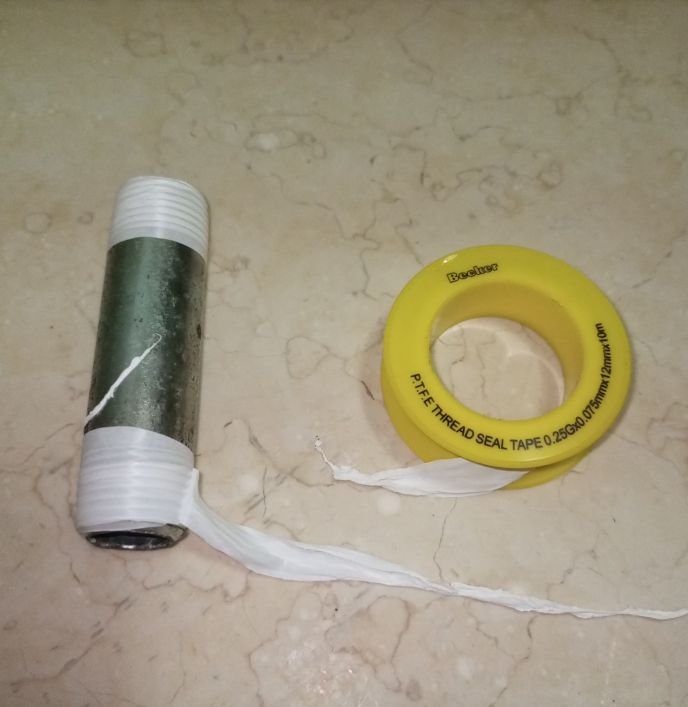
Procedo a colocar el anillo, para luego enrroscar el niple, hay que tomar en cuenta agarrar bien la válvula de llenado que está en el tanque para que no se ruede y quede ajustado para evitar fuga.
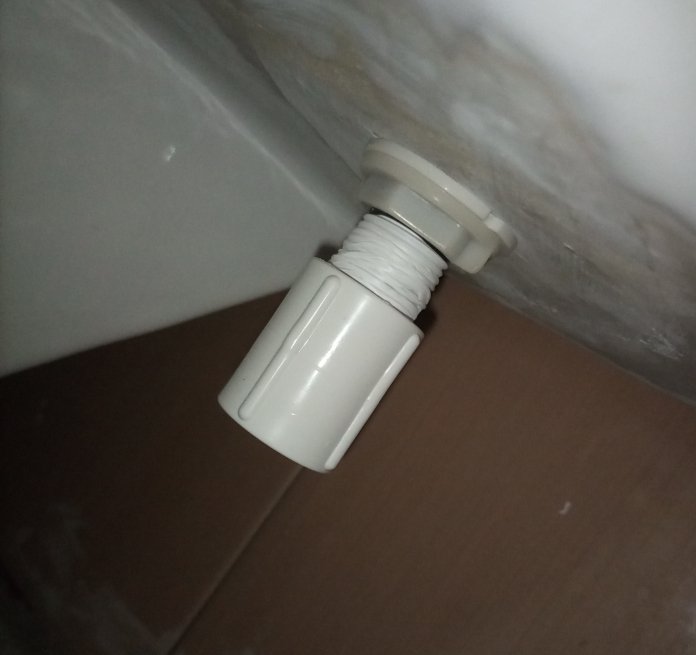
Luego de haberle colocado el teflón en ambos extremos al Niple, lo coloco, hasta ahora no ha Sido necesario usar llaves, solo con la fuerzas de mis manos, veremos si al terminar no hay fuga.
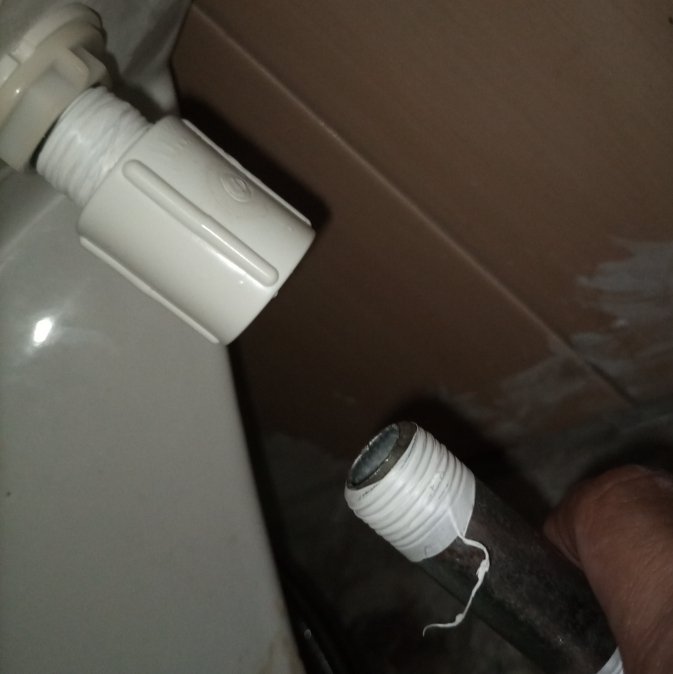
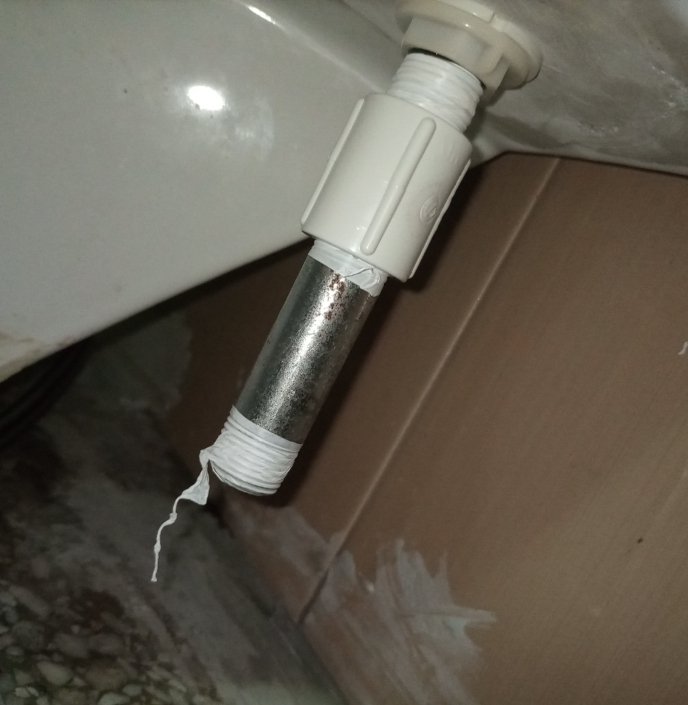
Aquí es donde me doy cuenta que la manguera de poceta no me sirve porque por el tamaño no cuadra, porque está tiene la medida de 5/4 lo cual es poco común y a pesar que busque en todas las ferreterías, no encontré, bueno habían unas media ordinarias que no entraban, así que no me quedo otra que ideal una solución a este problema.
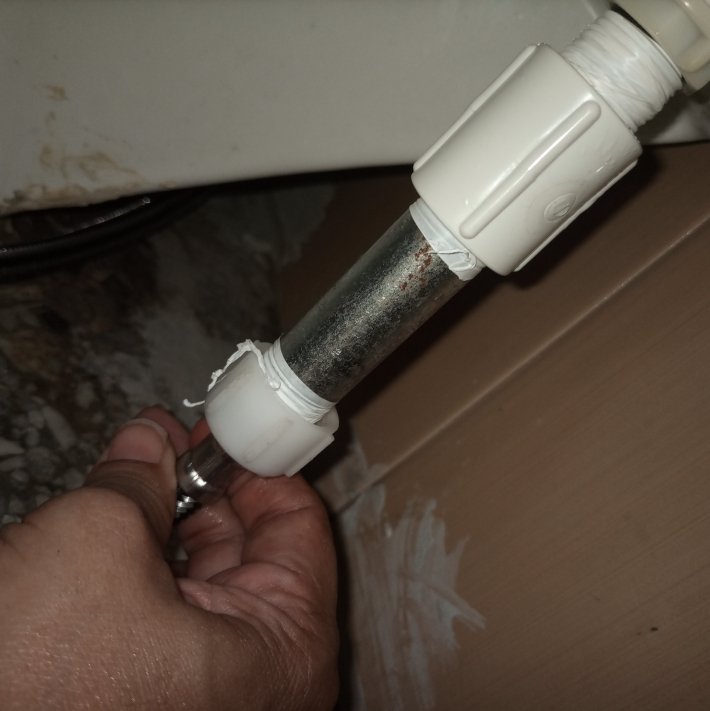
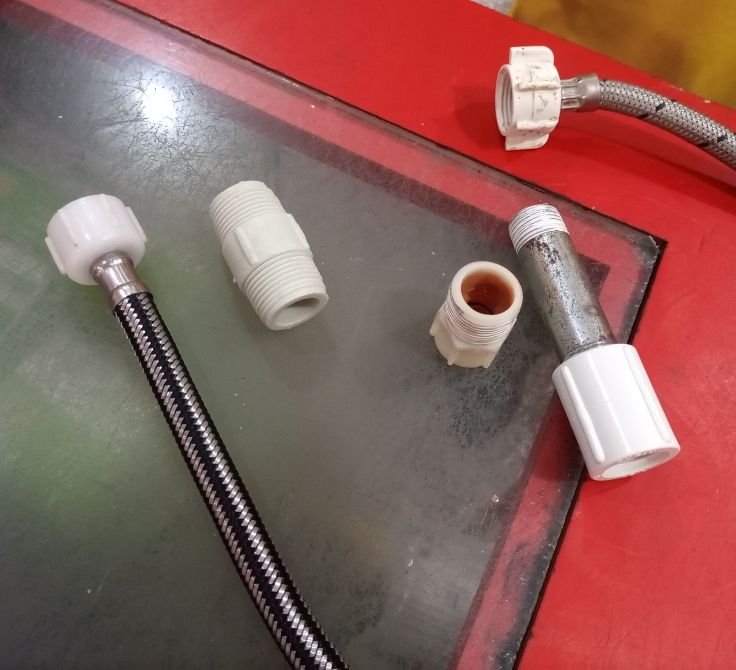
Así que buscamos una manguera de fregadero, lo probamos y vimos que en los dos extremos son iguales, así que la compramos y nos fuimos a continuar con la faena mañanera que teníamos pues mi prisa es que regreso a Valencia.
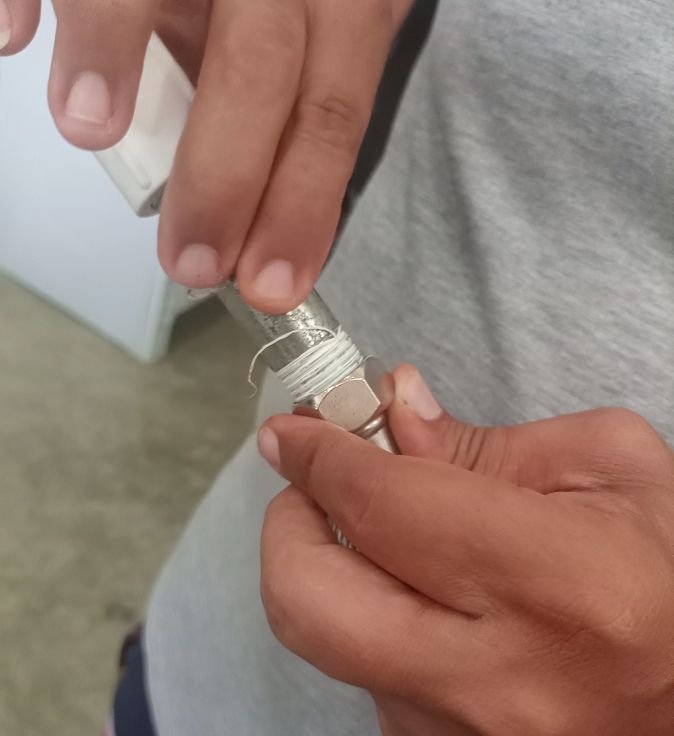
Está manguera tiene una llave plástica azul, que nos permite apretar la tuerca son utilizar herramienta, me gustó esta alternativa.
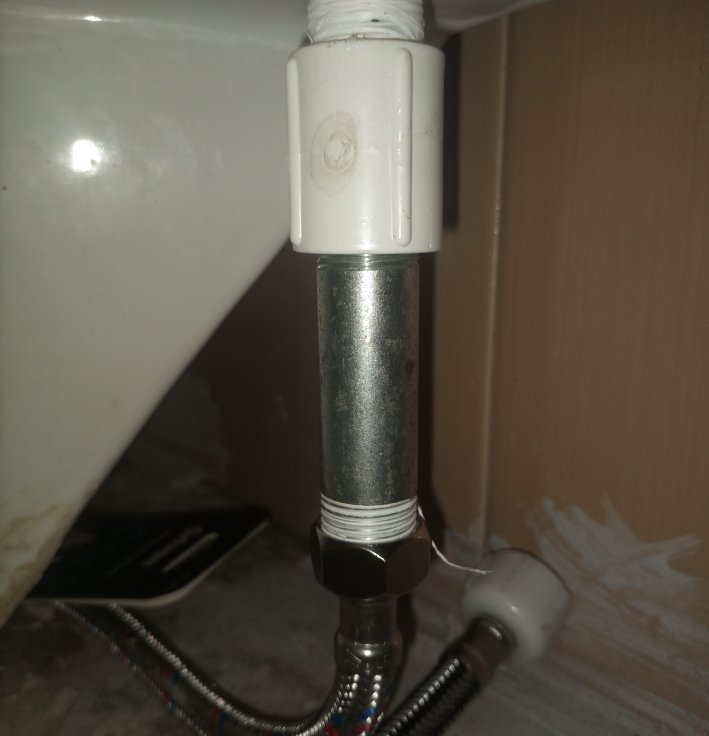
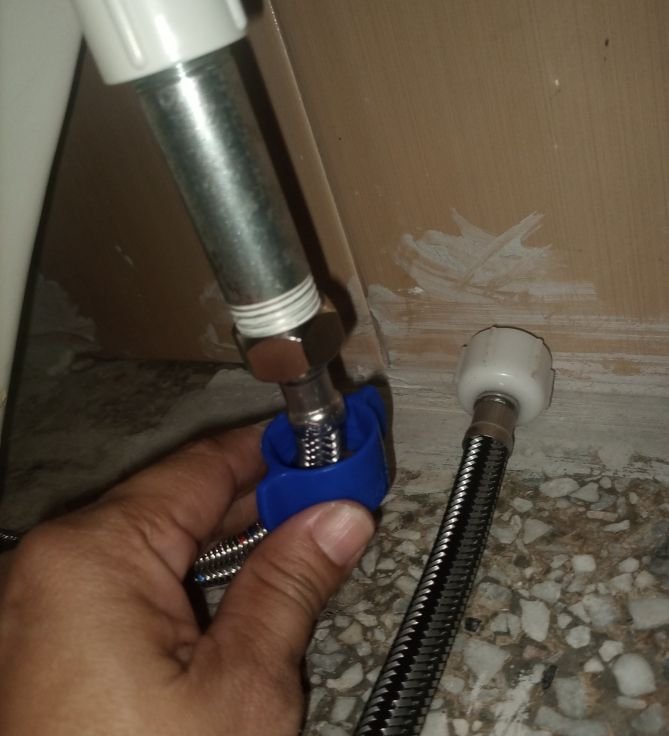
Listo ese extremo de la manguera pasamos al otro dónde queremos colocar la llave de paso, pues considero importante, que si sucede nuevamente algo así, con cerrar la llave se soluciona la fuga.
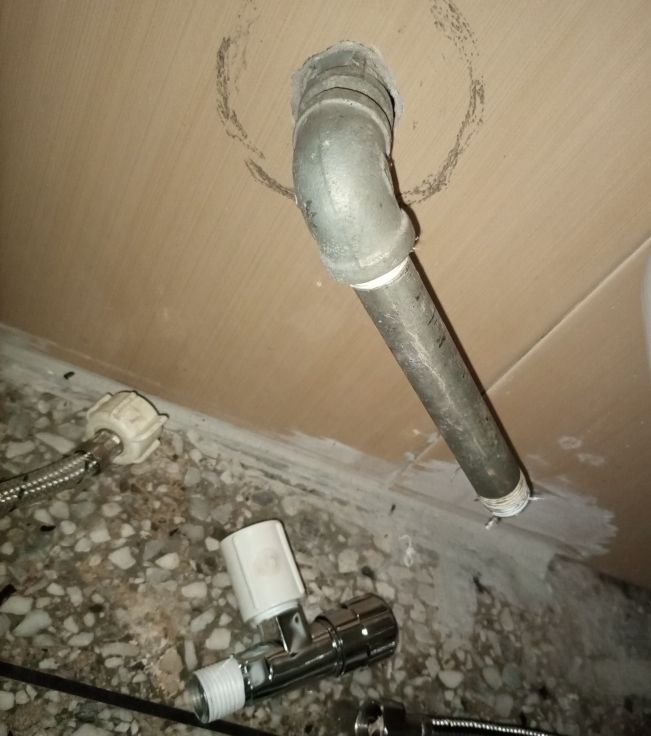
Colocar el teflón en todos los extremos y poner la llave de paso, aquí si es necesario utilizar las llaves, que son las herramientas de apoyo, solo para asegurarse que no haya ninguna fuga.
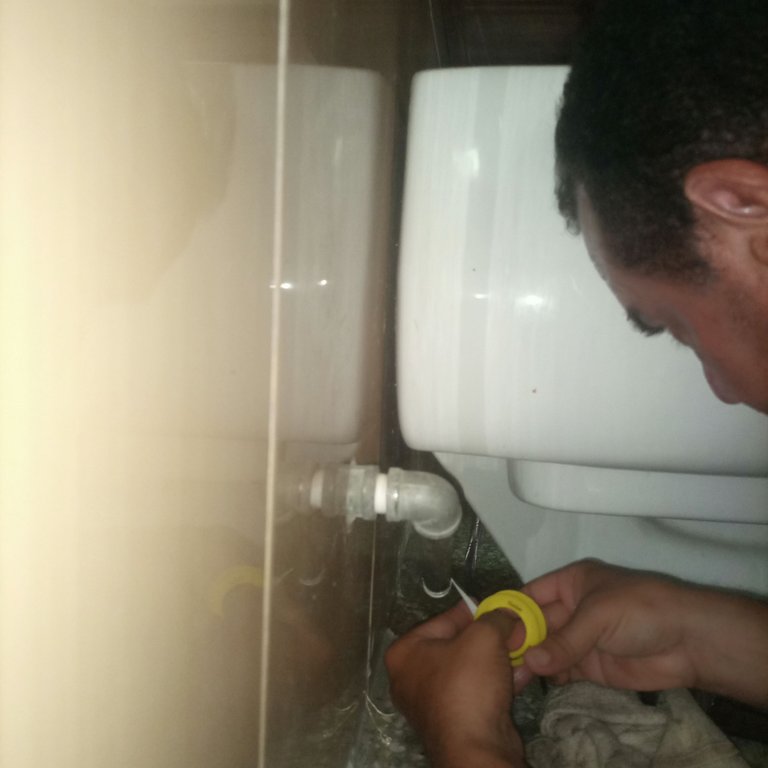
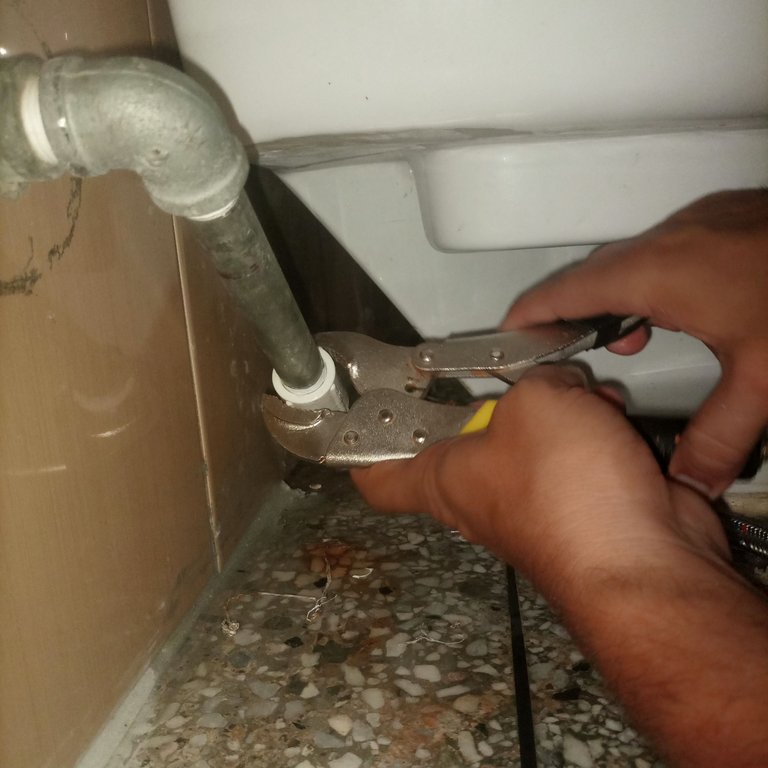
La unión es la pieza necesaria que te permitirá colocar la llave de paso.
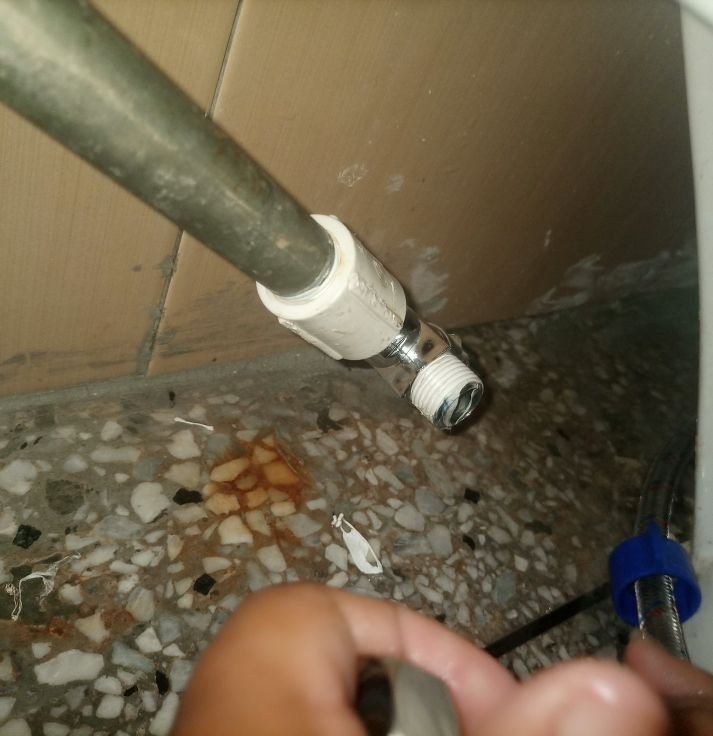
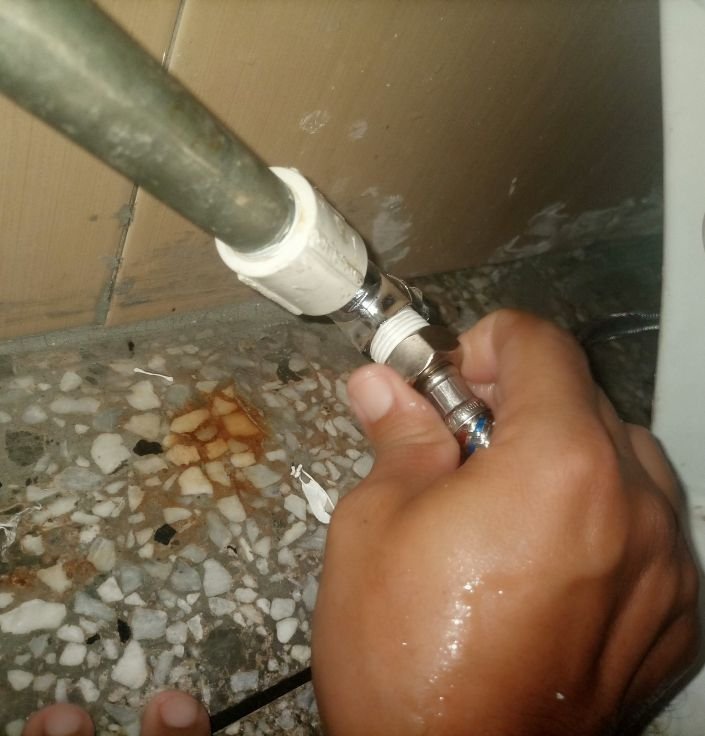
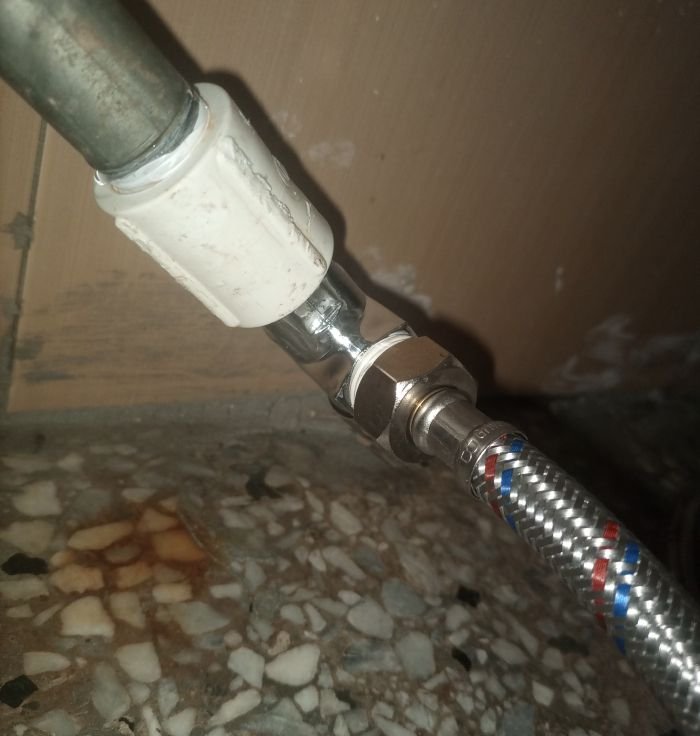
Luego de encender el hidroneumático, solo tocó apretar un poco por aquí y por allá y listo, agradeciendo a mi primo Jorge por su apoyo el último día de trabajo.
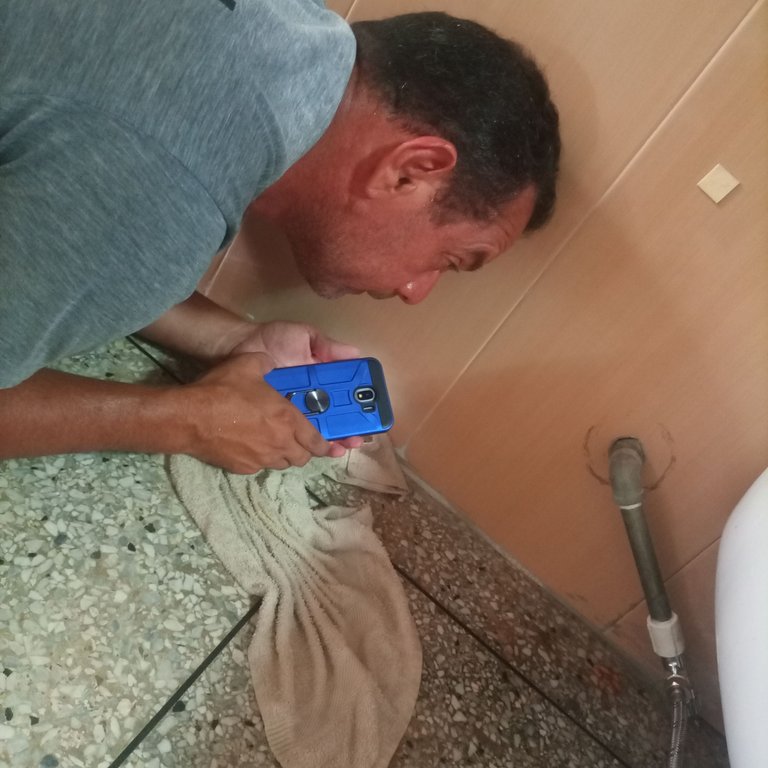
Ahora sí voy a mostrar mi linda cara llena de felicidad, olvidando me las preocupaciones por alguna fuga de agua, o tubo partido, así que me regreso a Valencia sin preocupación alguna.

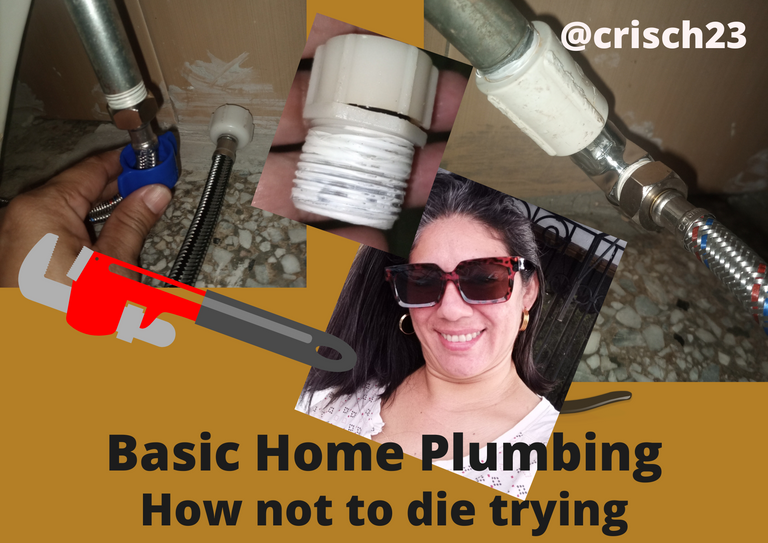
Hello dear friends of our hive platform, today visiting this wonderful community of hivemotors, to show how I solved a mishap at home, when cleaning hit a small thread located at the bottom of the tank of the well that serves to tighten the filler valve, and being a very rare and high cost, the spare part is not available in San Fernando de Apure.
IMG_20221020_193649_546.jpg]( )
)

I know that in some of my trips. to Valencia I can easily buy the spare, but the issue is that the water canister, makes the hydropneumatic never rest and can empty the tank, to avoid further damage we must place a stopcock and solve, only sometimes it is difficult if we do not have the spare parts.

After gathering the tools you need and buying the materials, such as Teflon, stopcock, Nipple, rings and of course the well hose which has two outlets, a smaller one which is the one connected to the water spout and the larger one which is connected under the well.

We must loosen the hose using the tools, properly place the Teflon in each of the joints, since I did not find the part I was looking for, because they wanted me to buy the complete fitting or at least the part of the filling valve.


This is how we looked for different options, with a ring and a nipple, in addition to using a hose sink or sink, place each of these pieces may seem simple but it is not easy you must tighten enough, being careful not to damage the parts, plus when we open the pipe wrench, sometimes there is a leak which we must repair, the important thing is that you assemble the sequence of each of the joints.

I proceed to place the ring, then screw the nipple, you have to take into account to hold the filler valve that is in the tank so that it does not roll and is tight to prevent leakage.
IMG_20221021_18202020_576.jpg]( )
)
After having placed the Teflon on both ends of the nipple, I place it, so far it has not been necessary to use wrenches, only with the strength of my hands, we will see if at the end there is no leakage.


Here is where I realize that the hose does not fit because the size does not fit, because it has the measure of 5/4 which is uncommon and although I looked in all the hardware stores, I did not find, well there were some ordinary stocking that did not fit, so I had no choice but to find a solution to this problem.


So we looked for a sink hose, tested it and saw that the two ends are the same, so we bought it and went to continue with the morning chore we had because my hurry is that I return to Valencia.

This hose has a blue plastic key, which allows us to tighten the nut without using a tool, I liked this alternative.
IMG_20221022_083821_486.jpg]( )
)

Ready that end of the hose we pass to the other one where we want to place the stopcock, because I consider important, that if it happens again something like that, with closing the stopcock the leak is solved.

Put the Teflon on all the ends and put the stopcock, here if necessary use the wrenches, which are the support tools, just to make sure there is no leakage.


The union is the necessary piece that will allow you to place the stopcock.


After turning on the hydropneumatic, I just had to tighten a little here and there and that was it, thanking my cousin Jorge for his support on the last day of work.
IMG_20221022_091101_779.jpg]( )
)
Now I'm going to show my pretty face full of happiness, forgetting the worries about any water leak, or broken pipe, so I'm going back to Valencia without any worries.

Las fotos son propias tomadas con mi teléfono Tecno Camon 17, es importante añadir el uso de la app Canvas para editar la portada y el banner.
The photos are my own taken with my Tecno Camon 17 phone, it is important to add the use of the Canvas app to edit the cover and the banner.
Esta historia es original creada por @crisch23, exclusivamente en hive en la comunidad de Hivemotors porque es importante hacer los arreglos menores en nuestro hogar, se usó deepl como traductor.
This story is original created by @crisch23, exclusively on hive in the Hivemotors community because it is important to do minor fixes in our home, deepl was used as translator.

