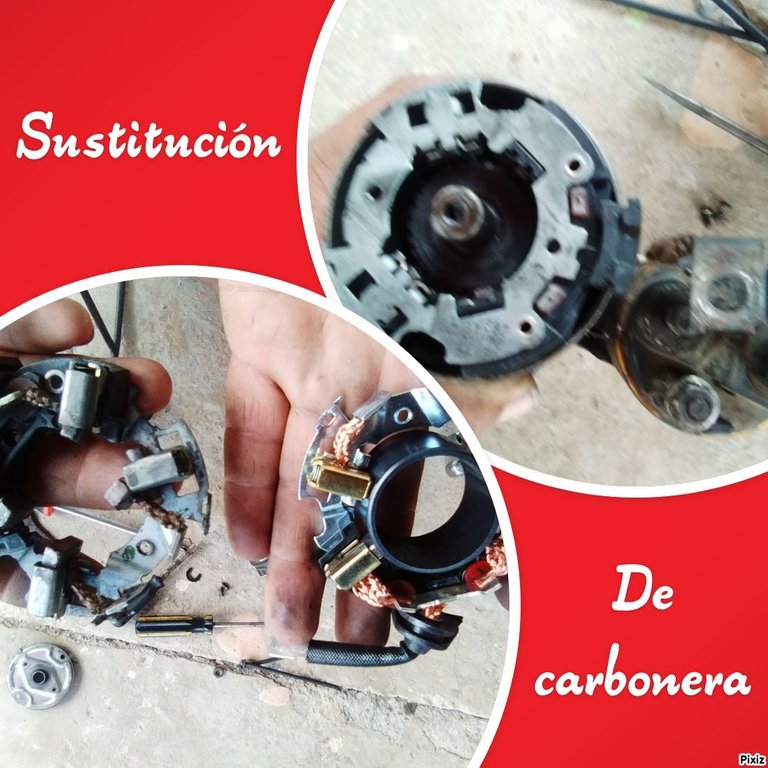

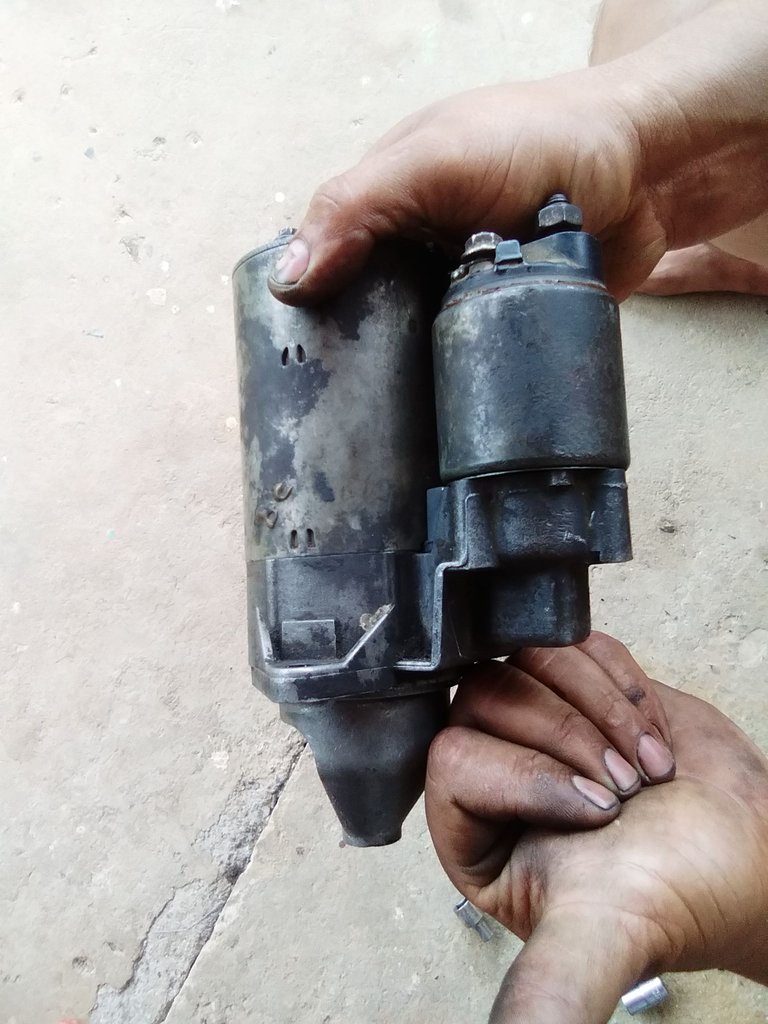
Hola amigos, hace algunos días no los visitaba y mi conciencia me decía que tenía una deuda con mi apreciada comunidad de hivemotors ☺️. Así que hoy les traigo un trabajo que realizó mi esposo a un arranque de Corsa. Anteriormente quizás tuvieron la oportunidad de ver en una de mis publicaciones el cambio de una carbonera de un arranque. Aunque tengan la misma función en todos los vehículos, debo mencionarles que no todos los arranques son iguales ni del mismo tamaño.
A diferencia del arranque de una camión este arranque de Corsa es mucho más pequeño, el automático es diferente y la carbonera también. Y si les soy sincera es de menos complejidad creo que ya lo haría 👍.
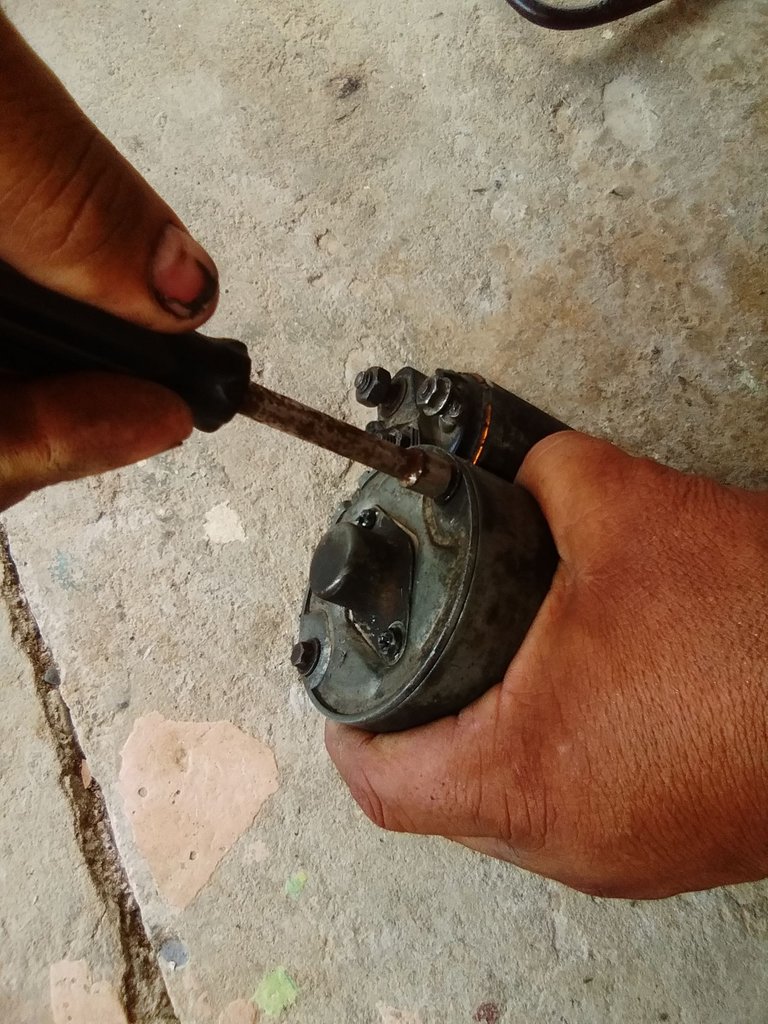
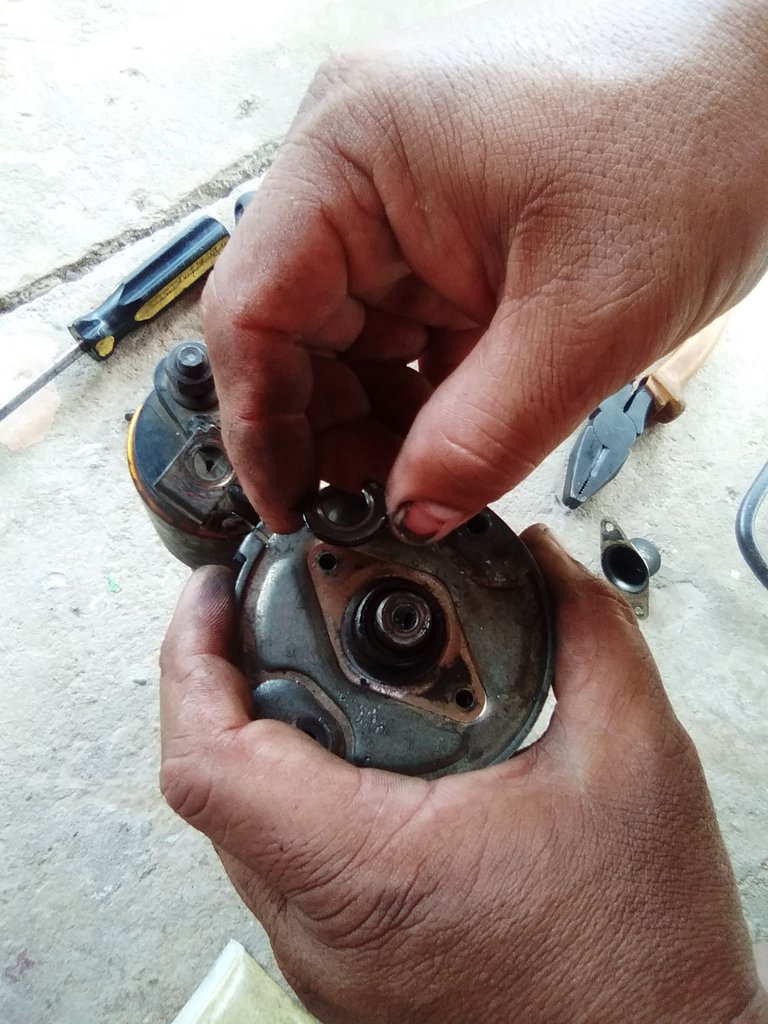
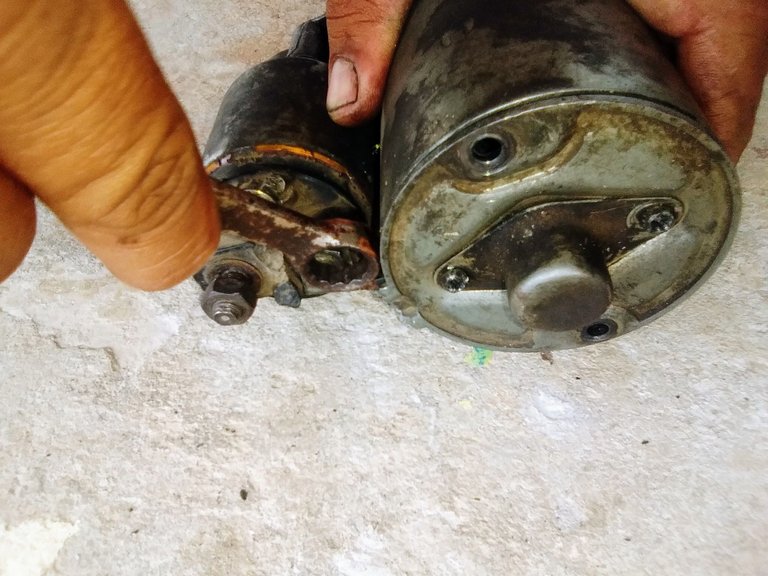
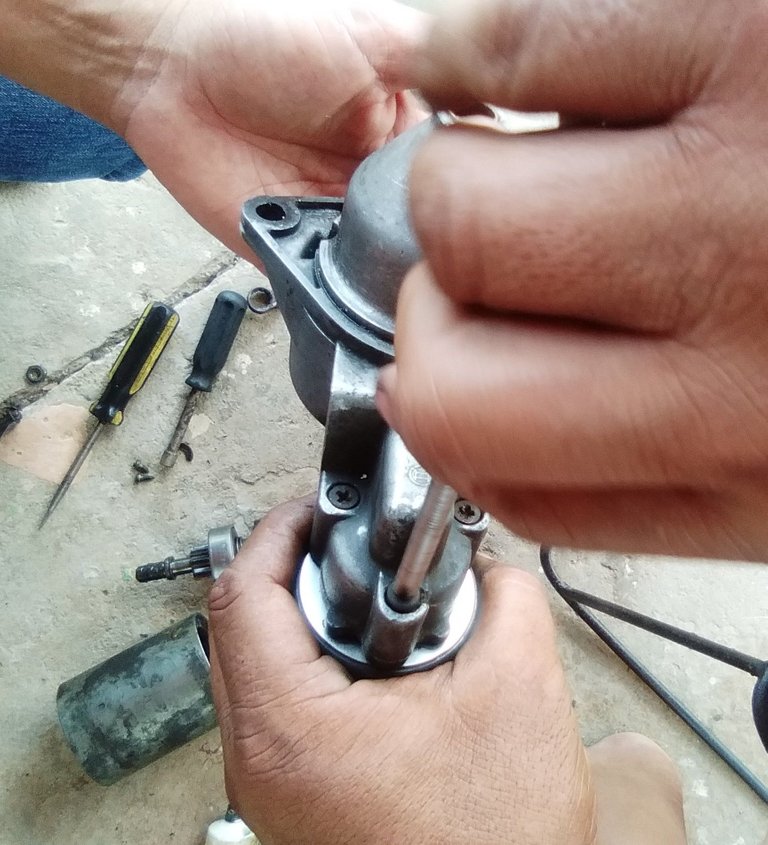
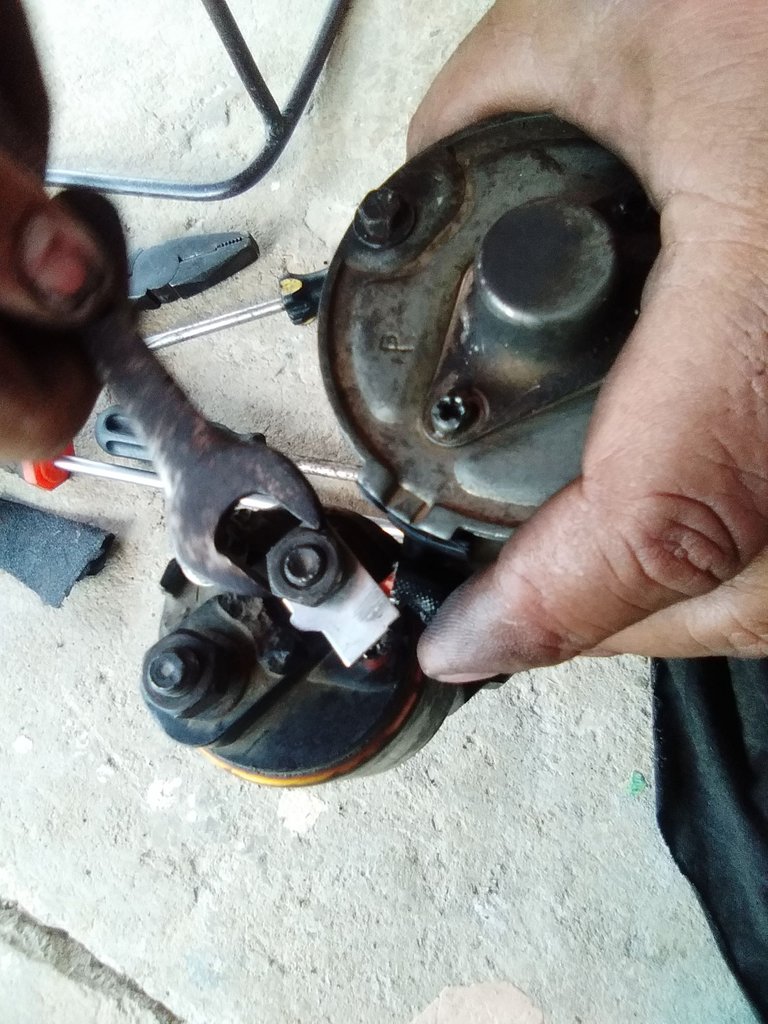
Este arranque también tiene dos tornillos largo los cuales hay que extraerlos con un dado, existen otros dos tornillos en la tapa superior y se deben quitar con un destornillador de estría. Seguido de esto, con una llave pequeña quitar el cable que va de la carbonera al automático.
Hello friends, it's been a few days since I visited you and my conscience was telling me that I owed a debt to my appreciated community of hivemotors ☺️. So today I bring you a job my husband did to a Corsa starter. Previously you may have had the opportunity to see in one of my posts the replacement of a carburetor on a starter. Although they have the same function on all vehicles, I should mention that not all starters are the same or the same size.
Unlike a truck starter, this Corsa starter is much smaller, the automatic is different and so is the carburetor. And if I'm honest it's less complex I think I would do it already 👍.
This starter also has two long screws which must be removed with a die, there are two other screws on the top cover and must be removed with a slotted screwdriver. After this, with a small wrench remove the cable that goes from the coal bunker to the automatic.
 |  |
 |  |
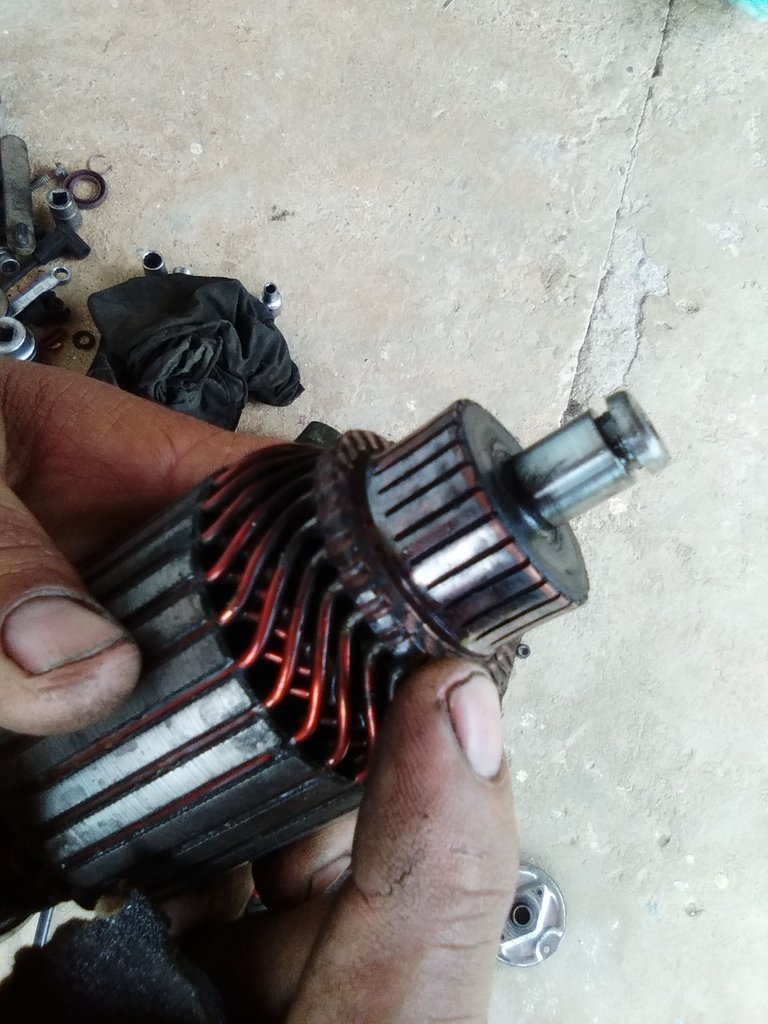
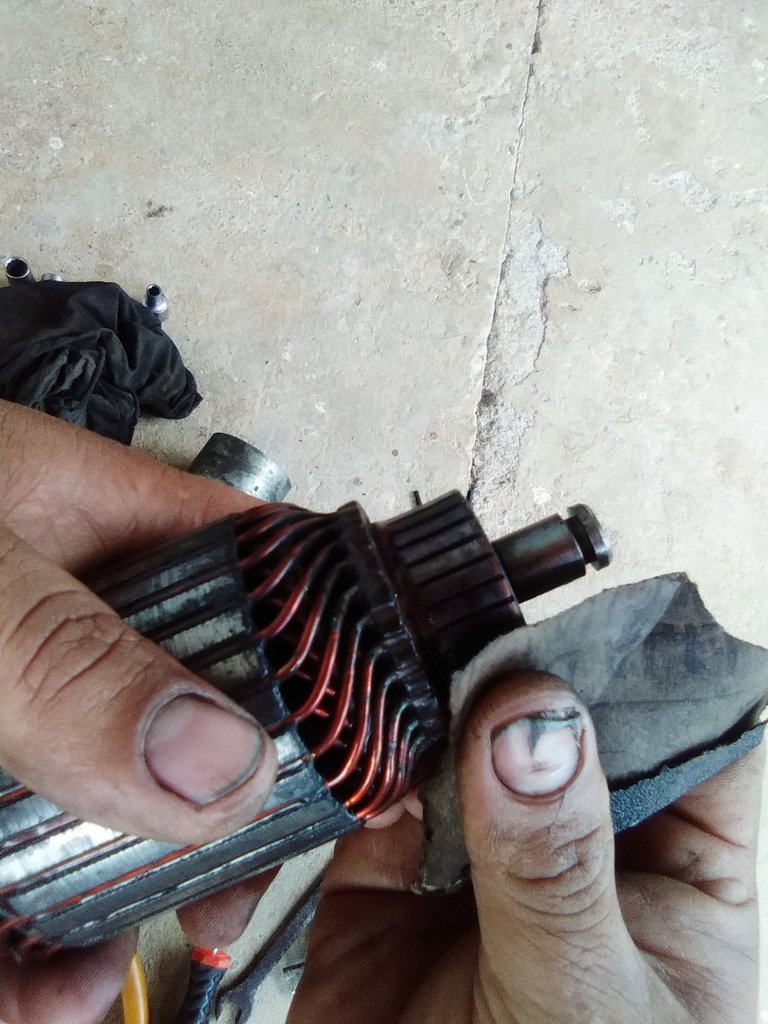
Luego de extraer la carbonera, sacamos el inducido para hacerle limpieza en la parte donde van contestados los carbones, para que de esta manera la nueva carbonera haga el contacto requerido en el inducido. Para esto se usó un papel de lija fina.
After extracting the coal bunker, we took out the armature to clean the part where the coals are placed, so that the new coal bunker would make the required contact with the armature. For this we used a fine sandpaper.
 |  |
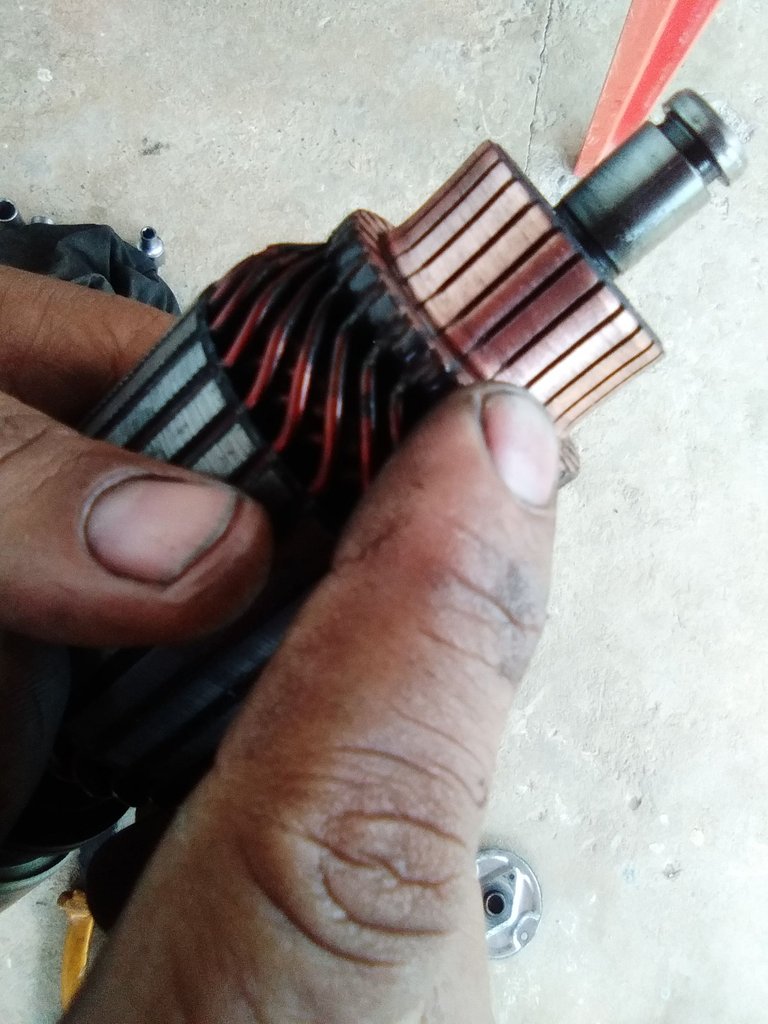
Ya se comienza a armar, pero primero se tuvo que quitar el automático, pues éste modelo cuánta con una pieza interna que se ajusta al inducido y esa debe encajar (en unas de las siguientes fotografías la señalaré con el dedo).
The assembly has already begun, but first the automatic had to be removed, because this model has an internal piece that fits the armature and that must fit (in one of the following pictures I will point it out with my finger).
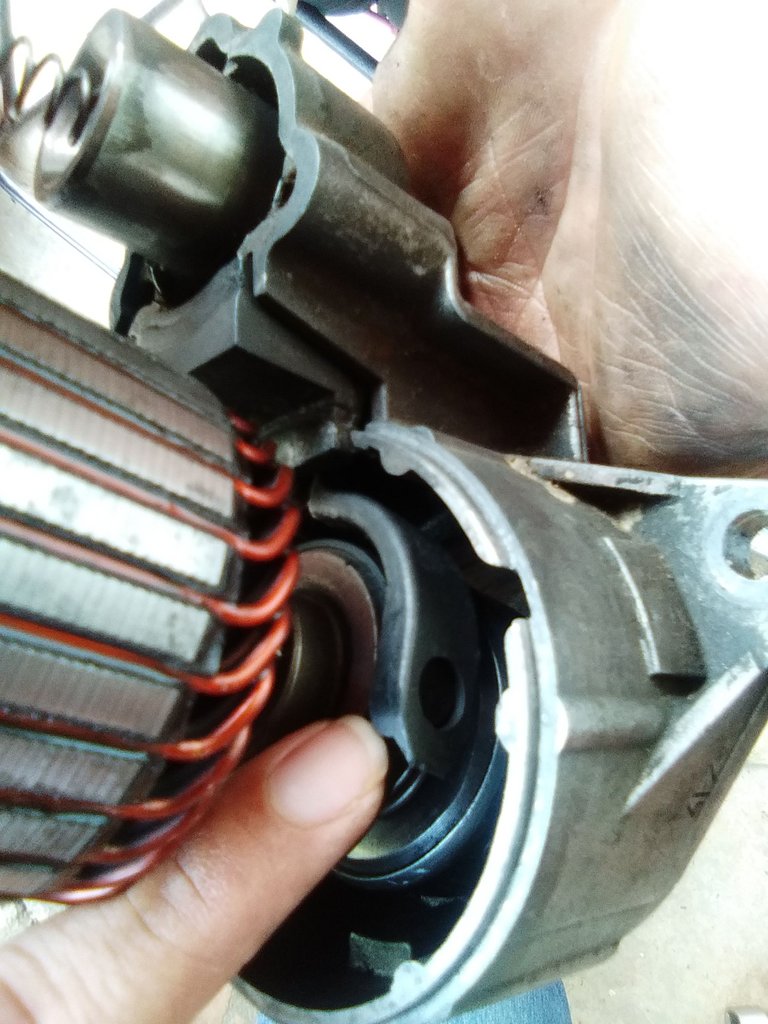
After having placed the armature, too. The automatic is adjusted.
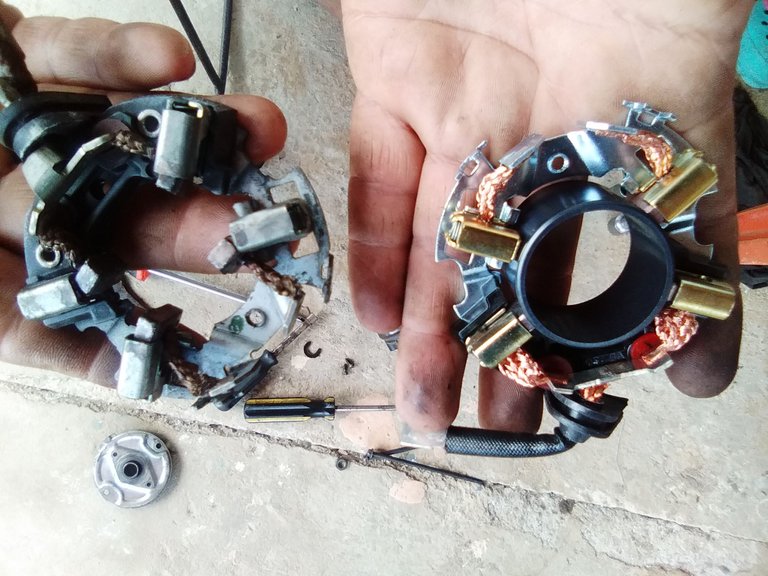
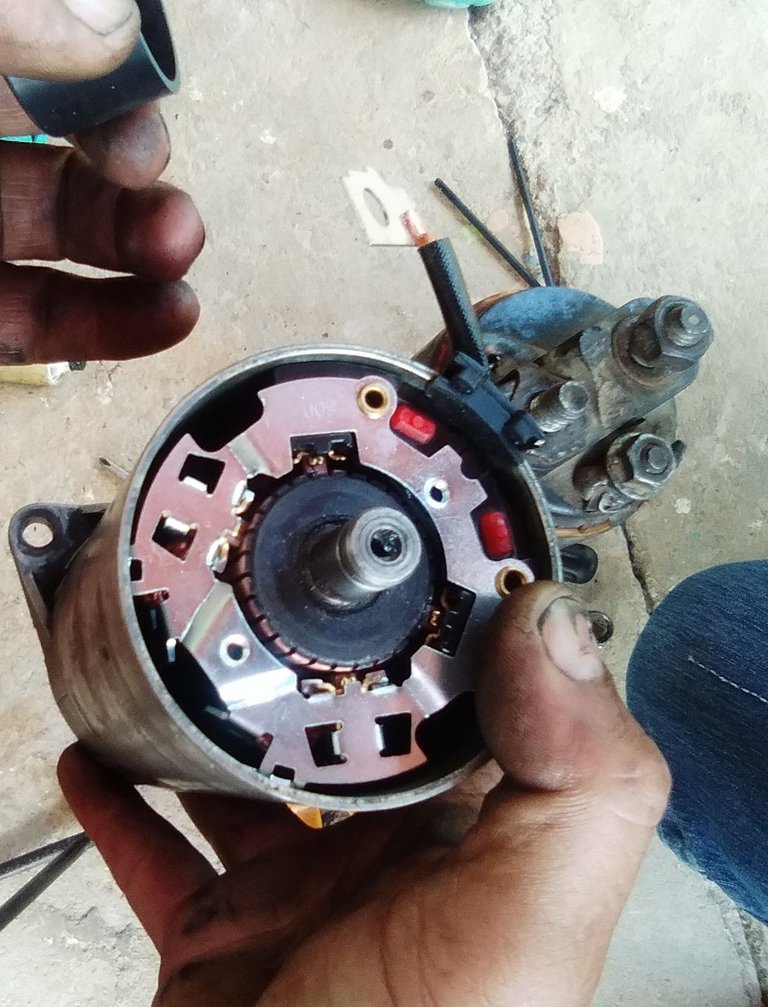
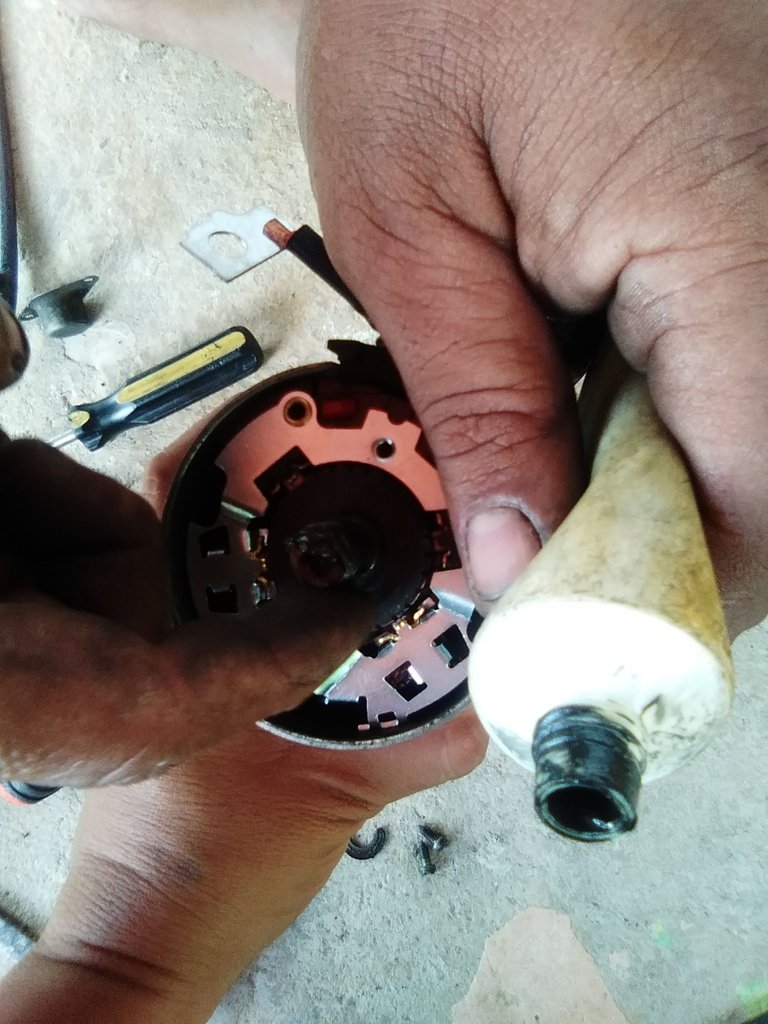
Then we proceeded to place the new carbonera. Particularly I called my attention to the new coal bunker that brings a plastic that facilitates the installation. Before concluding the work and assembling it completely, I put grease on the upper end. Now it remains to assemble the rest, without forgetting to place the cable of the coal bunker in the automatic.
 |  |
 |  |
Hasta aquí el trabajo realizado amigos mecánicos, espero que le sea de utilidad. Bueno para quienes como yo somos aprendices.
So far the work done mechanical friends, I hope you find it useful. Good for those who like me are apprentices.
See you next time. 👋

Las fotos son de mi propiedad te mandas con mi teléfono Alcatel
Photos are my property you send with my Alcatel phone.
Foto de portada editada por mi con la aplicación pixiz.com
Cover photo edited by me with pixiz.com application
Está publicación fue traducida en DeepL
This publication was translated at DeepL
Separador usado de Pixabay

