Hi there!
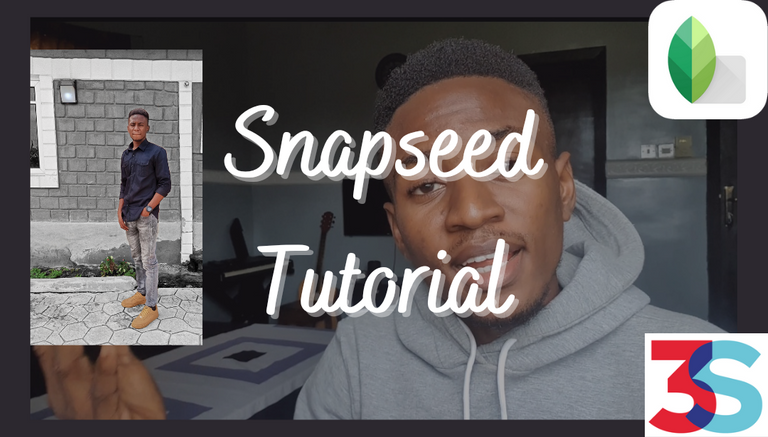
In this video tutorial, I explain how to use a phone to improve and make your photos look way better using the Snapseed application by Google LLC
For explanation purposes, I use a photo of myself taken under usual circumstances.
I used Snapseed alone to achieve this.
The Snapseed application is available on Google Play for Android devices and on App Store of Apple devices.

On opening the application, you should find an 'import' icon to import your photo.
After importing the photo you should then find many tools on your dashboard. And there are three (3) sections under which you would find them all.
The three (3) sections are;
- STYLES
- TOOLS
- EXPORT
Under STYLES, you will find quick settings that can be applied immediately to your photo. Each of these settings bear distinct names and apply different changes. Some of them are; Last edits, Portrait, Smooth, Pop, Accentuate, Faded Glow...
Under TOOLS you will find tools such as Tune image, Details, Curves, Crop, Rotate, Perspective, and Selective, to mention the few that were used in the video.
And finally, under EXPORT you can immediately share the image to social media. You can save a copy of the photo edit. You can export in a specific file format.
THE PROCESS
Preliminary steps;
I start by importing the photo from my phone gallery into the Snapseed application.
To remove the area of too much sunlight, I simply cut it out by using the Crop tool.
To adjust the horizon and perspective to make the human figure look upright, I used the Perspective feature. The Perspective feature works by reshaping the photo with tilting.
- To adjust the straightness automatically, I use the auto-rotate feature in the
- To take out the area needed, I take the photo through the Crop tool again.
Colour tone adjustment steps;
- To begin adjusting the colour tone of the photo, I start by taking it through the Tune image section.
Under the Tune image section, there are the following features that can be applied;
BRIGHTNESS - To adjust the brightness of the photo.
CONTRAST - To adjust difference between colours.
SATURATION - To adjust the intensity of colours.
AMBIENCE - To adjust the light balance
HIGHLIGHTS - To adjust the brightness of light areas.
SHADOWS - To adjust the darkness of dark areas.
WARMTH - To adjust the coolness, or warmth of the photo.
Black and white extraction process.
- To make the areas other than the human figure become mono colored, I start my using the Black and White feature.
- You will find different styles of mono colour here. I selected the Darken sky.
- Then click, apply.
- The use the view last edits icon to open the applied edits and select the Black and White applied. Then click settings.
- In the settings, use the shade the human figure to apply the colour. After wards, click Apply.
Finally, you can use the Details tool to add more sharpness and structure to the photo.
Then save your photo when you are done. Voilà!

The things that could be achieved on Snapseed alone are quite vast. Depending on the condition of the photo you're trying to work on and the desired results you're after, a lot of the tools Snapseed offers may be used, or just a few.
One example is not enough to cover the many tools on Snapseed, so I'll be sharing tips and tutorials on them.
There are many other great applications that you could use these tips and tricks on, like Lightroom by Adobe.


W̳̿͟͞h̳̿͟͞o̳̿͟͞ ̳̿͟͞i̳̿͟͞s̳̿͟͞ ̳̿͟͞O̳̿͟͞l̳̿͟͞u̳̿͟͞j̳̿͟͞a̳̿͟͞y̳̿͟͞?̳̿͟͞

Olujay is a Nigerian musician (guitarist and singer) based in Nigeria. He is currently in his final year studying mechatronics engineering at the Federal University of Agriculture, Abeokuta.
He strongly believes that everyone has the ability to affect change in some manner, and that we all have the capability to influence others.
One of his many goals is to become the best version of himself that he can attain. And, in doing so, maintain balance in order to do everything well.

𝕀𝕗 𝕪𝕠𝕦 𝕖𝕟𝕛𝕠𝕪𝕖𝕕 𝕥𝕙𝕚𝕤 𝕡𝕠𝕤𝕥, 𝕜𝕚𝕟𝕕𝕝𝕪 𝕝𝕖𝕒𝕧𝕖 𝕒 𝕔𝕠𝕞𝕞𝕖𝕟𝕥, 𝕣𝕖𝕓𝕝𝕠𝕘, 𝕠𝕣 𝕦𝕡𝕧𝕠𝕥𝕖. 𝕀𝕥 𝕨𝕚𝕝𝕝 𝕓𝕖 𝕘𝕣𝕖𝕒𝕥𝕝𝕪 𝕒𝕡𝕡𝕣𝕖𝕔𝕚𝕒𝕥𝕖𝕕.

▶️ 3Speak


