Saludos para todos los Hivers amantes de la tecnología y las reparaciones.
Continuado con el tema de equipos de proyección audiovisual como TV y monitores, en esta oportunidad les mostraré como reparé un monitor de 17 pulgadas de la marca Samsung el cuál no encendía.
Este monitor ya había sido llevado a otro servicio técnico y no pudieron repararlo.
Greetings to all Hivers lovers of technology and repairs.
Continuing with the theme of audiovisual projection equipment such as TV and monitors, this time I will show you how I repaired a 17-inch Samsung monitor which did not turn on.
This monitor had already been taken to another technical service and they could not repair it.
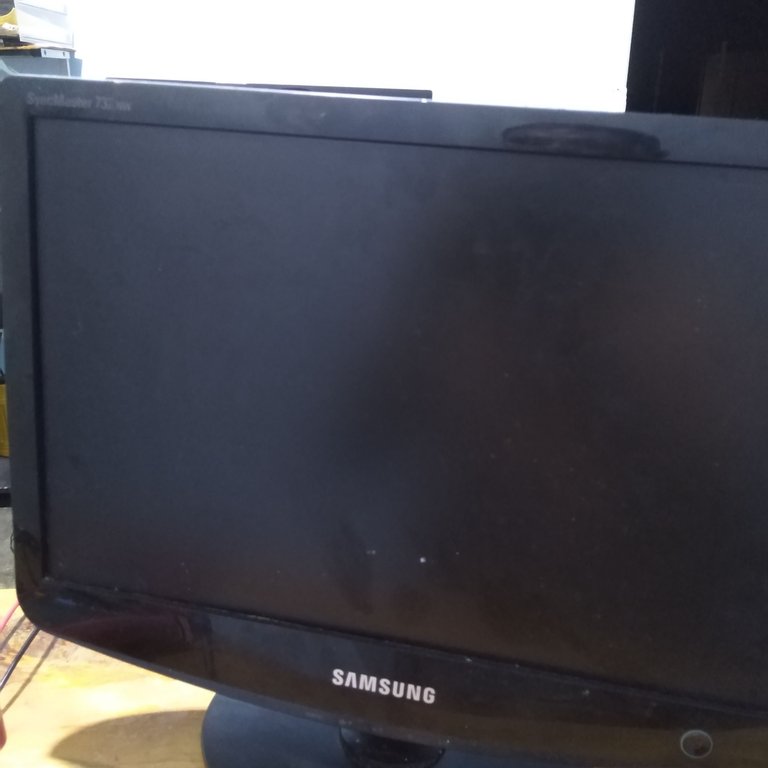
Quizás alguno de ustedes tengan un monitor de estos en casa con más de 10 o 15 años de uso continuo.
El monitor es uno de los dispositivos electrónicos con una tasa de durabilidad más alta, es más frecuente que un ordenador se dañe.
Sin embargo con los años se desgastan sus componentes internos y en esta reparación lo demostraremos.
Maybe some of you have one of these monitors at home with more than 10 or 15 years of continuous use.
The monitor is one of the electronic devices with a higher durability rate, it is more common for a computer to be damaged.
However, over the years its internal components wear out and in this repair we will demonstrate it.
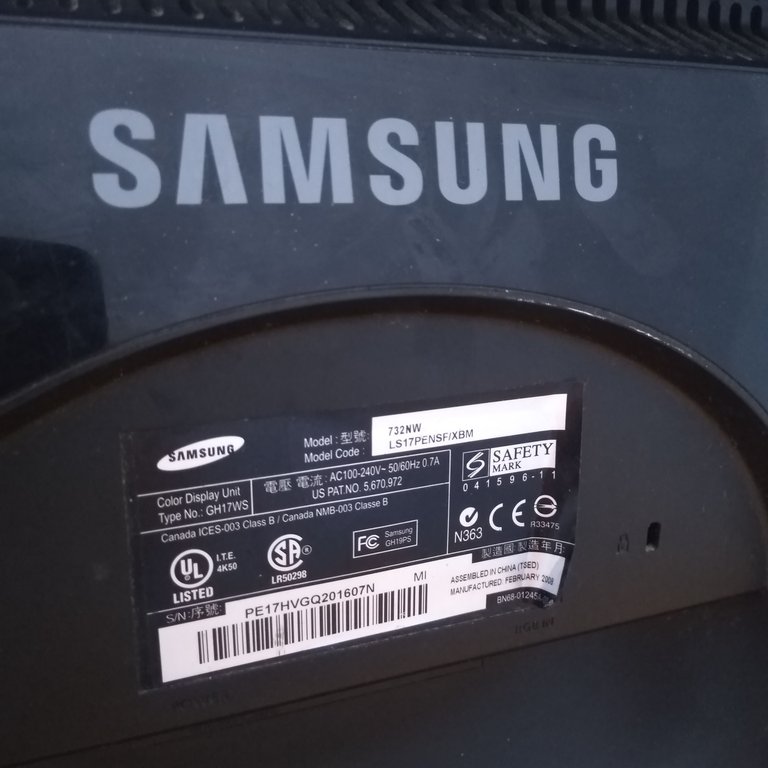
El modelo de este monitor es el 732NW es un monitor muy liviano, fácil de manejar y cómodo de trasportar.
Posee solo una entrada de video, la VGA, es decir; es un monitor sencillo pero con bonita resolución para la época de su fabricación, año 2008 de acuerdo a su etiqueta.
Fíjense, tiene 16 años de vida y este año 2024, fue que empezó a presentar fallas.
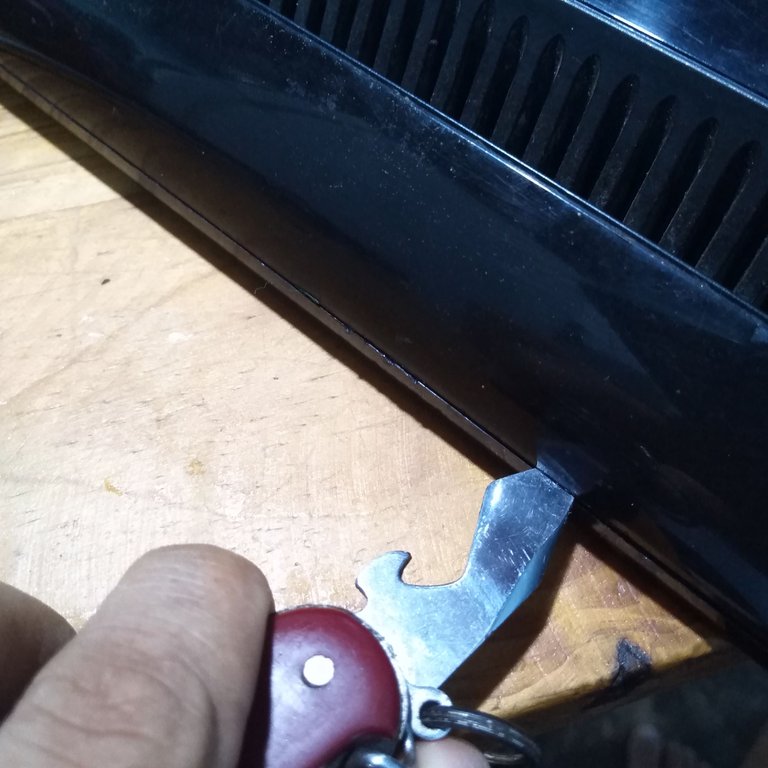
Para destaparlo solo basta con quitar la base y luego hacerle palanca con una espátula de plástico o de metal por el borde de la carcasa.
The model of this monitor is the 732NW is a very light monitor, easy to handle and comfortable to carry.
It has only one video input, the VGA, that is, it is a simple monitor but with a nice resolution for the time of its manufacture, 2008 according to its label.
Look, it has 16 years of life and this year 2024, was that it began to present failures.
To uncover it, just remove the base and then pry it with a plastic or metal spatula along the edge of the casing.
Luego retiramos la carcasa y descubriremos el interior del monitor. Sí han seguido la secuencia de mis reparaciones podrán darse cuenta que la estructura interna del monitor es muy parecida a la de un televisor LCD, Led o Smart TV.
Ahora solo nos queda retirar los cables que van conectados a la placa, incluyendo el Flex que va a la pantalla.
Then we remove the casing and we will discover the inside of the monitor. If you have followed the sequence of my repairs you can see that the internal structure of the monitor is very similar to that of an LCD, LED or Smart TV.
Now we just need to remove the cables that are connected to the board, including the Flex that goes to the screen.
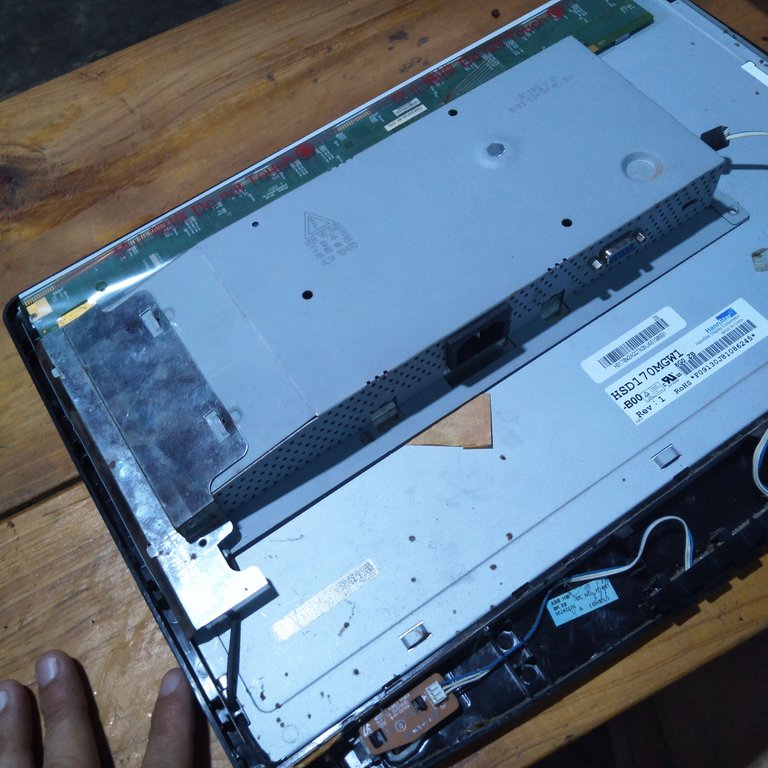
Cada uno de estos conectores tiene su posición específica y es imposible que te confundas al momento de volverlos a conectar, puesto que no encajarían en otra posición.
Procedemos a desatornillar la placa de la fuente para observar sus componentes electrónicos.
Each of these connectors has its specific position and it is impossible for you to get confused when reconnecting them, since they would not fit in any other position.
We proceed to unscrew the power supply board to observe its electronic components.
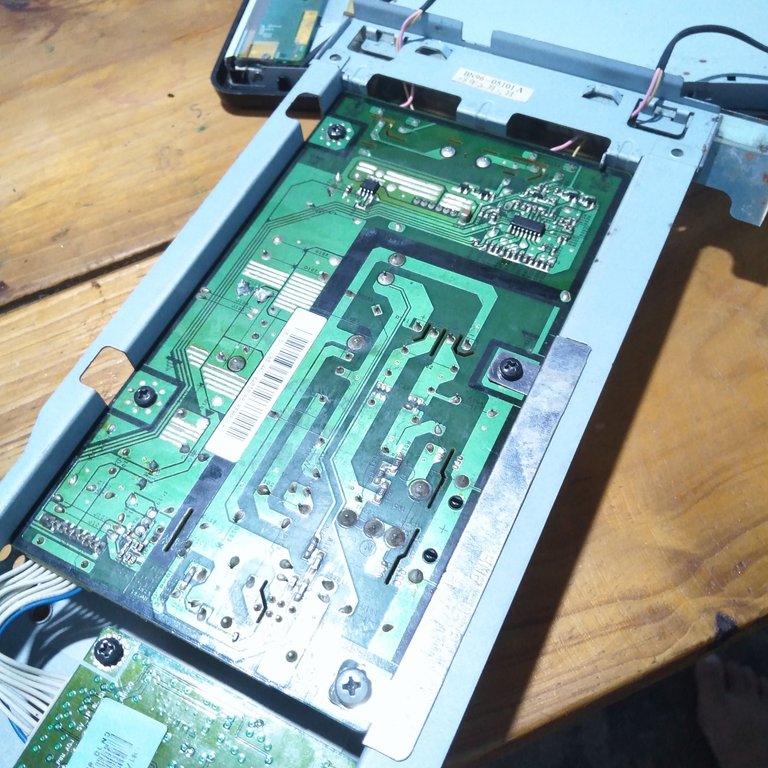
Recuerden que la placa de la fuente de poder es la que recibe el la corriente de la casa,en ella está el conector del cable de corriente AC.
Al darle vuelta a la placa podemos observar que los componentes electrónicos se ven intactos, no se ven puntos de calor, circuitos integrados explotados, capacitores electrolíticos inflados, ninguna señal de saturación del circuito.
Remember that the power supply board is the one that receives the power from the house, on it is the connector of the AC power cable.
When we turn the board over we can see that the electronic components are intact, no hot spots, exploded integrated circuits, inflated electrolytic capacitors, no sign of circuit saturation.
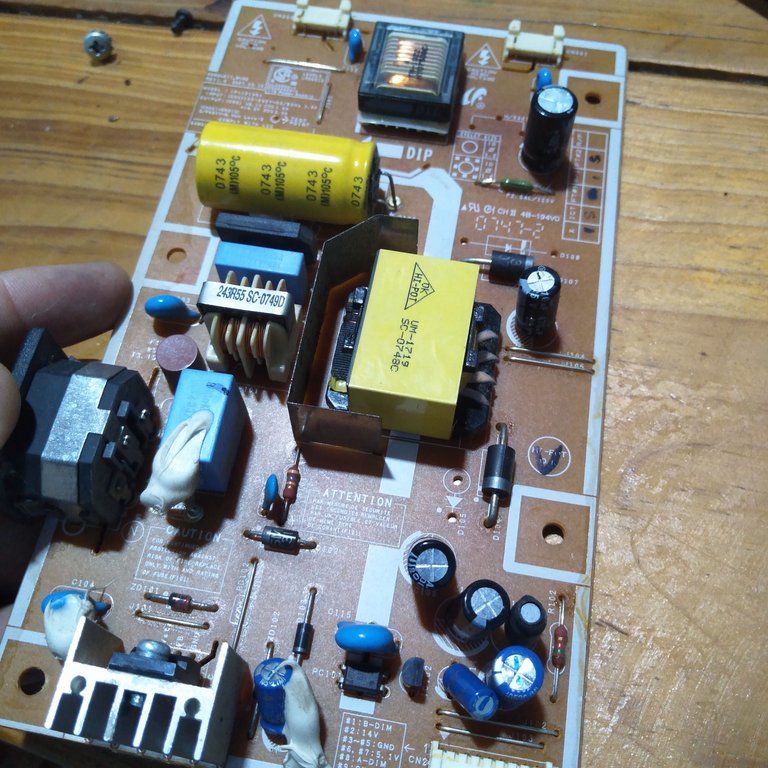
Quizás por esta razón no dieron con el orígen de la falla. Nuestra tarea aquí es observar bien y saber medir con el multimetro.
Es necesario tener un multímetro y verán la importancia de esta herramienta para la detección de componentes dañados.
Aquí podemos observar que hay una soldadura que no es original, así que seguramente había un capacitor electrolítico inflado, lo cambiaron y pensaron que con este reemplazo el monitor iba a encender, pero no fue así.
Perhaps for this reason they did not find the origin of the fault. Our task here is to observe well and know how to measure with the multimeter.
It is necessary to have a multimeter and you will see the importance of this tool for the detection of damaged components.
Here we can see that there is a weld that is not original, so surely there was an inflated electrolytic capacitor, they changed it and thought that with this replacement the monitor was going to turn on, but it was not so.
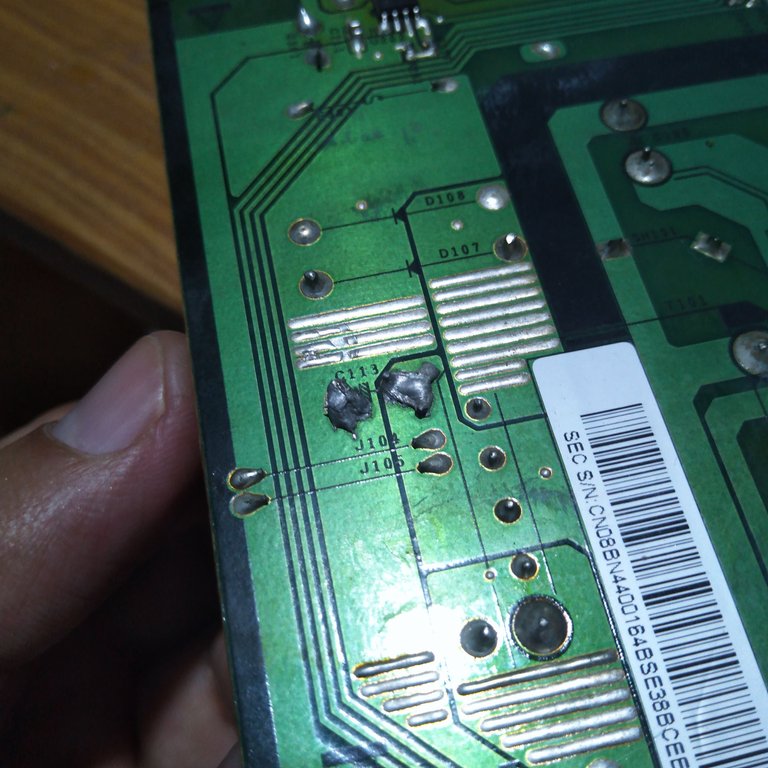
Así que es necesario sacar los otros capacitores asociados a ese área, incluso sacar el que fue reemplazado para saber sí en realidad está en buen estado.
Los capacitores electrónicos tienen polaridad, es decir positivo y negativo, donde la franja blanca representa la polaridad negativa.
So it is necessary to remove the other capacitors associated with that area, even remove the one that was replaced to know if it is really in good condition.
Electronic capacitors have polarity, i.e. positive and negative, where the white stripe represents the negative polarity.
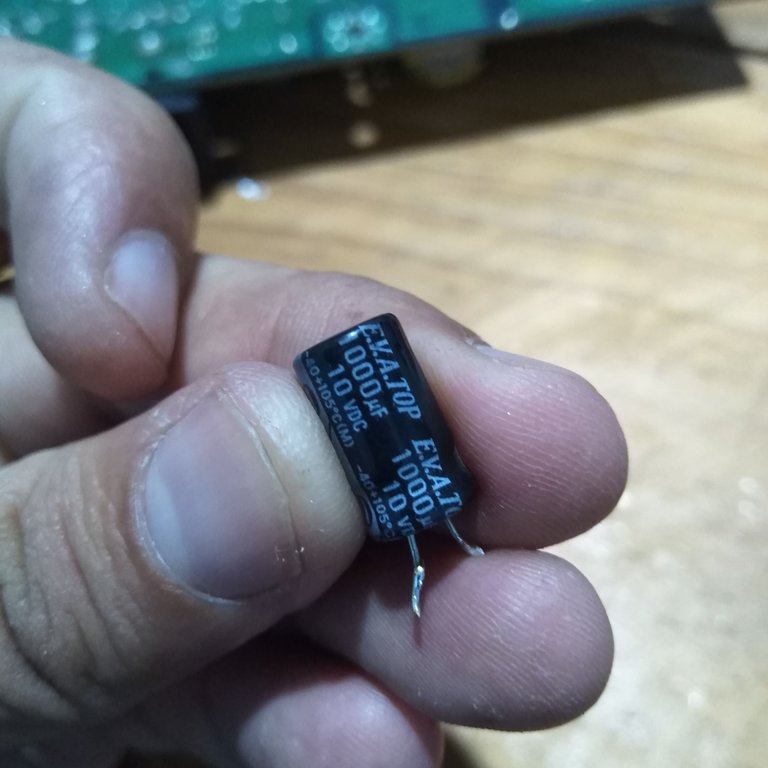
Teniendo esto en cuenta, colocamos el multimetro en la escala de capacitancia y ponemos la punta negra del multimetro en el lado de la franja blanca de capacitor y la roja en el otro extremo.
Aquí empezamos con la medición de los capacitores. Sí nel capacitor es de 1.000 UF, para determinar que m está en buen estado, éste debe medir entre 970 UF a 1.040 uf aproximadamente y en este caso el capacitor solo mide 763 UF.
Es decir, éste capacitor está dañado, está fuera de rango.
With this in mind, we place the multimeter on the capacitance scale and put the black tip of the multimeter on the side of the white capacitor strip and the red tip on the other end.
Here we start with the capacitor measurement. If the capacitor is 1,000 UF, to determine that m is in good condition, it should measure between 970 UF to 1,040 uf approximately and in this case the capacitor only measures 763 UF.
That is to say, this capacitor is damaged, it is out of range.
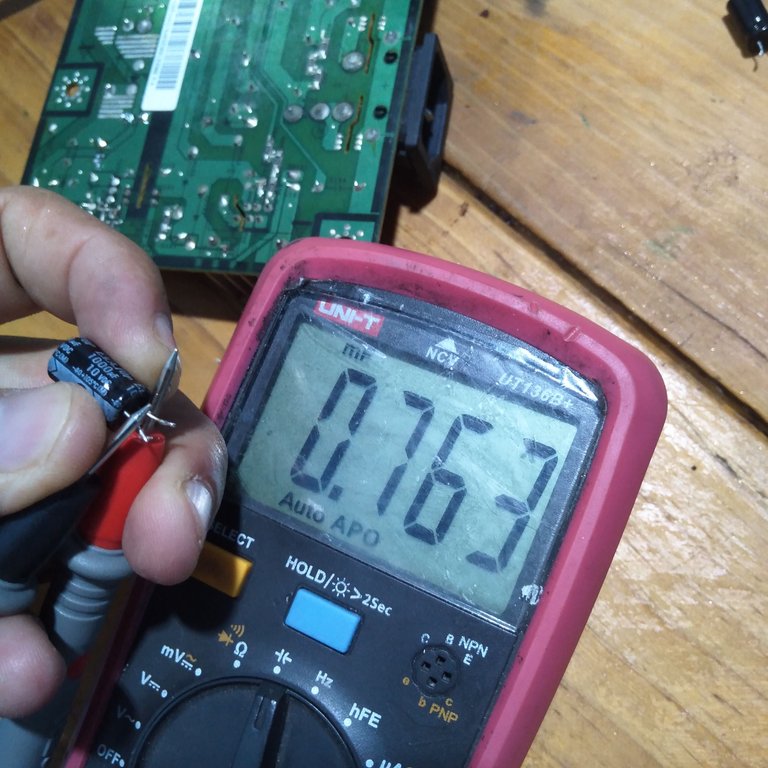
Vamos con el otro capacitor, volvemos a medir y la medición nos arroja una lectura de 5,4 UF, cuando su nomenclatura es de 1.000 UF.
We go with the other capacitor, we measure again and the measurement gives us a reading of 5.4 UF, when its nomenclature is 1,000 UF.
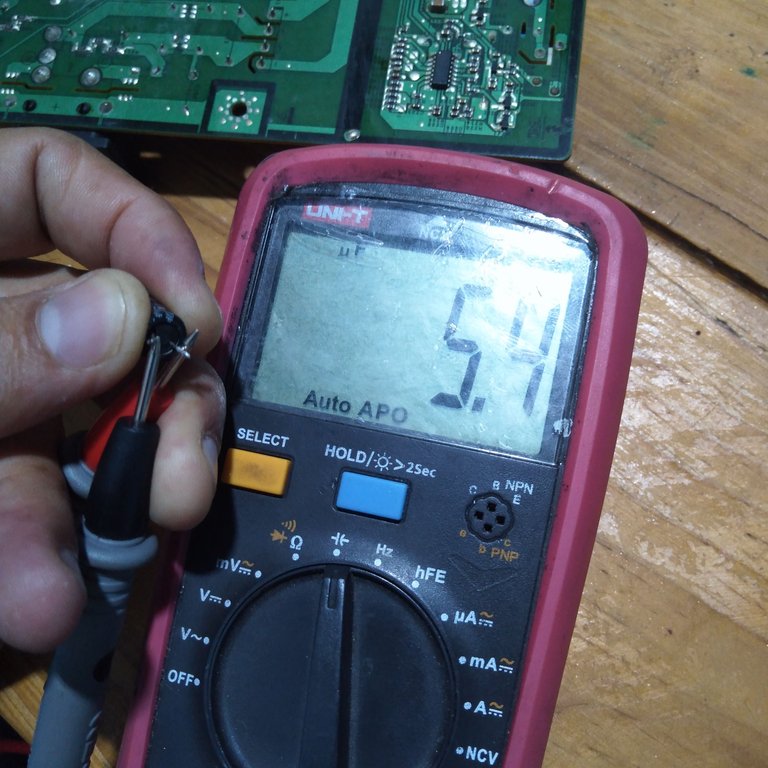
Ahora se dan cuenta que los capacitores físicamente se ven en perfecto estado pero internamente están dañados?.
Aquí entra la importancia de tener un multímetro que mida capacitancia, porque con él podemos determinar con exactitud sí este componente tan importante en un circuito realmente está bueno o malo.
Now you realize that the capacitors physically look in perfect condition but internally are damaged....
Here comes the importance of having a multimeter that measures capacitance, because with it we can accurately determine if this important component in a circuit is really good or bad.
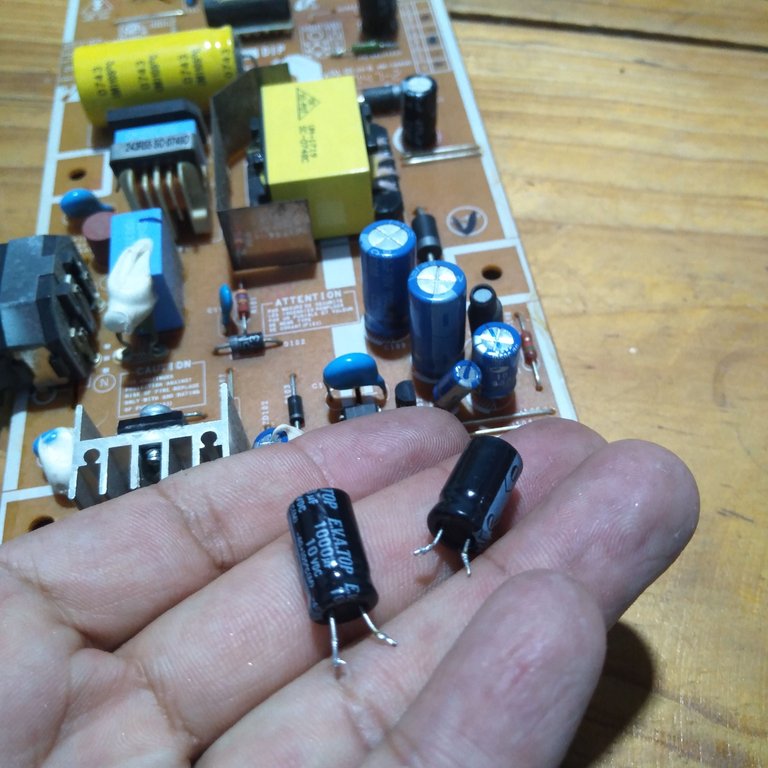
Fíjense qué a causa de estos dos pequeños componentes el monitor no encendía.
Ahora que los capacitores fueron reemplazados el monitor enciende con normalidad.
Otra cosa, para que no se confundan con la imagen del monitor encendido: Esas líneas verticales provienen del Flex de la pantalla, seguramente sufrió un golpe y se movió, no tiene nada que ver con el circuito electrónico.
Notice that because of these two small components the monitor would not turn on.
Now that the capacitors have been replaced, the monitor turns on normally.
Another thing, so that you don't get confused with the image of the monitor on: Those vertical lines come from the Flex of the screen, surely it suffered a blow and moved, it has nothing to do with the electronic circuit.
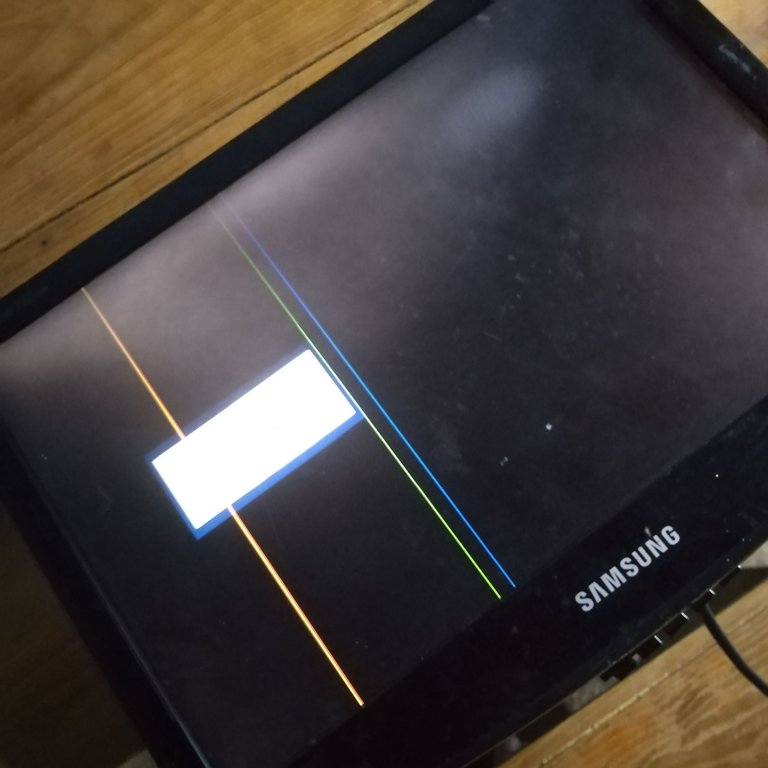
De hecho, la dueña del monitor me dijo que se cayó y desde ese momento aparecieron las líneas, esto no lo podemos corregir sin utilizar herramientas especializadas, así que no es nuestro problema.
Nuestro propósito es encender el monitor y ya enciende.
In fact, the owner of the monitor told me that it fell and from that moment the lines appeared, this is not something we can correct without using specialized tools, so it is not our problem.
Our purpose is to turn on the monitor and it turns on.

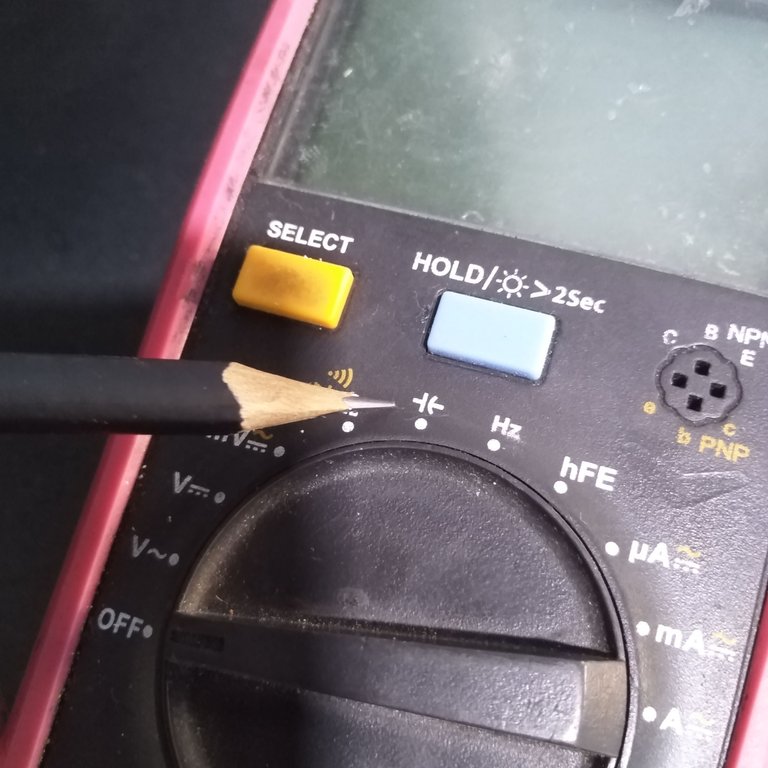
Aquí muestro cómo se identifica la escala de Capacitancia en un multímetro.
Vean el símbolo universal del capacitor. -|(-, si su multimetro tiene este símbolo, quiere decir que puede medir capacitores de cualquier tipo, buen sean electrolíticos, cerámicos o poliéster.
Here I show how to identify the Capacitance scale on a multimeter.
See the universal capacitor symbol. -|(-, if your multimeter has this symbol, it means that you can measure capacitors of any type, whether electrolytic, ceramic or polyester.
Espero que esté tutorial les sirva de ayuda y de comprensión sobre las distintas fallas que puede presentar un monitor o televisor moderno.
Para la próxima entrada les traeré el tutorial de un monitor de la marca Vit que enciende y se apaga solo en forma constante.
I hope this tutorial will help you to understand the different faults that a modern monitor or TV can present.
For the next post I will bring you the tutorial of a Vit monitor that turns on and off by itself constantly.
Todas las fotografías fueron tomadas con mí Smartphone Huawei Dub-Al00.
Traducido con Deepl
