Hola comunidad, ¿cómo están? Espero que al leer estas líneas se encuentren muy bien, y si no, que esta publicación les regale al menos unos momentos de distracción y una sonrisa.
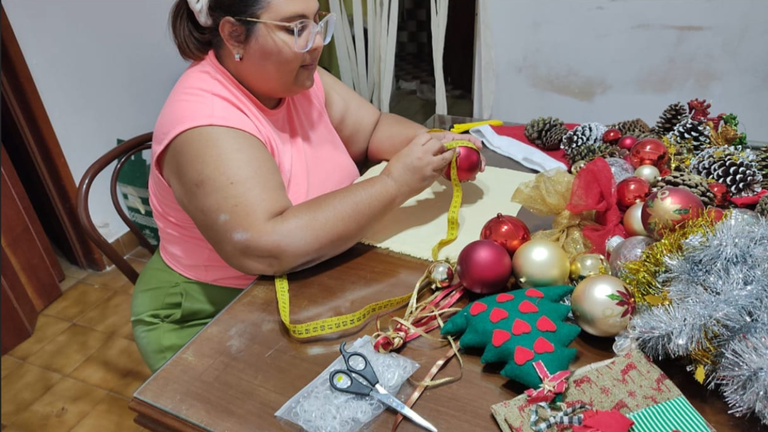
Hoy regreso con mucha emoción para participar en la propuesta del día: salvar nuestro bolsillo. Como se acercan las fechas navideñas, decorar el árbol es algo que me llena de ilusión, pero también puede ser un golpe al presupuesto, ya que las decoraciones comerciales son cada vez más caras. Sin embargo, este año decidí darles una segunda oportunidad a las bolitas que ya tenía en casa. Muchas de ellas, siendo migrante, llegaron a mis manos como donaciones llenas de amor, pero ya estaban bastante deterioradas. Así que me propuse forrarlas y decorarlas, ¡y aquí estoy para compartirles cómo lo hice!

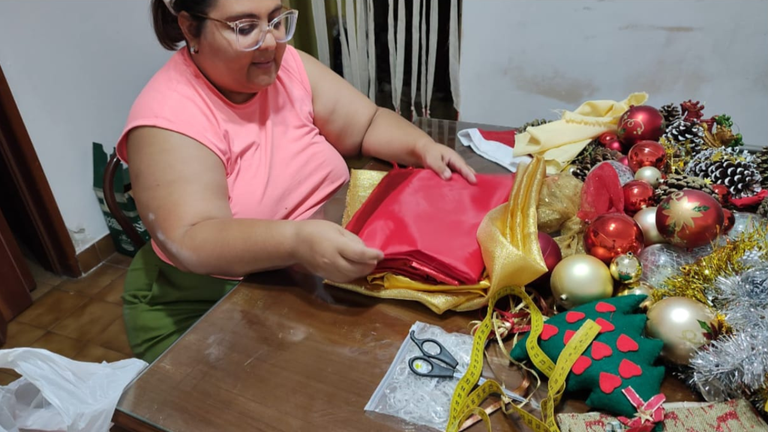
Después de investigar y ver muchísimas ideas creativas, elegí una opción que se ajusta a mi realidad: forrar las bolitas con tela. Como tengo máquina de coser y siempre cuento con retazos en casa, resultó ser una alternativa económica y sostenible. Además, compré algunas telas adicionales que usé para otros proyectos navideños.

En el video que acompaña esta publicación podrán ver todos los pasos, pero aquí les dejo una lista de materiales esenciales:
• Telas de tu preferencia: utilicé cuadraditos de 36x36 cm de tafetán rojo y dorado.
• Esferas navideñas: en mi caso, de 26 cm de diámetro.
• Gomitas elásticas para cerrar las esferas.
• Hilo de polipropileno para hacer el lazo de colgado en mi caso fue de 35cm.
• Pistola de silicón caliente (también puedes usar silicón líquido o incluso coser las telas).
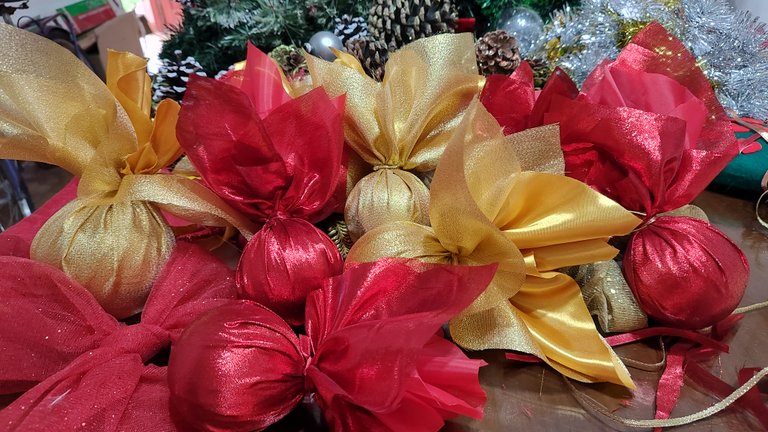
Con estos materiales, pude transformar mis esferas viejas en piezas totalmente renovadas. Este proyecto no solo me ayudó a ahorrar, sino que también me dio la satisfacción de crear algo con mis propias manos.

Si se animan a hacerlo, me encantaría que compartieran sus resultados aquí en la comunidad. ¡Nada me haría más feliz que saber que esta idea contribuyó a su economía familiar!
Les dejo un abrazo grandototote.
Esperanza 😊

Hello community, how are you? I hope that you are feeling well while reading these lines, and if not, that this publication gives you at least a few moments of distraction and a smile.
Today I return with much excitement to participate in the proposal of the day: save our pocket. As the Christmas season approaches, decorating the tree is something that fills me with excitement, but it can also be a blow to the budget, as commercial decorations are becoming more and more expensive. However, this year I decided to give the balls I already had at home a second chance. Many of them, being migrants, came into my hands as donations full of love, but they were already quite deteriorated. So I decided to line and decorate them, and here I am to share with you how I did it!

After researching and seeing lots of creative ideas, I chose an option that fits my reality: lining the balls with fabric. Since I have a sewing machine and always have scraps at home, it turned out to be an economical and sustainable alternative. I also bought some extra fabrics that I used for other Christmas projects.

In the video that accompanies this post you can see all the steps, but here is a list of essential materials:
- Fabrics of your choice: I used 36x36 cm squares of red and gold taffeta.
- Christmas spheres: in my case, 26 cm in diameter.
- Elastic rubber bands to close the spheres.
- Polypropylene thread to make the hanging loop, in my case it was 35cm.
- Hot silicone gun (you can also use liquid silicone or even sew the fabrics).
With these materials, I was able to transform my old spheres into totally renovated pieces. This project not only helped me save money, but also gave me the satisfaction of creating something with my own hands.

If you are up for it, I would love for you to share your results here in the community - nothing would make me happier than to know that this idea contributed to your family economy!
I leave you a big, big hug.
Hope 😊
Foto/Photo by: @esperanzalandia
Edición de Fotos/Photo Editing by: @esperanzalandia
Diseño de portada / Cover Design by Canva
Traducido con/ Translated with: Deepl
Edición de vídeo y Subtitulos / Video Editing and Subtitling: Inshot
▶️ 3Speak


