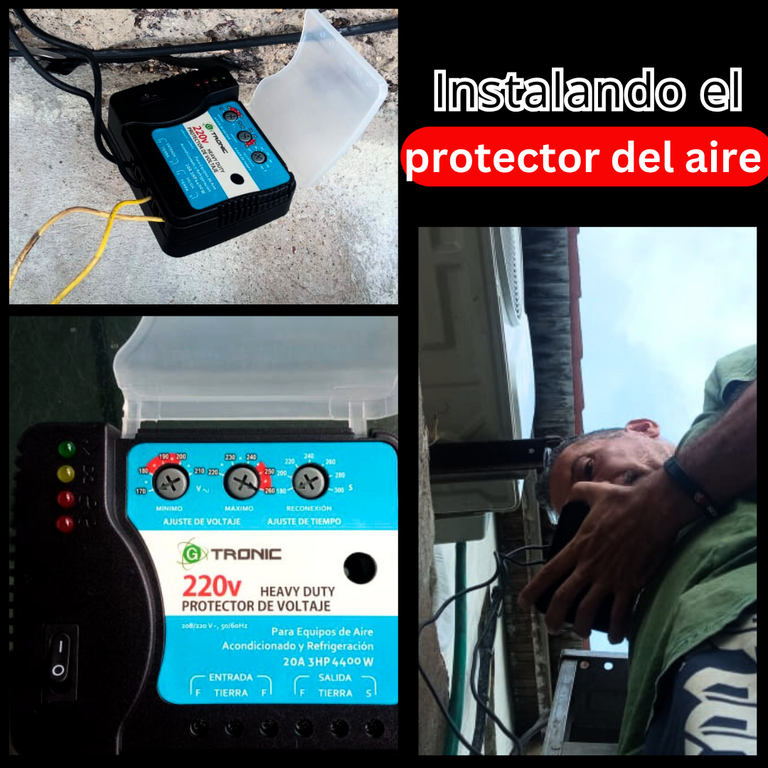

Hi friends of Hive and @home.solutions, again I come here to finish with the air conditioner that I had said I would tell you how was the installation of the protector that I did because it is something easy to do. As I told you the one we had before was bad and we bought a new one for 220 current and single phase which was the one we were asked.
ESPAÑOLHola amigos de Hive y @home.solutions, otra vez vengo por aquí para terminar con lo del aire acondicionado que les había dicho que les contaría cómo fue la instalación del protector que lo hice yo porque es algo fácil de hacer. Como ya les dije el que teníamos antes estaba malo y compramos uno nuevo para corriente 220 y monofasico que fue el que nos pidieron.

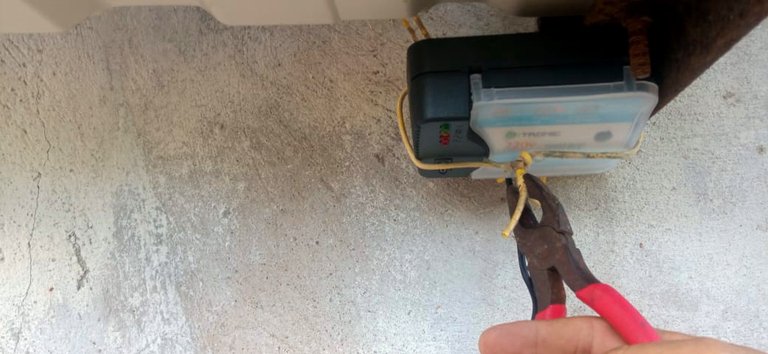
To begin with the installation the first thing I did was to make sure that there was no current in the line, verified this I began to disconnect the damaged protector.
Once disconnected, I began to install the Tronic protector, I started to loosen the screws of the input cable terminals, when I was loosening the output screws I realized that I could not loosen them when I check the tip of the screwdriver I see that it was worn and therefore I could not loosen them, I had to get off the ladder and look for another screwdriver to continue with what I was doing.
ESPAÑOLPara comenzar con la instalación lo primero que hice fue asegurarme que no hubiese corriente en la línea, verificado esto empecé a desconectar el protector dañado.
Una vez desconectado, comencé a instalar el protector Tronic, empecé a aflojar los tornillos de los bornes de los cables de entrada, cuando estaba aflojando los tornillos de salida me dí cuenta que no los puedo aflojar cuando reviso la punta del destornillador veo que estaba desgastada y por eso no podía aflojarlos, tuve que bajar de la escalera y buscar otro destornillador para seguir con lo que estaba haciendo.
 |  |  |
|---|

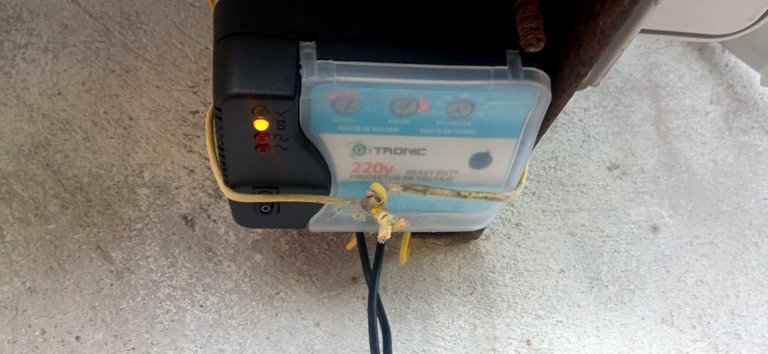
After loosening all the terminals I proceeded to twist the tips of the copper hairs of the wires and I introduced them into their respective terminals, those coming from the breaker to the input terminals and the wires that go to the air in the output terminals, then I tightened them until they were well adjusted to prevent them from coming out or moving and make a bad contact that could damage the protector.
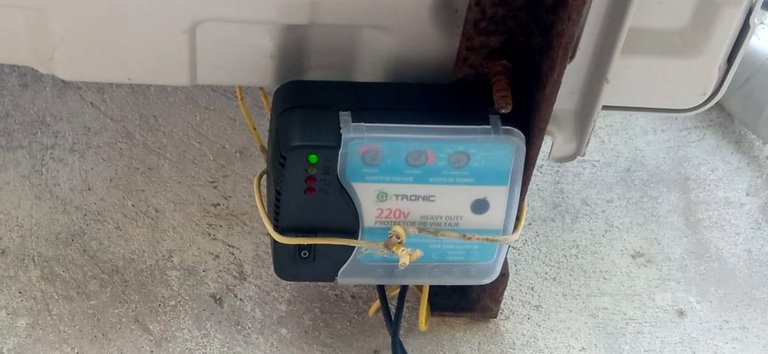
When I finished tightening them, I turned up the breaker and verified that it turned on, and everything worked correctly.
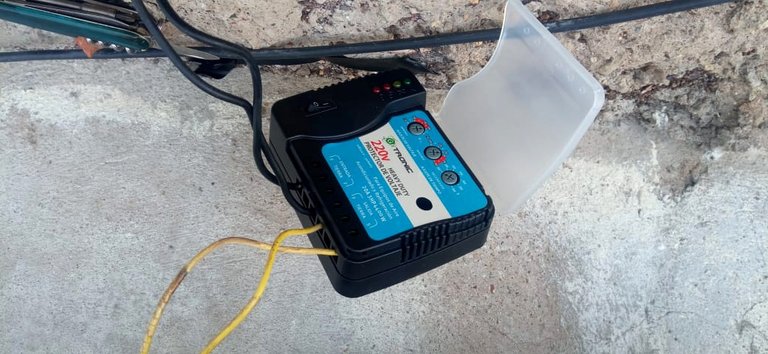
To protect the protector from the weather I decided to place it under the condenser unit, as I had no tirrap I used a piece of cable, take the protector and with the cable I fixed it on the foot of friend where the condenser unit is placed and place it under this same to protect it from the rain.
Well friends, this is how I installed the new protector. See you another day.
ESPAÑOLDespués de aflojar todos los bornes procedí a entorchar las puntas de los pelos de cobre de los cables y lo fui introduciendo en sus respectivos bornes, los que venian de la breakera a los bornes de entrada y los cables que van hacia el aire en los bornes de salida, luego los fui apretando hasta que quedaron bien ajustados para evitar que se salieran o se movieran e hiciera un mal contacto que pudiera dañar el protector.
Al terminar de apretarlos subí el breaker y verifique que este encendiera, y todo funcionó correctamente.
Para protejer el protector de la intemperie decidí colocarlo debajo de la unidad condensadora, como no tenía tirrap use un pedazo de cable, tome el protector y con el cable lo fijé en el pie de amigo dónde se coloca la unidad condensadora y lo ubique debajo de esta misma para protejerlo de la lluvia.
Bueno amigos, así realice la instalación del protector nuevo. Nos estamos viendo otro día.
 |  |  |
|---|
