Mi buen día comunidad de Hive NFTGame Latino, el día de hoy les traigo 2 trabajos en píxel art. enfocados en 2 cartas del juego de la red de hive King of Duel.

Así mismo mencionar que esta también es mi participación en Concurso, 2 packs de inicio y 1 pack de 3 Nft de KOD [ESP // ENG].
Fueron muchas horas de trabajo, creo que 5 h exactamente, y pues me siento muy orgulloso de lo que logre hacer. Igualmente estaré explicando un poco del proceso de cada uno de mis trabajos.

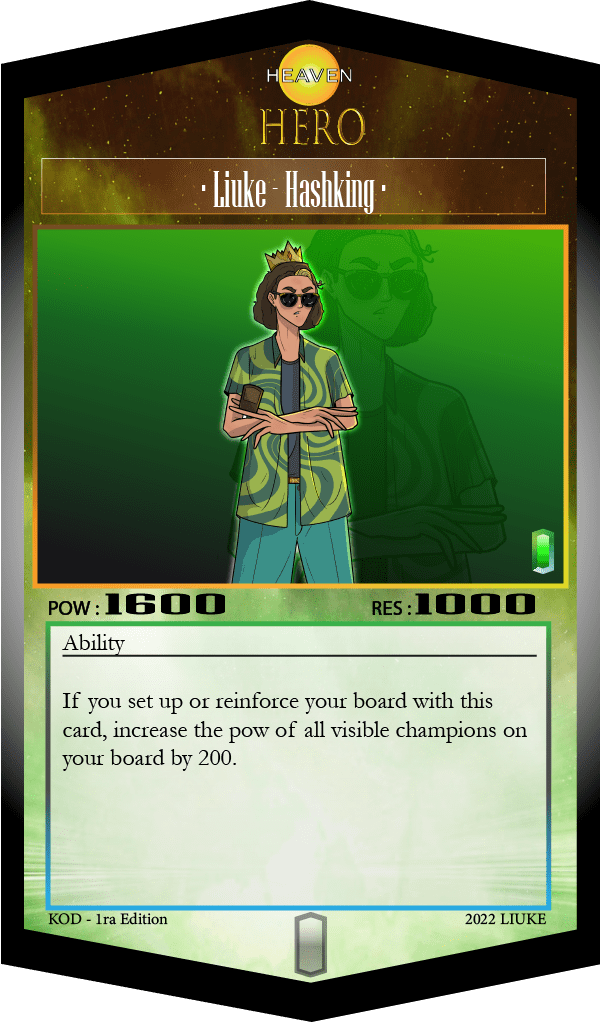
IMAGEN ORIGINAL
VERSION EN PIXEL ART
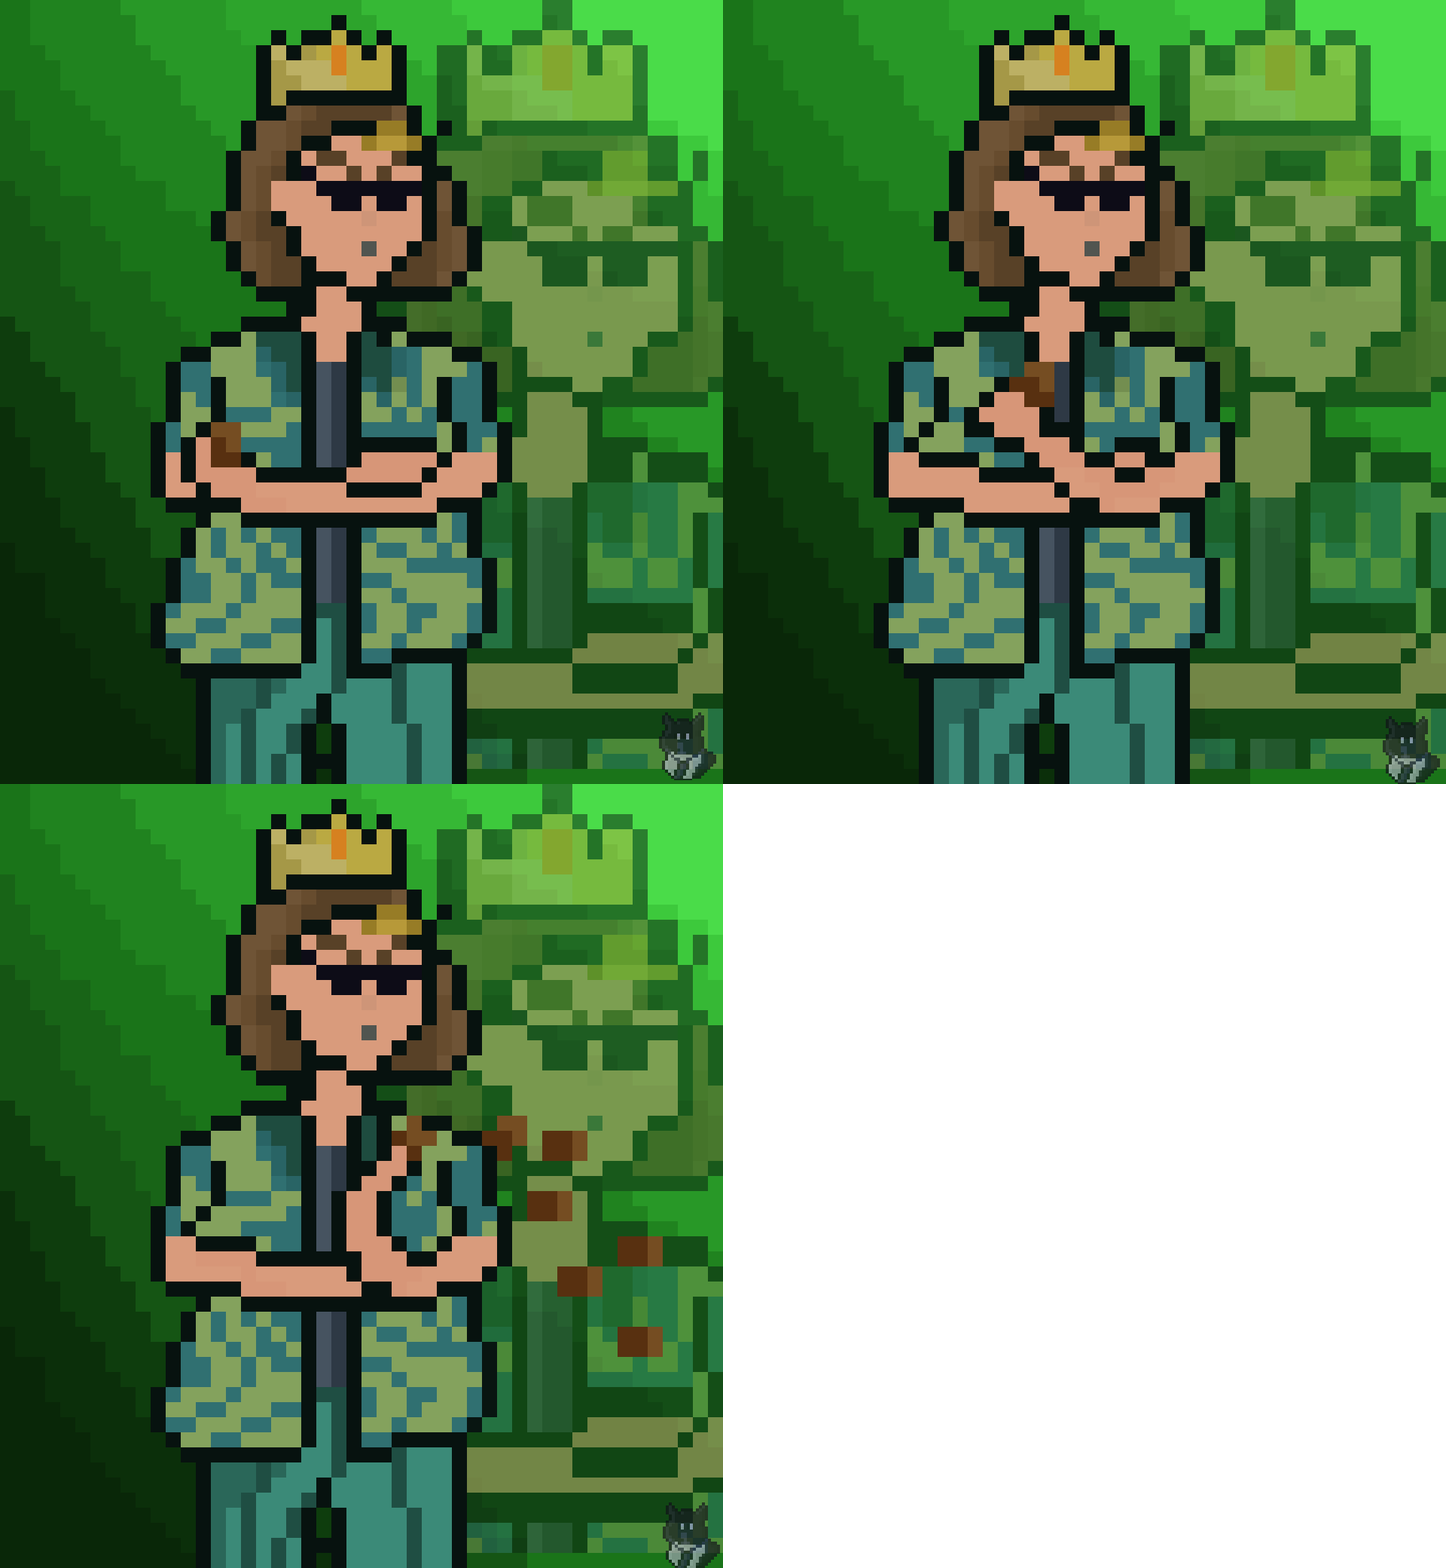

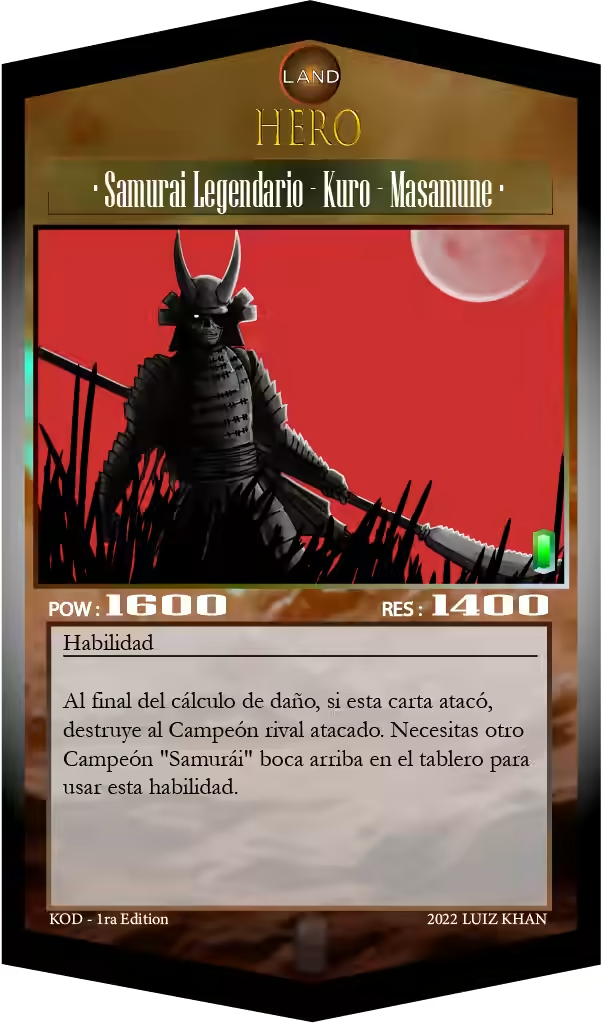
IMAGEN ORIGINAL
VERSION EN PIXEL ART
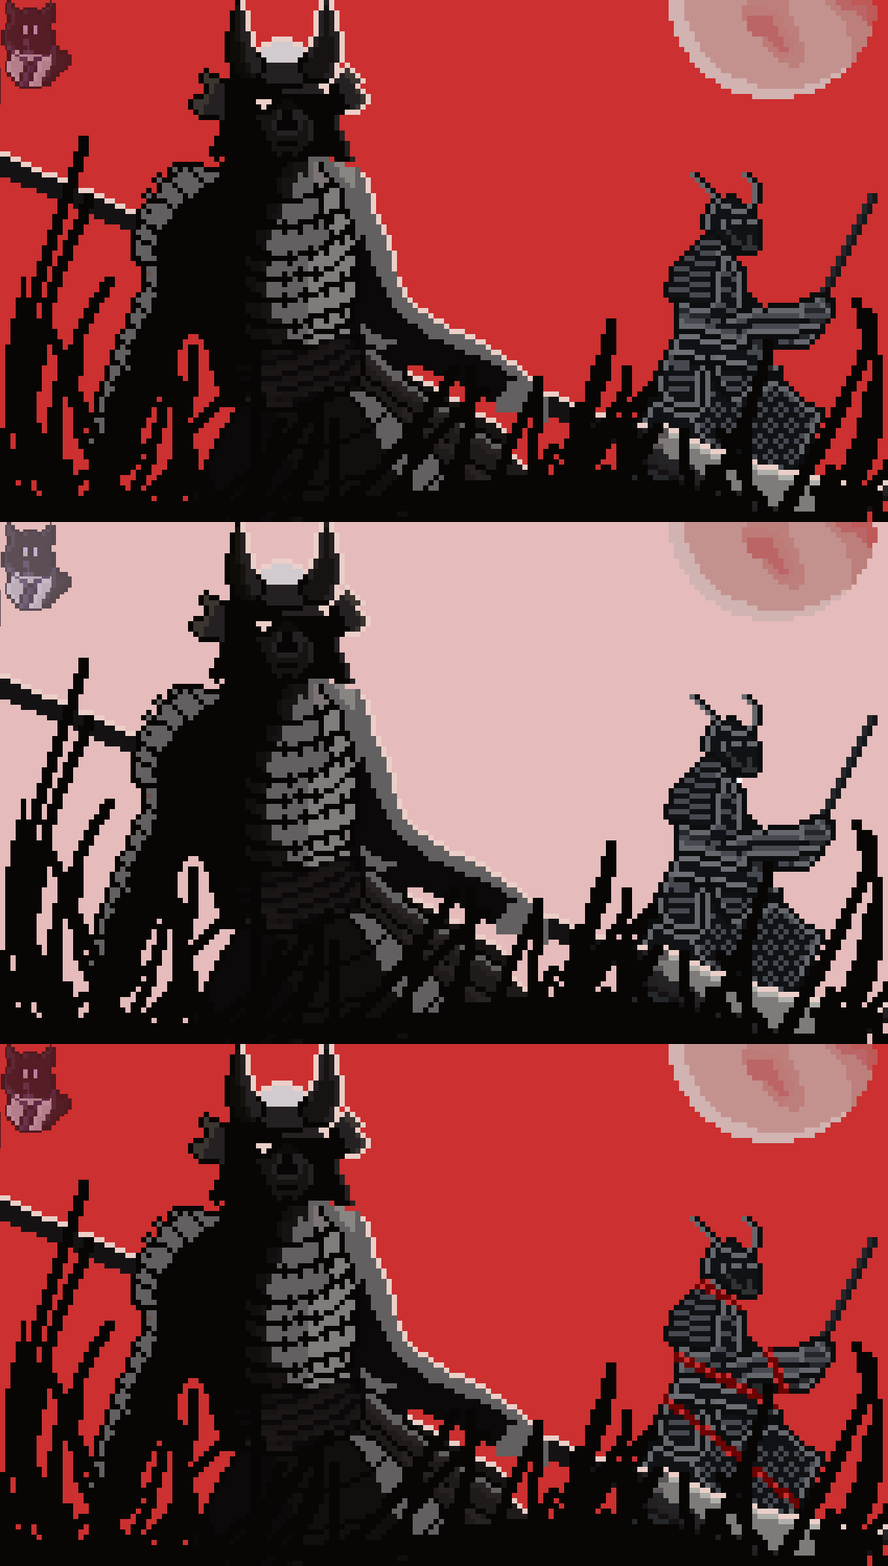

EXPLICACIÓN
Yo uso el programa pixelorama por su comodidad y porque es gratis.
Paso 1: Obtener la paleta de colores.
Esto fue algo tedioso ya que hay imágenes que no son admitidas por el programa, pues dan como protegidas, o los hay demasiados colores que el programa soporte (puedo estar equivocado).
Paso 2: Teniendo la paleta, debemos hacer un marco, o una silueta en la que nos guiaremos, esto no necesariamente debe ser perfecto, pues en el camino podrás ir cambiándolo.
Paso 3: agregar colores según la paleta, así también de mantener ciertas medidas para que nuestra imaginen no quede amorfa.
Paso 4: Teniendo las zonas con los colores generales, o los que ocupen mas espacio dentro de la silueta, procedemos a los detalles como la ropa o sobra (solo si el dibujo es pequeño).
Paso 5: Habiendo terminado lo anterior debemos fijarse en los detalles importante como los brazos, cabello y accesorios.
Paso 6: teniendo esto terminado debemos agregar un fondo, en una capa inferior, ¿Como?, en la parte inferior izquierda podremos ver esa opción como un "+", así también podemos moverla para que este sobre o debajo de nuestra imagen.
Paso 7: Para el degradado usaremos el color de fondo mas oscuro de nuestra paleta e iremos degradándola de manera manual para evitar tonalidades anormales.
Paso 8: Para una imagen mas grande como la que vemos, lo que debemos es seguir el paso 6, y colocarlo en una capa inferior, así también ajustando el borrador, y a la imagen le quitamos las tonalidades haciendo que se vea mas transparente.
Paso 9: Para la animación es hacer 3 imágenes iguales, pero guiando cada una para formular el movimiento.
Paso 10: Disfrutar.
Y sin nada mas que decir, muchas gracias por su atención, suerte a todos y que un X10 llegue a sus vidas.

My good day community of Hive NFTGame Latino, today I bring you 2 works in pixel art. focused on 2 cards from hive network game King of Duel.

Also mention that this is also my participation in [Contest, 2 starter packs and 1 pack of 3 Nft of KOD [ESP // ENG]](https://peakd.com/hive-115120/@hispaplus/concurso- 3-packs-of-starter).

There were many hours of work, I think exactly 5 hours, and well, I feel very proud of what I managed to do. I will also be explaining a little about the process of each of my works.

ORIGINAL IMAGE

PIXEL ART VERSION


ORIGINAL IMAGE

PIXEL ART VERSION


EXPLANATION
I use the pixelorama program for its convenience and because it is free.
Step 1: Get the color palette.
This was somewhat tedious since there are images that are not supported by the program, as they are considered protected, or there are too many colors that the program supports (I could be wrong).
Step 2: Having the palette, we must make a frame, or a silhouette in which we will guide ourselves, this does not necessarily have to be perfect, because along the way you can change it.
Step 3: add colors according to the palette, as well as maintaining certain measurements so that our image does not remain amorphous.
Step 4: Having the areas with the general colors, or those that occupy more space within the silhouette, we proceed to the details such as clothing or leftovers (only if the drawing is small).
Step 5: Having finished the above we must look at the important details such as the arms, hair and accessories.
Step 6: having this finished we must add a background, in a lower layer, how?, in the lower left part we can see that option as a "+", so we can also move it so that it is above or below our image .
Step 7: For the gradient we will use the darkest background color of our palette and we will gradually degrade it manually to avoid abnormal tones.
Step 8: For a larger image like the one we see, what we must do is follow step 6, and place it in a lower layer, thus also adjusting the eraser, and we remove the tones from the image, making it look more transparent .
Step 9: For the animation is to make 3 identical images, but guiding each one to formulate the movement.
Step 10: Enjoy.
And without anything else to say, thank you very much for your attention, good luck to all and that an X10 comes into your lives.

