Hello everyone... ✨
Hello to my dear Hivers and the dear community of NFTGameLatino, as always very pleased and excited to be here again, showing you my work made with love and especially for you.
Greetings to the Splinterlands community, and everyone who lives there, I am pleased to be here to participate in the Splinterlands Art Contest Week 291.
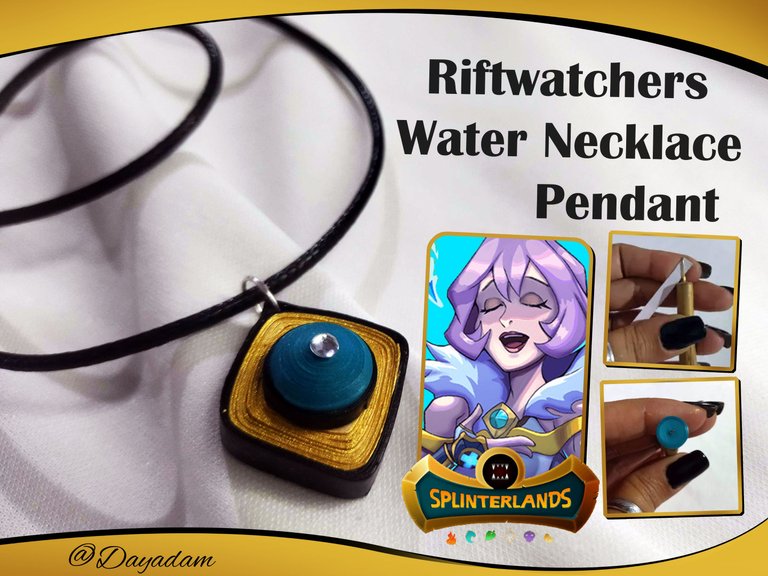
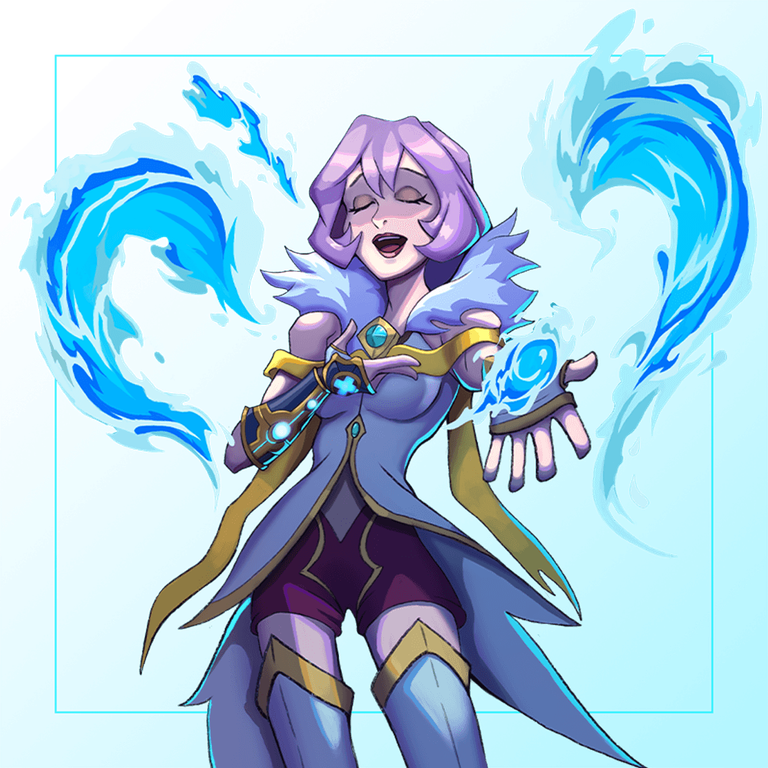
Today I bring you a fan-art of a very cute CHAOS card called "Riftwatchers Water ” of which I was struck by the element that brings the main character in his hands and therefore I decided to make a pendant for necklace in the quilling technique.
If you want to know more about the game, I leave you my reference link to enter it and navigate through this wonderful world: https://splinterlands.com?ref=dayadam
Hoping you like my work, without further ado, I leave you with my creative process.
Let's start:😃

Hola a Todos...✨
Hola a mis queridos Hivers y a la querida comunidad de NFTGameLatino, muy complacida y emocionada de encontrarme por acá para mostrárles un trabajo hecho con mucho amor y especialmente para ustedes.
Un saludo para la comunidad de Splinterlands, y todos los que hacen vida por allí, me gratifica estar por acá para participar en el Splinterlands Art Contest Week 291.
Para hoy es traigo un fan-art de una carta muy linda de CHAOS llamada "Riftwatchers Water" de la cual me llamo la atención el elemento que trae el personaje principal en sus manos y por ello decidí hacer un dije para collar en la técnica de quilling.
Si quieren saber más con respecto al juego les dejo mi enlace de referencia para que ingresen en él, y naveguen por este maravilloso mundo: https://splinterlands.com?ref=dayadam
Esperando les guste mi trabajo, sin más preámbulos, les dejo mi proceso creativo.
Comencemos:😃

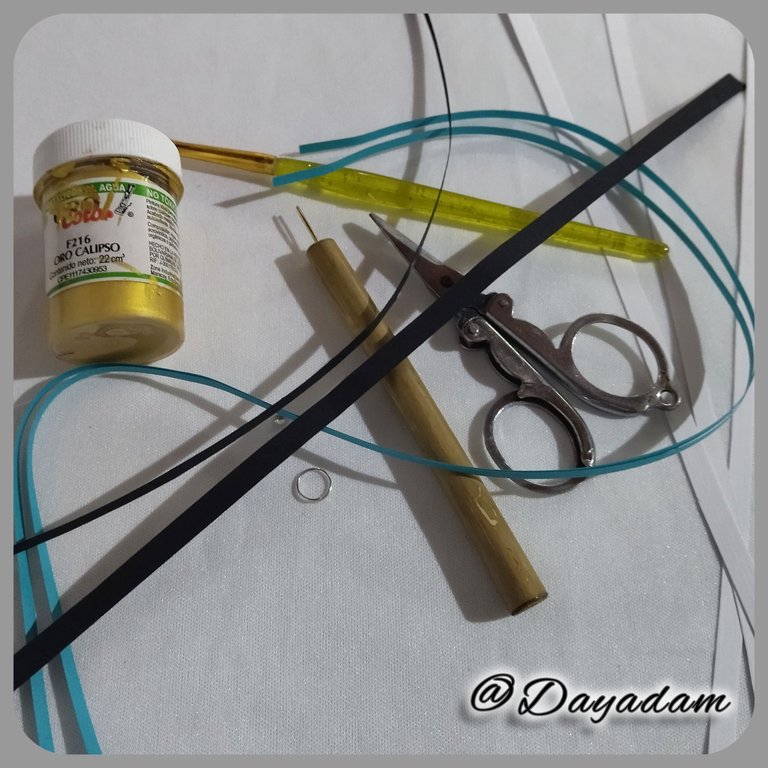
• Cintas de quilling de diversos colores.
• Aguja para quilling.
• Pintura al agua dorada.
• Argollas de bisutería.
• Cristales de bisutería.
• Pega blanca extra fuerte (de carpintería).
• Tijera.
• Pincel.
- Quilling ribbons of different colors.
- Quilling needle.
- Gold water-based paint.
- Jewelry rings.
- Costume jewelry crystals.
- Extra strong white glue (carpentry glue).
- Scissors.
- Paintbrush.

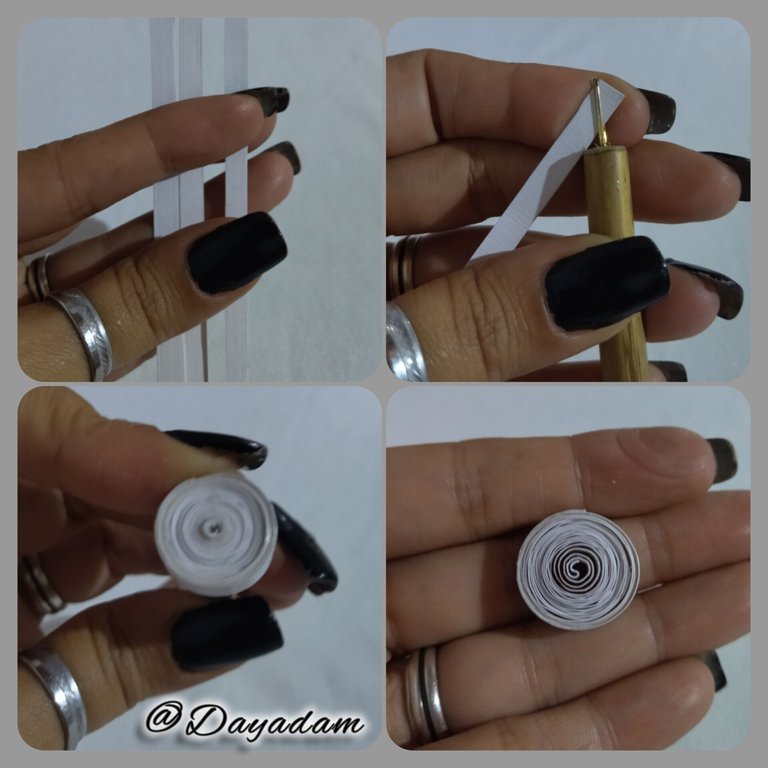
- We are going to begin taking white quilling tape of 5mm wide, with the help of the quilling needle we will roll up to the end with the tape, we take it out of the needle and loosen it a little until we get a semi tight circle, we will seal it with a little glue.
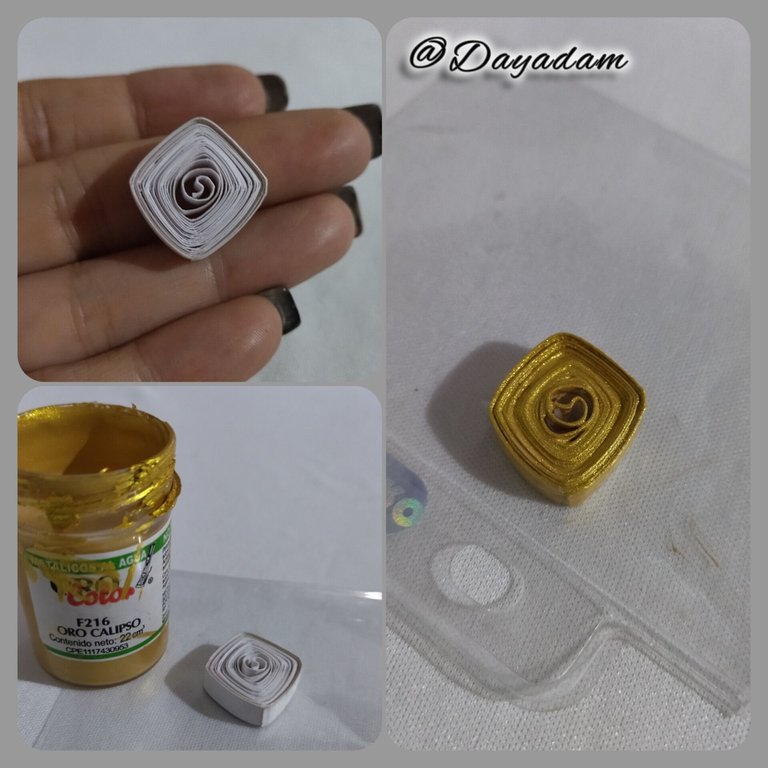
- Mold this circle in the shape of a diamond.
- We will take the diamond shaped piece and with gold colored paint we will paint it uniformly and let it dry very well.
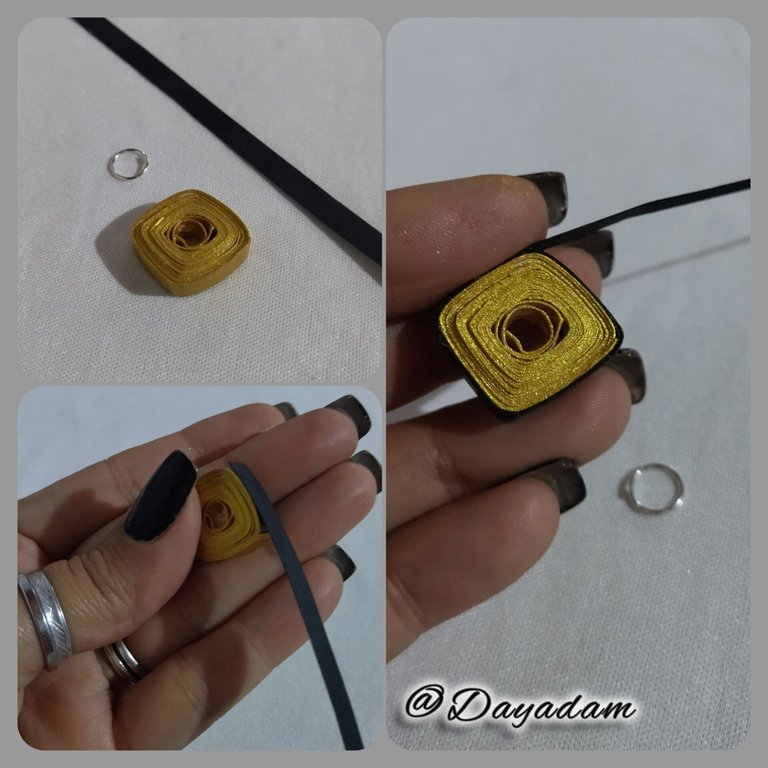
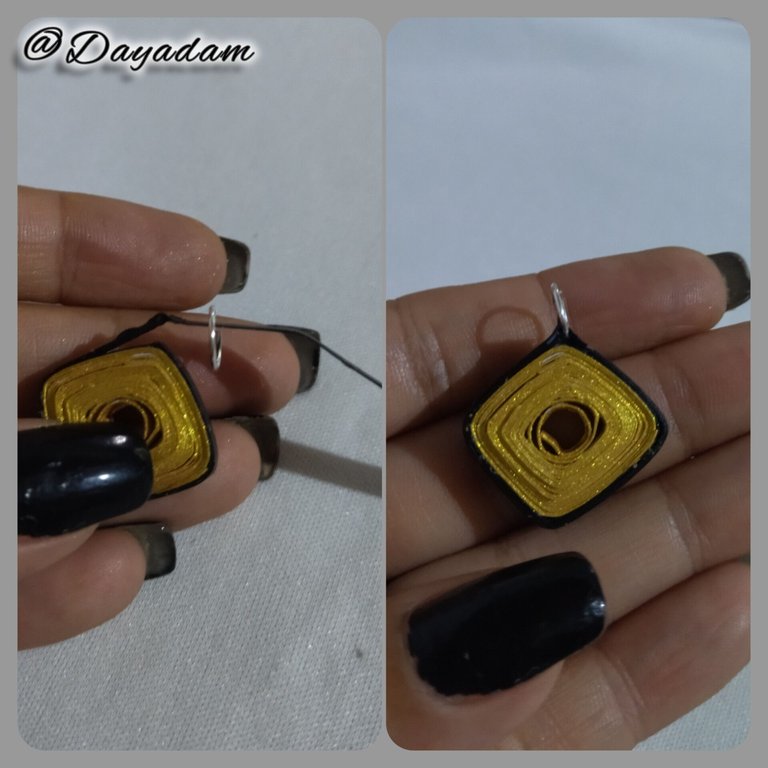
- We will take a piece of black ribbon 5mm wide and we will pass around the diamond shaped piece, before finishing with the ribbon we will place a medium bijouterie ring, we finish rolling the ribbon and seal it with white glue.

• Vamos a comenzar tomando cinta para quilling de color blanco de 5mm de ancho, con ayuda de la aguja para quilling enrollaremos hasta finalizar con la cinta,sacamos de la aguja soltamos un poco hasta conseguir un circulo semi apretado, sellaremos con un poco de pega.
• Moldearemos este circulo en forma de diamante.
• Tomaremos la pieza en forma de diamante y con pintura al frió color dorada pintaremos de manera uniforme dejamos secar muy bien.
• Tomaremos un trozo de cinta color negro de 5mm de ancho y pasaremos alrededor de la pieza en forma de diamante, antes de terminar con la cinta colocaremos una argolla de bisutería mediana, terminamos de enrollar la cinta y sellamos con pega blanca.
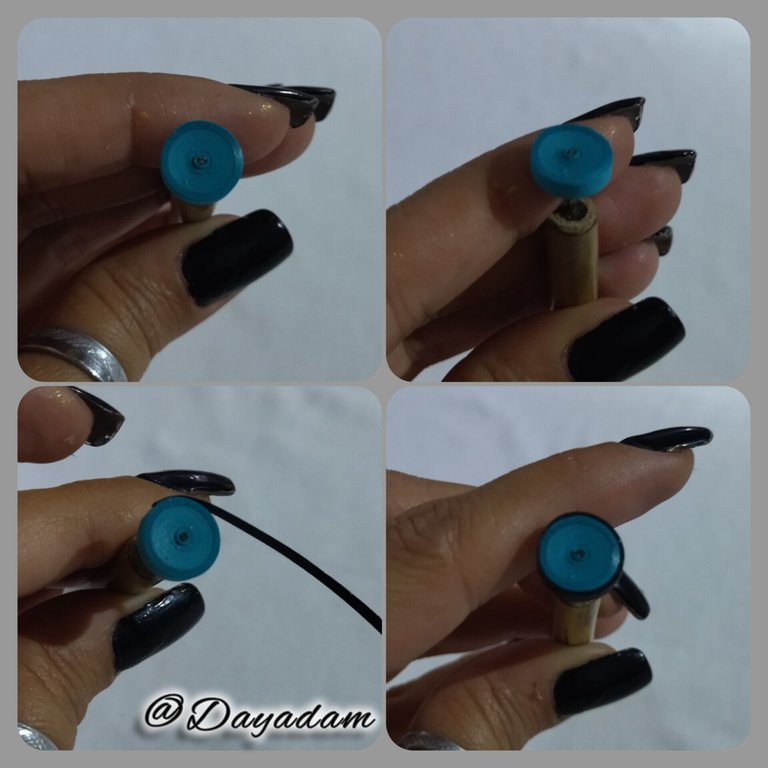
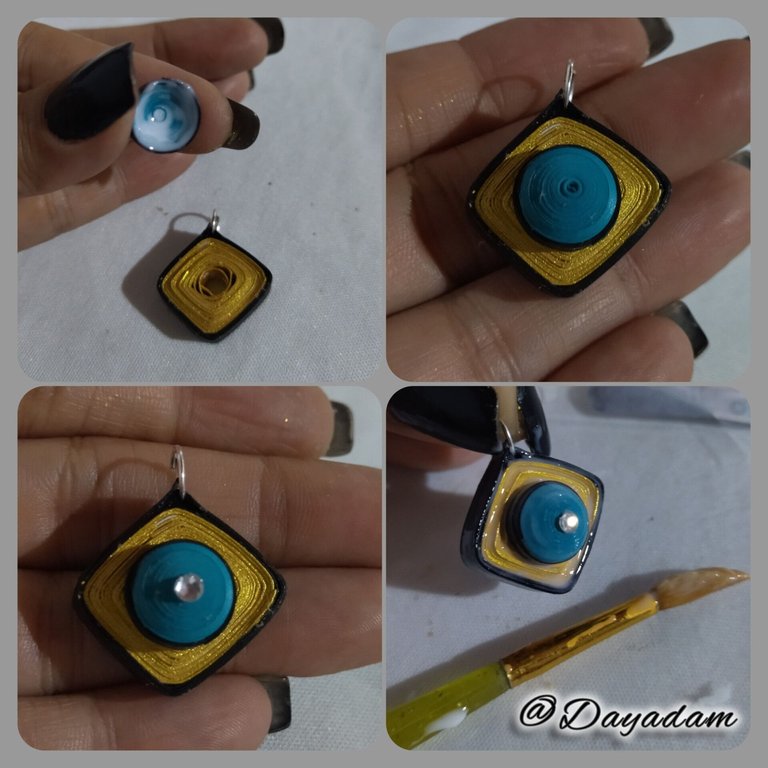
- To make the central part of the charm, we will take 3mm wide blue quilling tape, with the needle we will roll it until we get a closed circle, seal with glue, we will take another piece of 3mm wide black tape and roll it around the circle until we get a not very wide border, seal with glue and take it out of the needle.
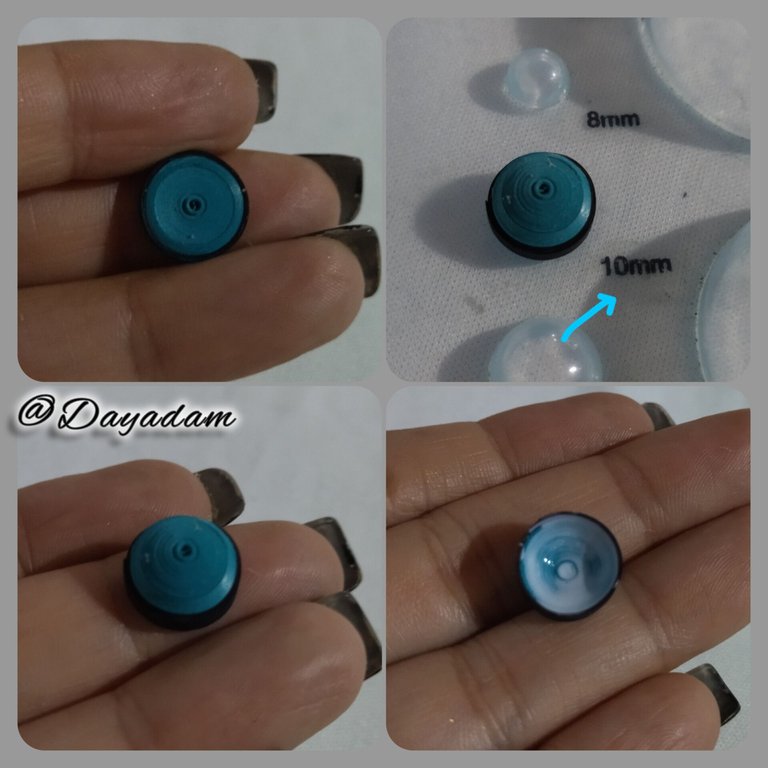
- We are going to mold the circle to give it a 3D effect, placing it in a template for circles in the measure number 10mm, take it out of the template and apply glue on the inside to prevent it from moving or deforming, this piece we will glue it in the central part of the one we made previously in the shape of a rhombus,
- To decorate place a costume jewelry crystal in the middle of the circle.
- To finish, apply a few coats of extra strong white glue to plasticize, giving protection and shine to the pendant.
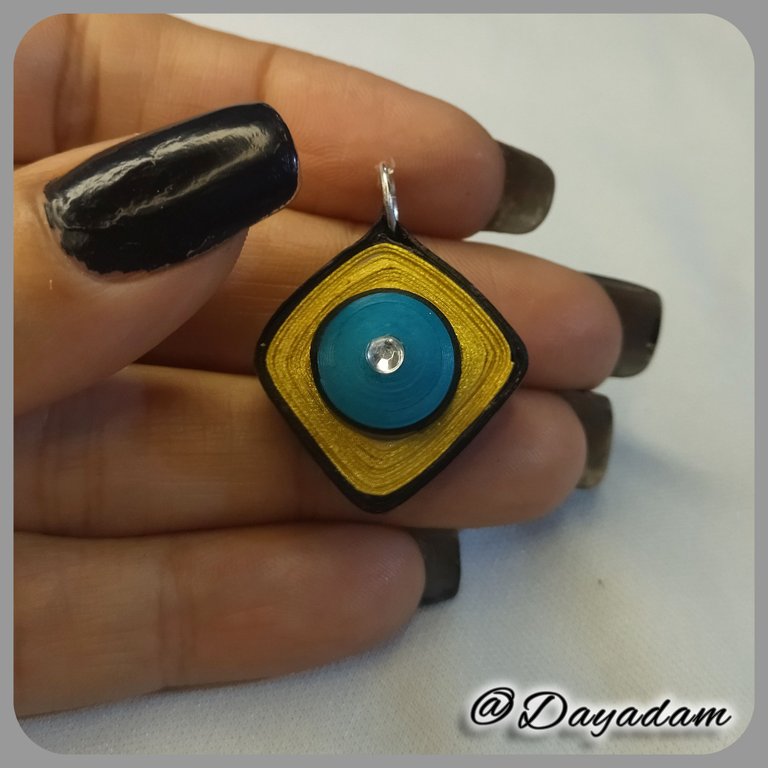
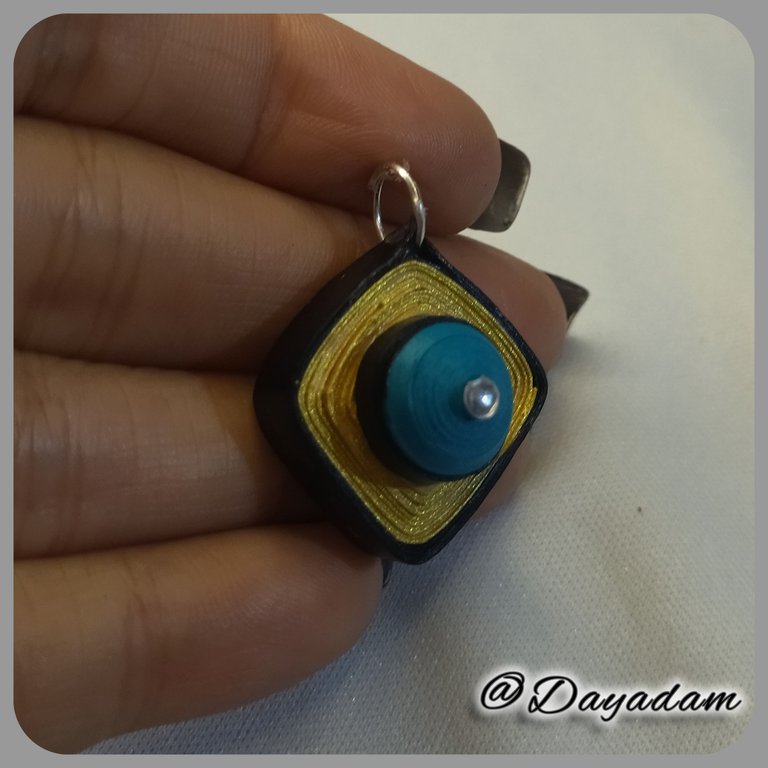
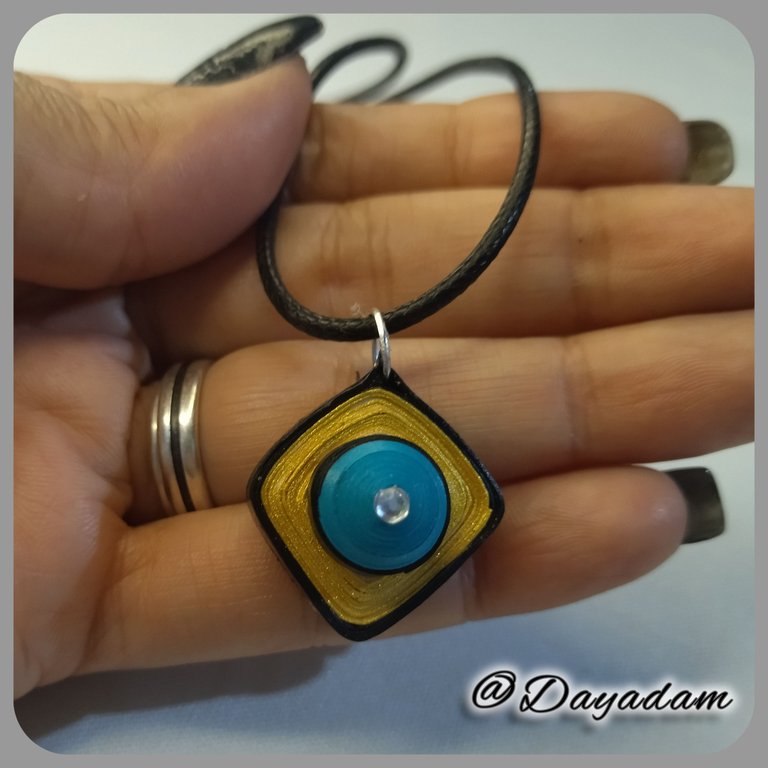
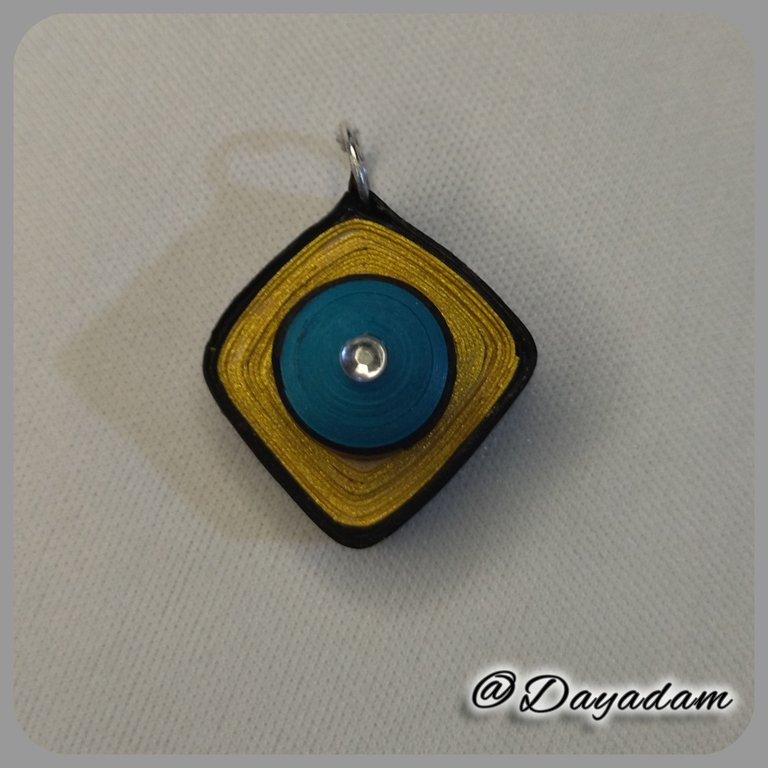
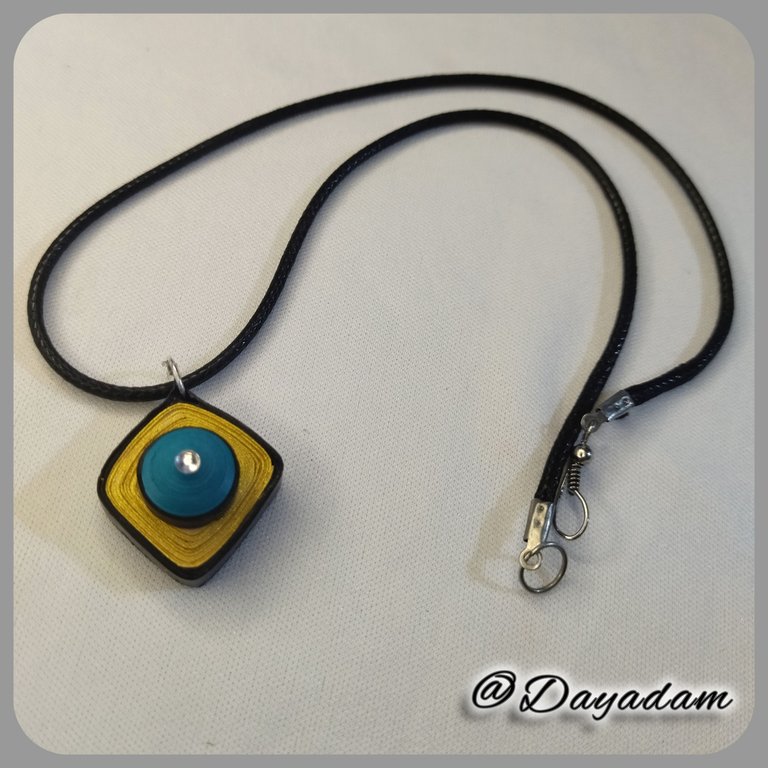
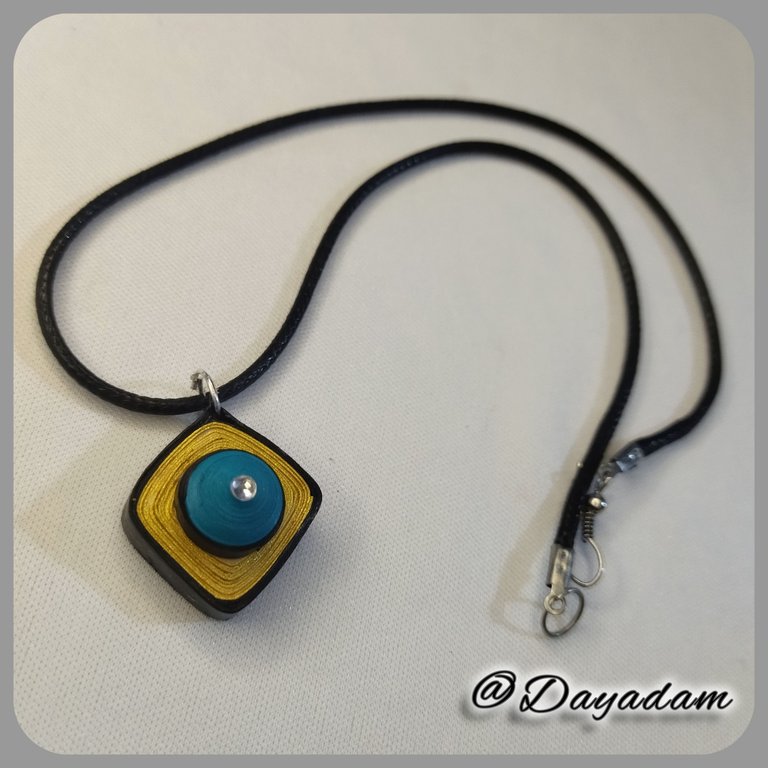
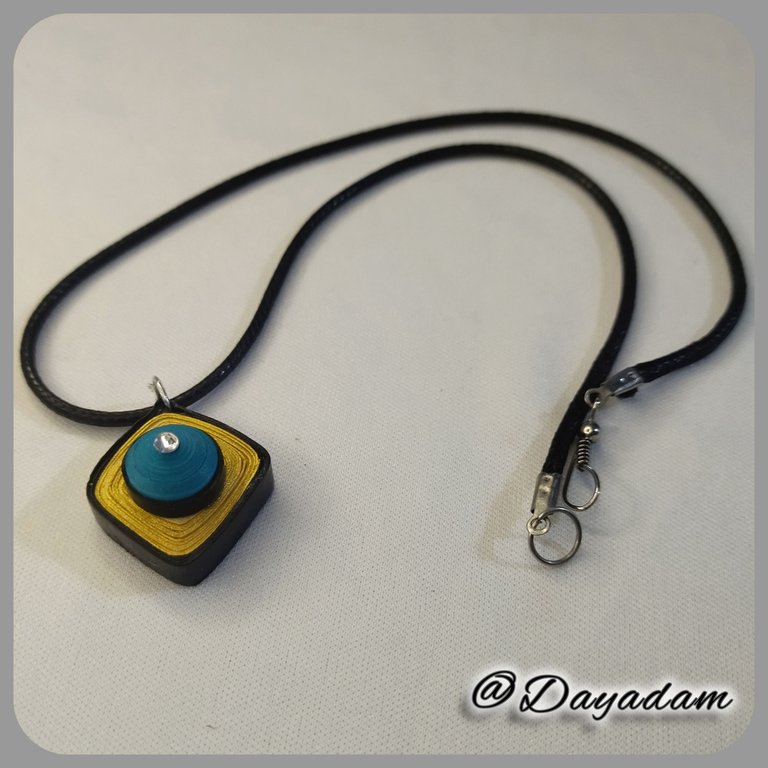
This way we have ready this pendant for necklace that I made inspired by the Chaos card "Riftwatchers Water ”.

• Para hacer la parte central de dije, tomaremos cinta para quilling de color azul de 3mm de ancho, con la aguja enrollaremos hasta conseguir un circulo cerrado, sellamos con pega, tomaremos otro trozo de cinta de 3mm de ancho color negro y enrollaremos alrededor del circulo hasta obtener un borde no muy ancho, sellamos con pega y sacamos de la aguja.
• Vamos a moldear el circulo para darle un efecto 3D, colocando el mismo en una plantilla para círculos en la medida numero 10mm, sacamos de la plantilla y aplicaremos pega en su parte interna para evitar que el mismo se mueva o deforme, esta pieza la pegaremos en la parte central de la que hicimos con anterioridad en forma de rombo,
• Para decorar coloque un cristal de bisutería en medio del circulo.
• Para finalizar aplique algunas capas de pega blanca extra fuerte para plastificar, dándole protección y brillo al dije.
De esta manera tenemos listo este dije para collar que realice inspirado en la carta Chaos "Riftwatchers Water ".


What did you think, did you like it?
I hope you did, I hope you liked my explanation, procedure and photos, I made them with love for you.
"Let out that muse that inspires you, and let your imagination fly".
Thank you all, see you next time.

¿Que les pareció, les gustó?
Espero que sí, que les haya gustado mi explicación, procedimiento y fotos, los hice con mucho cariño por y para ustedes.
"Deja salir esa musa que te inspira, y deja volar tu imaginación".
Gracias a todos, nos vemos en la próxima.


