
¡Hola Chicos!
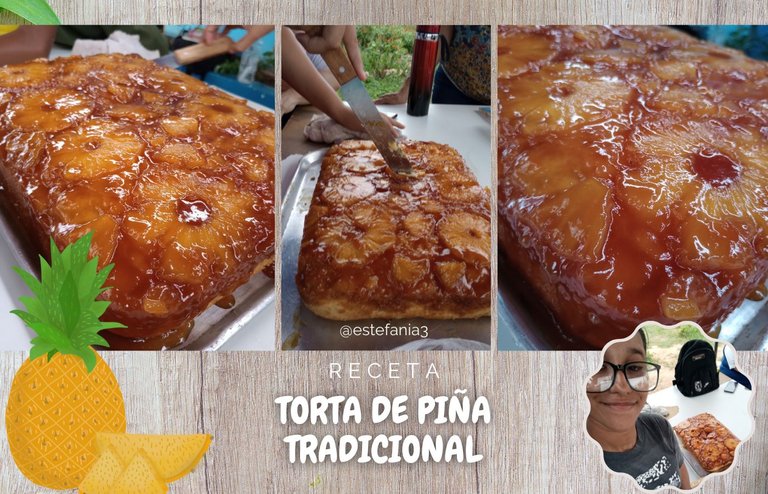
Aunque las clases de los cursos a los que he estado asistiendo los últimos cuatro meses hayan terminado, las recetas aún siguen y hoy les vengo a compartir la receta de la torta de piña tradicional que hicimos en la clase de panadería.
Anteriormente les compartí una receta que hicimos en repostería en la que no se cocinaba la torta de piña con el caramelo en el molde como es común verlo sino que este se hacía aparte y al estar la torta lista era que se colocaba sobre ella.
Esta vez les compartiré la forma tradicional de hacerla y bueno, ya así podrán escoger cual se adapta más a sus gustos.
Así que mejor dejemos de hablar y vayamos directo a los ingredientes y el paso a paso. ♥
Hello Guys!
Although the classes of the courses I have been attending the last four months are over, the recipes are still going on and today I come to share with you the recipe for the traditional pineapple cake we made in the baking class.
Previously I shared with you a recipe we made in baking class in which the pineapple cake was not cooked with the caramel in the mold as it is common to see it, but rather it was made separately and when the cake was ready it was placed on top of it.
This time I will share with you the traditional way of making it and well, you can choose which one suits your taste.
So let's stop talking and go straight to the ingredients and the step by step. ♥

INGREDIENTES || INGREDIENTS
- 1 kg de harina de trigo todo uso
- 500 gr de margarina repostera
- 4 tazas de azúcar
- 8 huevos
- 20 gr de polvo de hornear
- 700 gr de agua
- Vainilla
- Ron
- 1 piña grande + 1 taza y media de azúcar
Para el Caramelo:
- 1 taza y media de azúcar
- 1 kg all-purpose flour
- 500 gr pastry margarine
- 4 cups of sugar
- 8 eggs
- 20 gr baking powder
- 700 grams of water
- vanilla
- Rum
- 1 large pineapple + 1 and a half cups sugar
For the Caramel:
- 1 cup and a half of sugar

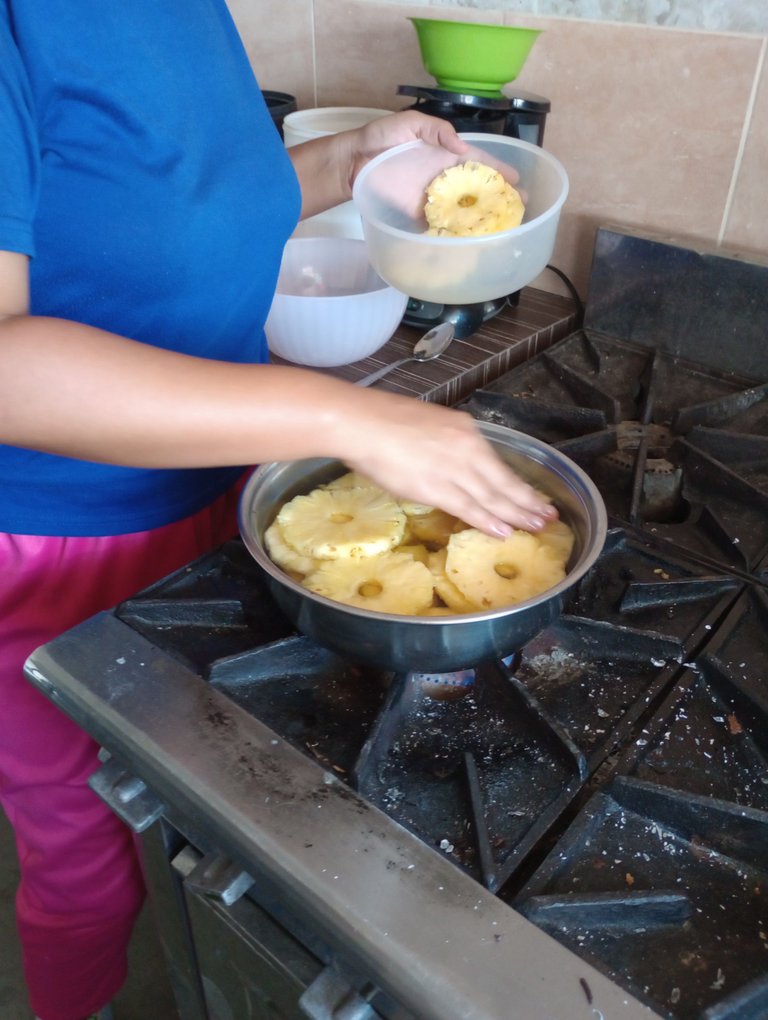
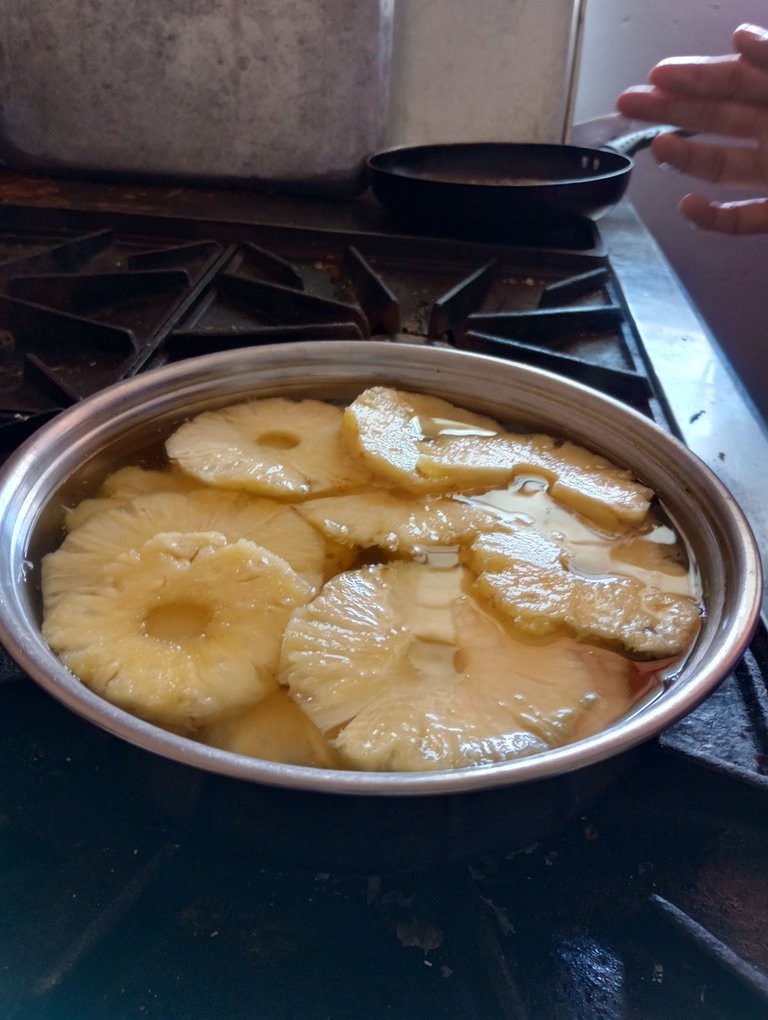
Comenzamos la receta pelando y cortando en rodajas la piña. Debemos retirar el corazón de la piña con un cortador o también puede ser una boquilla de metal.
Las vamos a colocar en una olla y vamos a cubrir con el agua, la cual mezclamos con 1 y media tazas de azúcar.
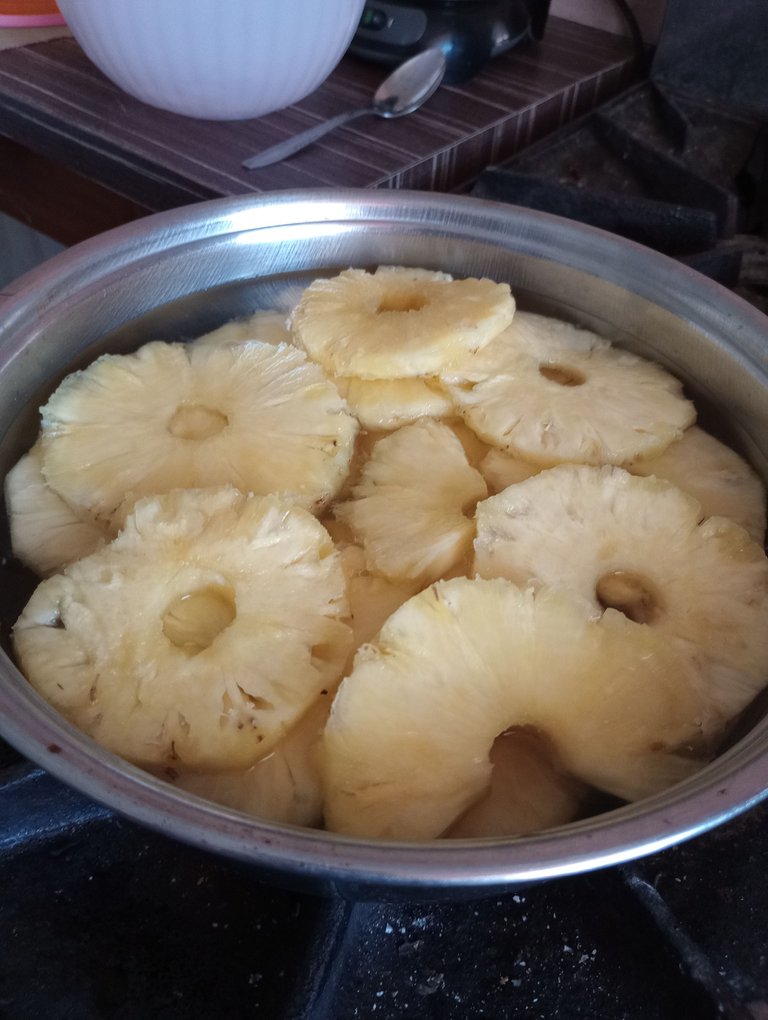
Dejaremos cocinar por unos 20 minutos y luego apagamos el fuego y colocamos las rodajas de piña a escurrir.
El líquido lo reservamos.
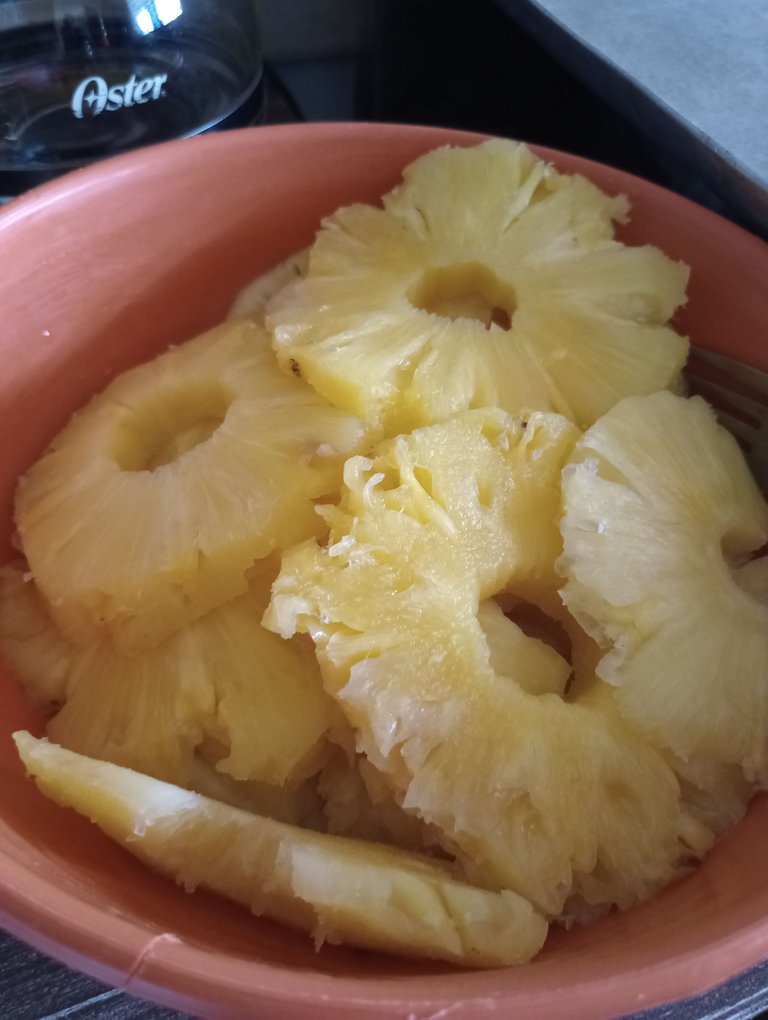
We start the recipe by peeling and slicing the pineapple. We must remove the core of the pineapple with a cutter or it can also be a metal nozzle.
We are going to place them in a pot and we are going to cover them with water, which we mix with 1 and a half cups of sugar.
Let it cook for about 20 minutes and then turn off the heat and place the pineapple slices to drain.
Reserve the liquid.

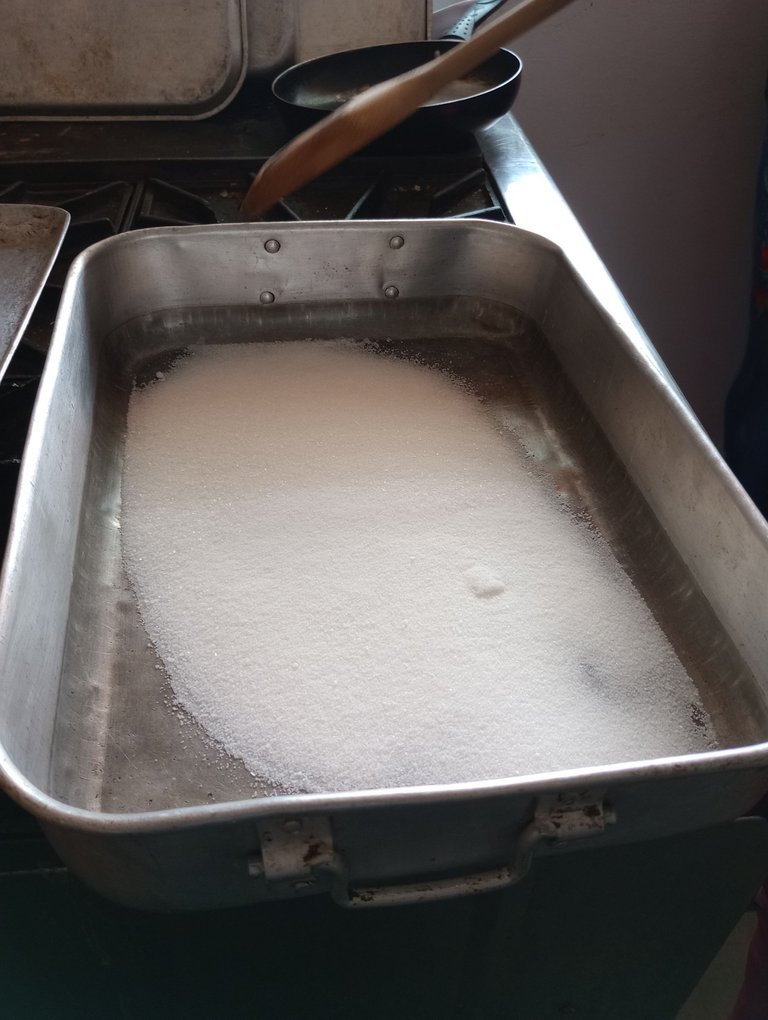
Luego haremos el caramelo, colocamos el azúcar directamente en el molde donde cocinaremos la torta y luego encendemos el fuego. Dejaremos que el azúcar se derrita y poco a poco se vaya tornando de un color marrón.
No debemos mezclar para que no se nos cristalice el azúcar al cocinarla.
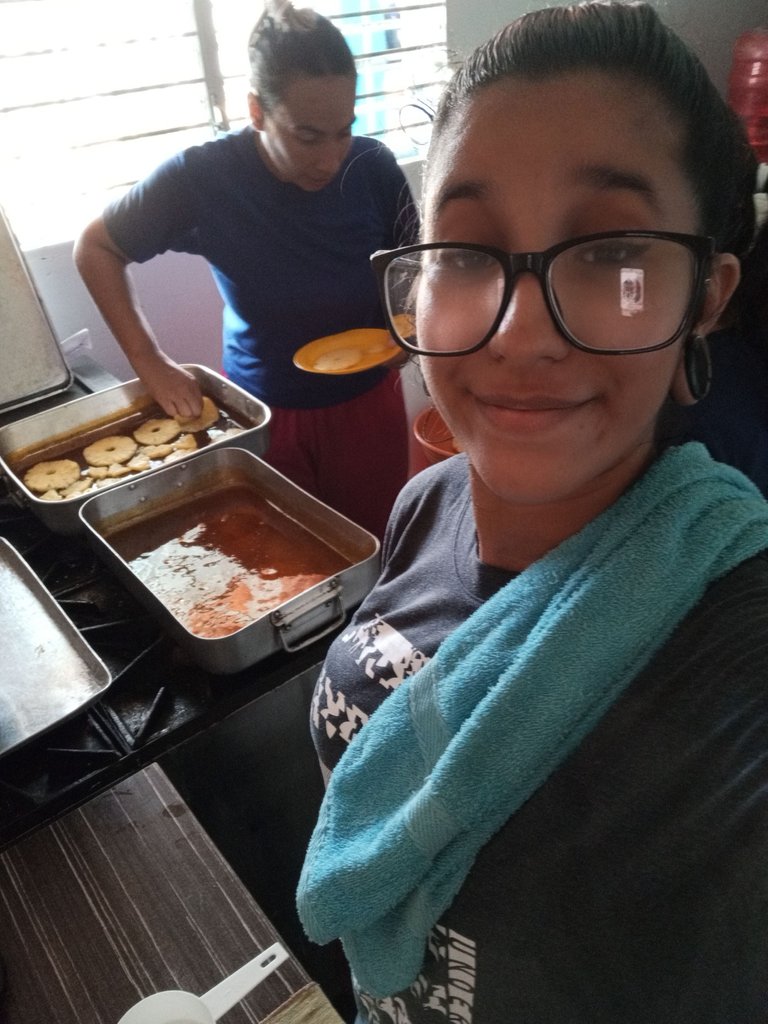
Una vez listo tomamos el molde y bañamos con caramelo todos los bordes. Luego acomodaremos los trozos de piña cuando aún el caramelo este líquido.
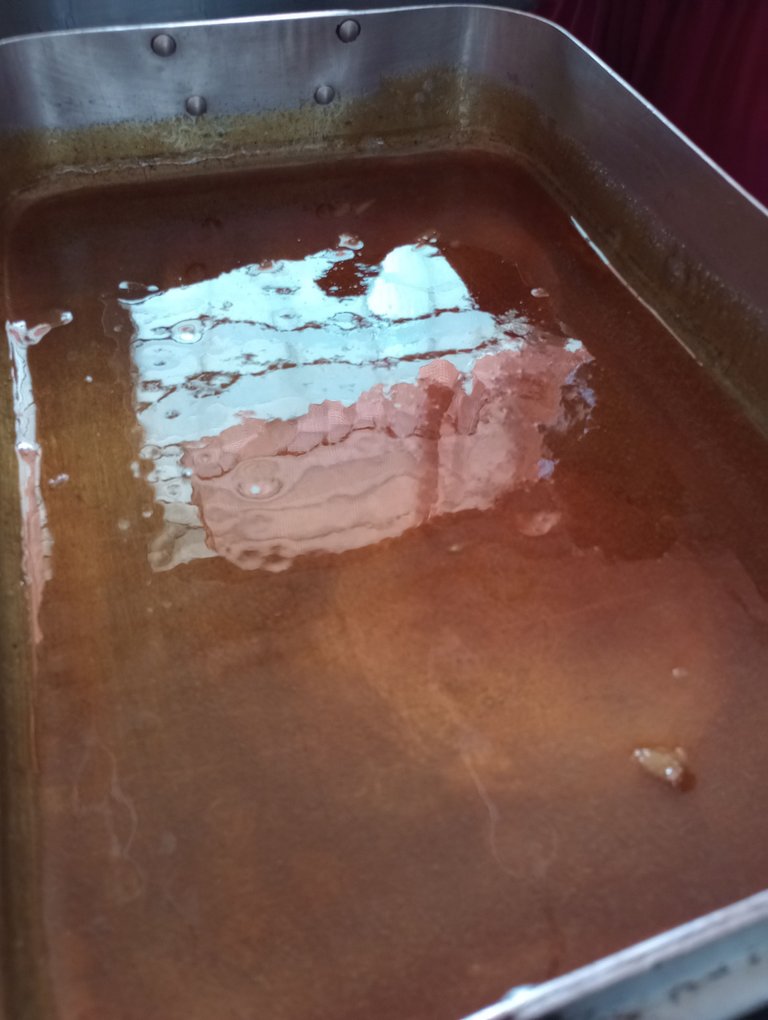
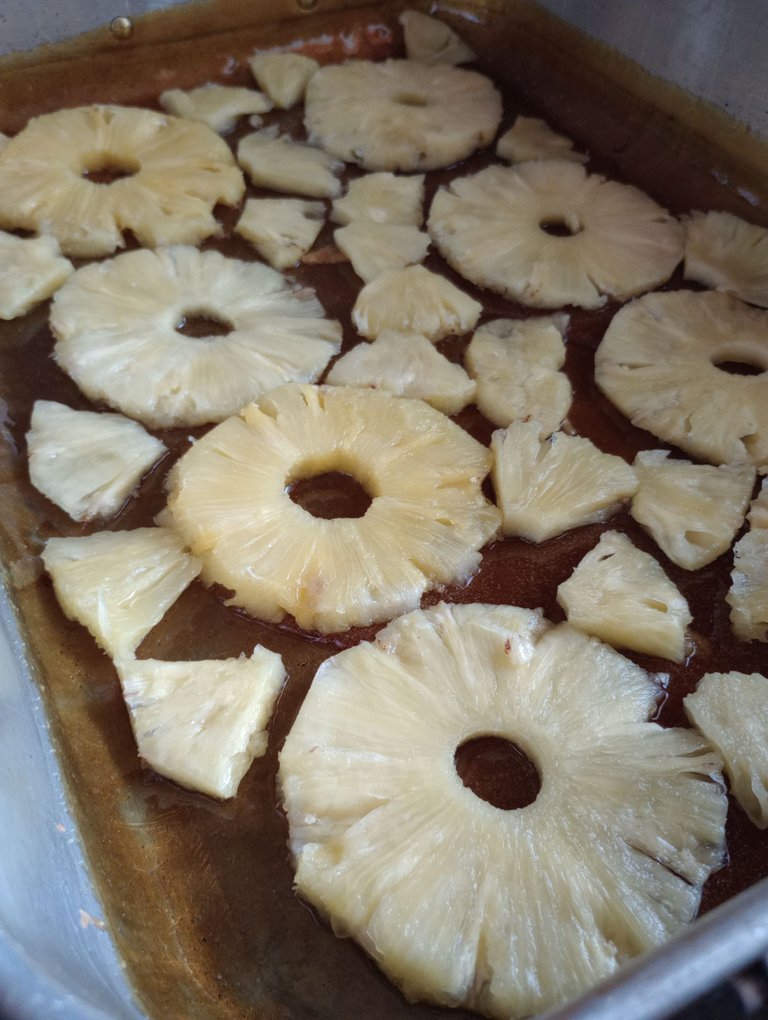
Then we will make the caramel, we place the sugar directly in the mold where we will cook the cake and then we light the fire. We will let the sugar melt and little by little it will turn brown.
We must not mix it so that the sugar does not crystallize when cooking it.
Once ready, take the mold and bathe all the edges with caramel. Then place the pineapple pieces when the caramel is still liquid.


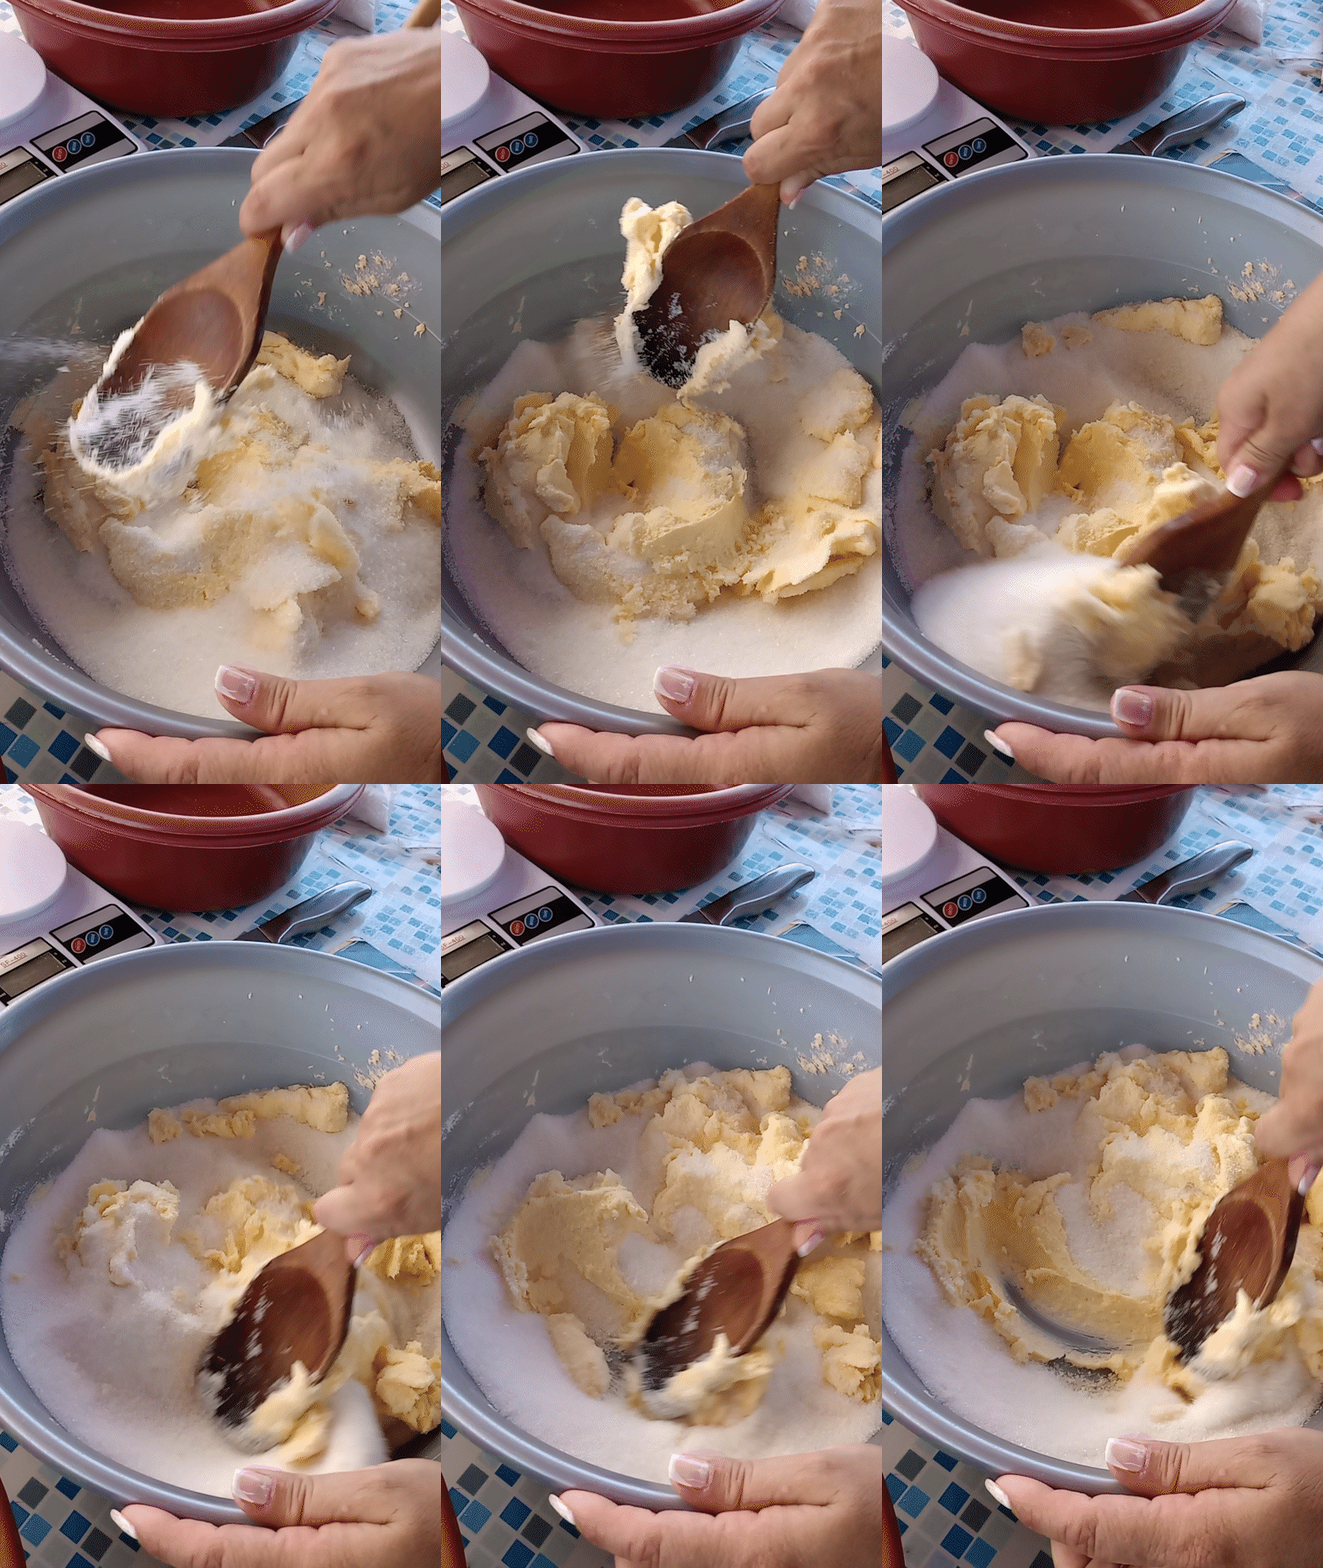
Ya estamos listos para comenzar a montar la torta. Comenzamos cremando la margarina repostera junto al azúcar,
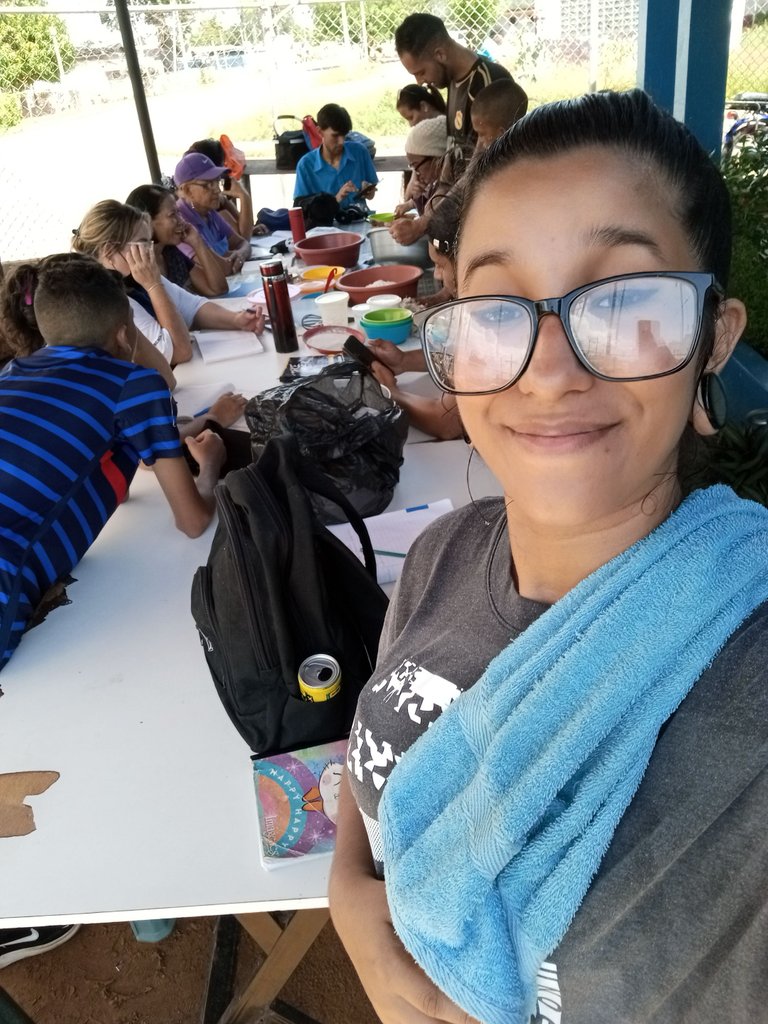
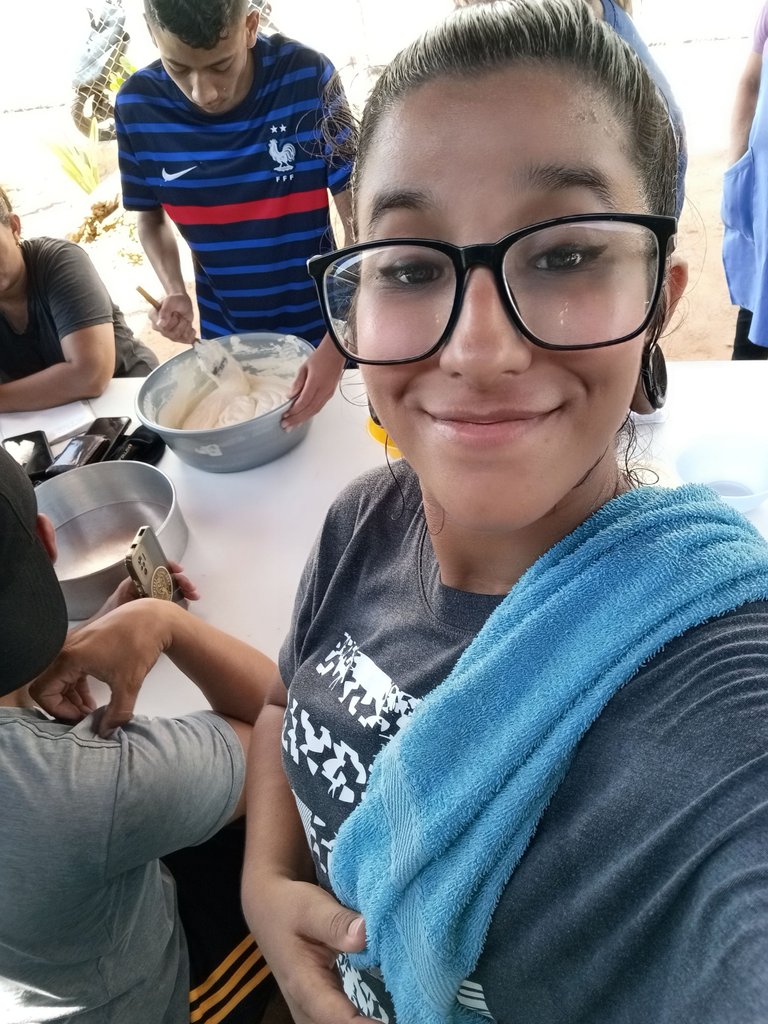
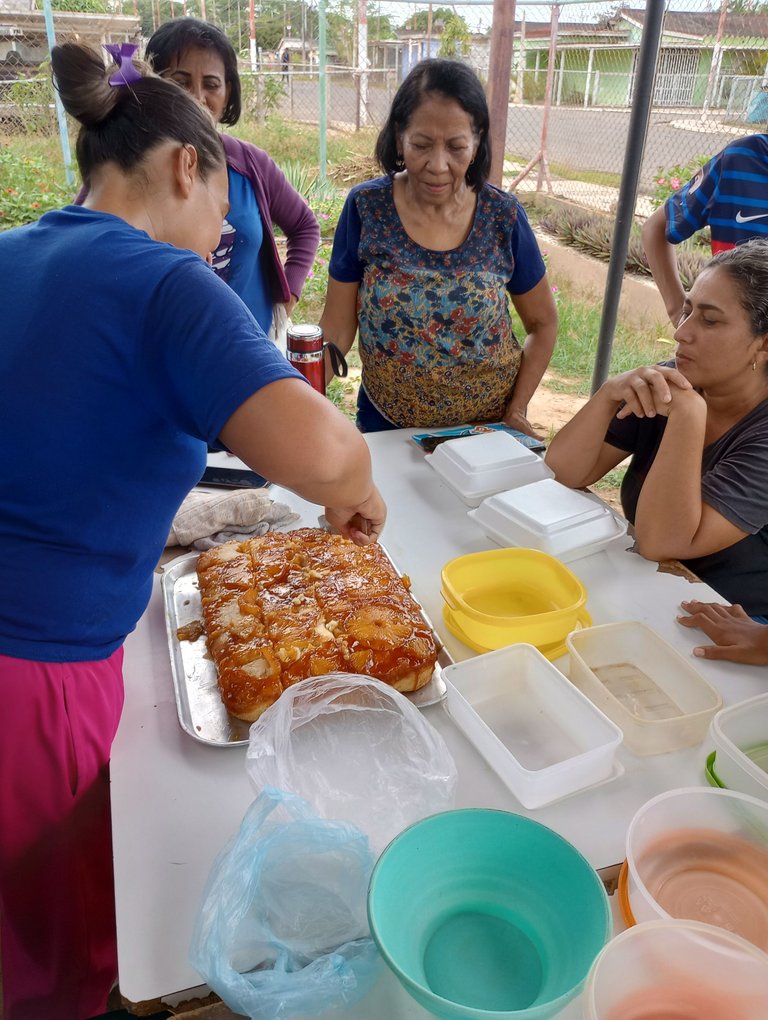
Esta parte fue chistosa porque casi todos en la clase mezclamos esa torta. No teníamos batidor eléctrico así que nos tocó mezclar todo con paleta de madera.

Now we are ready to start assembling the cake. We started by creaming the margarine together with the sugar,
This part was funny because almost everyone in the class mixed that cake. We didn't have an electric mixer so we had to mix everything with a wooden paddle.


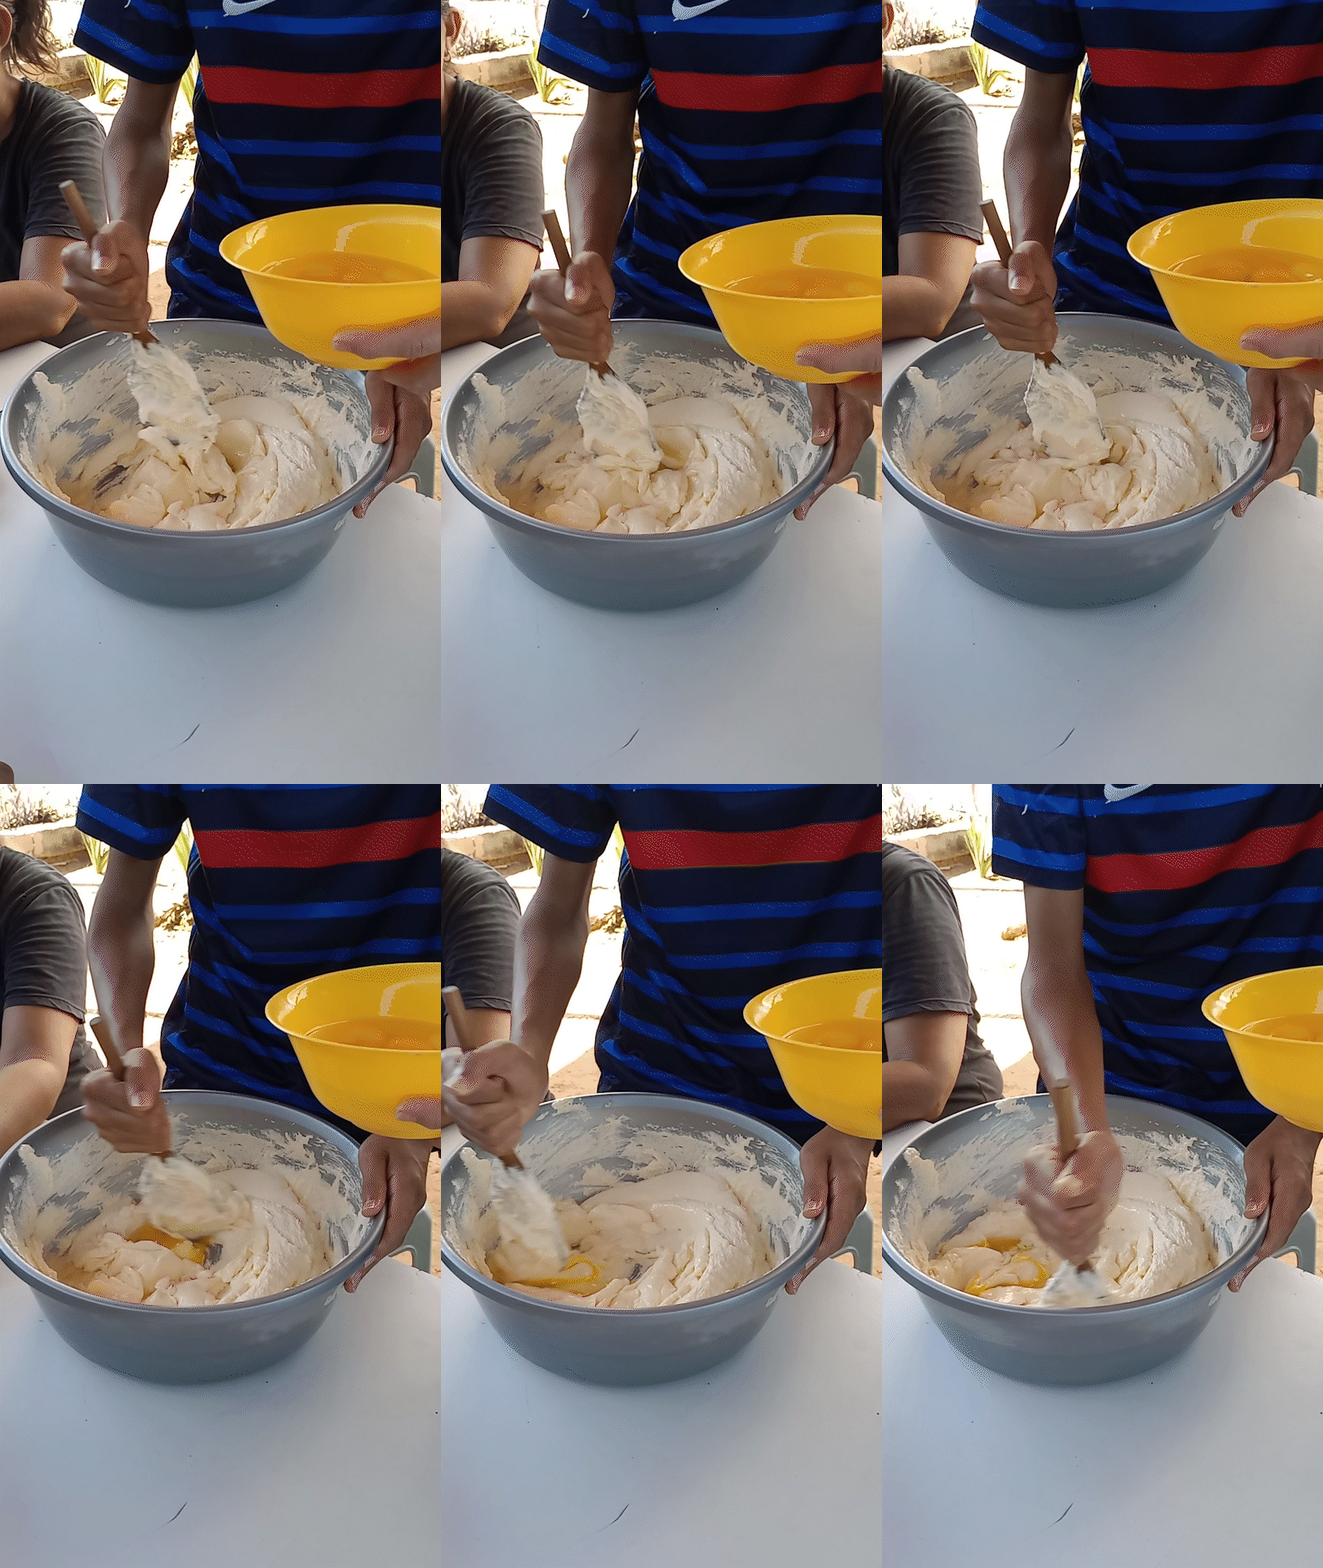
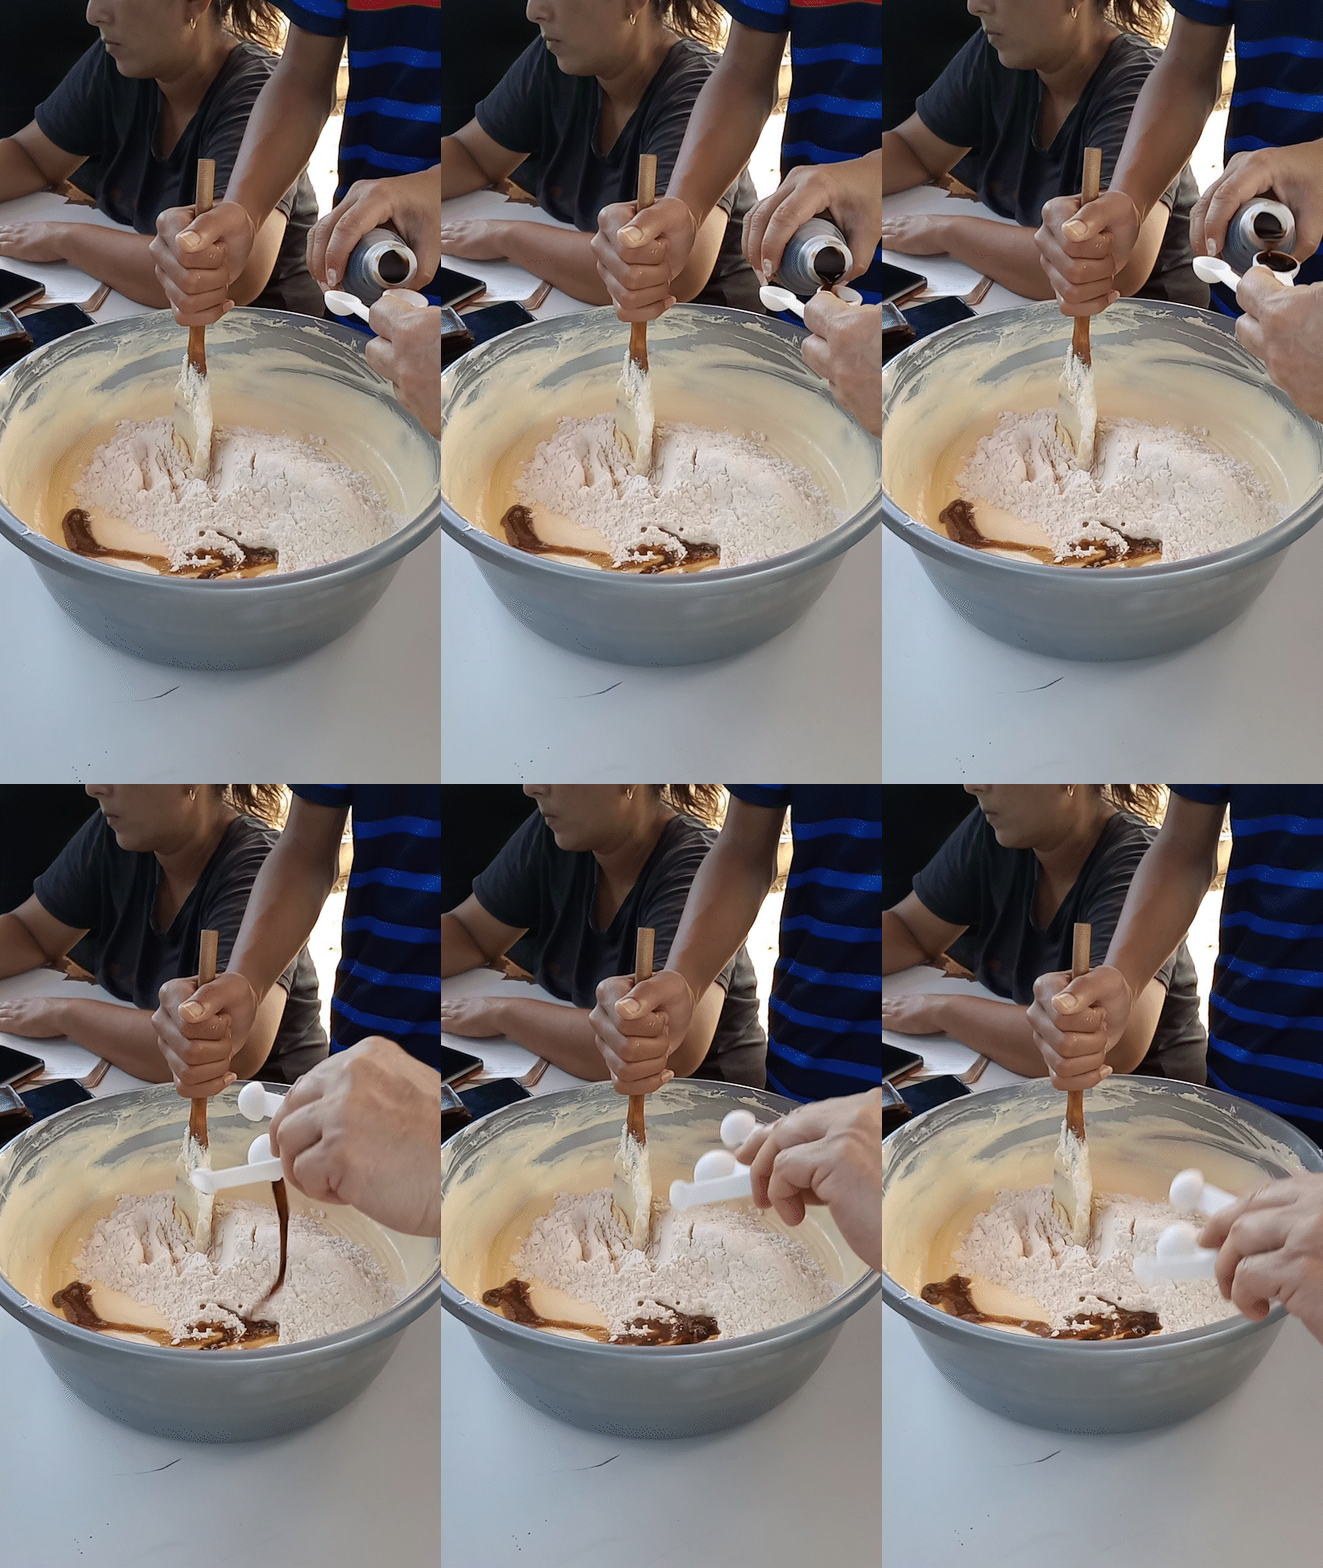
Agregaos los huevos uno a uno y una vez estén integrados todos agregamos la harina de trigo a la cual le vamos a colocar el polvo de hornear.
Luego agregamos la vainilla y comenzamos a mezclar enérgicamente para evitar que queden grumos en la mezcla. Recuerda no sobrebatir la mezcla.
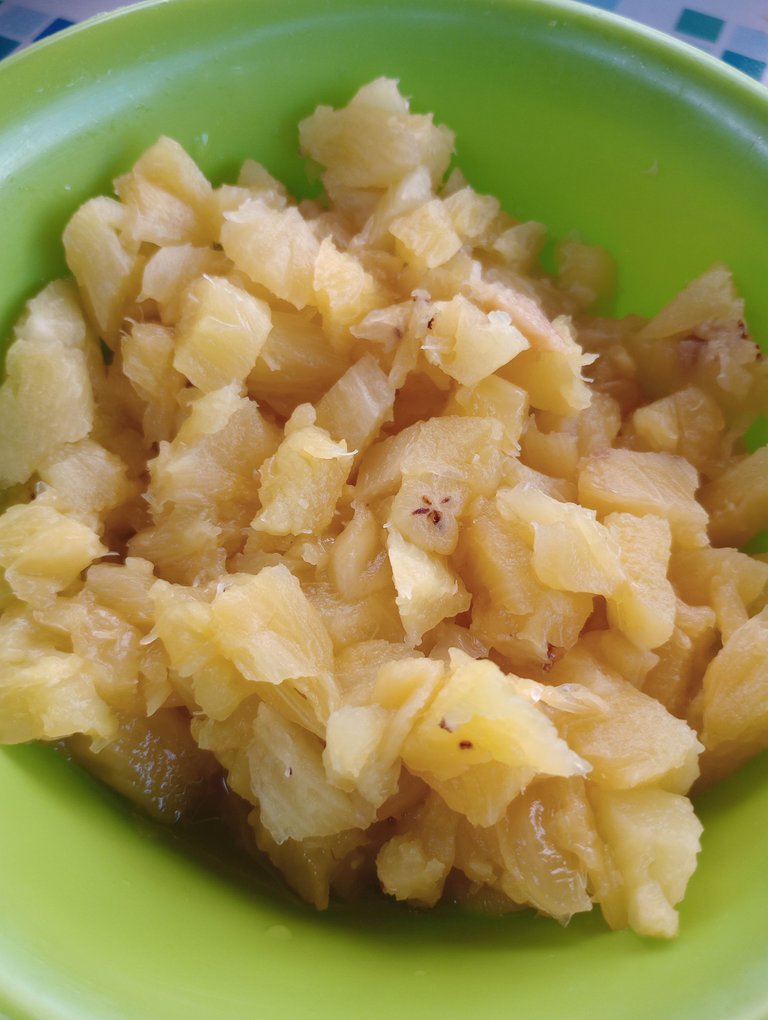
Luego agregamos el líquido de cuando cocinamos las piñas y por último algunos trocitos de piña picados bien chiquito.


Add the eggs one by one and once they are all integrated add the wheat flour to which we are going to add the baking powder.
Then add the vanilla and start mixing vigorously to avoid lumps in the mixture. Remember not to overbeat the mixture.
Then we add the liquid from when we cooked the pineapples and finally some pineapple chunks chopped very small.


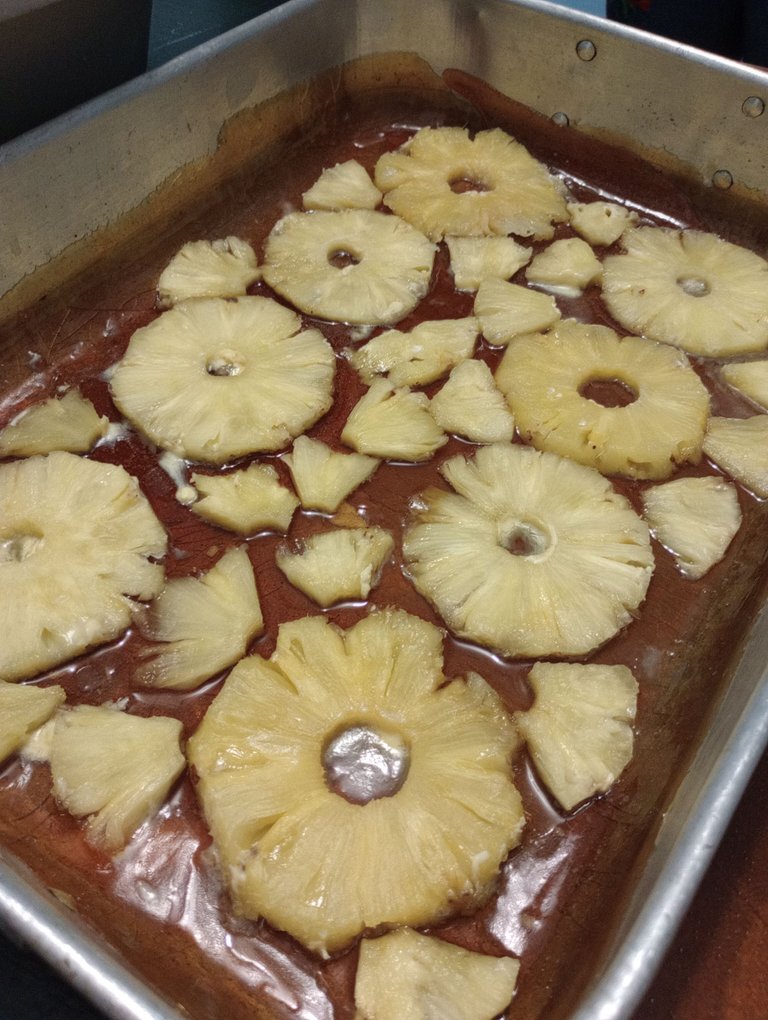
Luego tomamos el molde con el caramelo y las piñas y le agregaremos una taza de agua.
Then we take the mold with the caramel and the pineapples and add a cup of water.


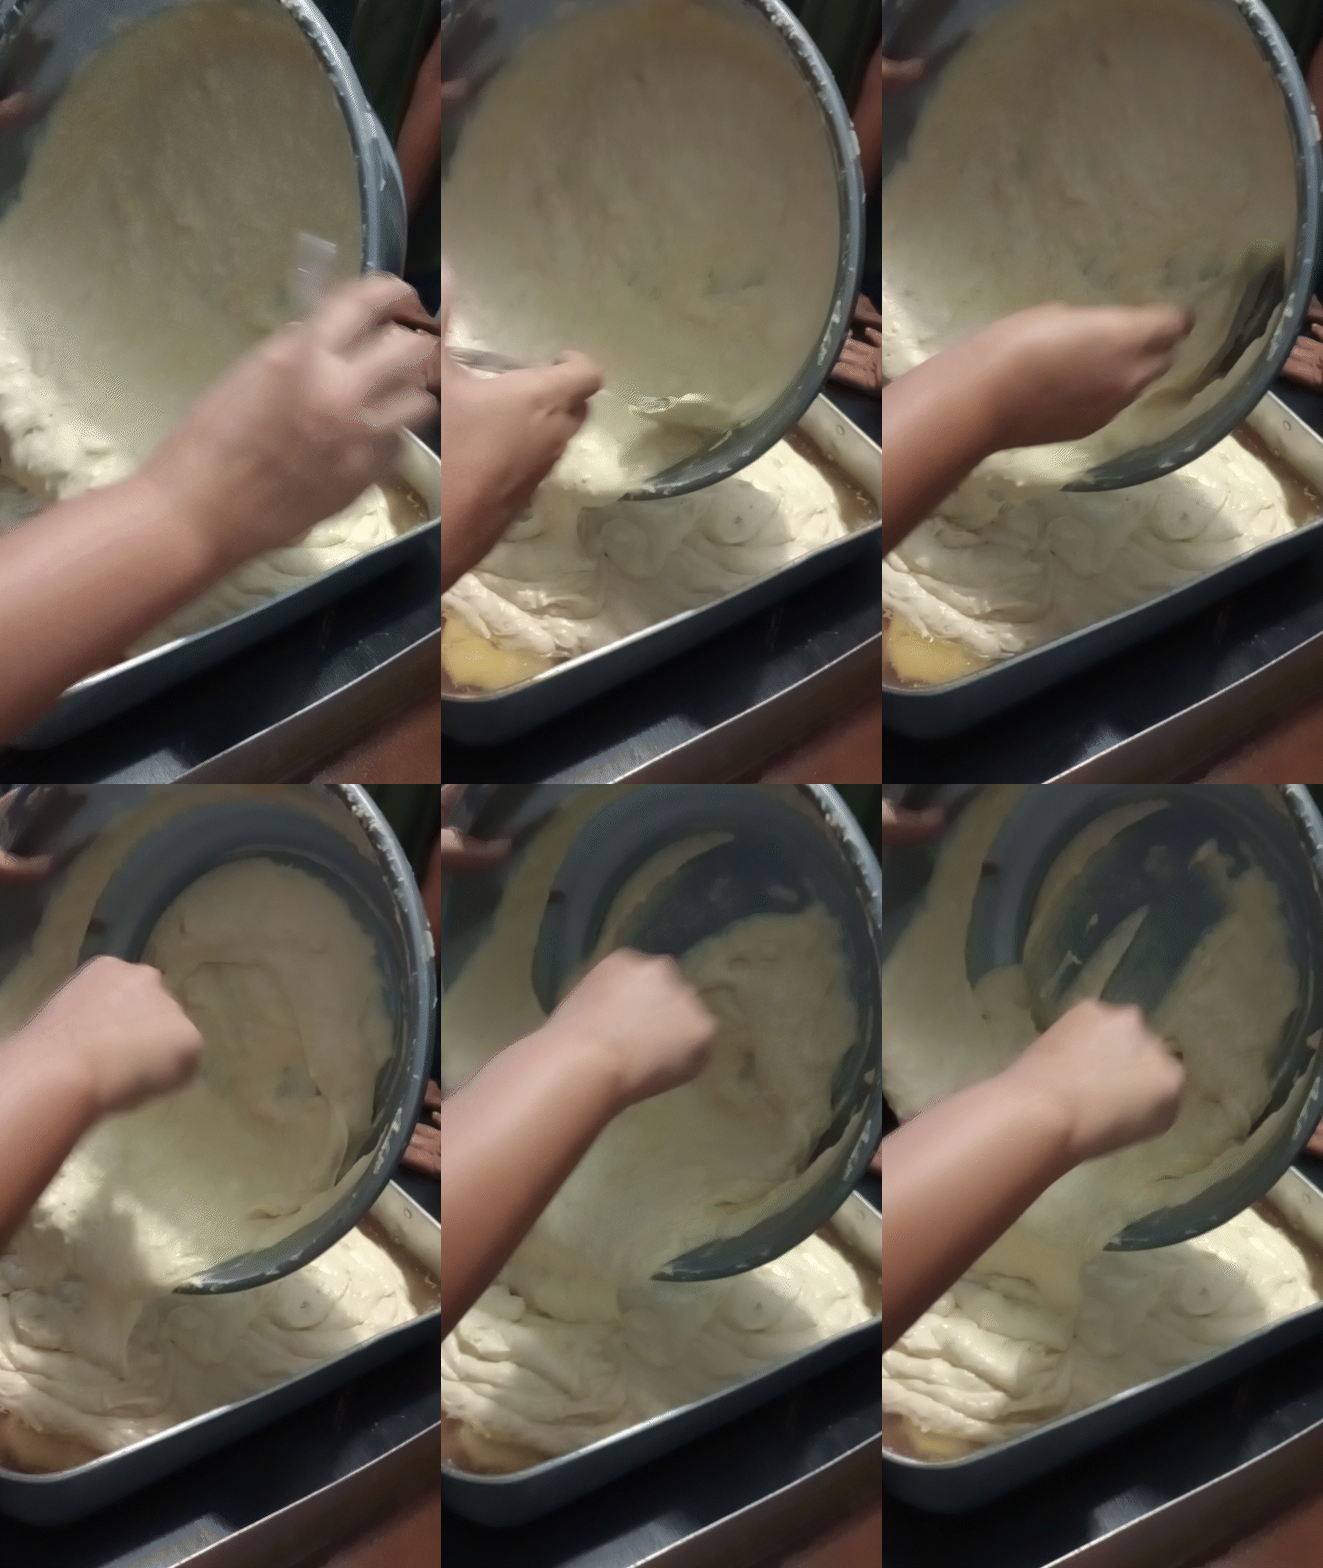
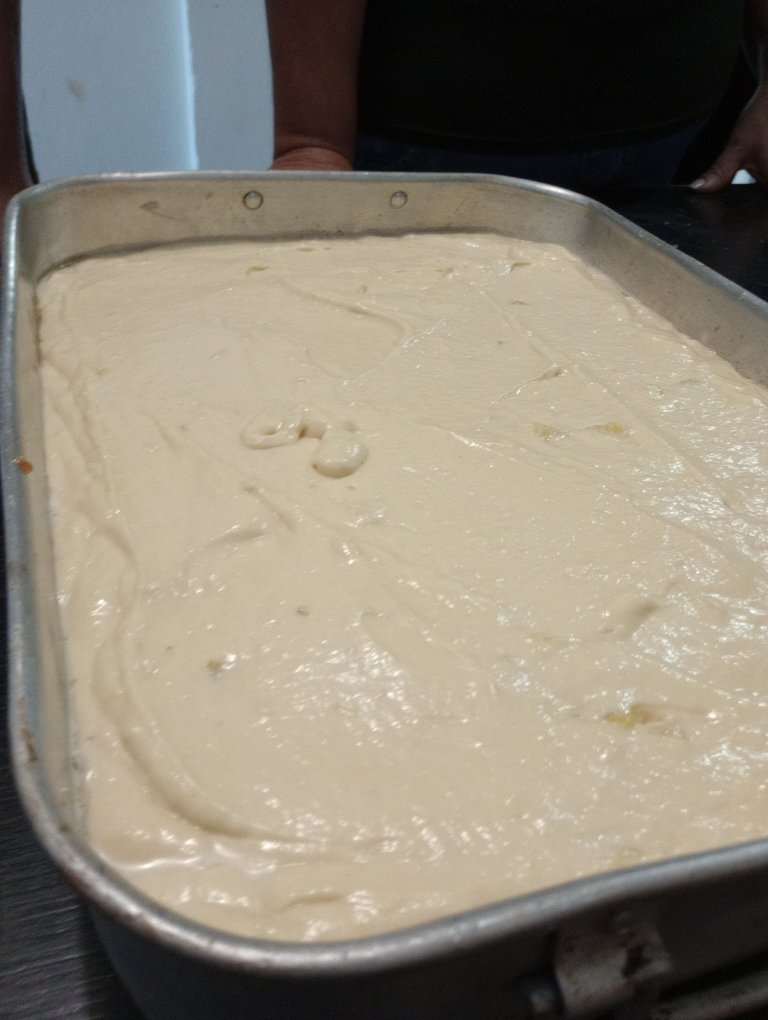
Vertemos la mezcla en el molde, tratando de no volcarla de golpe para que no se nos muevan las rodajas de piña
Luego llevamos al horno hasta que al introducir un palito salga limpio.
Pour the mixture into the mold, trying not to pour it all at once so that the pineapple slices do not move.
Then bake in the oven until a toothpick comes out clean.

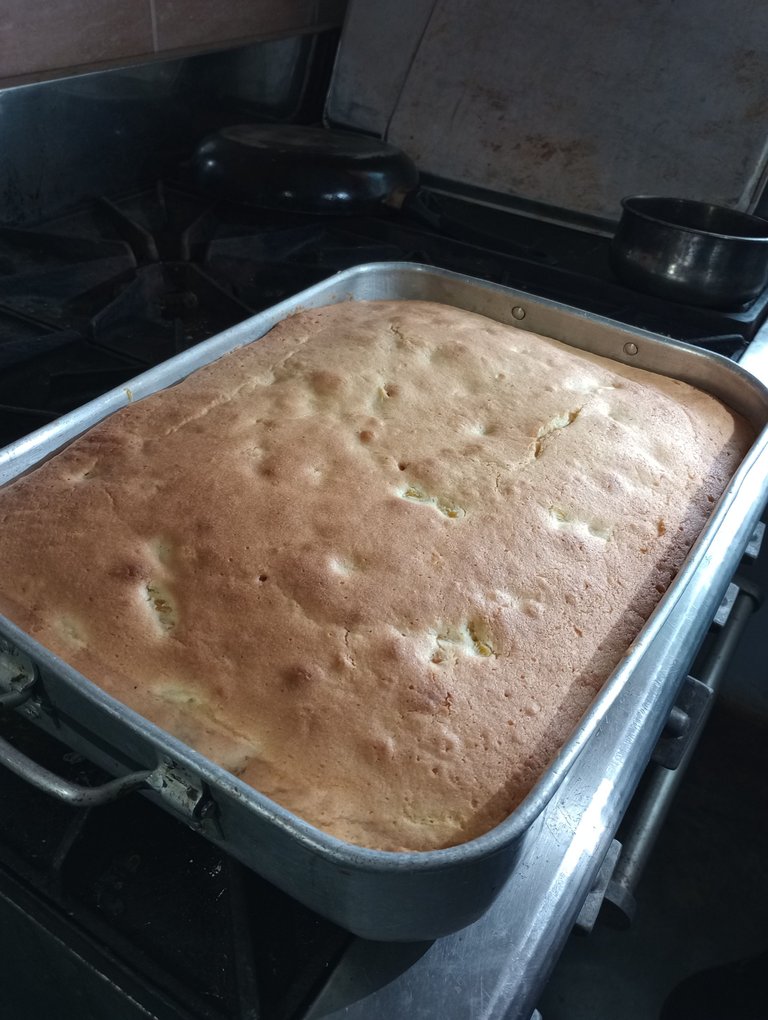
Sacamos la torta del horno y la dejamos enfriar un poco antes de desmoldar.
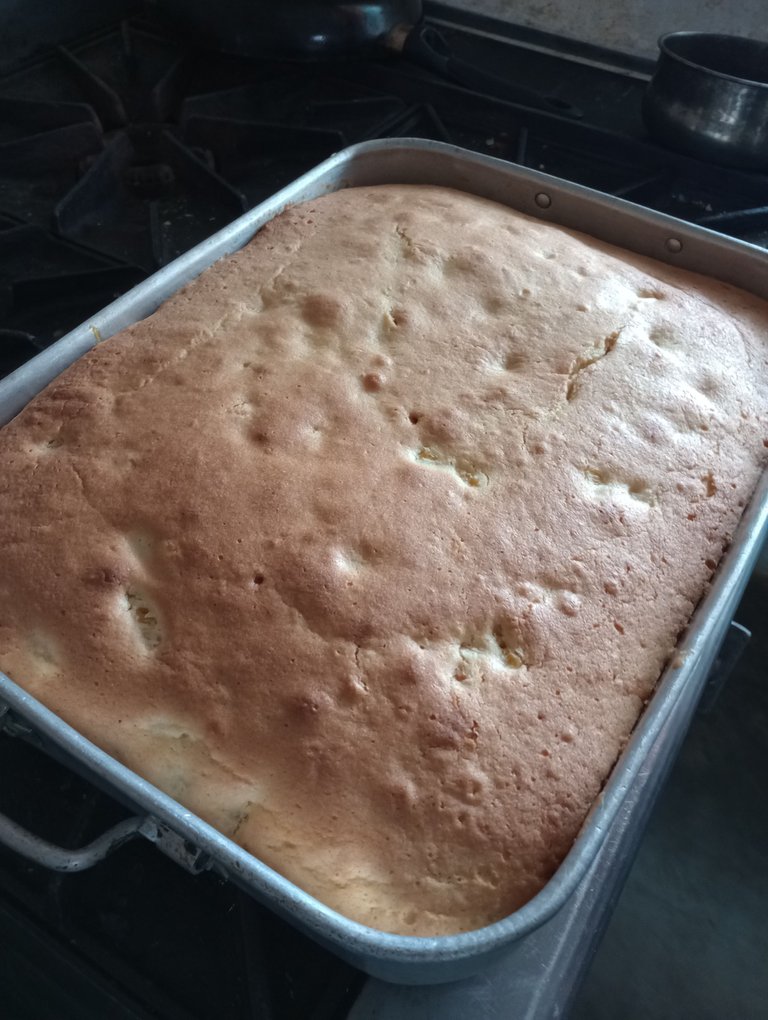
Remove the cake from the oven and let it cool a little before unmolding.


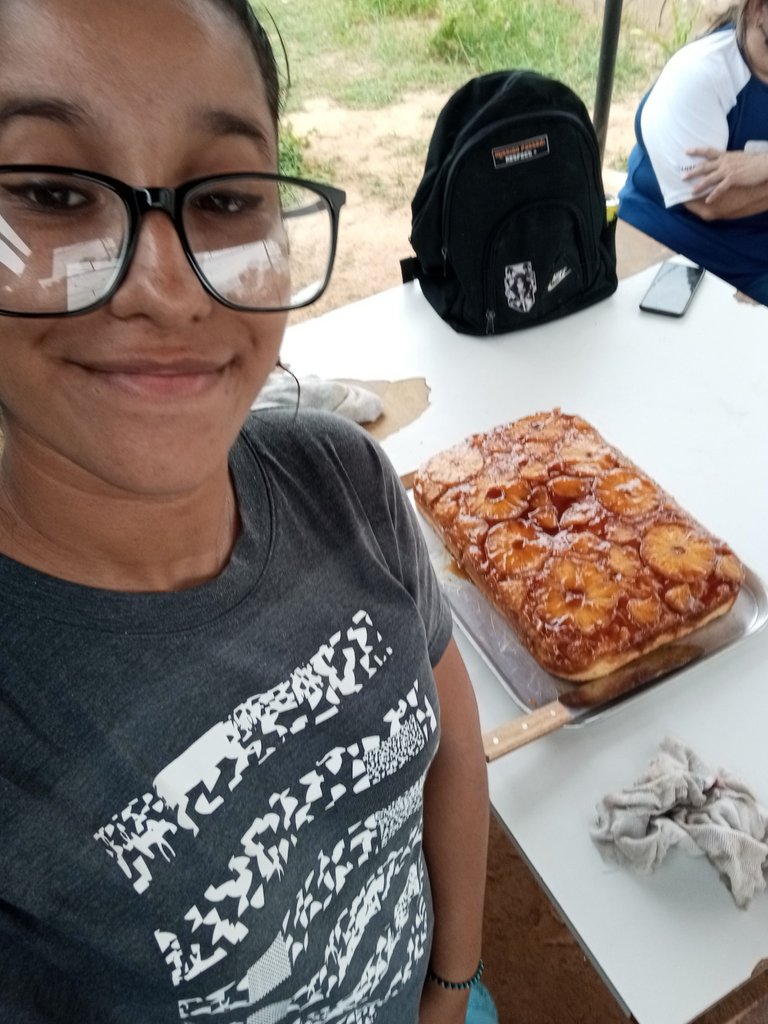
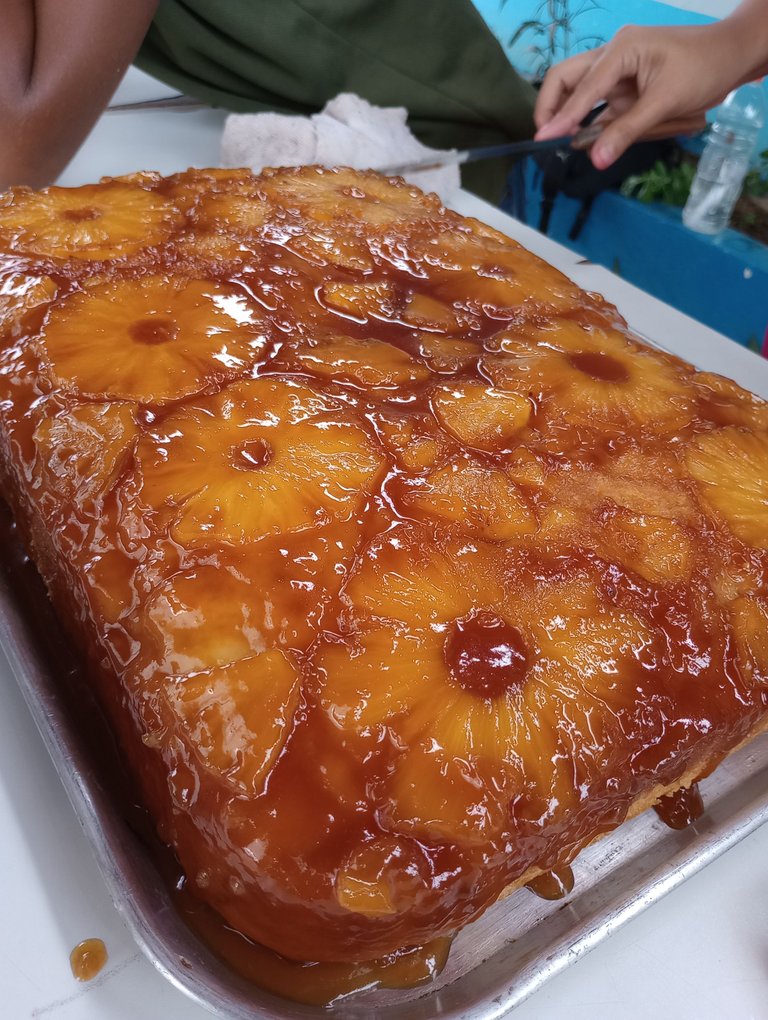
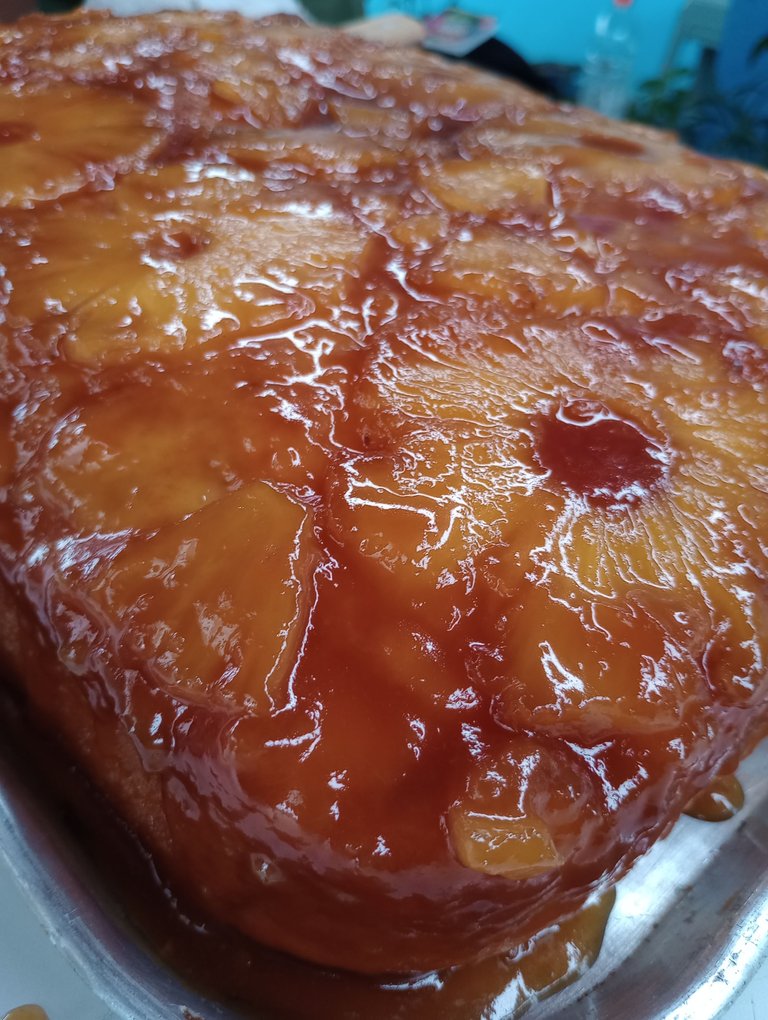
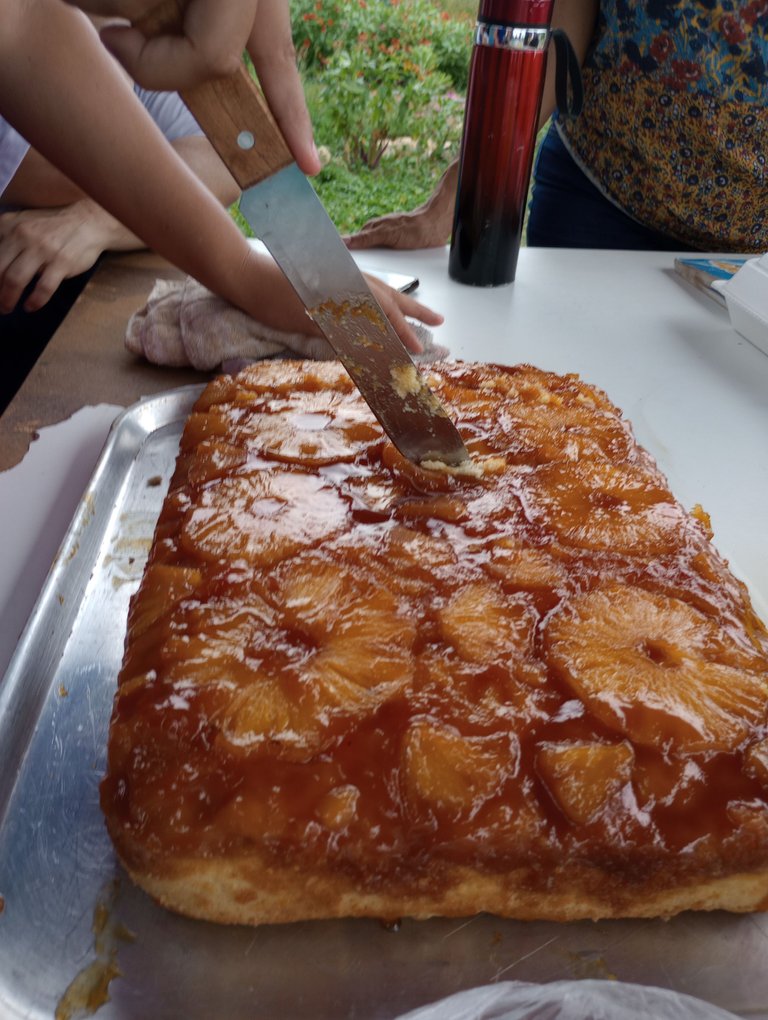
Luego el momento de la verdad. Se coloca una bandeja tapando el molde de la torta y luego se le da vuelta. Se retira lentamente y listo. Ya esta lista nuestra torta de piña tradicional.
Ahora solo resta disfrutar. Espero les haya gustado la receta y la preparen en sus casitas. ♥
Then the moment of truth. Place a tray covering the cake pan and then turn it upside down. Remove it slowly and that's it. Our traditional pineapple cake is ready.
Now all that remains is to enjoy it. I hope you liked the recipe and prepare it at home. ♥


Espero haya sido de tu agrado y provecho.
Un gran abrazo a todos, y nos leemos en un próximo post
• Lakrearte en Hive •
Att: Estefania Garcia ♥

Imágenes y separadores de mi autoría
Portada editada en Canva
Fotografías tomadas con un Moto G31
Texto traducido en Google ImTranslate v.14.27