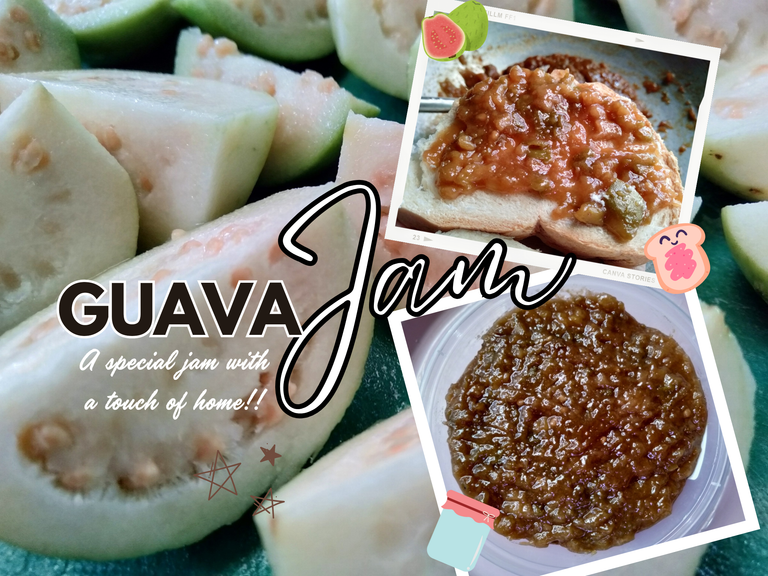
When having our breakfast, we sometimes had rice, but most of the time, we'd have bread, specifically hot pandesal. It's the perfect bread to have in the morning because we can just buy it at our favorite shop, just few step away from us. Then we will just prepare hot water, get the 3-in-1 coffee, and that's it - we can finally enjoy it that easy and fast. But, of course, that's not the sole reason we chose to have it in the morning ¯_ʘ‿ʘ_/¯.
We want something lighter for the stomach, and hot pandesal is the perfect fit for that. And, even without the sandwich spread, you can still enjoy it. Just dip it in your coffee and milk, and then you'll have a much more enjoyable breakfast. My fellow Filipinos can relate to that for sure, hihi. There are times too that we use sandwich spread for that, and I have to admit that it's best when it has cheese spread, liver spread, mayo, or any jam out there. They are the best!
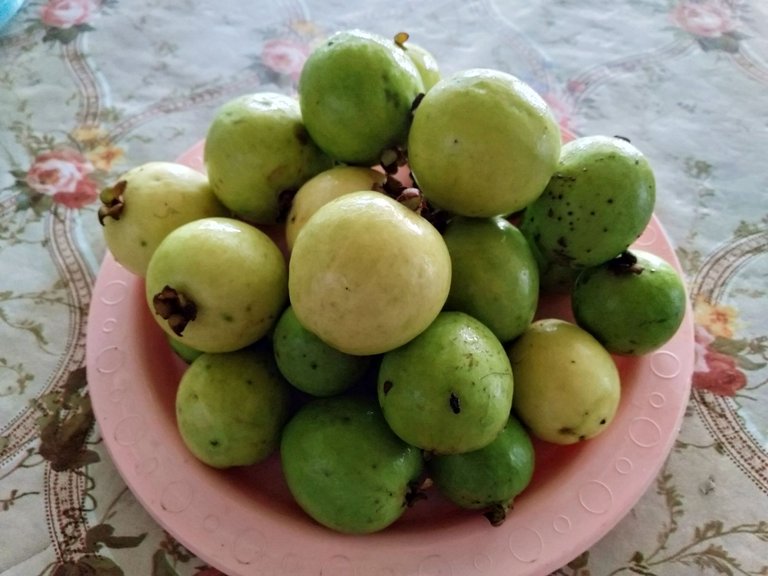
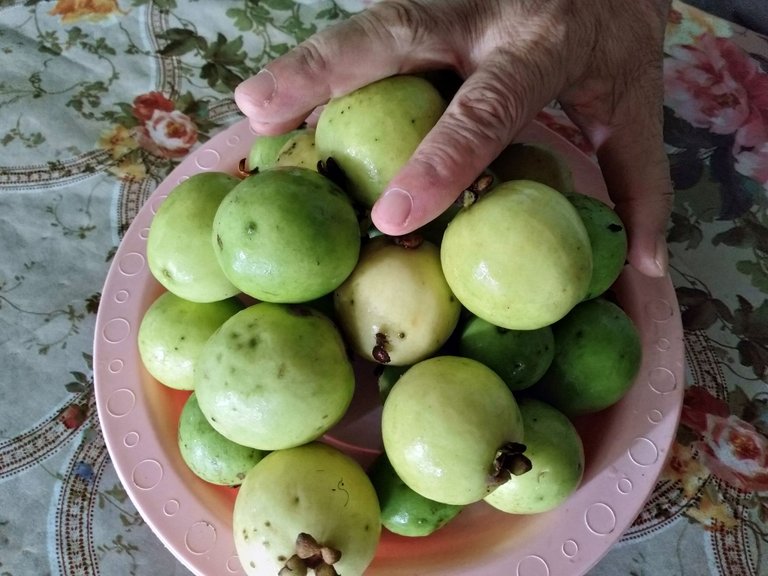
Anyway, I'll be sharing with you one of the jams we made, it is 100% homemade and has no preservatives added. We made this jam because Mommy D arrived home with a bag of ripe guavas. And what's the best thing to do with a bunch of guavas? Of course, y'all already know what, lol. This is not the first time we made it, and the first time is the best. That's why we decided to make some again for the second time.
We'll only need a few ingredients here. This is why they are easy to prepare because the ingredients are so few and easy to gather. Here are the ingredients:
| ½ klo of Guavas |
| 250g of Sugar |
| cups of Guava Water |

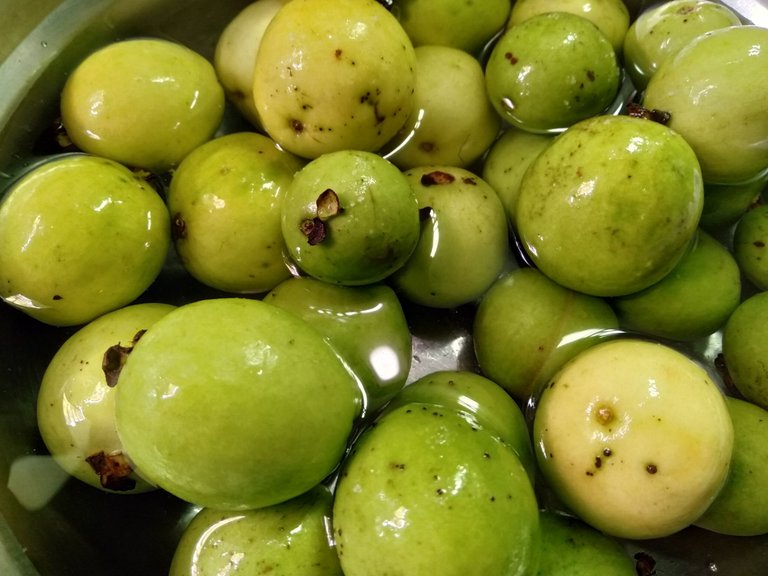
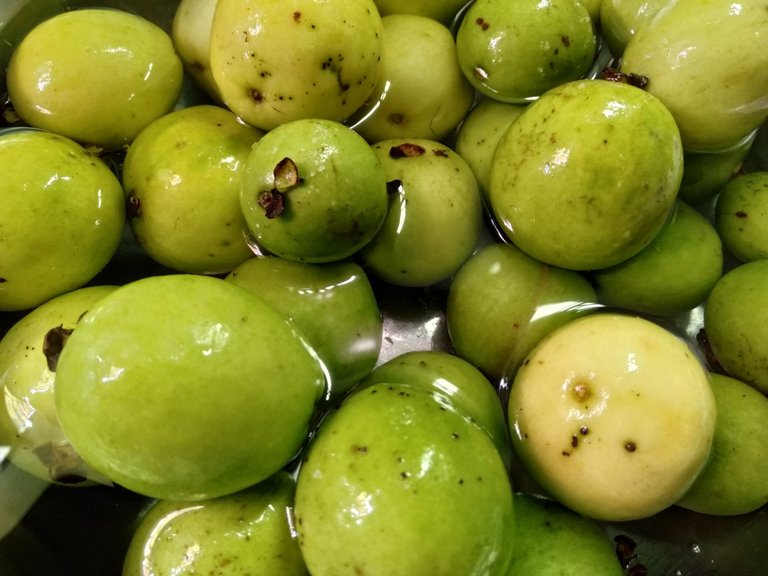
First things first, let's clean the guavas by soaking them in water with a pinch of salt. Then, after five minutes, remove it and put it in a clean bowl. As I've said before, I love to clean every ingredient that we eat in salt water to make sure that any tiny creature in there will be killed. We may never know, they might be hiding somewhere in their skin (≧▽≦), lol. Then let's set them aside for now.
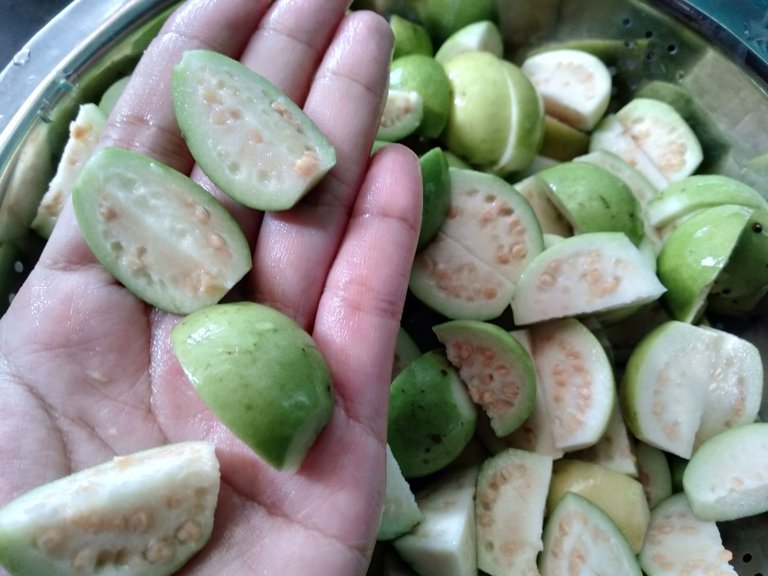
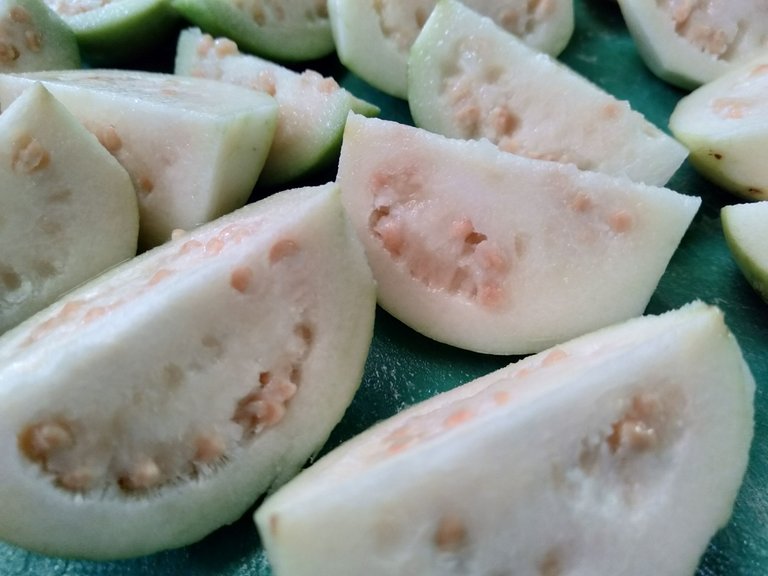
It's cutting time! We'll need a very sharp knife in here. Some of the guava is not that ripe yet, so I have to cut it with my strength. And for them to soften quickly, I cut them into this size. The guavas are already small, but I cut them smaller so they do not consume too much gas. But if you are rich with gas, then you can just boil them directly without cutting them. Yep, we'll boil them first.
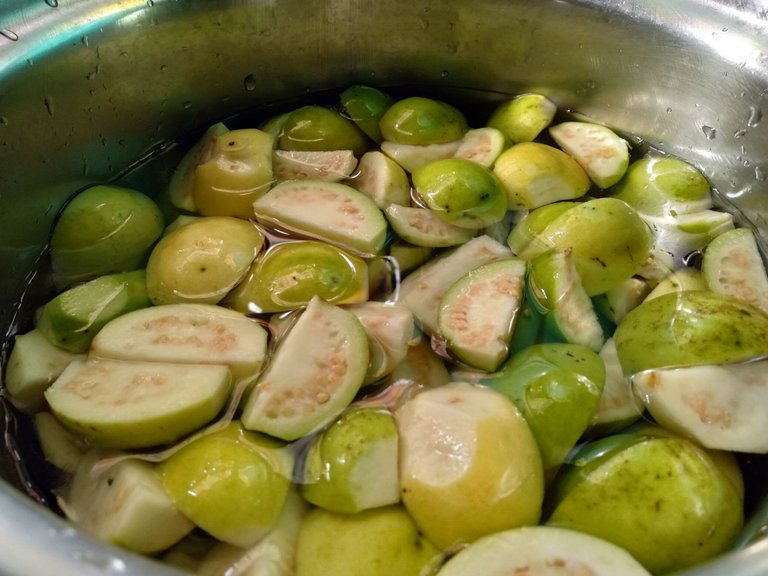
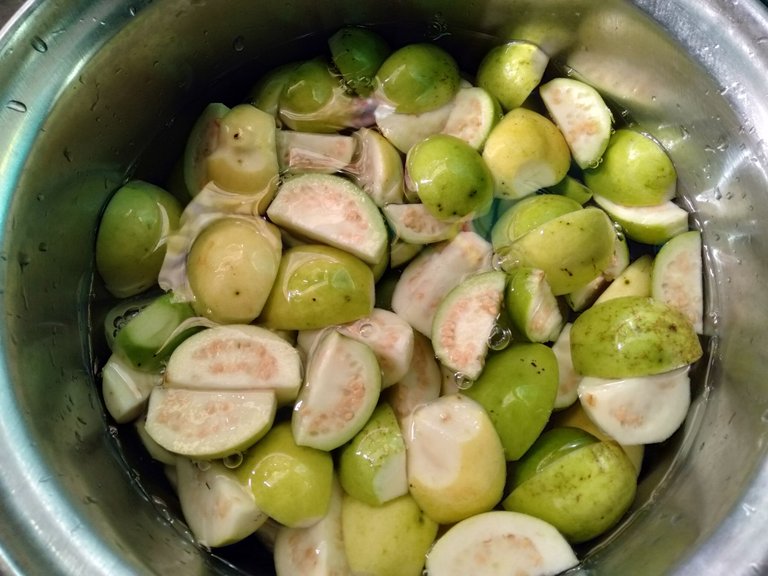
It's all ready to be boiled. Cooking time depends on how ripe your guavas are. If it's overripe and has, wor- errr, if it's already ripe, as in beautiful and overripe, then that won't take much time to cook. As for these guavas, it takes 40 minutes before they soften.
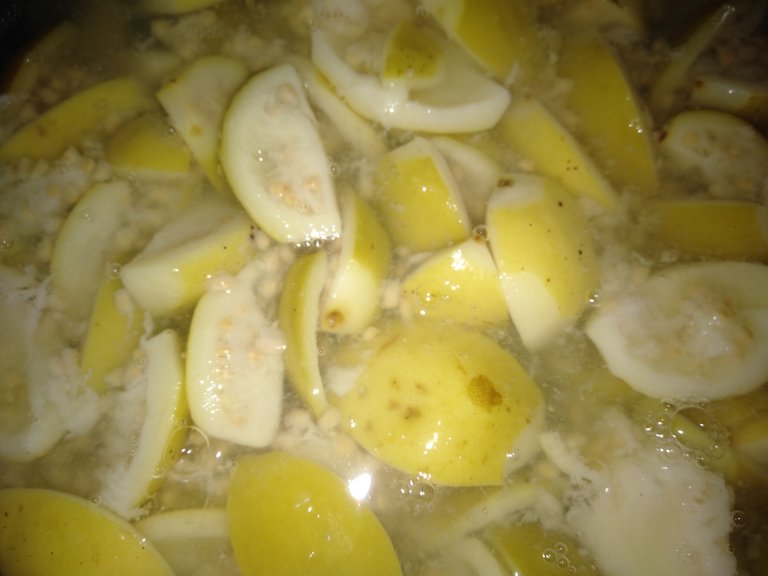
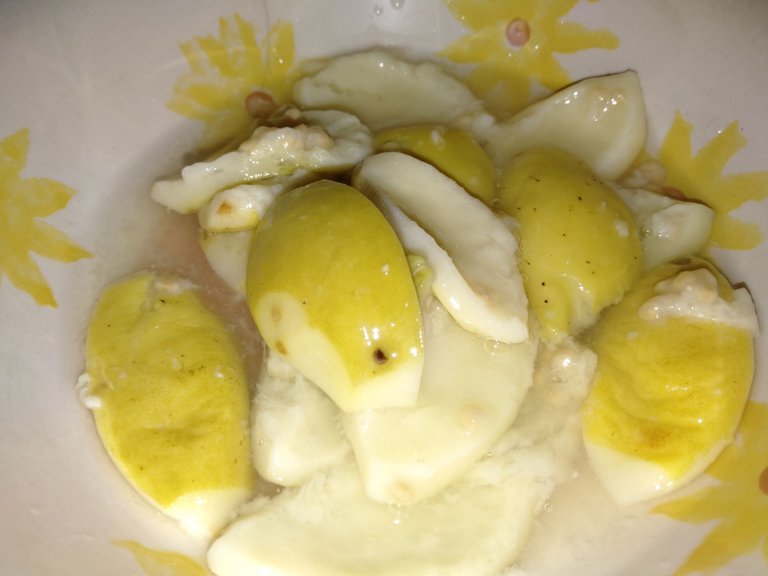
After what seems like eternity, finally, it's done. It finally softened, and we just let it cool first. And while waiting, I decided to dance to let the softened guavas cool faster, but I know they don't really have a connection, but I just want to be funny and pretty. See that? Soft and beautifully cooked, all the seeds attached to it's body were all gone, they were gone underwater, and while the guava meat floats, it's easier to get all the guava meat with this.
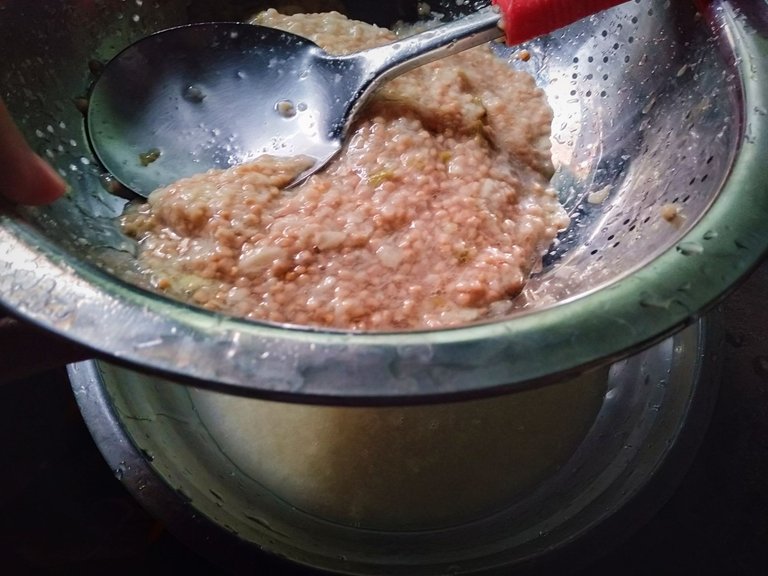
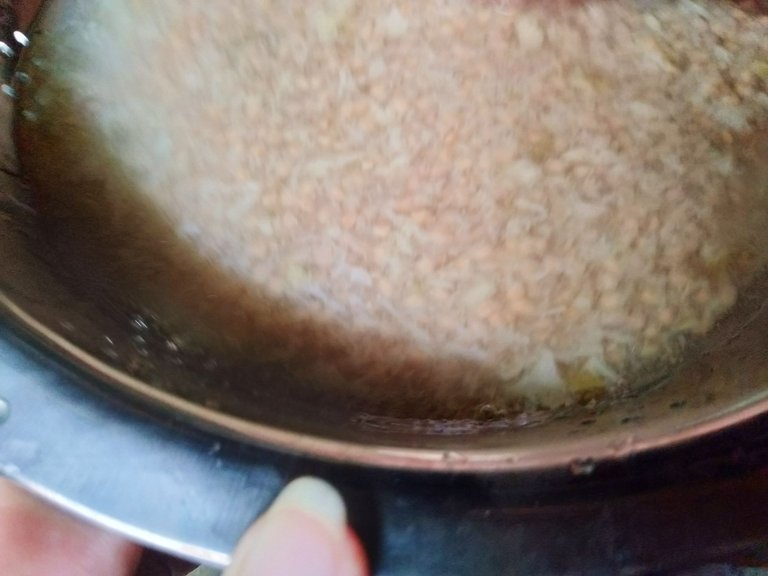
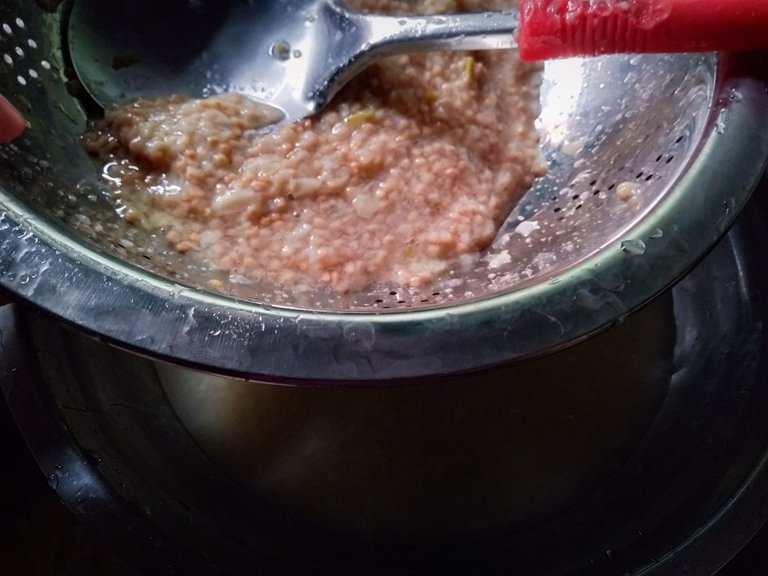
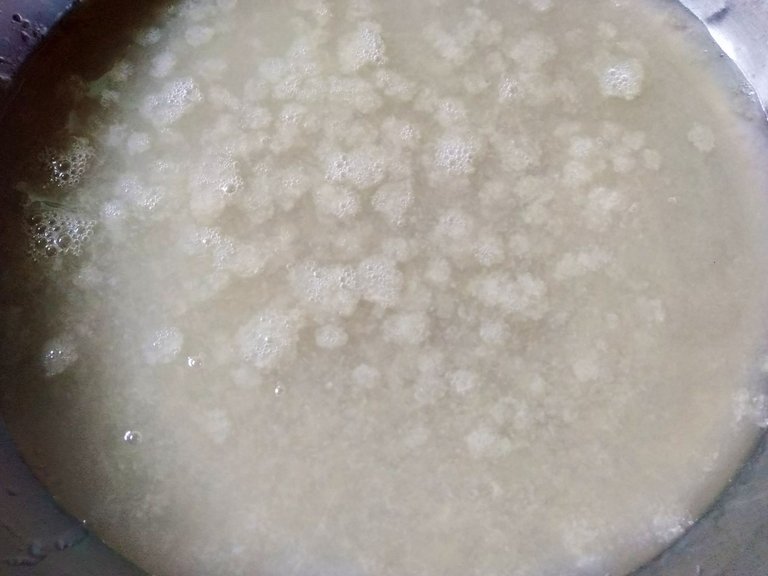
But wait, don't throw away the guava juices, we'll need that later in making our guava jam. You know, to make it more flavorful. But by doing that, the flavor of those juices will just blend with the guava meat when we cook it. I used strained it using a strainer to get the juices. It's not an easy task, though, because of those seeds. There's a lot, so we have to use something that can push and remove those seeds from those small holes. And now our guava juice is ready! Tentenenennnnn!
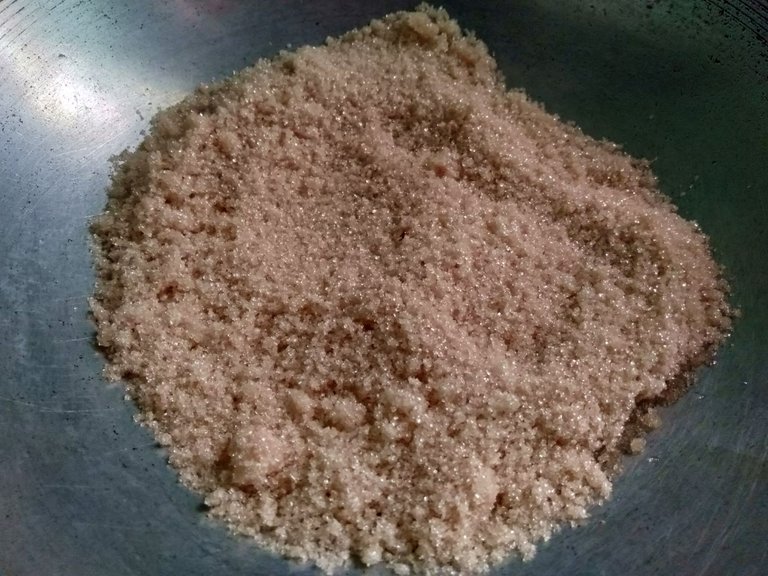
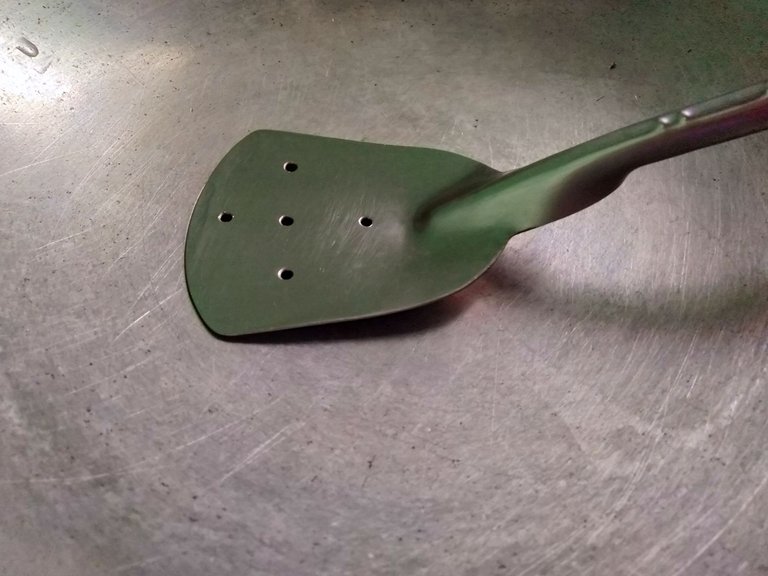
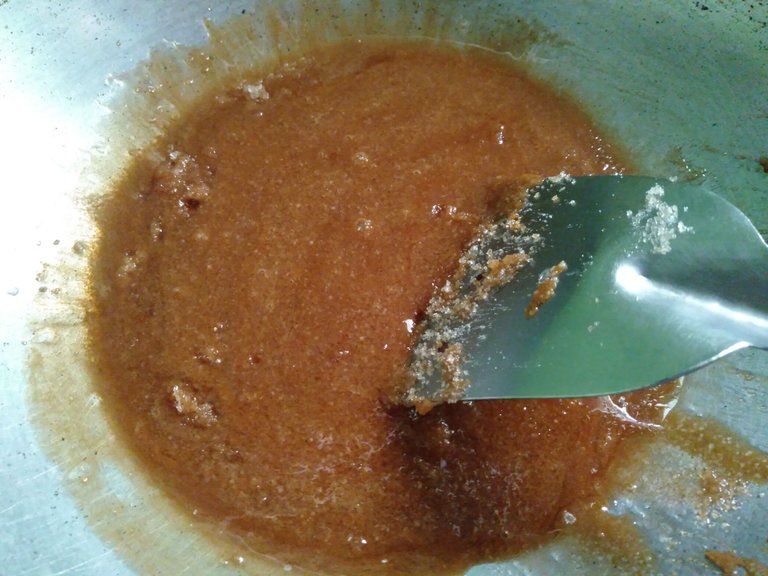
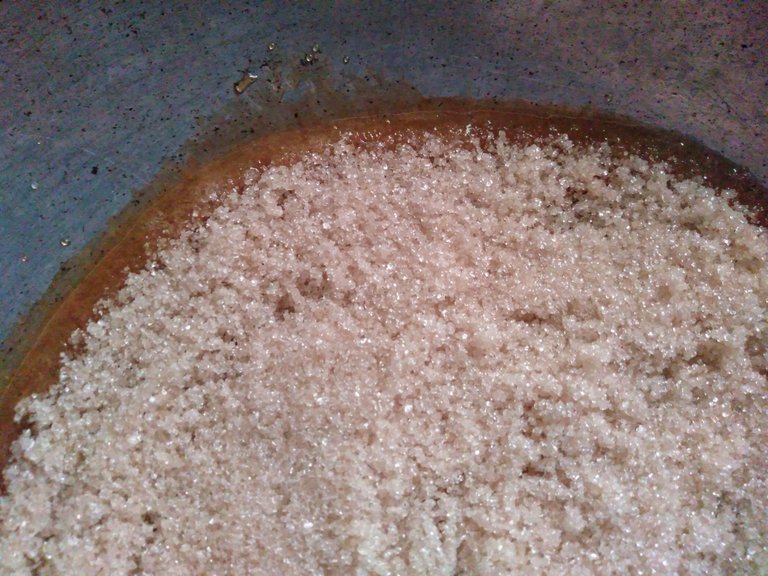
We can finally start making our guava jam. First, heat your pan and prepare your sugar while waiting. Once the pan starts to emit smoke, put 250 grams of sugar in it. Then put it into low heat. We have to caramelize it, as you can see in the photo. Wait for the sugar to melt, but don't burn it. I just let the sugar caramelize, and when I saw that all of them had already melted, that's when I decided to stir it a little.
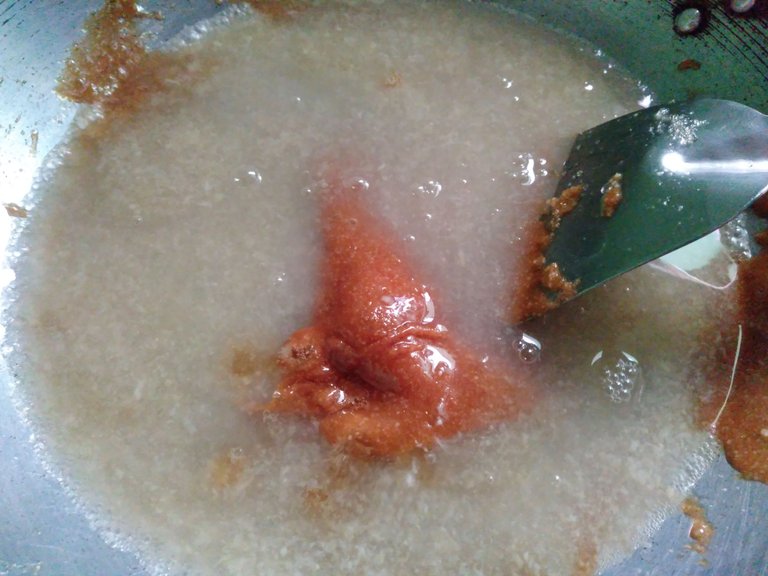
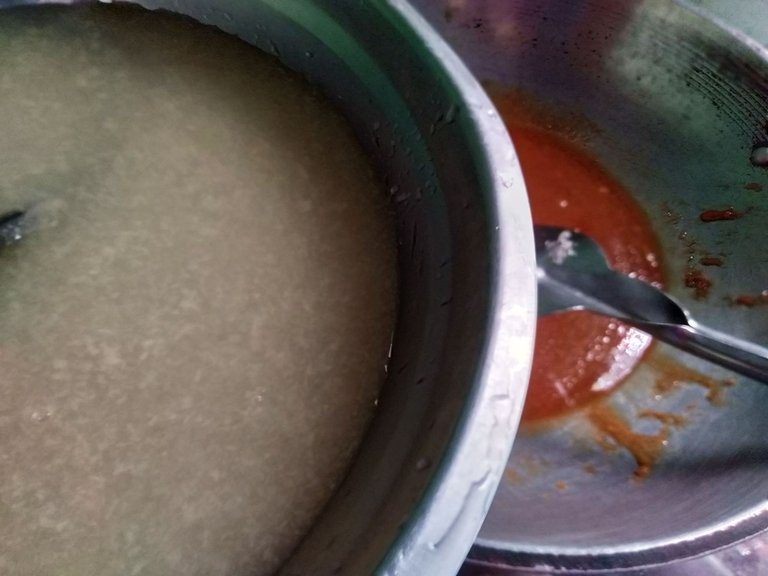
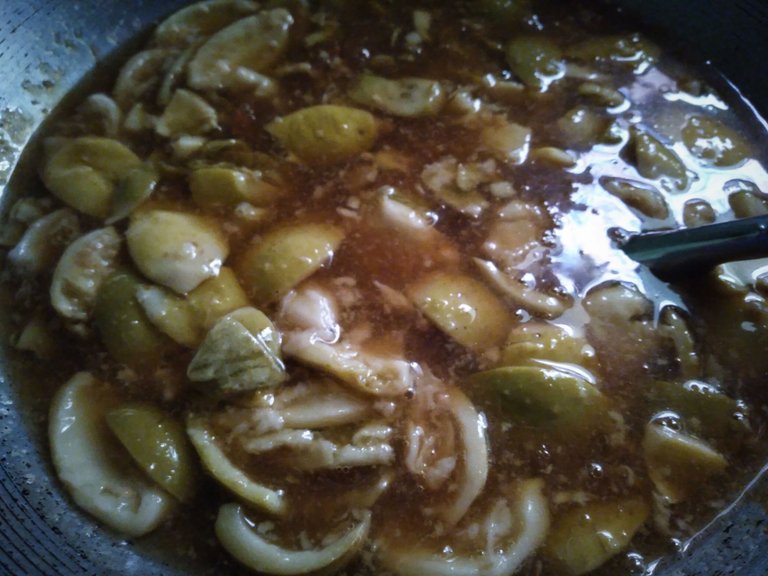
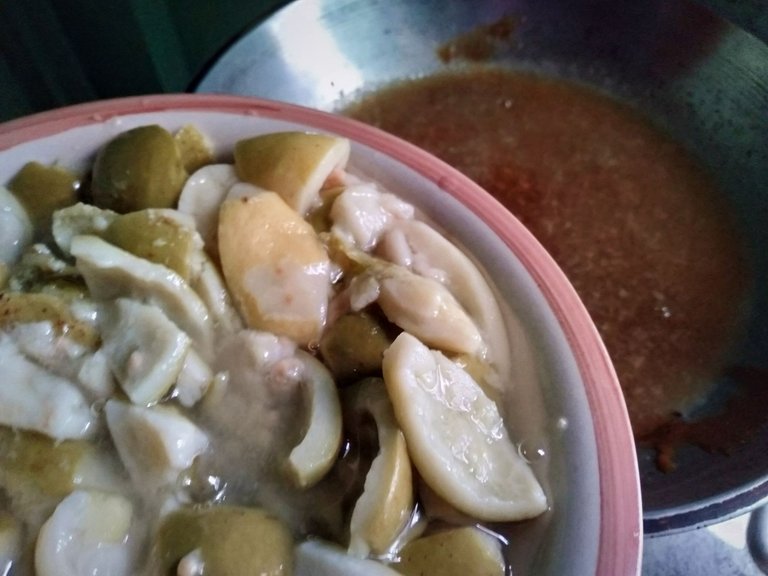
Once the sugar is completely melted, we prepare the guava juices and pour them slowly into the pan, followed by the guava meats. We have to completely soak our guava meats in here, but we didn't put all the guava juice here. Just one and a half cups only, we don't want it to be overcooked right.
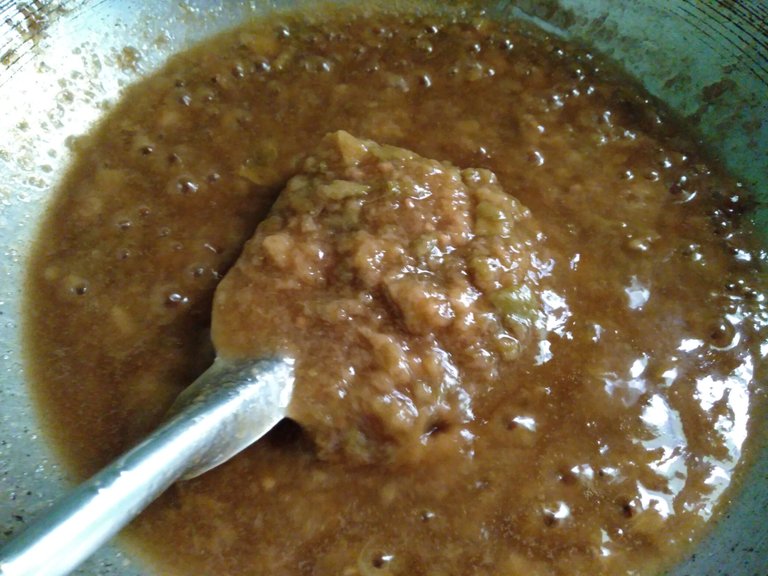
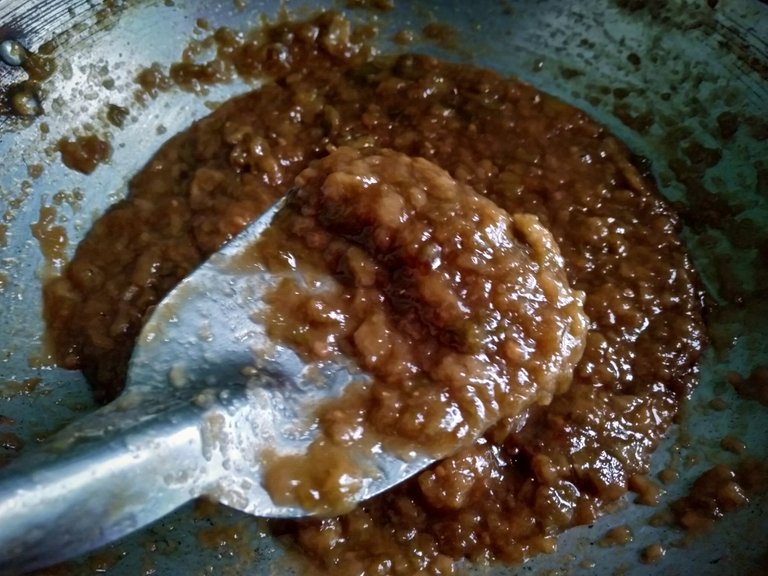
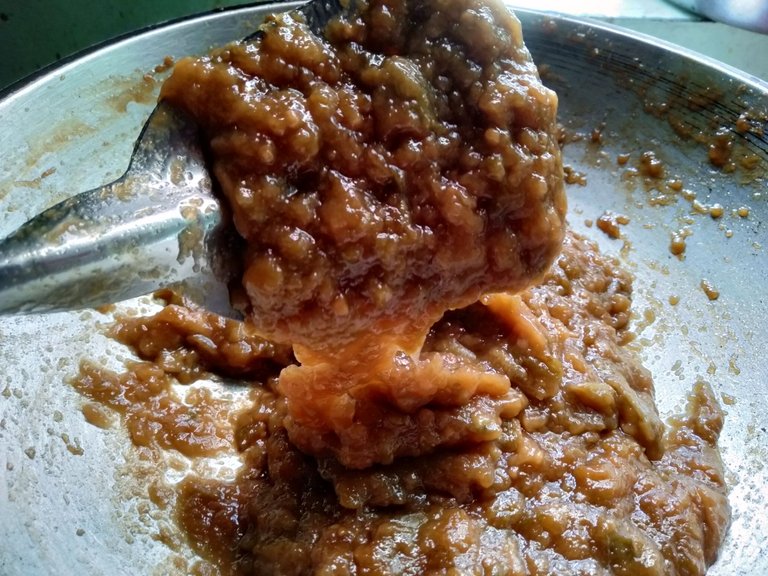
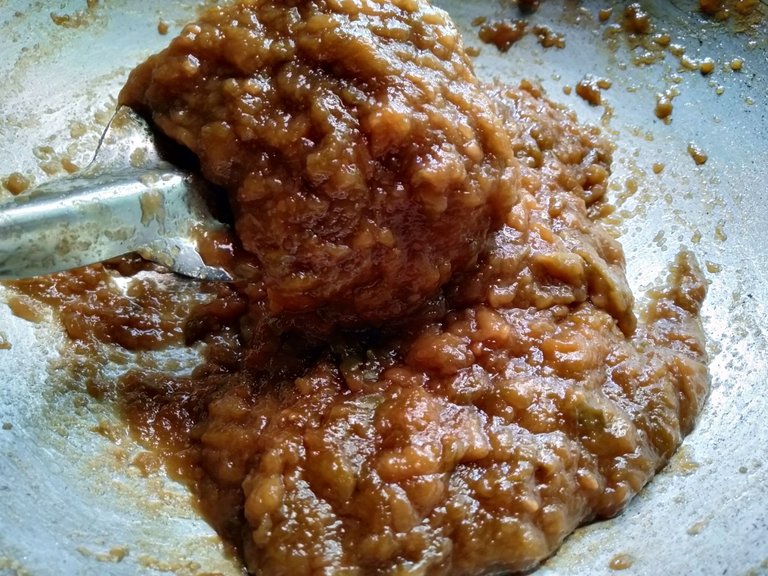
We let it boil for a few minutes while also stirring it from time to time to avoid sticking it to the pan. It is just a repeated process, just continue stirring it until the juices in it run dry. We cook this for 50 minutes, but it still depends on how much water you put in it, how high the heat is, and how fast the juices dry up. In my case, we put it into low heat once the water started drying up.
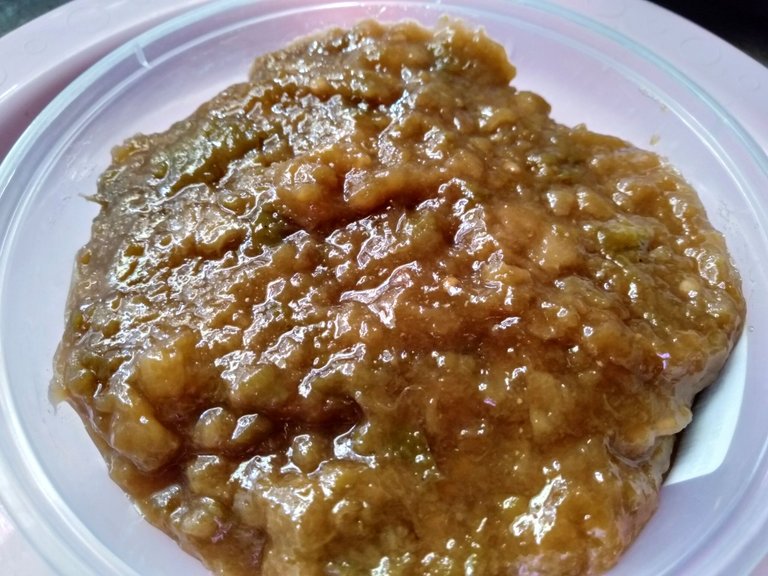
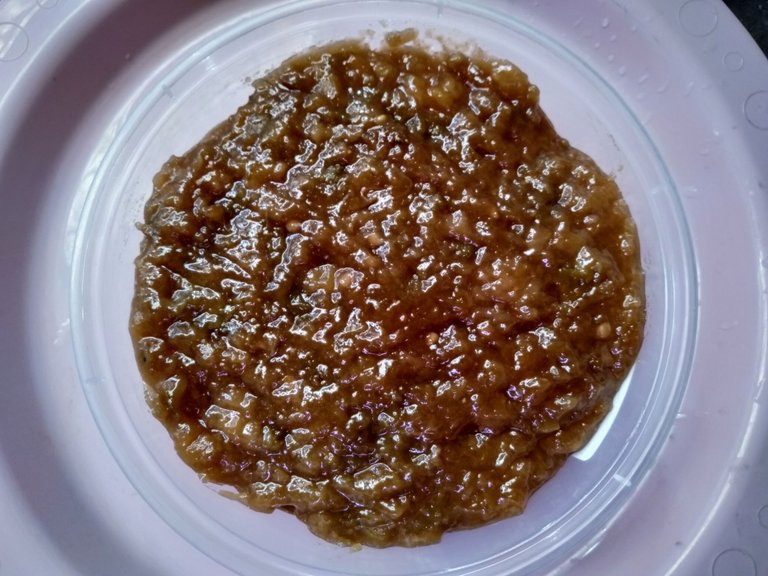
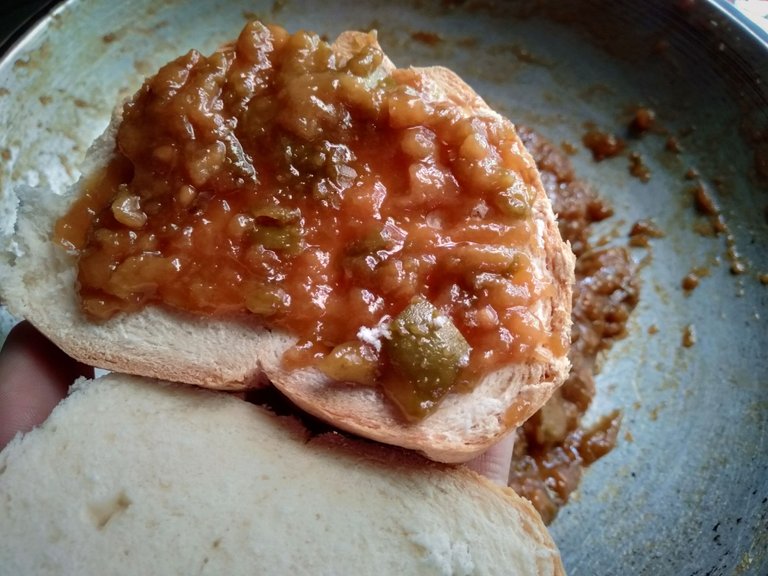
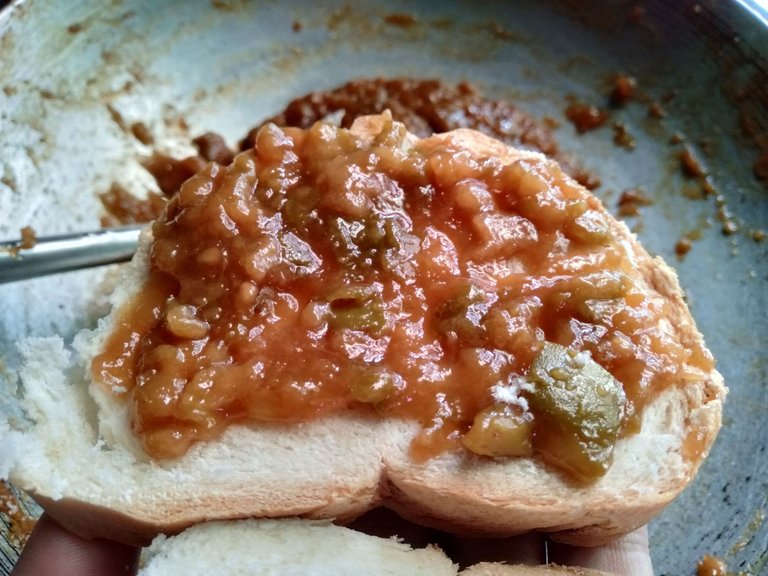
And here's the finished product! Brown and so sticky, lol. And I love that it has a bit of guava in it. There's a few seeds that were included in there, but even those give our jam a unique touch. I don't know, but whenever I bite those seeds, I feel more happy to eat them. It's like it gives me more excitement the more I eat it.
So if you have a guava tree in your area, why not try a guava jam to pair with your bun?
Lead Image Edited in Canva.


