Good evening dear friends of Hive and Foodies bee Hive, about 6 or 7 years ago I started having problems with food, due to some intolerances that had developed, the ones that made me feel the most were eggs and wheat. I began to have trouble finding everyday foods such as bread and pasta, because they were made up of those elements that I could not eat and digest, there are alternative products, without wheat and eggs, but they cost much more, are not very good and weigh on the expense. So I learned to make bread and pasta by myself, using alternative flours, such as Kamut or spelled, even if let's say I was already able to work doughs, because I've always loved cooking, but I started perfecting my technique and create a bit of everything, like the rustic bread for bruschetta and croutons that I want to share with you today.
It's not a complicated process to get this beautiful rustic loaf, we're going to use the "3 fold" technique, it takes some time, but everyone can be able to make it, even if you have no experience with cooking and dough. The only really important thing to take in mind is to work the dough very delicately, paying close attention not to let the air inside it escape, so that it remains soft and light inside. Thus we can obtain a bread with a well-browned and crunchy edge and a soft, light and fragrant interior, which will be ideal for making delicious rustic bruschetta or crostoni like those typically eaten in central Italy, in regions such as Tuscany and Umbria .
Buona sera cari amici di Hive e Foodies bee Hive, circa 6 o 7 anni fa ho iniziato ad avere problemi con il cibo, a causa di alcune intolleranze che si erano sviluppate, quelle che mi facevano stare più male erano le uova e la farina di frumento. Ho iniziato ad avere problemi a trovare cibi quotidiani come pane e pasta, perchè erano composti da quegli elementi che non potevo mangiare e digerire, si trovano prodotti alternativi, senza frumento e uova, ma costano molto di più, non sono molto buoni e gravano sulla spesa. Così ho imparato a farmi il pane e la pasta da solo, utilizzando farine alternative, come quella di Kamut o Farro, anche se diciamo che ero già capace a lavorare gli impasti, perchè amo la cucina da sempre, ma li ho iniziato a perfezionare la mia tecnica e creare un po' di tutto, come il pane rustico per bruschette e crostini che oggi voglio condividere con voi.
Non è una lavorazione complicata ottenere questa bella pagnotta rustica, andremo ad usare la tecnica delle “3 pieghe”, occorre un po' di tempo, ma tutti possono riuscire a realizzarla, anche se non si ha esperienza con la cucina e gli impasti. L'unica cosa davvero importante da tenere conto è lavorare l'impasto con molta delicatezza, prestando molta attenzione a non fare uscire l'aria al suo interno, in modo che rimanga soffice e leggero all'interno. Così possiamo ottenere un pane con un bordo ben dorato e croccante e il suo interno soffice, leggero e profumato, che sarà ideale per realizzare delle deliziose bruschette rustiche o dei crostoni come quelli che si mangiano tipicamente in centro Italia, nelle regioni come Toscana e Umbria.


400g Flour
100g Wheat semolina
600ml Water
20g Salt
10g Beer Yeast
400g Farina
100g Semola di grano
600ml Acqua
20g Sale
10g Lievito di Birra

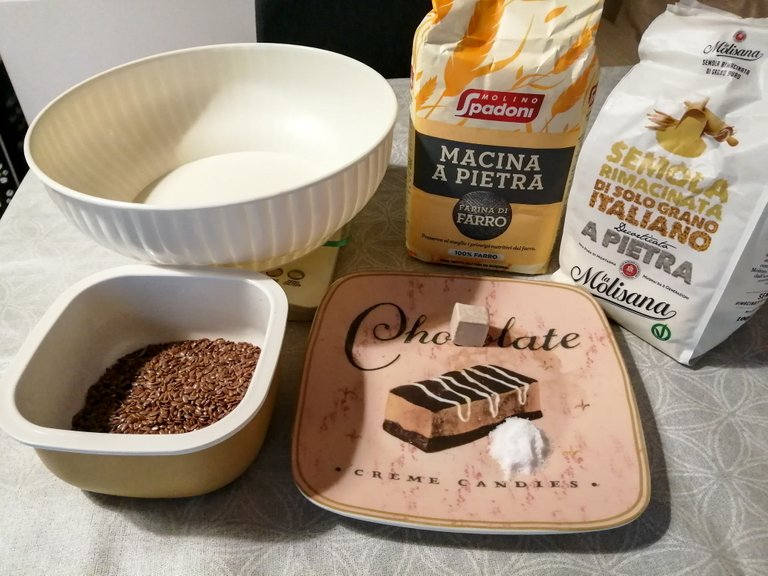

As you can see, the ingredients are few and simple, you may not even use Wheat semolina, the bread will be good all the same, but if you want to get that rustic flavor and color you need Wheat semolina, which with its larger grain gives it substance and makes the edge more crunchy.
Come vedete gli ingredienti sono pochi e semplici, potete anche non usare la semola, il pane sarà buono ugualmente, ma se volete ottenere quel sapore e colore rustico ci vuole la semola, che con il suo grano più grosso gli conferisce sostanza e rende il bordo più croccante.
Let's start by taking a bowl, in which we pour the flour, the wheat semolina and add all the water a little at a time. We mix until we obtain a homogeneous pulp, then we cover it with a cloth and let it rest for 30 minutes.
Iniziamo con il prendere una ciotola, in cui versiamo la farina, la semola di grano e aggiungiamo un po' alla volta tutta l'acqua. Mescoliamo fino ad ottenere una poltiglia omogenea, poi lo copriamo con uno straccio e lo lasciamo riposare 30 minuti.


As long as we wait, take a glass and pour a drop of warm water and add the Beer Yeast, mix until the yeast has dissolved well. Once this is done and the 30 minutes have passed, take our bowl and add the dissolved yeast and salt.
Finchè aspettiamo prendiamo un bicchiere e ci versiamo un goccio di acqua tiepida e aggiungiamo il lievito di birra, mescoliamo fino a che il lievito si è sciolto per bene. Fatto questo e passati i 30 minuti prendiamo la nostra ciotola e aggiungiamo il lievito sciolto e il sale.

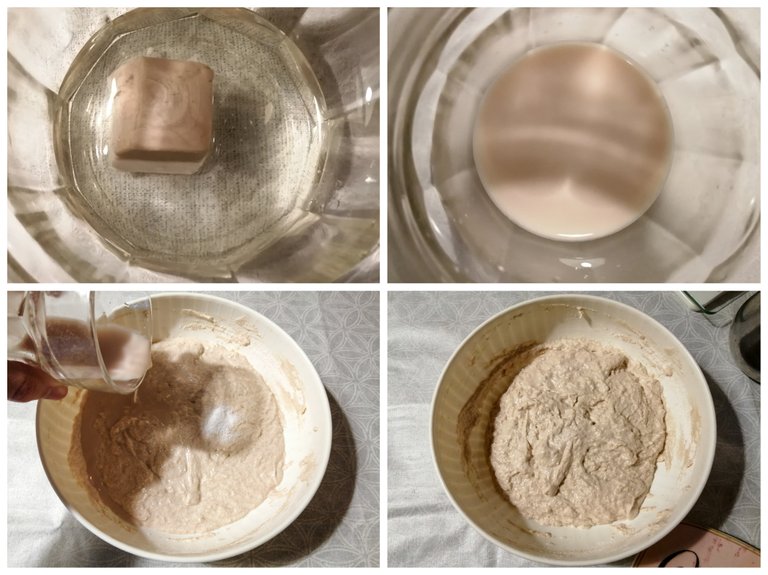

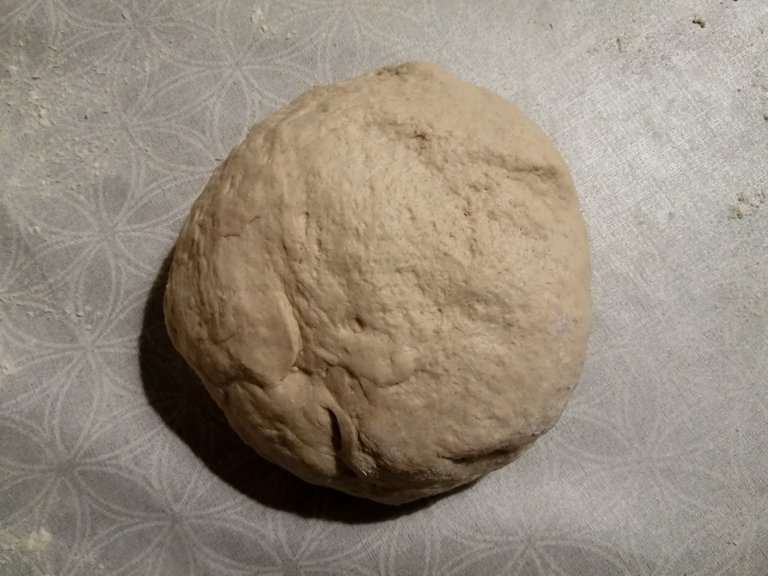
Let's work the dough by hand and if it's too wet, add a little at a time some wheat semolina or simple flour, continuing to work it with your hands until you get a nice homogeneous and compact ball of dough.
We flour the table well and go to work it again, trying to fold the dough on itself, so that it stores air for leavening.
Andiamo a lavorare l'impasto a mano e se risulta troppo bagnato, aggiungiamo un po' alla volta della semola di grano oppure semplice farina, continuando a lavorarlo con le mani fino ad ottenere una palla di impasto bella omogenea e compatta.
Infariniamo bene il tavolo e andiamo a lavorarlo ancora, cercando di piegare l'impasto su se stesso, così che immagazzini aria per la lievitazione.

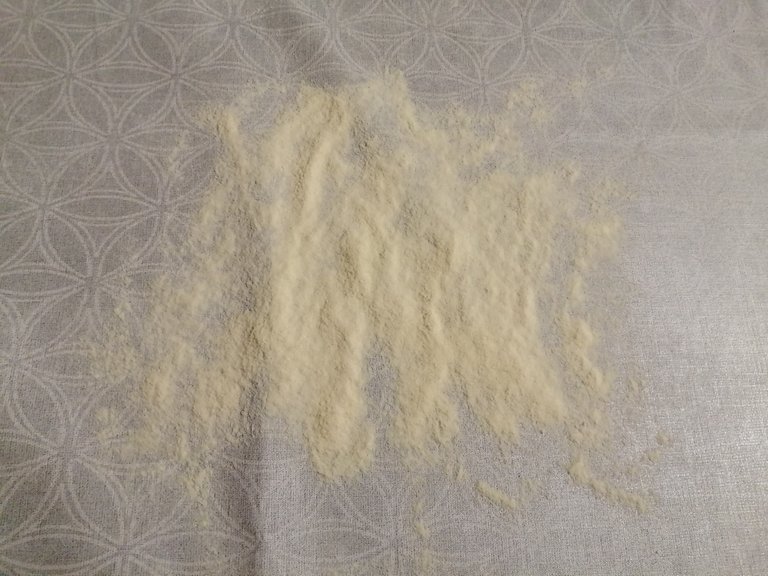

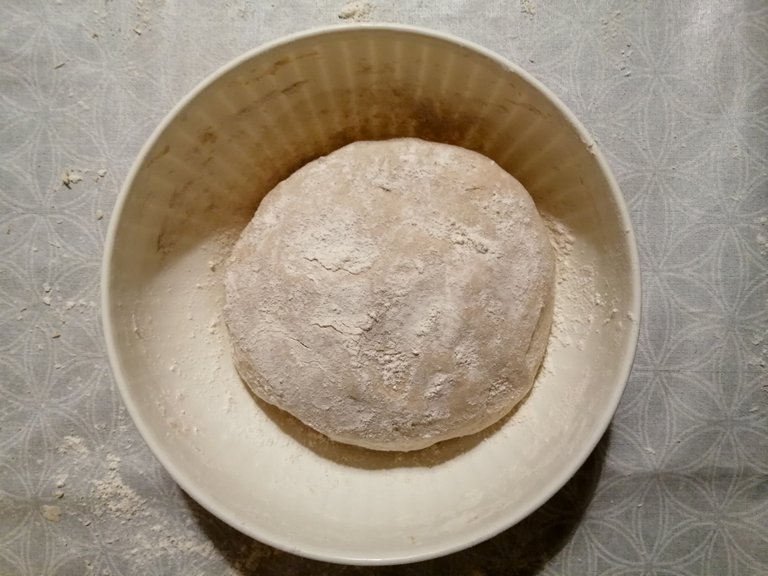
We take a bowl, add flour or wheat semolina to the bottom, place the dough inside and cover with a sprinkling of more flour.
Prendiamo una ciotola, aggiungiamo farina o semola di grano nel fondo, posiamo dentro l'impasto e copriamo con una spolverata di altra farina.


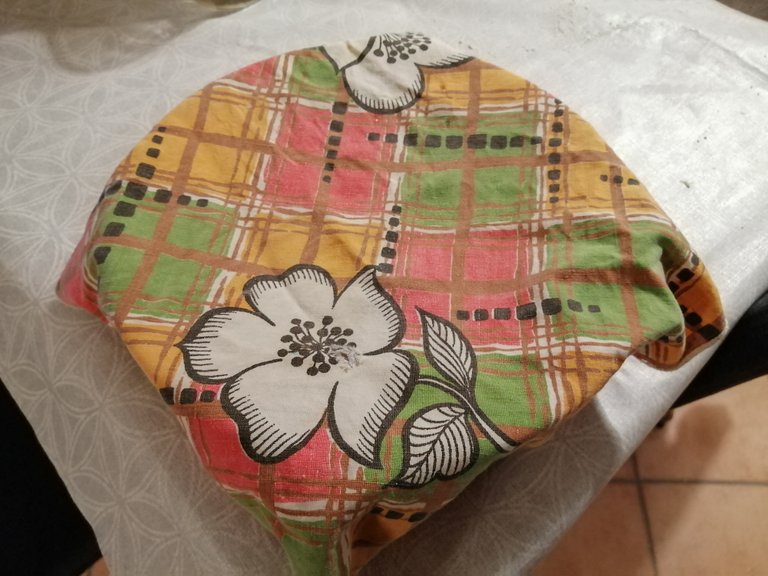
Now we cover it with a cloth and let it rise for at least 3 hours.
Ora lo copriamo con uno straccio e lo lasciamo lievitare per almeno 3 ore.


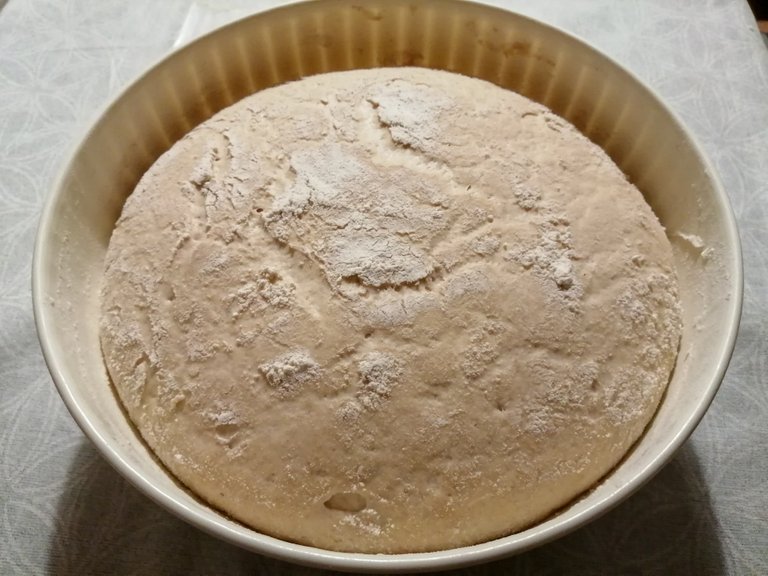
Once the time necessary for leavening has passed, your dough should have taken on this beautifully swollen and airy shape...
Passato il tempo necessario per la lievitazione il vostro impasto dovrebbe aver assunto questa forma bella gonfia e ricca di aria...


Now comes the delicate moment, we must try to handle the dough very delicately, to ensure that it does not lose its leavening. We put some flour on the table, place the dough carefully and use the “3 folds” technique. As in the photo, slowly roll out the dough and fold it over itself 3 times.
Ora viene il momento delicato, dobbiamo cercare di maneggiare l'impasto con molta delicatezza, per far si che non perda la sua lievitazione. Mettiamo un po' di farina sul tavolo, posiamo l'impasto con cura e usiamo la tecnica delle “3 pieghe”. Come nella foto andiamo a tirare piano l'impasto e ripiegarlo su se stesso per 3 volte.

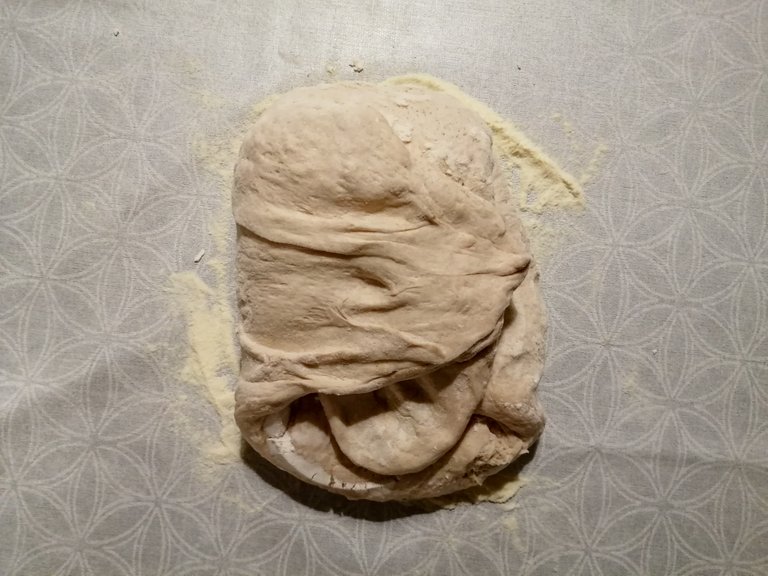

Let's take the dough, turn it upside down and try to give it the desired shape, being very careful not to crush it, pulling it with your fingers from underneath.
Prendiamo l'impasto capovolgiamolo e cerchiamo di dargli la forma desiderata, stando molto attenti a non schiacciarlo, tirando con le dita da sotto.


Now let's take the cloth we used before, sprinkle it with a little flour or wheat semolina and cover our loaf of bread and let it rest there for another hour.
Ora prendiamo lo straccio che abbiamo usato prima, lo cospargiamo con un po' di farina o semola di grano e andiamo a coprire la nostra forma di pane e la lasceremo riposare li per un'altra ora.

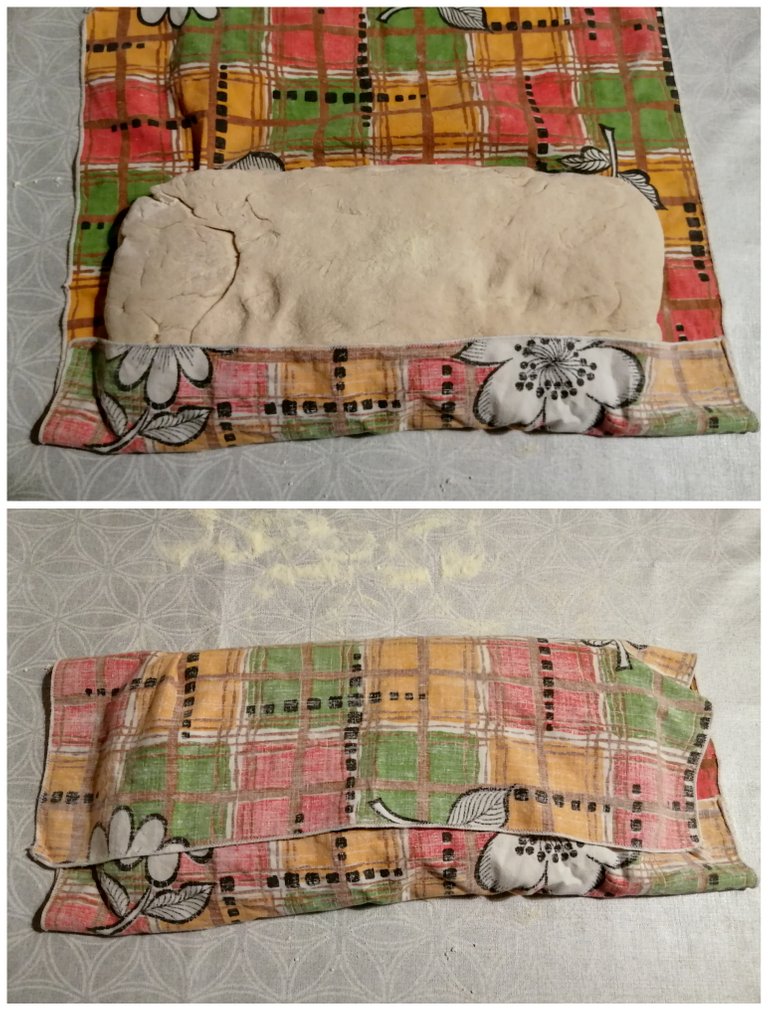

Now it's time to bake our bread!
We turn on the oven at 250 degrees and wait for it to be hot. I use an electric oven stone like the one used by pizza makers, it doesn't cost much and makes bread and pizza crispy and tasty, I recommend it, but in any case a normal pan is also fine.
Ora è giunto il momento di infornare il nostro pane!
Accendiamo il forno a 250 gradi e aspettiamo che sia bello caldo. Io uso una pietra da forno elettrico come quella dei pizzaioli, non costa molto e rende il pane e la pizza belli croccanti e saporiti, ve la consiglio, ma in ogni caso va benissimo anche una normale teglia.

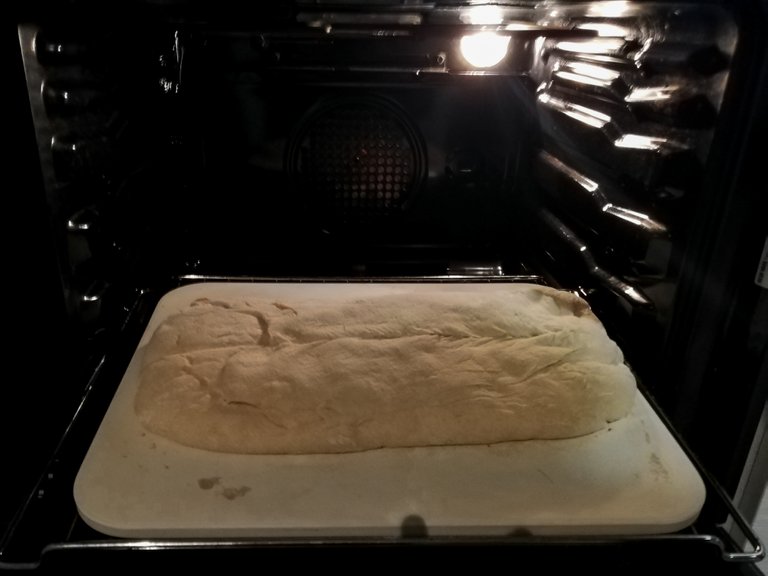

When the oven is hot, directly with the cloth turn the bread upside down on the hot pan and make a cut along the whole shape of the bread, to make sure that excess humidity comes out. Let the bread bake for 50 minutes at 250 degrees. When you are at the end of cooking, turn only the grill on below and let it cook for another 10/15 minutes. Finally, turn off the oven and leave the door half open so that excess humidity can escape.
Quando il forno è caldo, direttamente con lo straccio rovesciate il pane sulla teglia calda e fare un taglio lungo tutta la forma del pane, per fare in modo che esca l'umidità in eccesso. Lasciate cuocere il pane per 50 minuti a 250 gradi. Quando siete alla fine della cottura, girate il grill solo sotto e lasciate cuocere per altri 10/15 munuti. In fine spegnete il forno e lasciate la porta semi aperta così che esca l'umidità in eccesso.

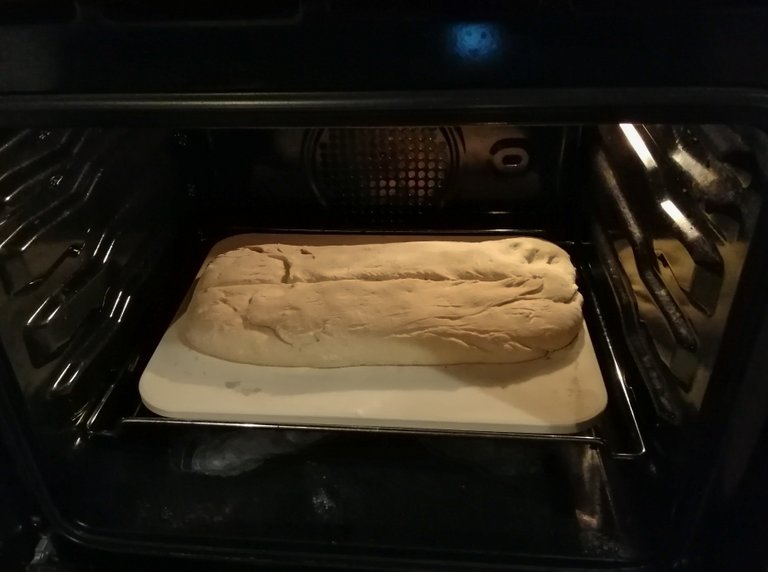

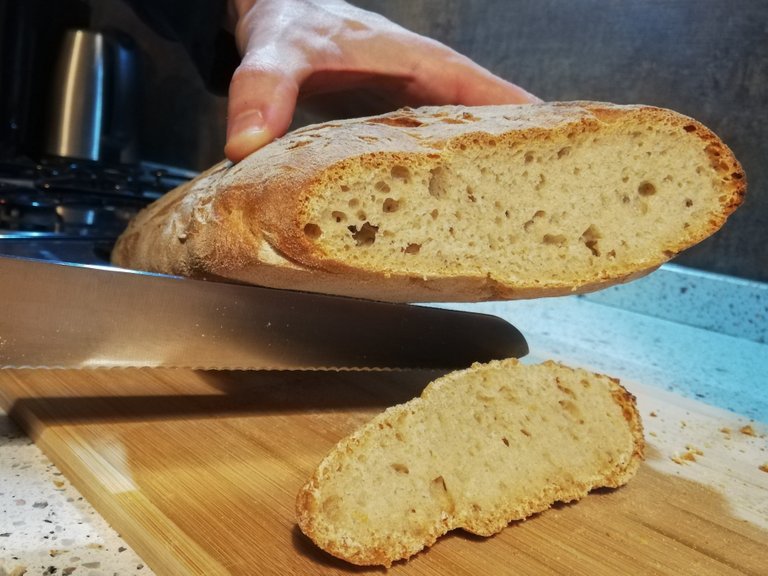
ET VOILÁ... Your rustic bread is ready, warm and fragrant...
ET VOILÁ... Il vostro pane rustico è pronto, caldo e profumato...

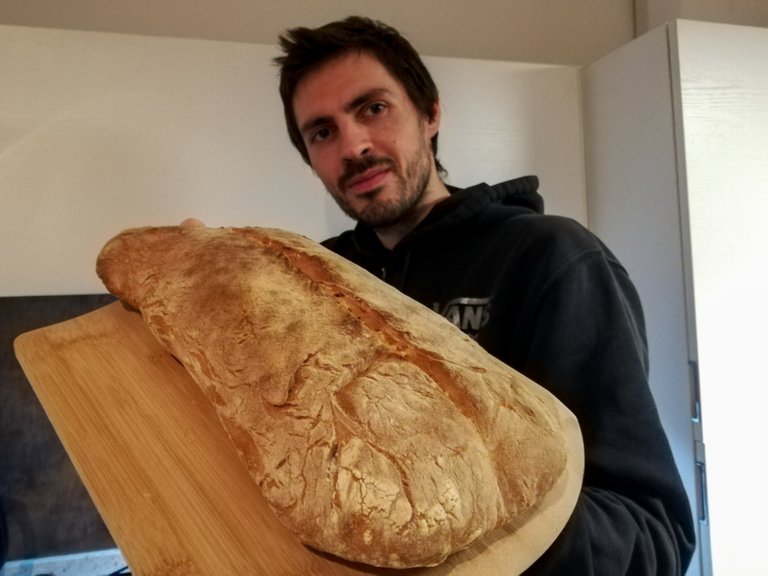

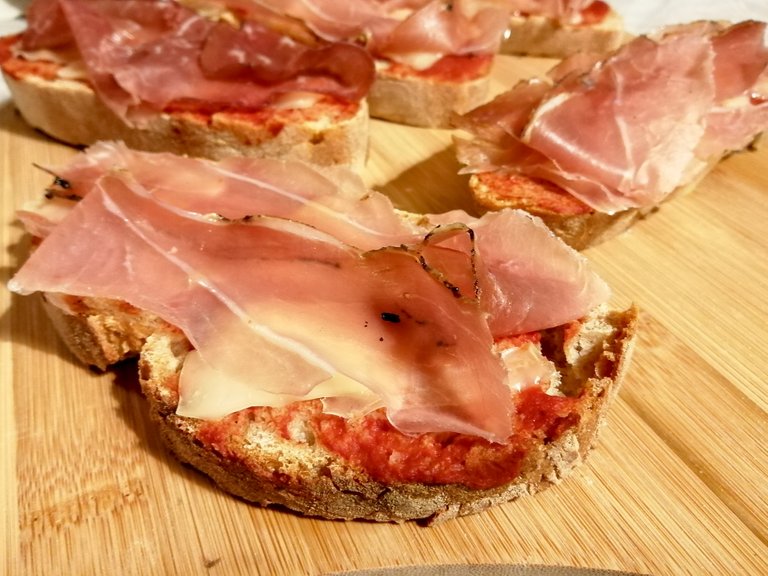
At this point wait for it to cool down and you can cut it as you like and use it in many different and tasty ways. I, together with my partner @giovi86 used it to create these delicious gorgonzola and speck bruschetta, it was really fantastic...
A questo punto aspettate che si sia raffreddato e potete tagliarlo come volete e utilizzarlo in tanti modi diversi e gustosi. Io, insieme alla mia compagna @giovi86 lo abbiamo utilizzato per creare queste deliziose bruschette gorgonzola e speck, era fantastiche davvero...

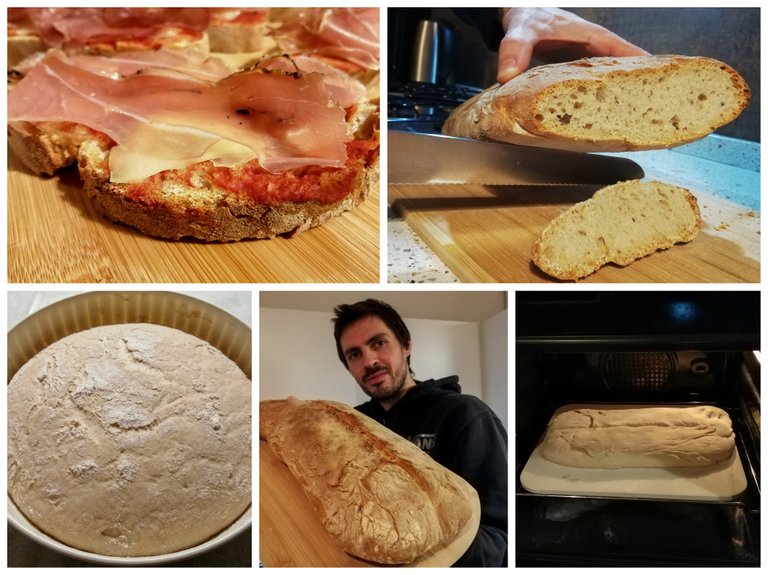

Dear friends, I hope you enjoyed this recipe. You can also freeze this type of bread and take it out if necessary to make sandwiches or croutons quickly, it is suitable for many uses and is really good. Let me know if you try this recipe, in the meantime I thank you for the time you have dedicated to my post, a hug to everyone.
Cari ami, spero che questa ricetta vi sia piaciuta. Questo tipo di pane potete anche congelarlo e tirarlo fuori all'occorrenza per fare dei panini o dei crostini al volo, si adatta a tanti utilizzi ed è davvero buono. Fatemi sapere se provate questa ricetta, nel frattempo vi ringrazio per il tempo che avete dedicato al mio post, un abbraccio a tutti quanti.

All texts, photos, videos and images in this post are property of the author @stea90 - For CCO images that may be used, the source is always declared.

Image processing: GIMP and Inkscape
Photo processing and development: Photoshop Express
Olio di Balena
Pinmapple
Black and White
Foodies Bee Hive
Discovery-it
Instagram Dalla Stella Federico
Twitter Crypto Stea
Youtube Crypto Stea
If you want to support a good Witness and his great work to help so many users on Hive, vote for @Discovery-it as Witness.
You can also help with a delegation for @Discovery-it.


