My first #Foodie post ever! It's hard to believe, really... I've planned so many #recipe posts in my head and even taken pictures of other dishes I created, but I just never got around to doing it. So let's get this exciting new chapter in my #Hive journey started!
First: I should tell you that I've been suffering with a toothache for about a week, and it has made EVERYTHING much more difficult... so I keep falling short of my posting goals. But I have antibiotics now and the tooth will be dealt with, so I'm feeling a bit better.
And I'm here!

Let Thy Food Be Thy Medicine.
Hippocrates said that, the Ancient Greek father of medicine. And I agree wholeheartedly!
The recipe I'm going to share is a perfect example of that philosophy too, and it was born out of my need for lots of nutrients in an easy-to-consume format... I didn't want to chew anything.
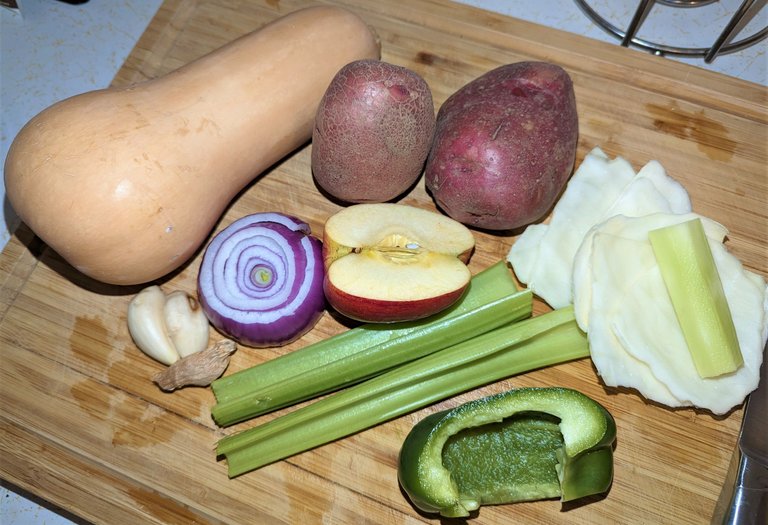
The building blocks of any good soup... FRESH PRODUCE!
It's also just one of my favorite things to make anytime, so I don't need a special excuse. It's a kind of food that you'll find in every part of the world, renowned in all cultures for its simplicity and overall nutritive benefits.
So without further ado: let's jump into it...
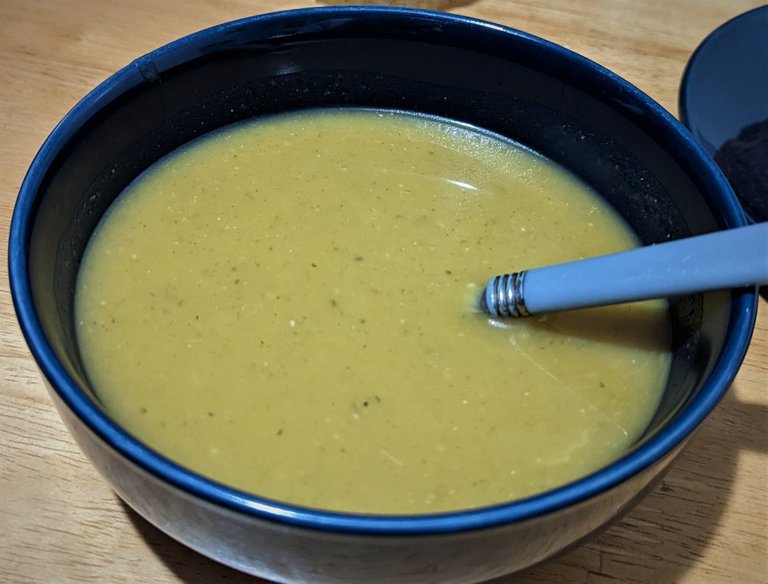
Creamy Butternut Squash Soup!
I'm not saying it's my favorite soup either... it might be-- hearty and creamy, with a sweeter touch than others-- but I just really enjoy creating and consuming a really good, really healthy soup!
You can see the finished product in the picture above. And you may be noting its greenish hue... this is due to the spinach mostly, and every soup will look slightly different each time I make it. If the butternut-orange color matters to you, omitting the spinach should do it.
It may be helpful to share the exact details first in one place, and then I'll add a few more thoughts and details for good measure. Use it as more of a guide than a set of hard rules.
Ingredients List:
- 1 medium butternut squash, cubed
- 1/2 medium onion, diced
- 2 celery stalks, diced
- 1/3 green pepper, diced
- 1/2 large potato, diced
- 1 broccoli stalk heart, diced
- 2 large garlic cloves, diced
- 1 1/2 inch ginger (~ 2 tsp), diced
- 1 cup cabbage, diced
- 1/2 medium apple, peeled and diced
- 1 small handful baby spinach, finely chopped
- 1 tbsp hemp seeds
- 1/3 cup flour, mix water to wet paste
- 6 cups water
- 1/2 jug chicken stock
- 1/3 cup coconut milk
- 1 oz. Tanqueray gin
- 1 bay leaf
- brown sugar, salt and pepper, to taste
- red chili powder, to taste
Recipe Steps:
1. Roast cubed butternut squash with butter and brown sugar on about 400 degrees, stirring once or twice while you get the rest of the soup going.
2. On medium high heat- fry the onion in butter or oil until at least soft and a bit darkened, at least five minutes.
3. Pour in the gin, wait a moment and add the rest of your fresh ingredients--celery, green pepper, broccoli stalk, cabbage, potato, spinach, apple, hemp seeds, garlic and ginger.
4. Add a bit of chicken stock for moisture and your seasonings-- salt, pepper and red chili powder-- and give everything a stir. Simmer for ten to fifteen minutes.
5. Add the roasted (brown, but not burned) butternut squash.
6. Add the rest of the chicken stock, the flour paste and the six cups of water.
7. Softly boil on medium-high heat for one hour, stirring occasionally.
8. After reduced to about three quarters of the original volume, blend until smooth.
9. Add coconut milk and return to soft boil for ten to fifteen more minutes, whisking often and skimming any film that settles at the top.
8. Remove from burner and let cool for at least a half hour. Best reheated on the second and third day.
Every soup I make starts with frying onions, then adding celery and garlic as the base... this will either have bell peppers or carrots included too, depending on the flavor profile I'm going for.
SPECIAL NOTE: If you are going to add an alcohol to enhance flavor, do it when the onions are done... right before you add the celery and garlic. You want to burn the alcohol off, and you can deglaze and scrape any burnt bits there may be. Yum!
And for this particular soup, I roast the cubed butternut squash in the oven with butter and olive oil while the first veggies are frying in the pot. The slight char and burnt sugar will add flavor, and the softening helps speed up the soup's cook time.
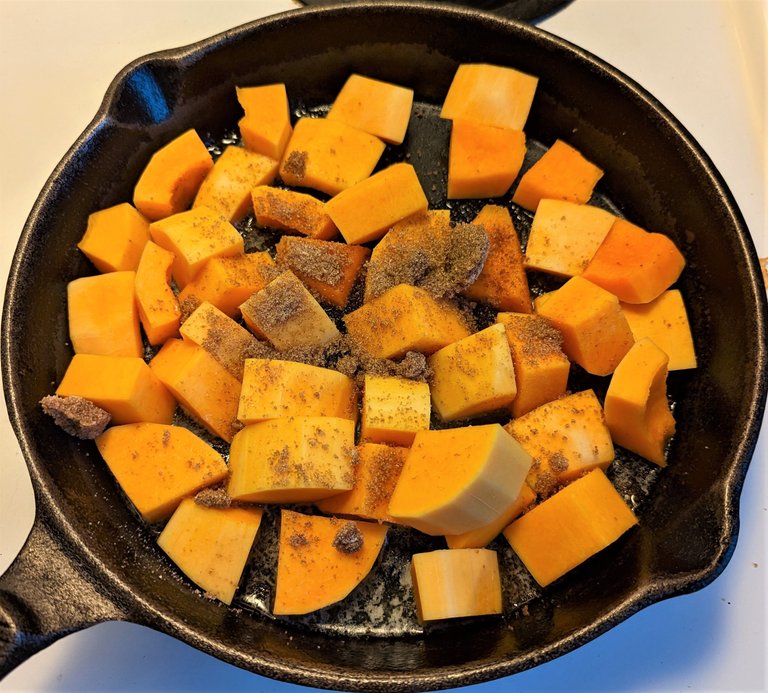
Butternut squash, butter, olive oil and brown sugar... oven-bound.
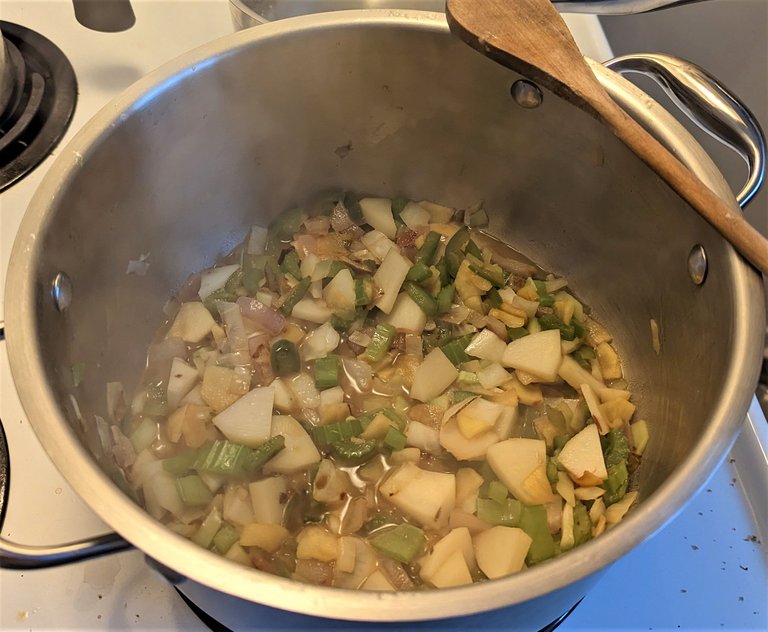
Onions, celery, green pepper, and garlic first... then add things gradually.
Everything's going to make its way into the pot, so you don't need to stress about the exact order... but you do want to build your base for the butternut squash and get it all sautéed, adding water or chicken stock if it gets dry.
When the butternut squash is done, put it right into the mix... then add your seasonings, the flour paste (works as a thickener) and all your liquid. The hard work is done!
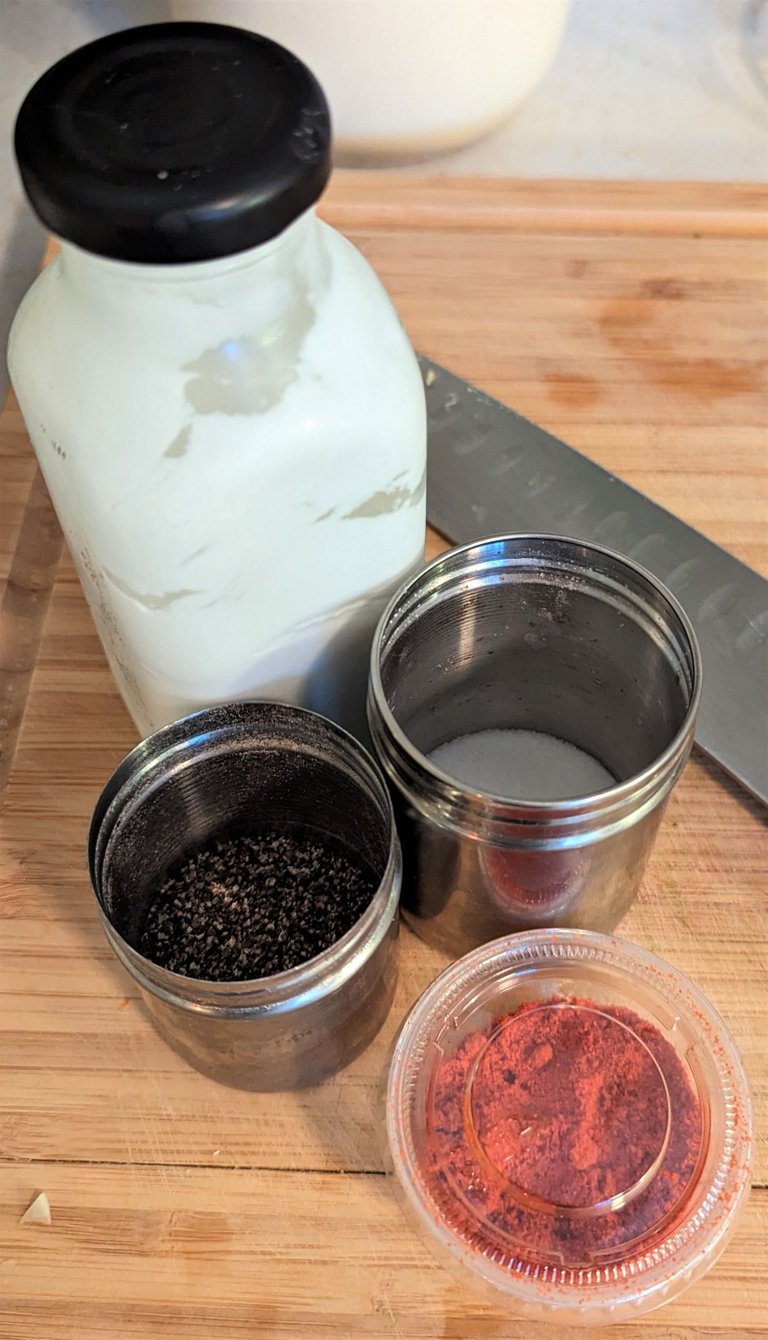
Basic seasoning: salt, pepper and red chili powder (pictured with coconut milk).
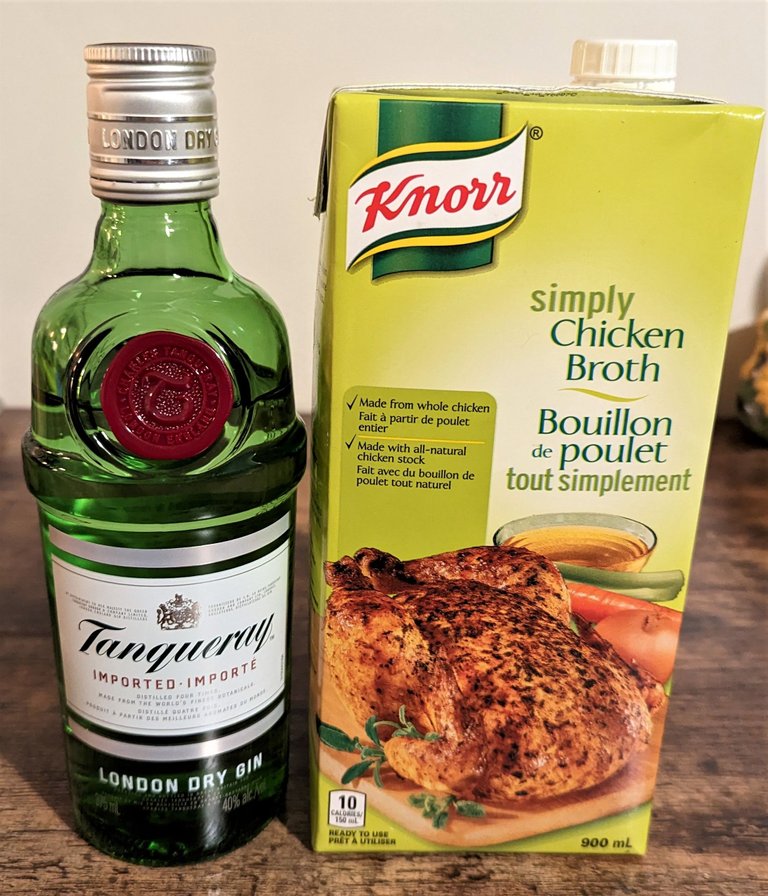
My liquids are chicken broth, Tanqueray gin and water (not pictured).
Now you just need to exercise your patience. Turn the soup on medium-high and bring it to a rolling boil, then turn it down to medium... let it gently boil for at least an hour, stirring occasionally.
This step is the most important, and the easiest. You just wait and wait... and wait! It might seem like torture, but you really can't rush a good thing. You'll likely notice that about one quarter of all the liquid in the pot will boil away. That's a good thing.
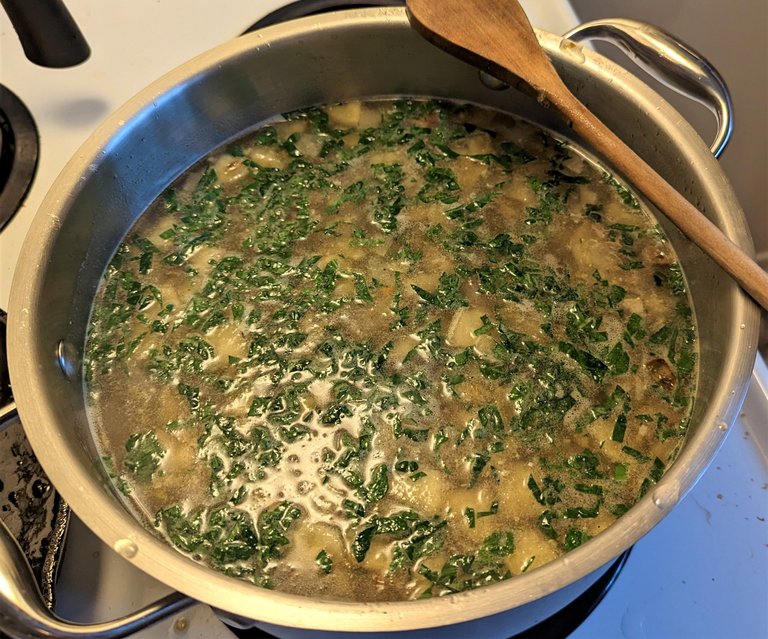
So it begins. All the ingredients (except the coconut milk) are in the pot.
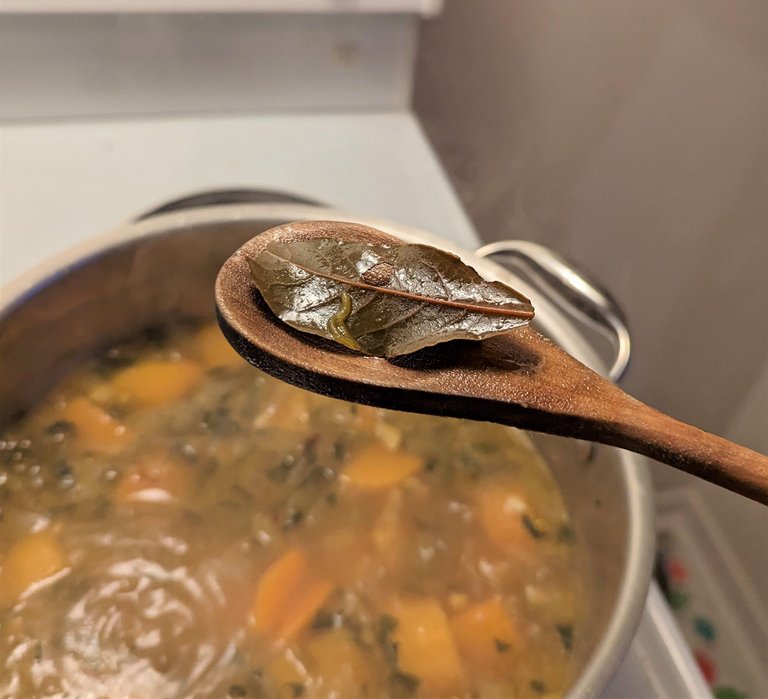
After an hour or so, don't forget to remove the bay leaf (if using).
You can see in the pictures above how much of the liquid evaporated-- use the handle rivet as a comparison marker. This reduction boosts the flavor in the remaining brew BIG TIME, and it is the secret to great soup.
Now that it's been reduced enough, remove the bay leaf (shown above) and get ready to BLEND!
Tools of the Trade
It should go without saying that every cook needs the proper tools in order to create great food. For a soup like this, you'll obviously need a fairly large pot and a whisk, a cutting board and a sharp knife. There isn't much else... another reason soup is one of my favorite foods!
Any blender will do in a pinch too if you want a creamy soup, but I love using my IMMERSION BLENDER every single time! You've probably all seen one before (see the image below) and many of you might have one in your kitchen.
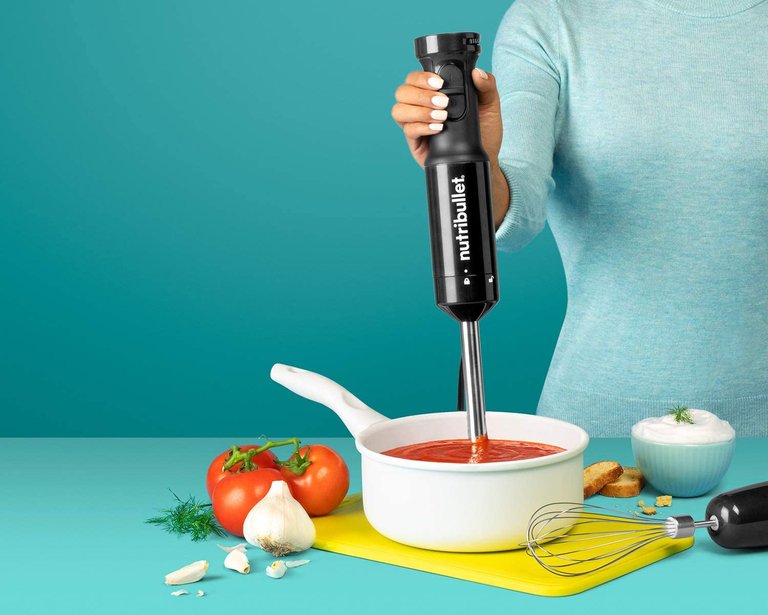
IMAGE C/O AMAZON... NOT MY EXACT IMMERSION BLENDER, BUT ONE I RECOMMEND.
Immersion or "stick" blenders have gotten much more common and affordable over the years, so I really would recommend that every enthusiastic home chef CHECKS IT OUT for their arsenal.
Another exercise in patience... it can take a few minutes of blending to get it smooth, but be thorough. You won't regret it in the end.
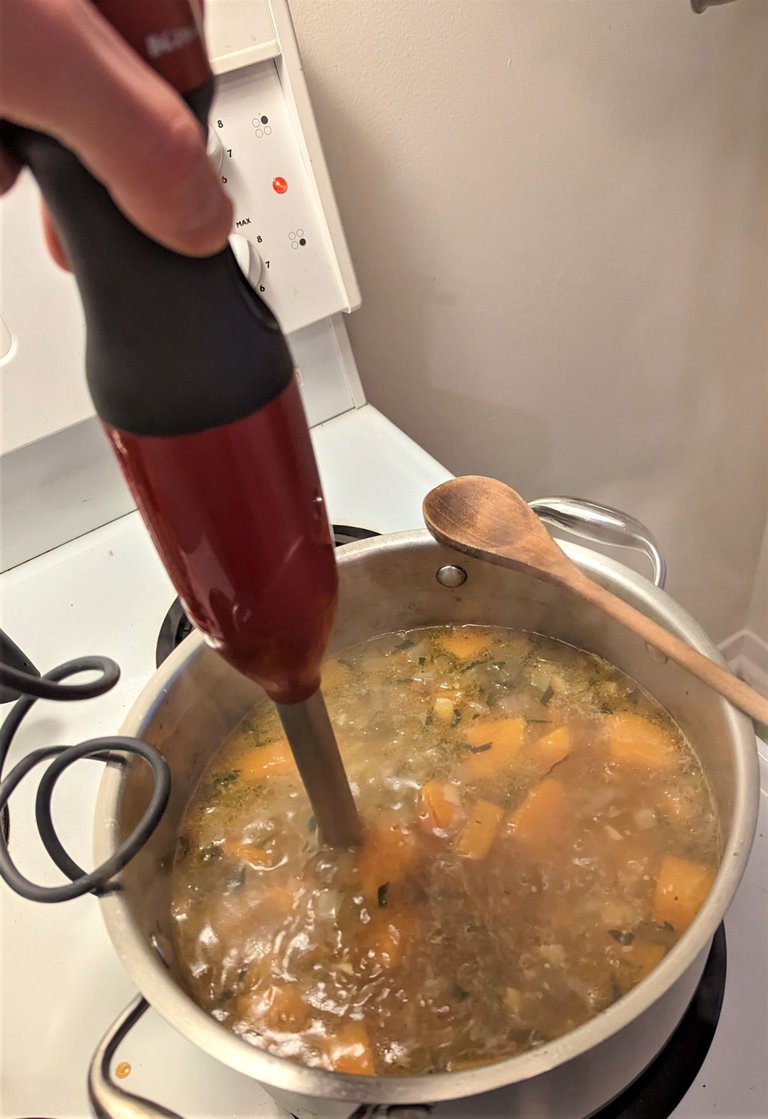
An immersion blender keeps it simple, although it takes a bit of time.
And once it's velvety smooth, we want to reduce it just a bit more and get everything well-acquainted in liquid form... so turn the heat up to medium-high again and get it boiling. Give it about ten minutes, whisking often, and then turn the heat off.
This is when you should give it a final taste and add any seasoning you think it needs. I often add a bit more salt... and possibly another pinch of chili powder if I want the extra kick behind the sweetness.
SPECIAL NOTE: During this last reduction process, I also like to skim off any skin-like layer that may appear on the surface. It's not necessary, but I find that it produces a more clean and clear finished product. Call me crazy. To each their own.
THE ONLINE SUPERMARKET!
It's amazing what we can get online nowadays! I'll run through a few specific things, but don't go crazy and buy all kinds of stuff just to make soup. The idea is that you can make a nutritious and flavorful soup with things you already have in your kitchen.

IMAGE C/O JIMMY DEAN ON UNSPLASH.
Don't dismiss it entirely though... it's a wonderful resource, and you can add some new life and character to your cooking. I certainly keep my eyes open and look for affordable, interesting ingredients.
For example, I personally use THESE HEMP SEEDS-- as they are a high-quality product and they are harvested and processed here in Canada. If you prefer something more local to you, then definitely do that (or you can skip them in the recipe altogether).
And it really does come in handy for some harder to find and more specialized items. The hemp seeds above, for example, are cheaper through that link than I could find locally... and higher-caliber red chili powder like THIS BOLD, BRIGHT VARIETY may even be impossible to source without a special trip to ethnic stores an hour away.
Having said all that, I'm a big fan of FRESH ingredients! Avoid packaged, canned, frozen or dried versions of any ingredient on the list-- unless it is specifically called for. That's a good rule of thumb to follow.
That's a Wrap... or... a Soup!
After the final boil (and optional skimming and seasoning), take it off the stove and let it cool.
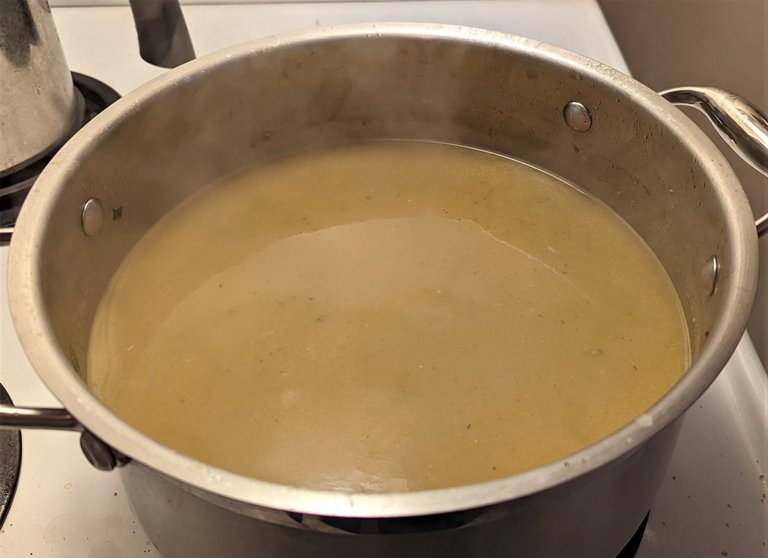
Blended, boiled and skimmed. Done and ready to cool.
That's it! Your soup is ready to be enjoyed. Make sure you invite people over to try it... there is nothing more gratifying than good people enjoying the food you worked hard on!
And as one final tip: homemade soup is actually at its very finest on the second or third day... so if you have that level of patience, wait and reheat it the day after you make it. The extra time makes it all come together and sing... it truly does.
If you're a frequent consumer and/or creator of food-related content, make sure you use the FOODIES BEE HIVE platform at least part of the time. And remember to stake those #FOODIE tokens to make your curation count!
I should disclose that any links to products I feature or recommend are usually affiliate links sending you to Amazon. If you purchase anything through my links, I get a small cut (at no extra cost to you). I don't do this frivolously though... I only recommend products I either use myself or that I trust.