
Ingredientes:
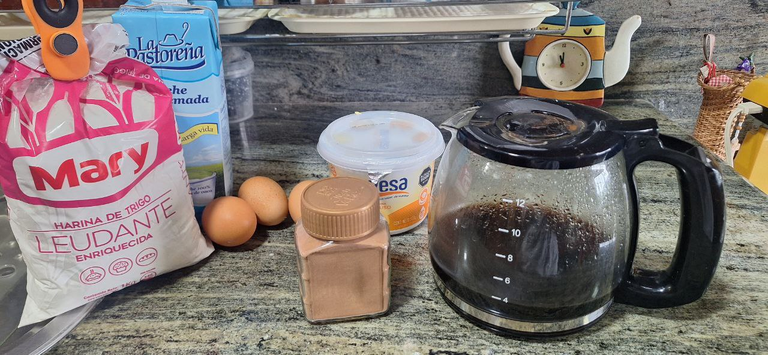
1 taza de harina
3 huevos
1/2 taza de leche
200g de azúcar
80g de cacao en polvo
1/2 taza de café negro
125g (o 3 cucharadas) de margarina o mantequilla
Una pizca de sal
Azúcar glass para decorar
Maní garapiñado

Instrucciones:
Preparación del horno: Precalienta el horno a 200°C (390°F) y engrasa y enharina un molde para brownies. En mi caso, uso un molde de silicón.
Añadir huevos y azúcar: Agrega los huevos y el azúcar a la margarina batida. Bate la mezcla durante 5 minutos hasta que esté bien integrada y esponjosa.
Mezcla seca: Tamiza la harina y el cacao en polvo. Añade estos ingredientes secos a la mezcla líquida, alternando con la leche y el café negro. Mezcla bien después de cada adición.
Añadir la pizca de sal: Incorpora una pizca de sal a la mezcla y mezcla bien.
Preparar el maní garapiñado: En un bol aparte, mezcla el maní garapiñado con 2 cucharadas de harina. Esto evitará que se hundan en la masa durante la cocción.
Incorporar el maní: Añade el maní garapiñado a la mezcla de brownie de manera envolvente con una espátula, asegurándote de que se distribuyan uniformemente.
Horneado: Vierte la masa en el molde preparado y hornea durante 45 minutos. Me gusta dejar el brownie un poco húmedo, así que ajusta el tiempo según tu preferencia. Para un toque crujiente en la cubierta, aumenta la temperatura del horno a 215°C (420°F) durante los últimos 10 minutos.
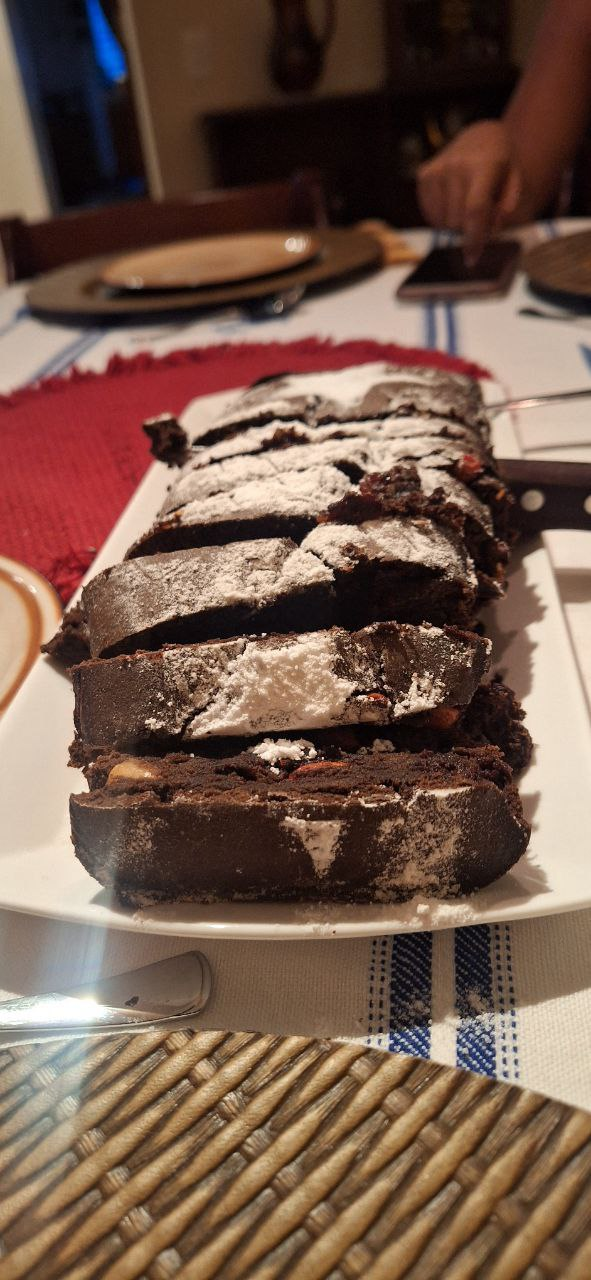
Decoración: Deja enfriar el brownie en el molde. Una vez frío, espolvorea azúcar glass por encima.
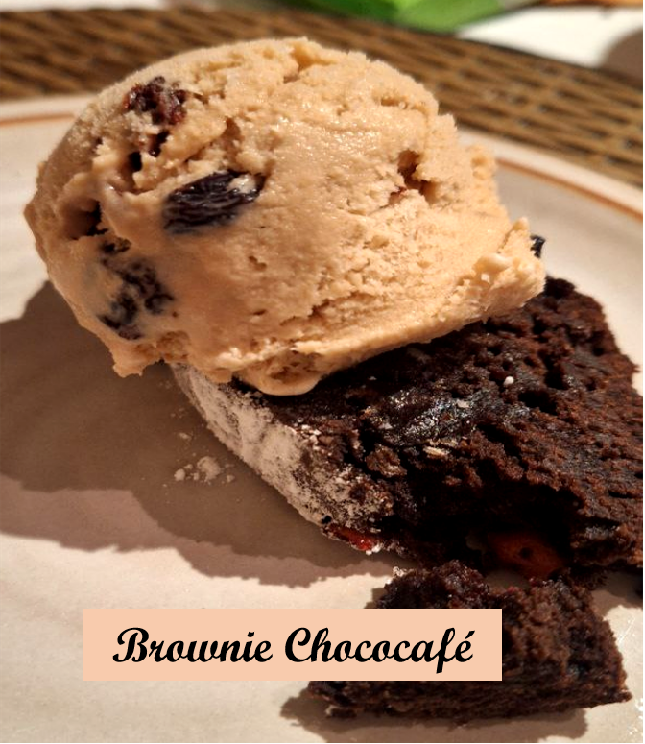
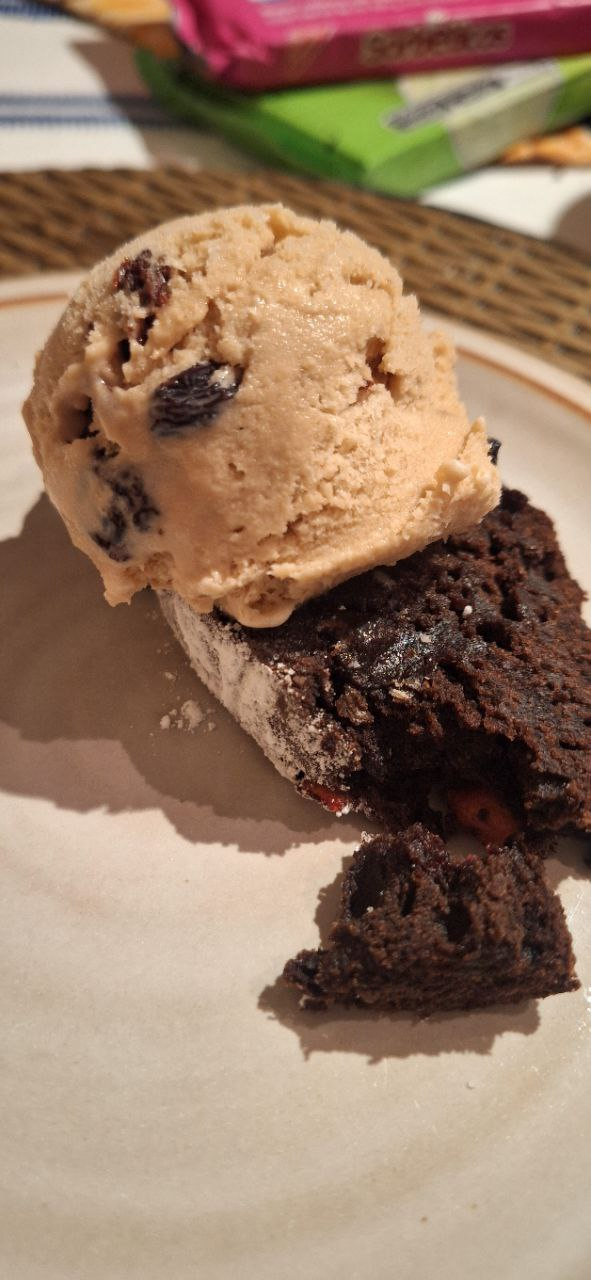
Servir: Corta en porciones y sirve tibio, acompañado de una bola de helado para disfrutar de una merienda perfecta
Tips Adicionales:
Variedad de sabores: Puedes agregar chips de chocolate o nueces a la mezcla para darle más textura y sabor.
Consistencia: Para un brownie aún más húmedo, reduce ligeramente el tiempo de horneado y verifica la cocción con el palillo.
Conservación: Guarda los brownies en un recipiente hermético a temperatura ambiente por hasta 3 días, o en el refrigerador por hasta una semana.
Espero que disfruten de esta deliciosa receta tanto como yo disfruto preparándola. ¡No olviden compartir sus resultados y opiniones en los comentarios!
¡Nos leemos pronto Hive!
Con cariño,
Vicokiwi

English Version: ChocoCafé Brownie Recipe
Hello, Foodies Be Hive community! Today, I want to share a perfect recipe for any occasion: ChocoCafé Brownie! This brownie is super moist and delicious, ideal for pairing with a scoop of ice cream and enjoying a delightful snack. Below is the complete recipe so you can prepare it at home.


Ingredients:
1 cup of flour
3 eggs
1/2 cup of milk
200g of sugar
80g of cocoa powder
1/2 cup of black coffee
125g (or 3 tablespoons) of margarine or butter
A pinch of salt
Powdered sugar for decoration
Candied peanuts

Instructions:
Preheat the oven: Preheat the oven to 200°C (390°F) and grease and flour a brownie mold. I personally use a silicone mold.

Cream the margarine: In a large bowl, beat the margarine until creamy.
Add eggs and sugar: Add the eggs and sugar to the creamed margarine. Beat the mixture for 5 minutes until well integrated and fluffy.
Dry ingredients: Sift the flour and cocoa powder. Gradually add these dry ingredients to the wet mixture, alternating with the milk and black coffee. Mix well after each addition.
Add the pinch of salt: Incorporate a pinch of salt into the mixture and mix well.
Prepare the candied peanuts: In a separate bowl, mix the candied peanuts with 2 tablespoons of flour. This will prevent them from sinking in the batter during baking.
Incorporate the peanuts: Gently fold the candied peanuts into the brownie batter with a spatula, ensuring they are evenly distributed.
Bake: Pour the batter into the prepared mold and bake for 45 minutes. I like to leave the brownie slightly moist, so adjust the time according to your preference. For a crunchy top, increase the oven temperature to 215°C (420°F) for the last 10 minutes.
Decoration: Let the brownie cool in the mold. Once cool, sprinkle powdered sugar on top.
Serve: Cut into portions and serve warm, accompanied by a scoop of ice cream for a perfect snack.

Additional Tips:

Flavor variety: You can add chocolate chips or nuts to the batter for extra texture and flavor.
Consistency: For an even moister brownie, slightly reduce the baking time and check doneness with a toothpick.
Storage: Store brownies in an airtight container at room temperature for up to 3 days, or in the refrigerator for up to a week.
I hope you enjoy this delicious recipe as much as I enjoy making it. Don’t forget to share your results and opinions in the comments!
See you soon on Hive!
With love,
Vicokiwi

Todas las fotos son de mi autoria y la receta fue modificada de la receta original de mi madrina, tomada del libro de dulces de Scannone
All photos are my own and the recipe was modified from my godmother's original recipe, taken from Scannone's candy book.

▶️ 3Speak
