Testing the new front-end features
Hello my dear friends a pleasure to greet you, it is always great to participate with all the dapps of the hive.
And today we are going to give you a small tour of the desktop interface in its new presentation, for short messages.
As many already know, improvements are being made within the different applications of the hive and one of them is the ability to interact with short messages, very similar to twitter.
Our friends at @ecency already have their functionality active for this modality, if you didn't know it, come and I'll tell you a little bit about it.

The first step is to connect to your PC hahaha, at the top you will see an addition that says MAZOS, just click on it, as you can see in the image above.
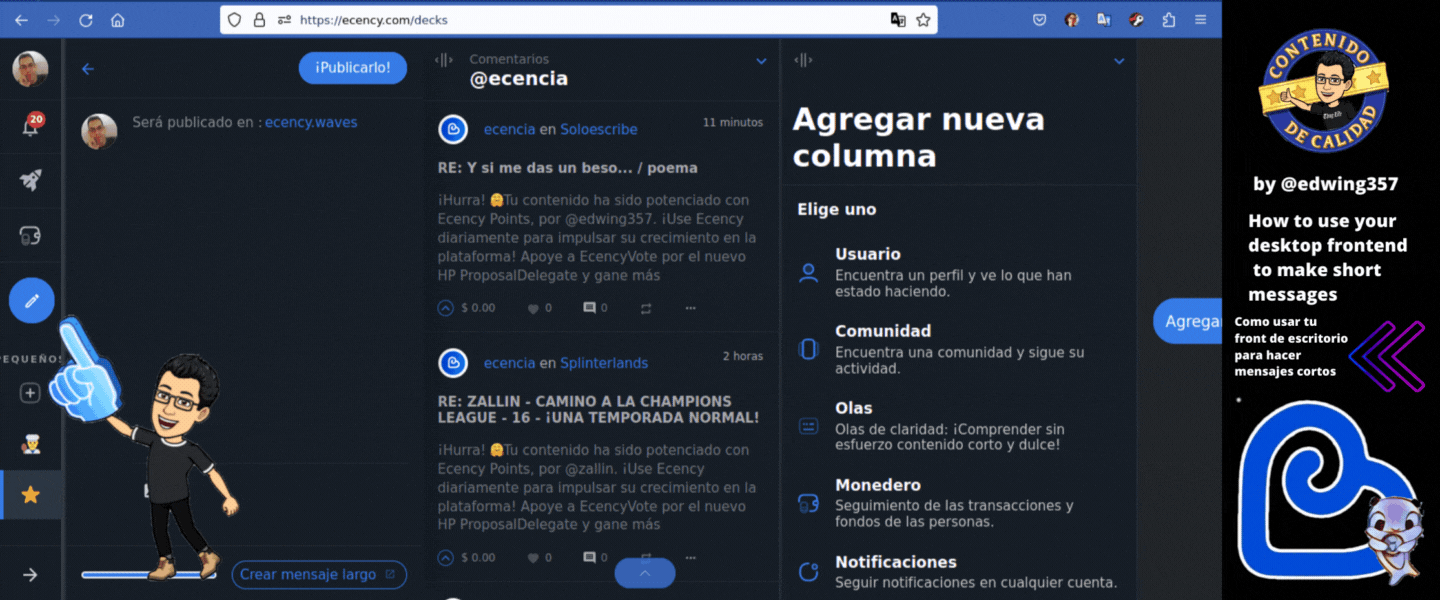
Immediately you will be redirected to the new function, there you will see on the left side a vertical panel with several options, click on the small pencil and enter
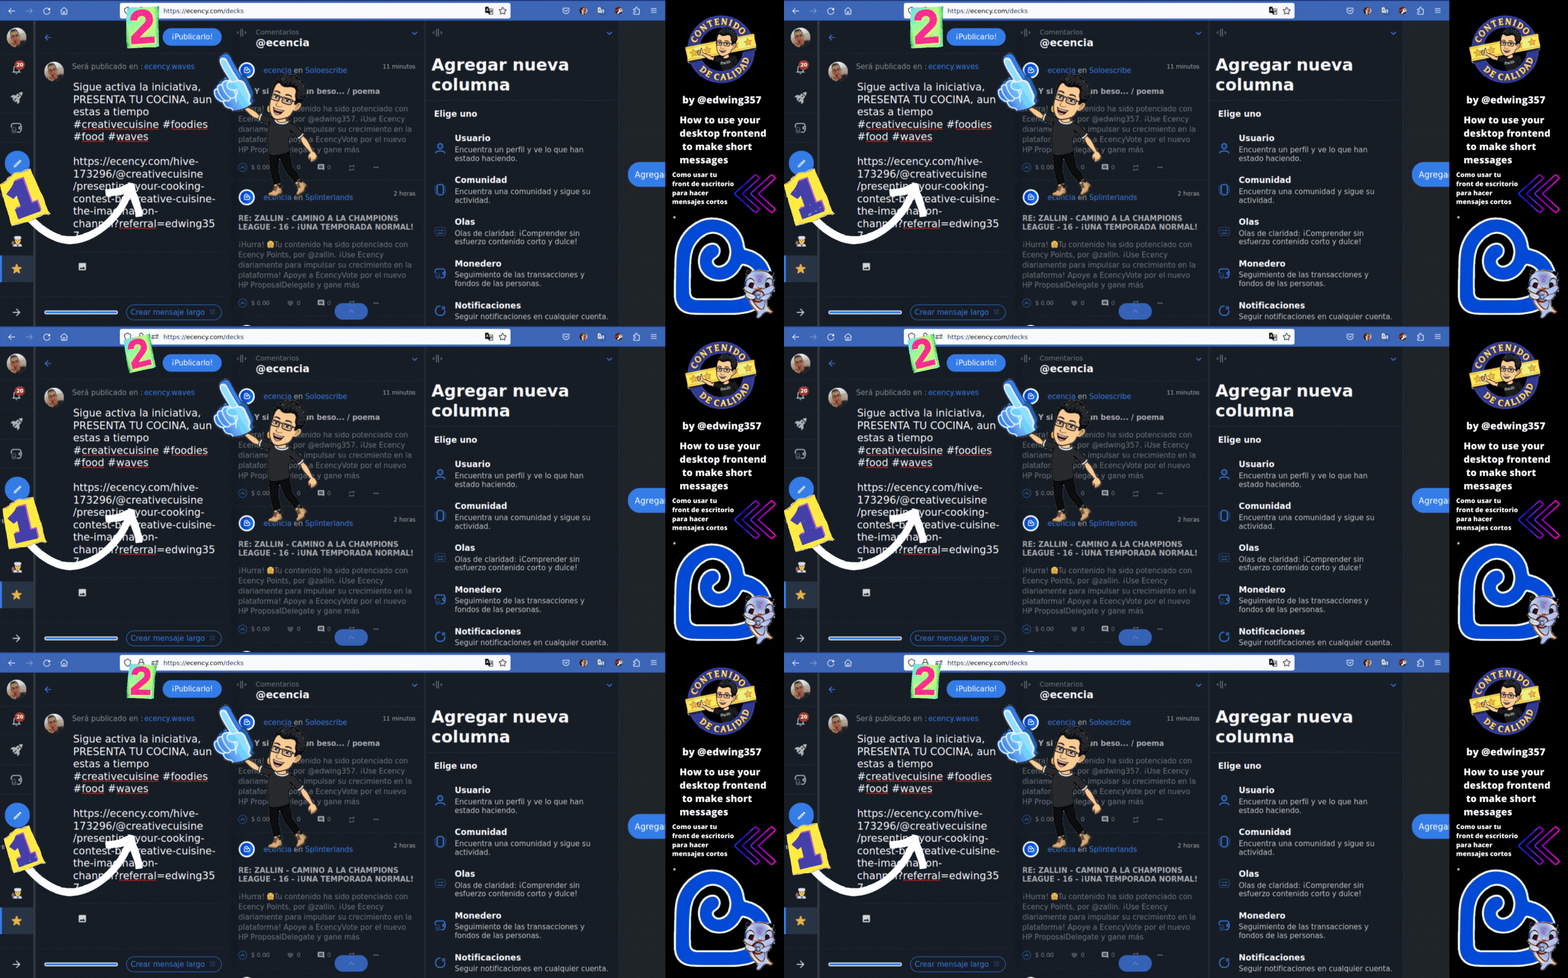
Now just write your short message and hit publish, it's as simple as that.
Remember to be precise in what you want to say, they are few characters, but enough to place your most relevant tags (depending on the content) you can even share a link or a photo.
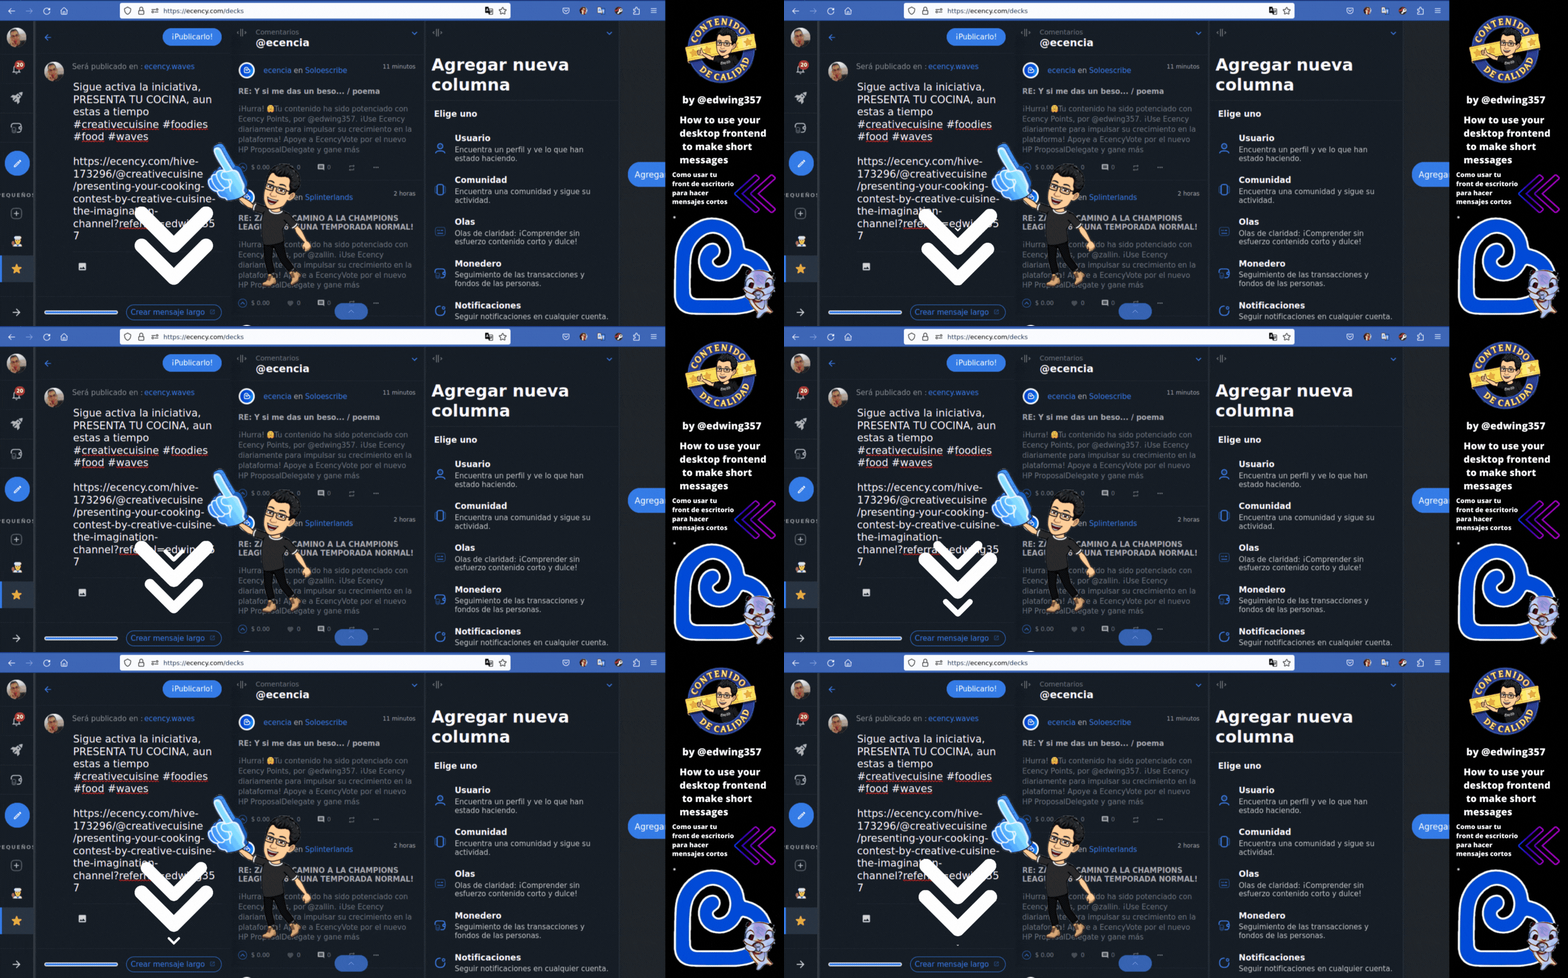
Remember to use appropriate tags, so your message will be successful!
Another option you have in this step is to turn your message into a publication if you exceed the number of characters, just click on the bottom and it will change to publication mode instantly.
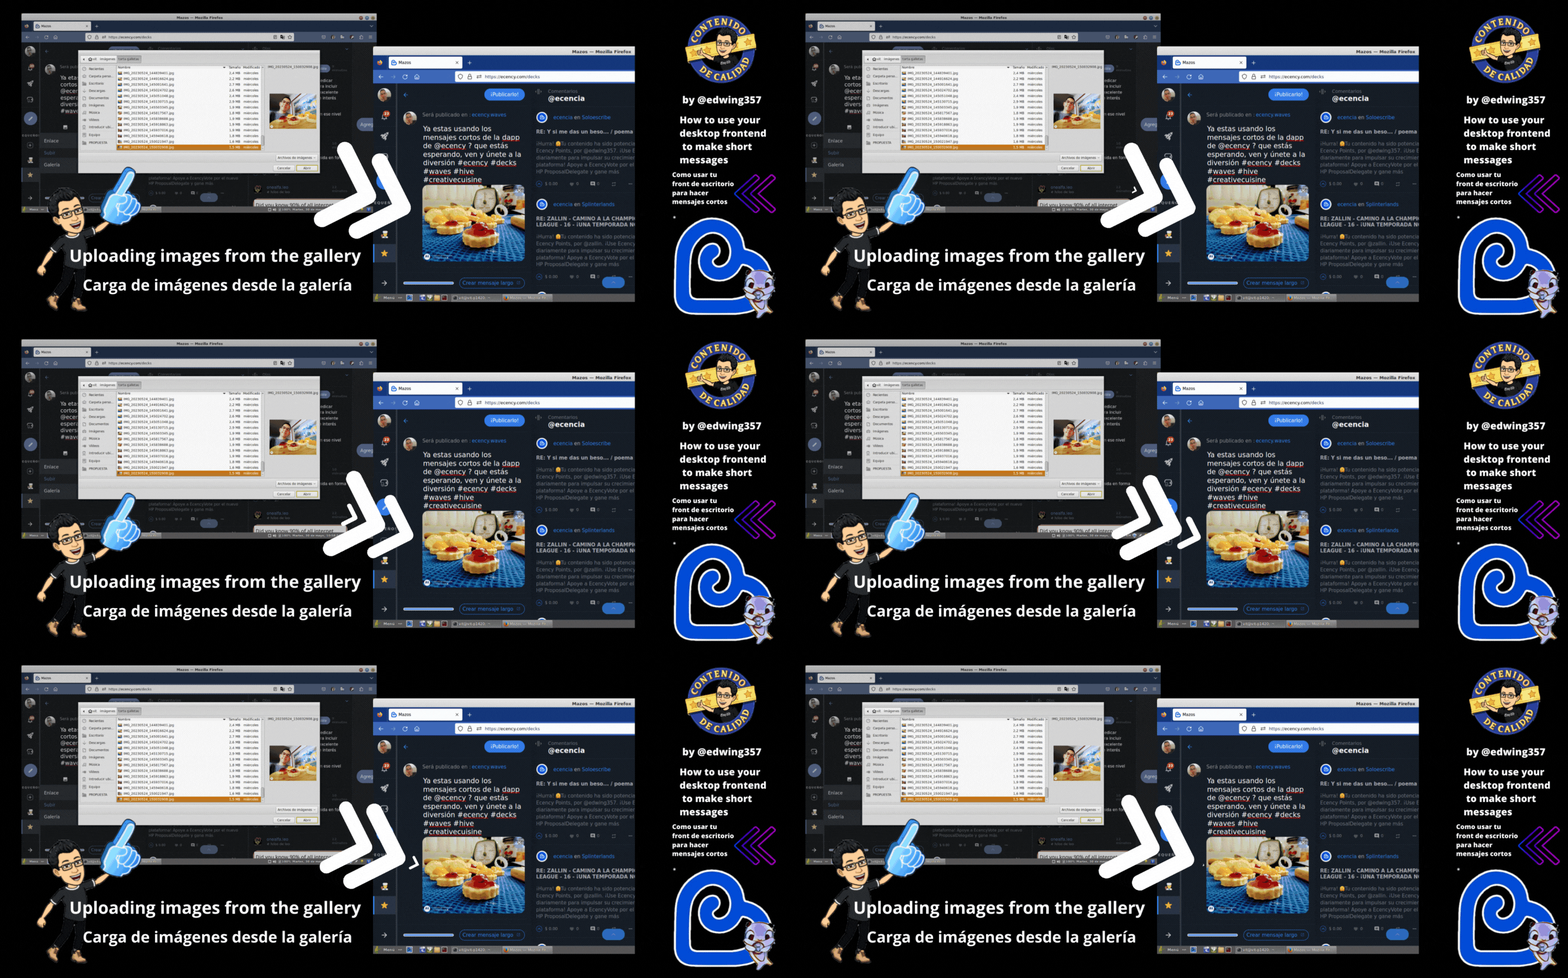
If you decide to place an image, just upload it from your personal files, it will take a few seconds and you will have the photo loaded in your message very quickly.
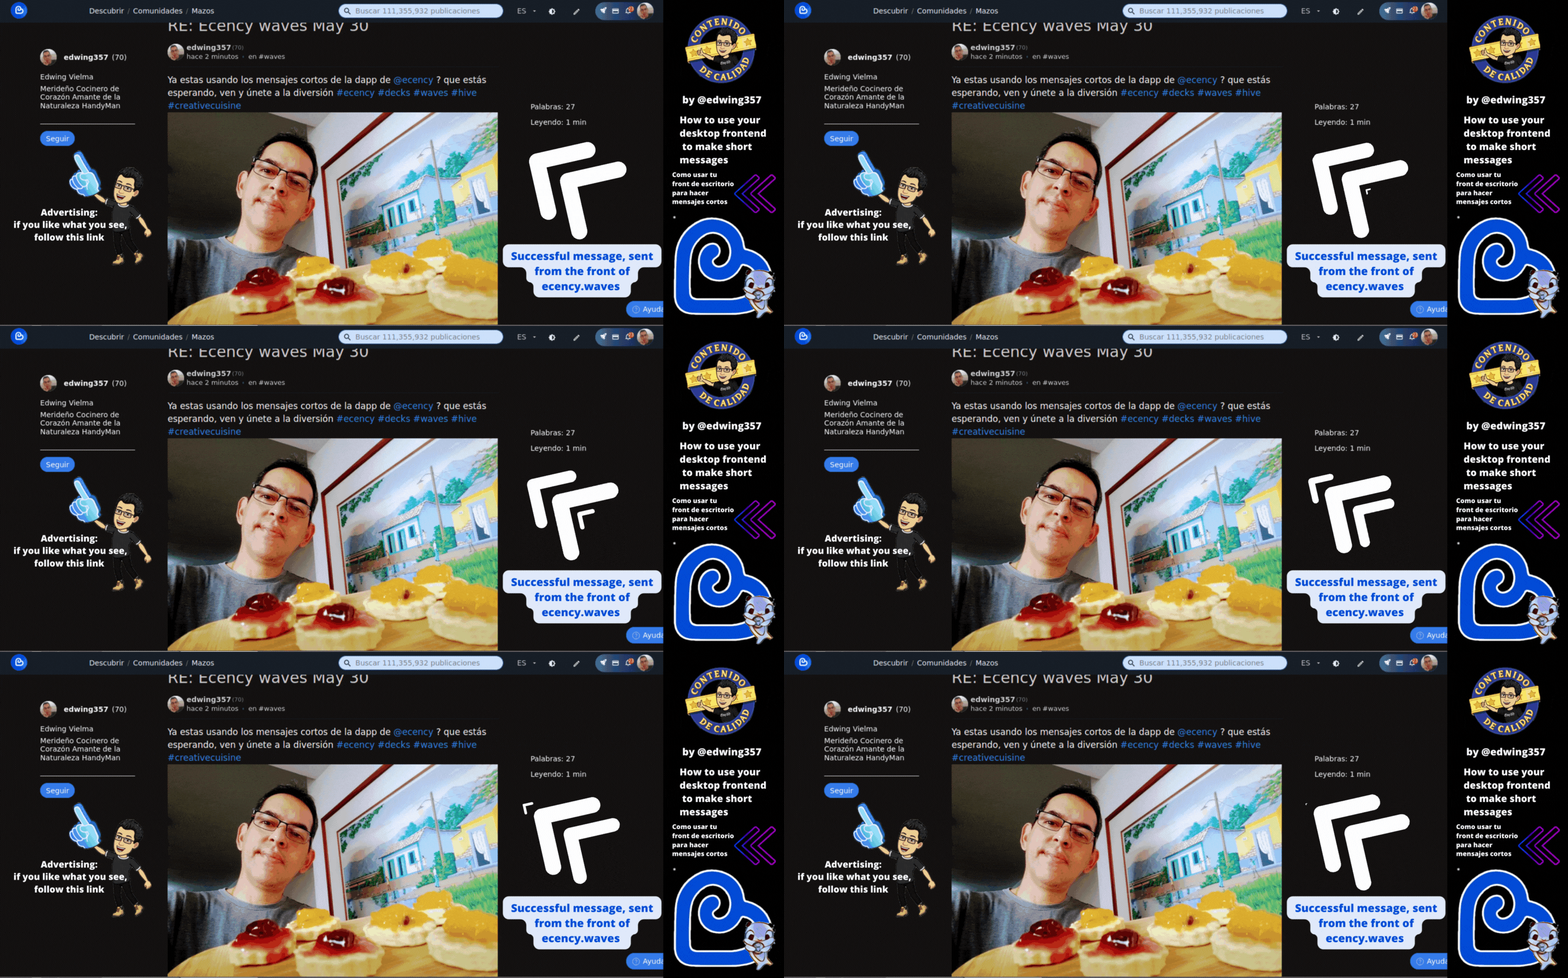
⬆️ Successful message! ⬆️
Now that you know how to send messages, let me show you what else is new. 😎
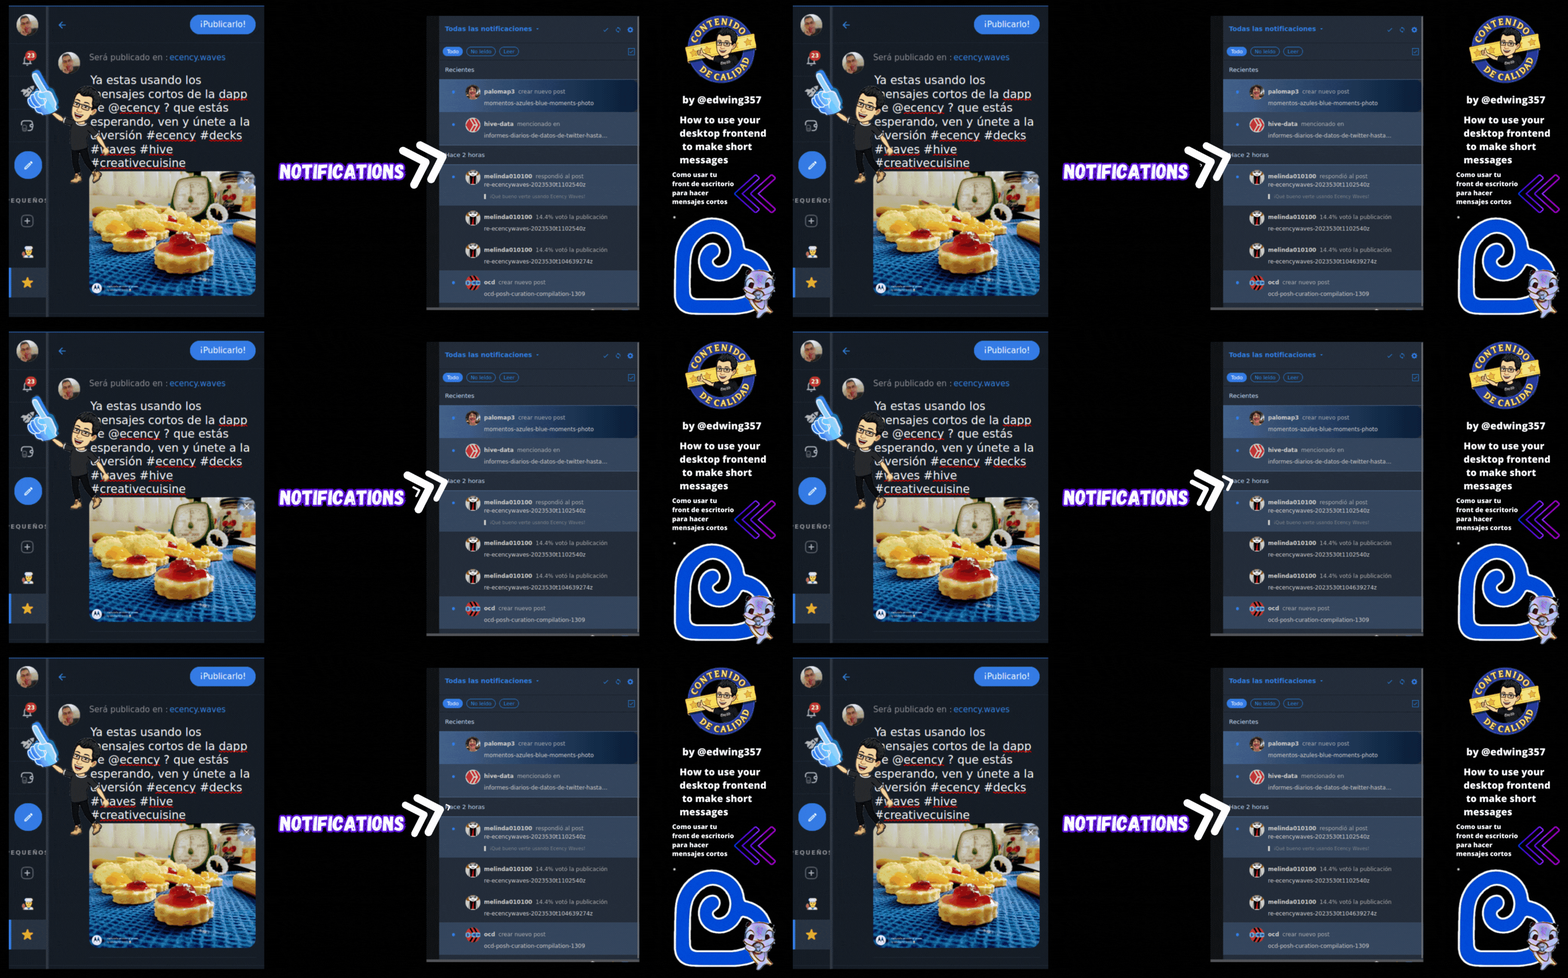
If we click on the small bell it will display the notifications on the right side, with the sub options and settings for them, without having to leave the interface.
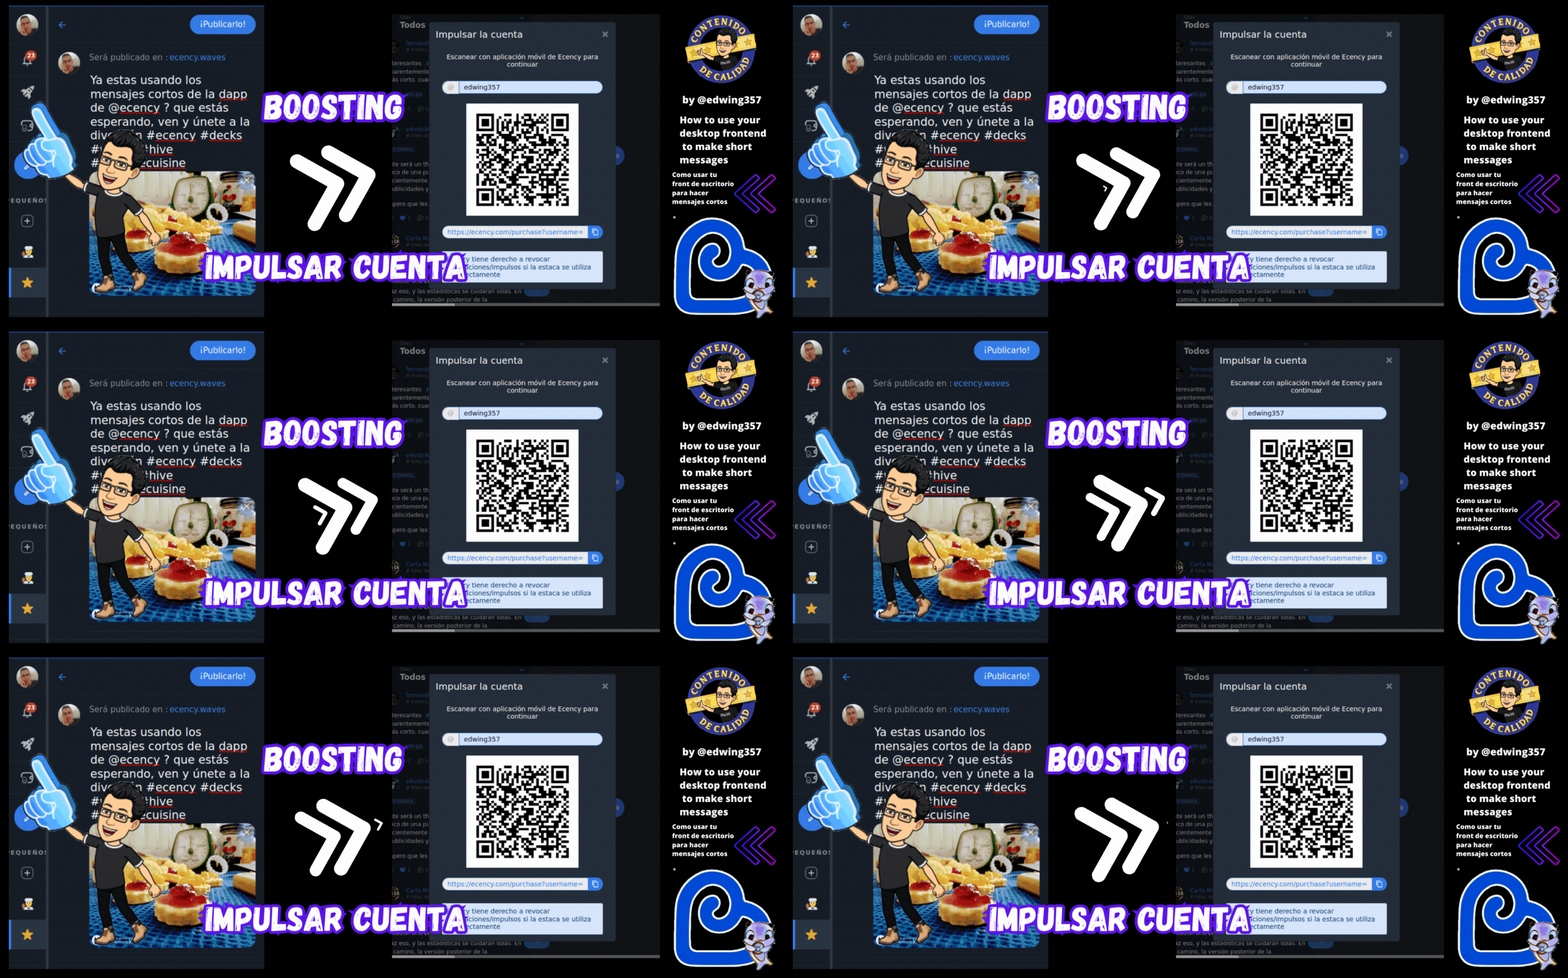
Then below the notifications we will find a small rocket that will give us the option to boost by scanning a QR code.
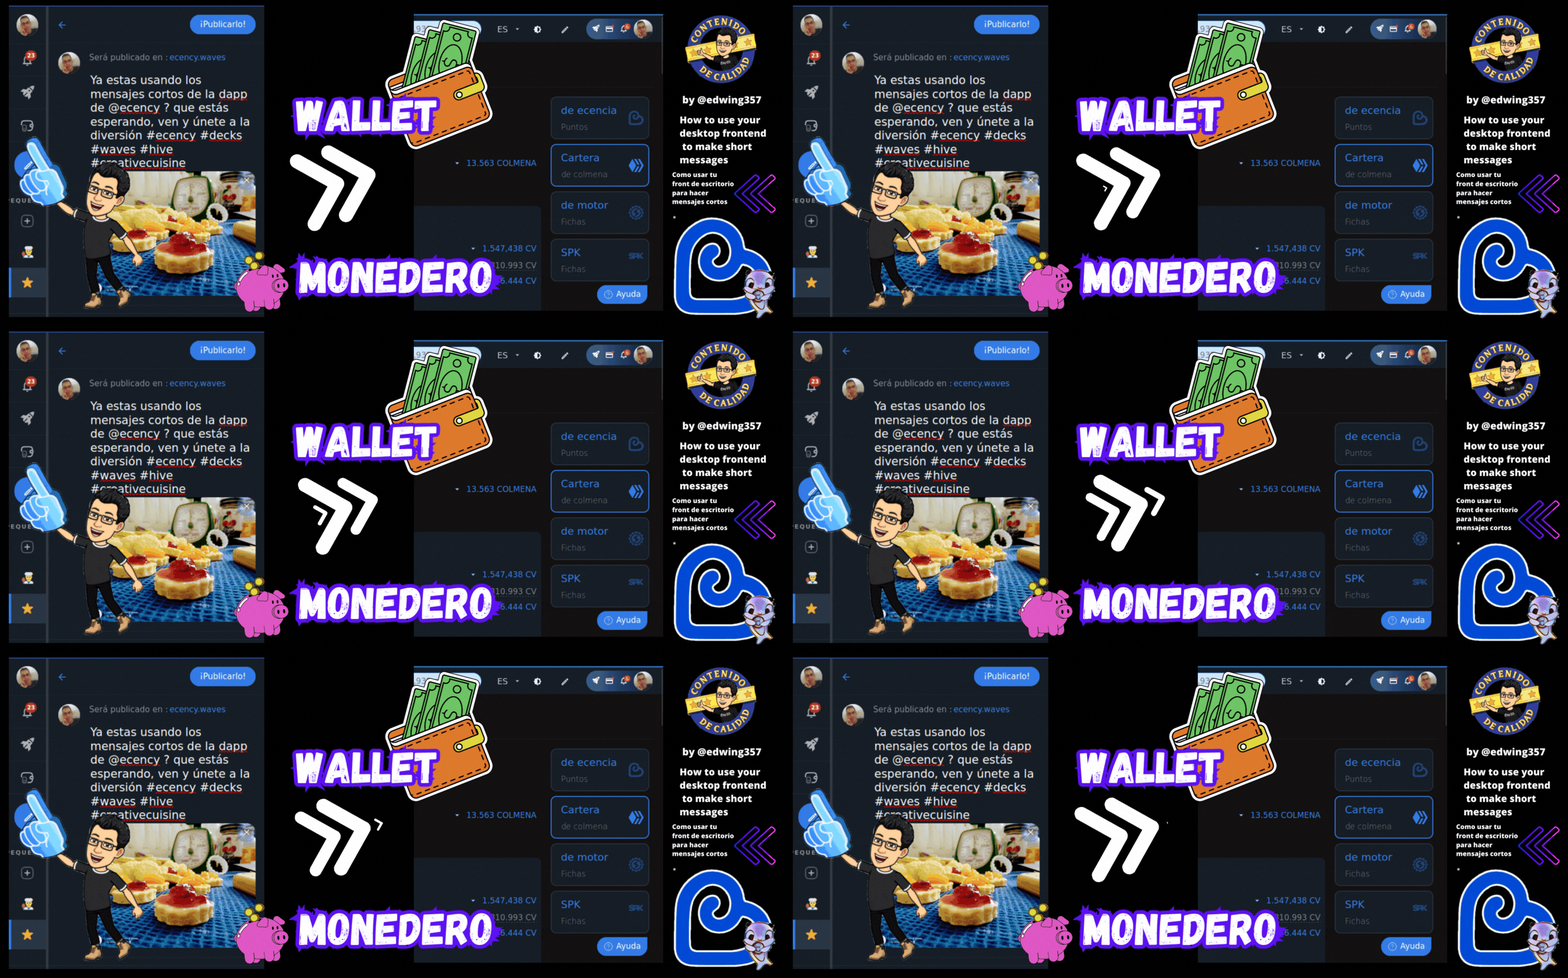
The next option will take you directly to your ecency wallet, where you can view your points, HBD, HIVE and more.
Then there is the pencil, under the wallet, which we already know is for short messages. 😜
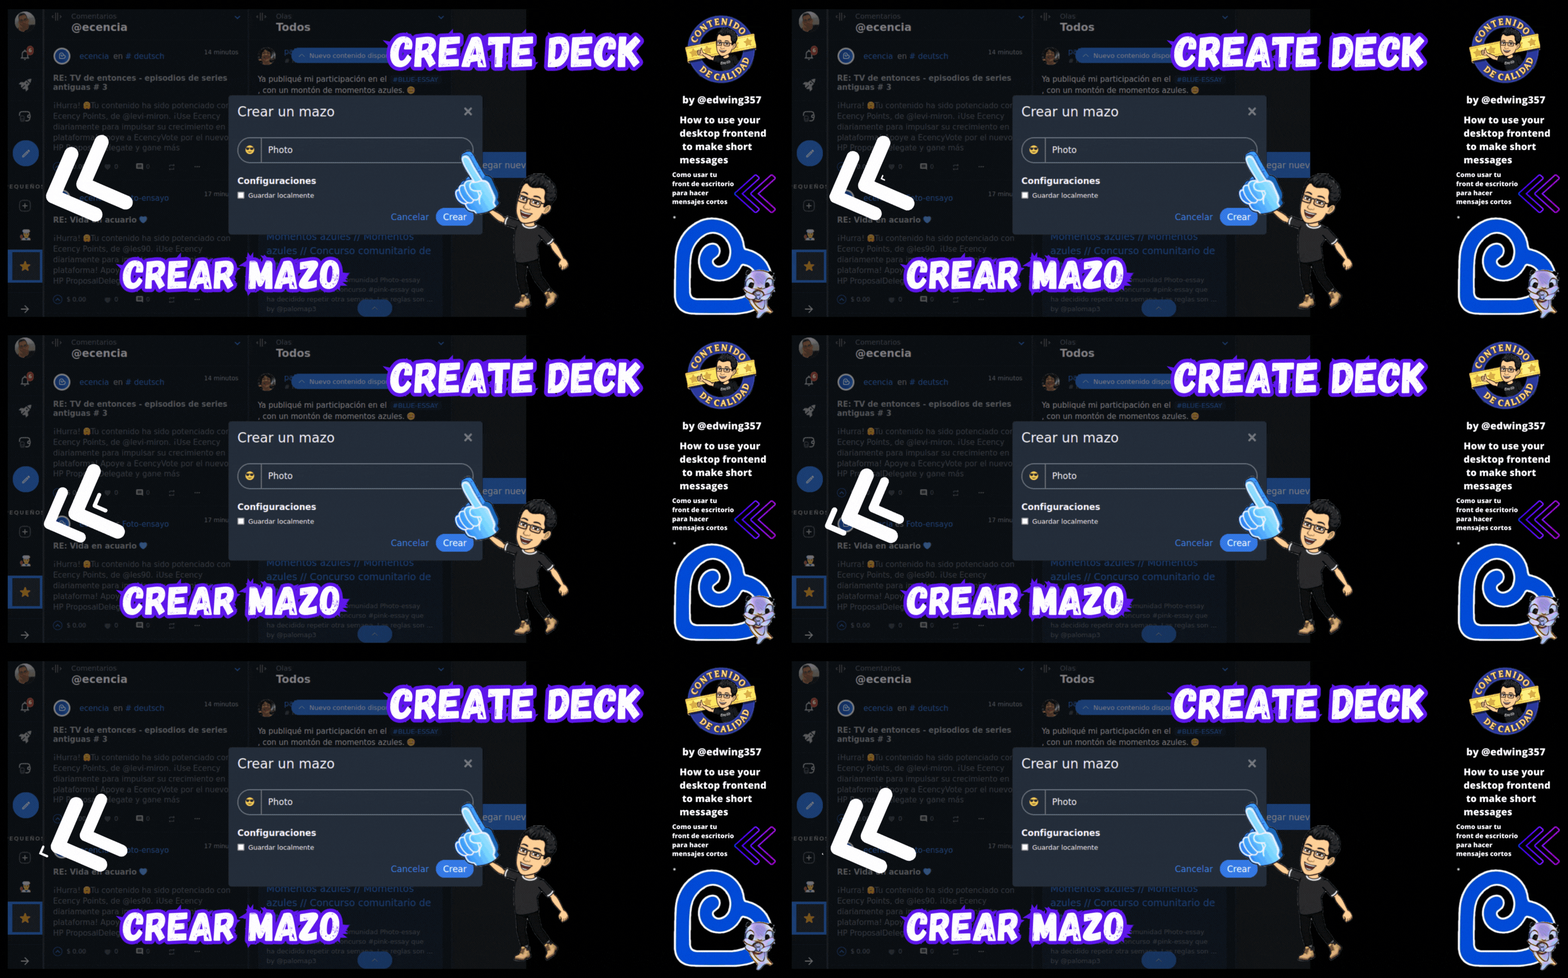
Now we are going to see a small symbol (+) which is to create the decks. This is an option to create user groups or communities or very specific content.
Clicking there opens the option to create the deck, you must give it a specific name, such as: photography, food, games, etc, you can add an emoji with which you can identify the content for that particular deck.
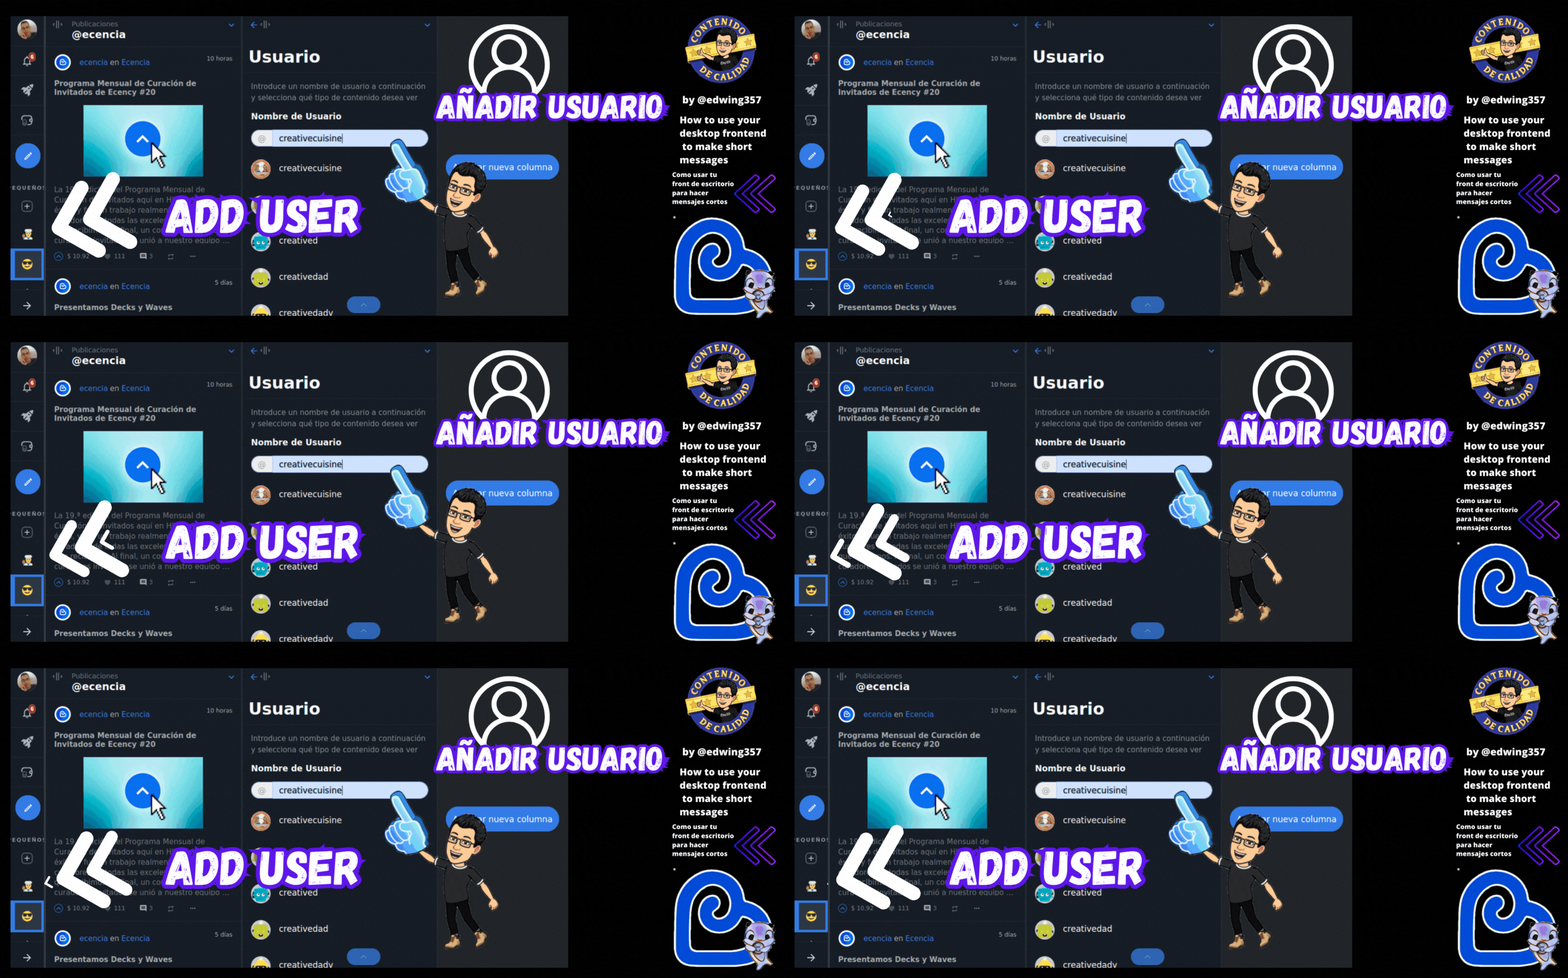
Once you have created your decks, just click on the corresponding emoji and start adding the users you want to follow more closely.

If we want to add another user, we click on add another column and enter the name and the content we want to see, it can be their blog, comments or just their posts in general.
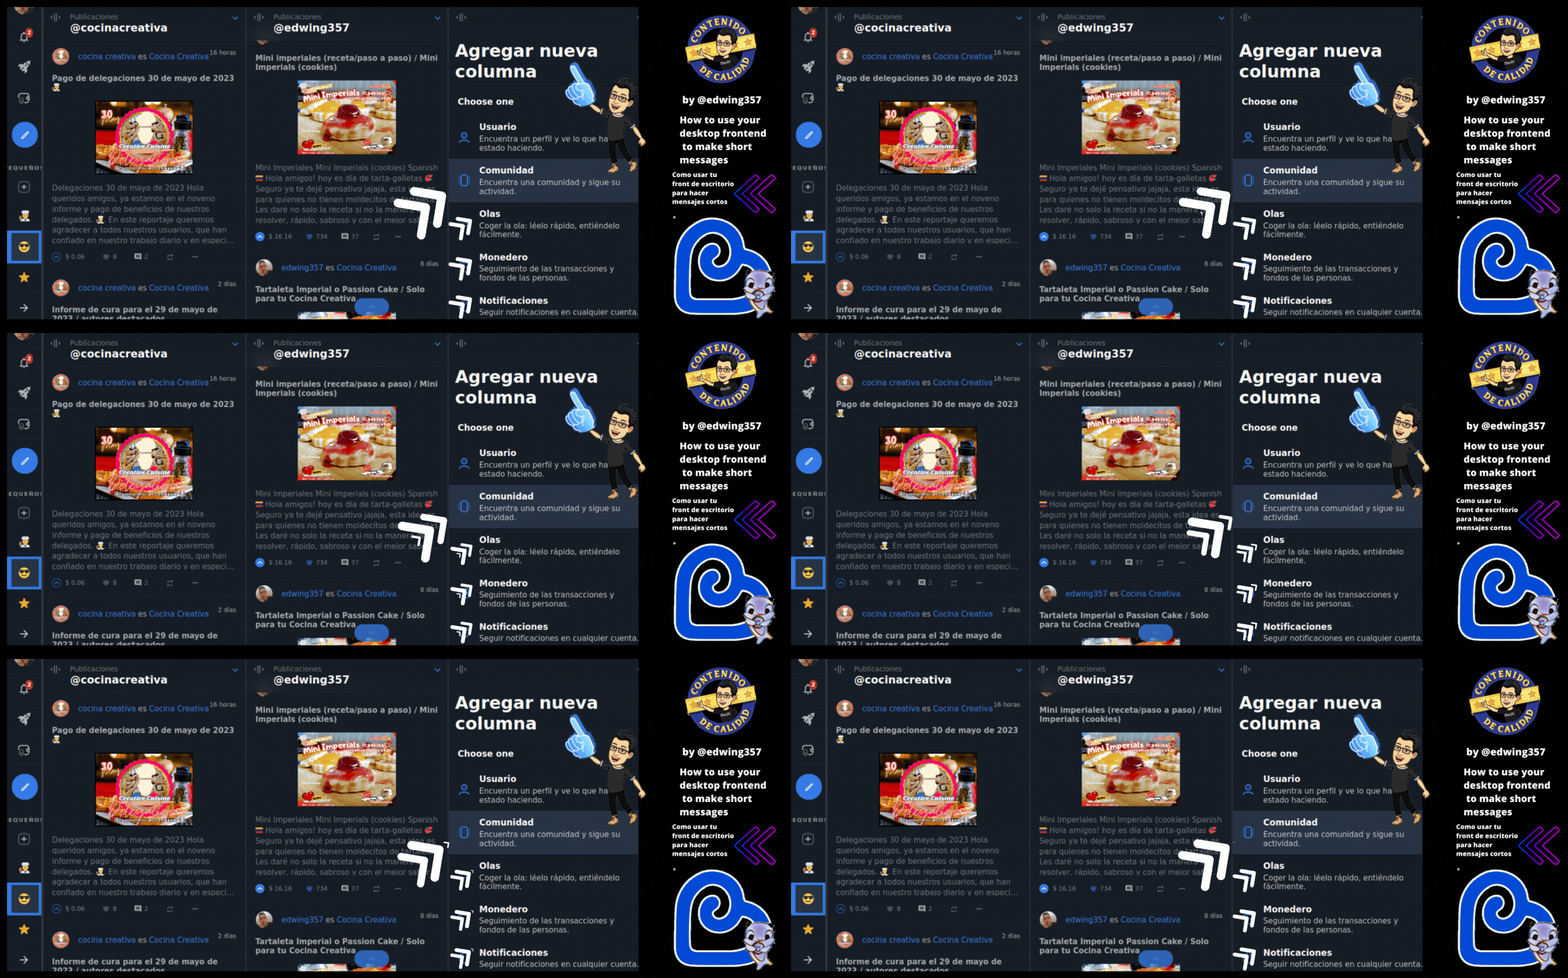
Every time you add a column, it gives you the same options either to add a user or a community, we can also put only see short comments, you configure it as you like best.
Once the decks are ready, we can see the chosen contents vertically, in each column individually
It is a very useful tool to follow your favorite users.
Now that you know how it all works, it's time to have fun and comment.
copyright ©


 You've been curated by