Feliz lunes hivers, empezamos la semana con un proyecto fácil y sencillo de hacer, recuerden que está la comunidad
@needleworkmonday donde todos los que hacemos trabajos de costura, bordado y todo lo relacionado con aguja y telas compartimos las obras, también nos apoyamos entre todos.
Happy Monday hivers, we start the week with an easy and simple project to do, remember that there is the @needleworkmonday community where all of us who do sewing, embroidery and everything related to needle and fabrics share the works, we also support each other.
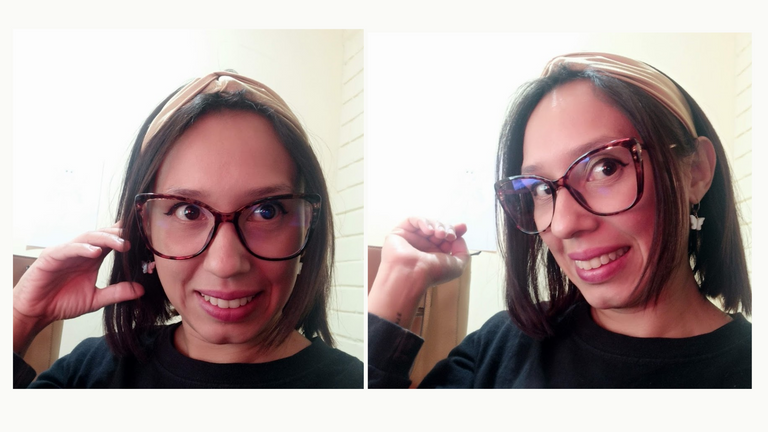
Bueno hivers, el proyecto de hoy anteriormente se los había explicado pero esta vez les muestro un truco que le da un toque más profesional y prolijo. Se trata del tutorial de una diadema elástica con nudo central pero con la costura escondida, es decir al nudo no se le verá la unión y al cintillo en sí tampoco.
Well hivers, today's project has been explained before but this time I show you a trick that gives it a more professional and neat touch. This is the tutorial of an elastic headband with a central knot but with the seam hidden, that is to say, the knot will not show the union and the headband itself will not be seen either.
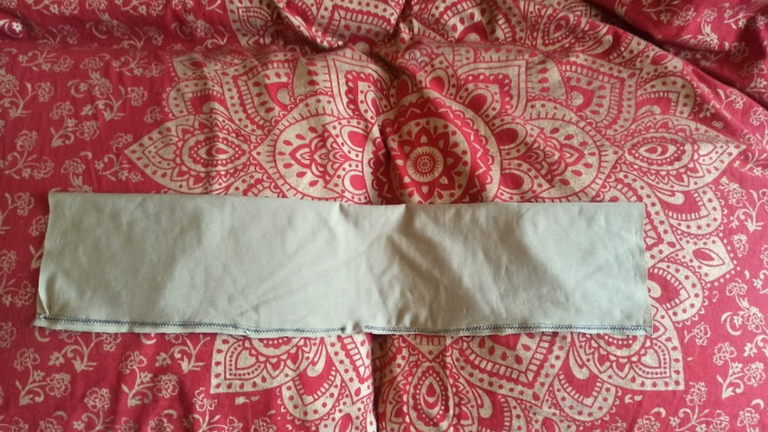
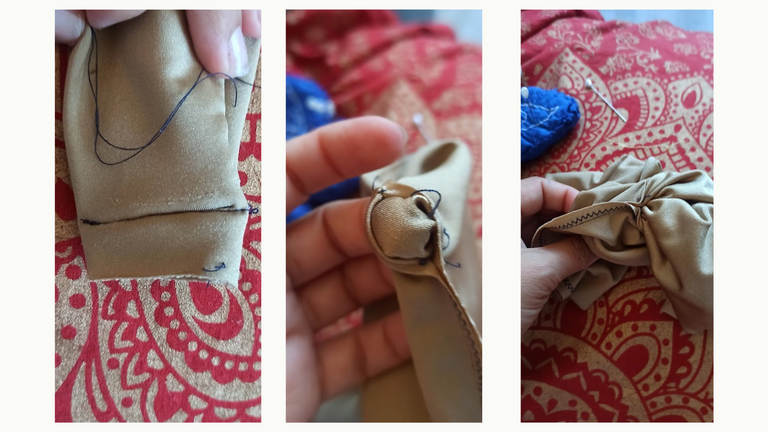
De materiales utilice lo regular, unos 55 cm x 22 cm de tela elástica, hilo, aguja, máquina de coser, aunque puedes hacerlo todo a mano, alfileres, mucho cariño y paciencia. El primer paso es doblar la tela por la mitad como indica la foto, yo use una costura recta apretada y luego un zigzag, lo importante acá es dejar un espacio por el centro sin coser al igual que los laterales.
For materials I used the usual, about 55 cm x 22 cm of elastic fabric, thread, needle, sewing machine, although you can do it all by hand, pins, lots of love and patience. The first step is to fold the fabric in half as shown in the picture. I used a tight straight seam and then a zigzag, the important thing here is to leave a space in the center without sewing as well as the sides.

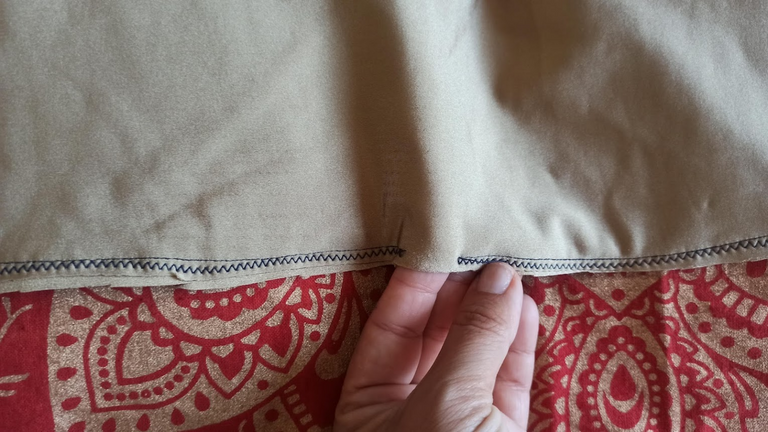
El siguiente paso de este tutorial es darle la vuelta a la diadema para guardar las costuras pero hasta la mitad, como te muestra la imagen. Aquí con ayuda de una puntada o alfiler, juntamos al centro las costuras, las encontramos entre sí como puedes ver en la foto, los derechos van juntos uniendo los laterales.
The next step of this tutorial is to turn the headband over to keep the seams but up to the middle, as shown in the picture. Here with the help of a stitch or pin, we join the seams in the center, we find them together as you can see in the picture, the right sides go together joining the sides.

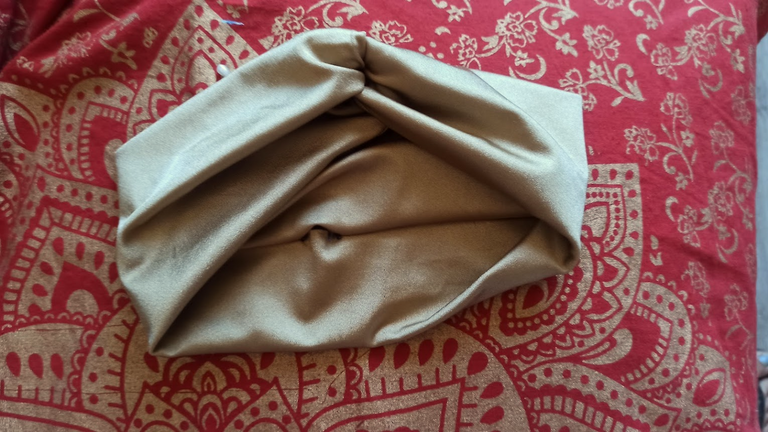
Acto seguido, hacemos como un sandwich con las puntas o una S para ser más gráfica, se dobla una punta hasta la mitad por encima y la otra por detrás, como pueden ver en la imagen. Luego lo sujeté con alfileres y lo pasé por máquina de coser con costura recta, despacio y estirando un poco para ayudar a aplanar lo abultado de las telas.
Then, we make a sandwich with the ends or an S to be more graphic, one end is folded in half on top and the other in the back, as you can see in the picture. Then I pinned it and put it through the sewing machine with a straight seam, slowly and stretching a little to help flatten the bulging of the fabrics.
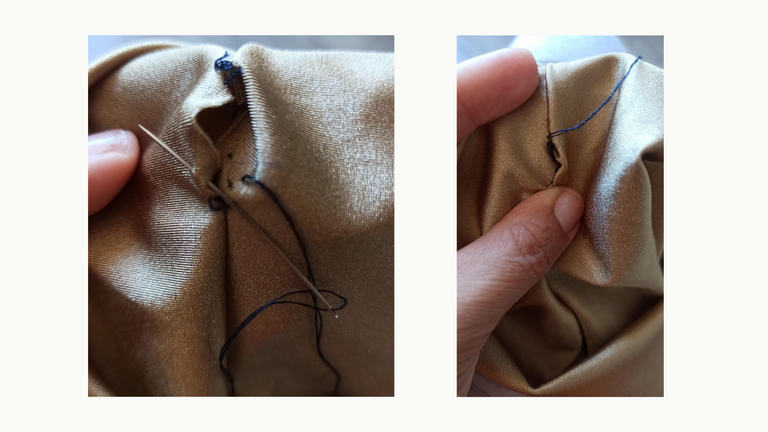
El siguiente paso es darle la vuelta completamente a la diadema por el espacio sin coser que dejé al principio. Una vez ya con la diadema al derecho, verifiqué que al nudo no se le viera ninguna costura, que todo estuviese por dentro. Ahora sí, cerré la abertura con costura escondida como ves en la imagen, se empieza atravesando la aguja con el hilo desde adentro, y por el doblez de tela se hace una puntada por el costado contrario y así se unen las piezas cerrando la diadema.
The next step is to completely turn the headband inside out through the unsewn space I left at the beginning. Once I had the headband on the right side, I checked that the knot did not show any seam, that everything was inside. Now, I closed the opening with a hidden seam as you can see in the image, starting by crossing the needle with the thread from the inside, and through the fold of fabric I made a stitch on the opposite side and so the pieces are joined to close the headband.
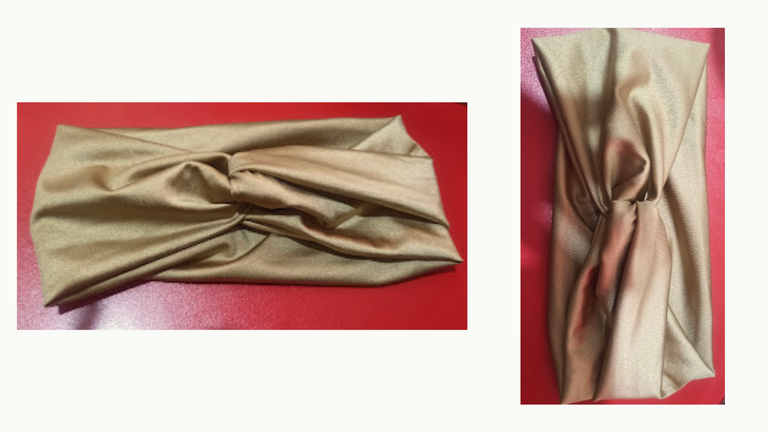
Listo hivers la Diadema de Nudo con Costura Escondida ¿qué les pareció? Toda sugerencia o duda la puedes dejar en los comentarios. Las fotos son registro personal editadas en canva. Para más inspiración pueden visitar mi perfil y el de
@needleworkmonday. Nuevamente gracias hivers por el apoyo y motivación constante.
Ready hivers the Hidden Seam Knot Headband, what did you think? You can leave any suggestions or questions in the comments. The photos are personal records edited in canva. For more inspiration you can visit my profile and @needleworkmonday. Thanks again hivers for the constant support and motivation.