
Good day guys, thanks for visiting my today's entry post on hive community. Today I want to highlight the basic steps to follow in order to archive the above result.
If you have been following my posts you will understand that shoe making is a step by step process in which if you understand the steps you will definitely archive your desired results. So without wasting anytime I will be highlighting those steps to follow in oder to make a simple male sandals.
1. Know the design you're producing:
This is the first thing to put into consideration before any thing else when it comes to shoe making. you don't just pick up your tools and begging to cut out your materials without knowing exactly what you want to produce. In essence, you should have in mind a particular pattern of shoe or design you will like to make.
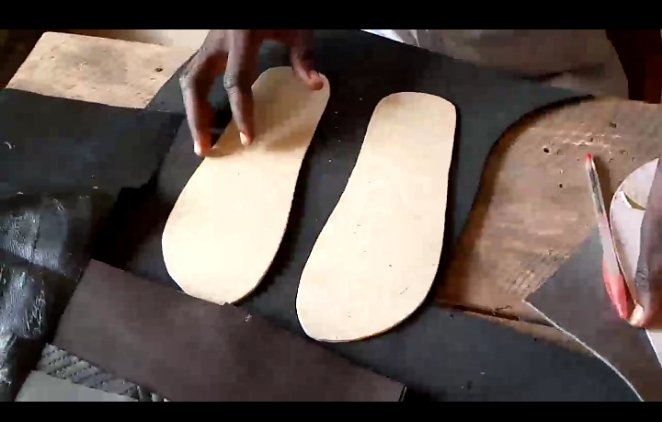
2. GET YOUR PATTERNS READY: Ensure the pattern or the design for the top, floor and sole of that specific design you have on mind are ready for use. it could be a pattern constructed on a cardboard paper or carton before you finally sketched it on the leather material to avoid material wastage.
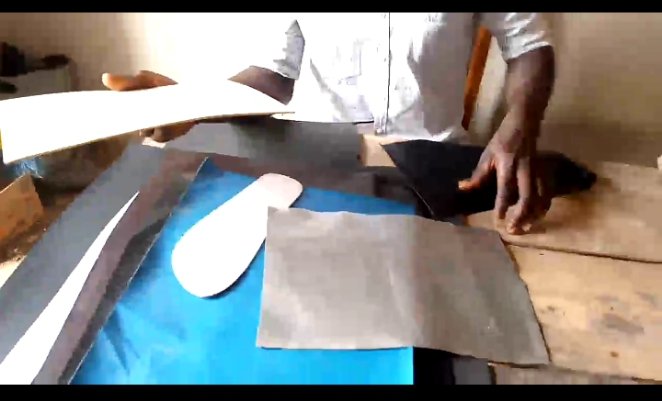
3. GET YOUR MATERIALS READY: You must ensure that all the materials needed for your production are fully on ground having known the design you are producing, such collection of materials could be the leather, Marco, gum, pin etc. This must be done in order to avoid any slow down in your work once you begin.
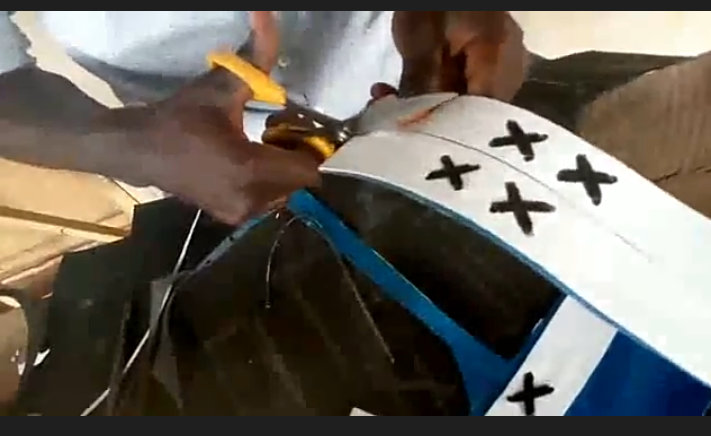
4. PRODUCE THE TOP:
Having put in place all that is needed for the shoe, the next thing to do is sketch or trace pattern or design you've constructed on the leather material or skin you want to use for your production.
In most cases if the leather skin is too light then you have to double it and keep it aside for sawing.
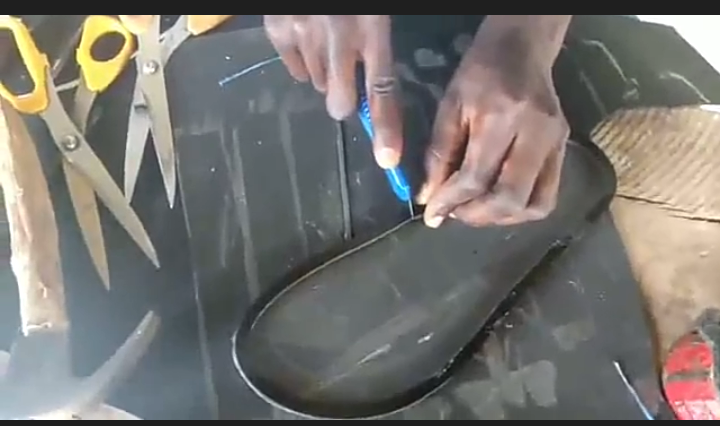
5. PRODUCE THE FLOOR: In this case shoe wealth is used round the edges of the floor after using the pattern you've constructed for the floor. This is done by placing shoe wealth round the pattern you've cut out for your floor on the soft Marco.
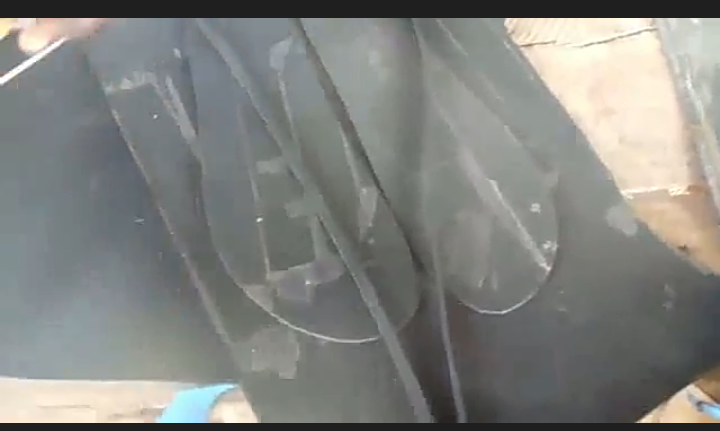
6. PRODUCE THE SOLE:
The same pattern or shape use to produce the floor will be used to make the sole. So you place the shape or pattern on the strong Marco or nurra you will be using for your sole. Sketch it with pen and the cut it out.
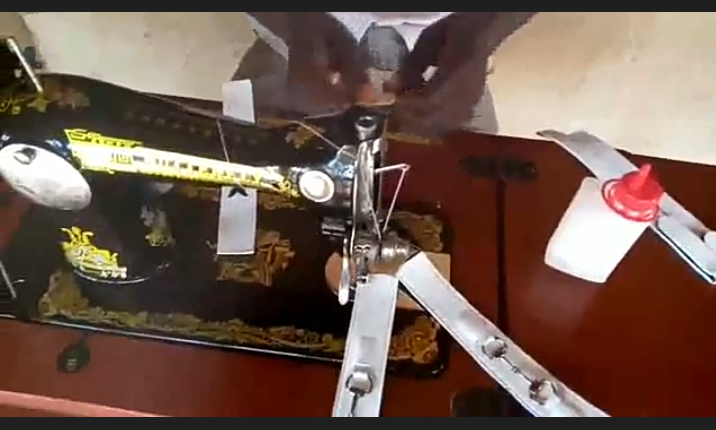
8. SAWING: Having put in place the top, the floor and the sole. You proceed by sawing the top you've doubled initially, so as to prevent it from opening and also to give it a good design.
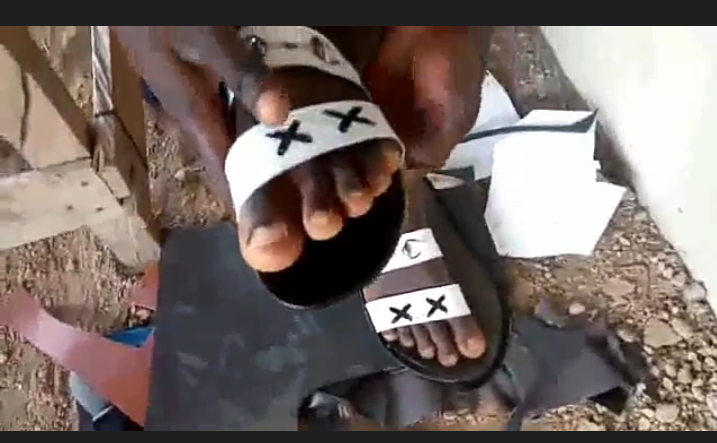
9. LASTING:
By the time all the three parts are set, you place your last or leg (if you don't have last) on the constructed floor, place the constructed top on the last or leg, then mark the areas that the top will be passing through on the floor using your pen. Punch the mark areas, join the punched holes by using your cutter or jacknife. Put in the top to the floor and last the shoe by making it balance on your foot or the last you're using. And finally when it's balanced, you gum the top to the floor.
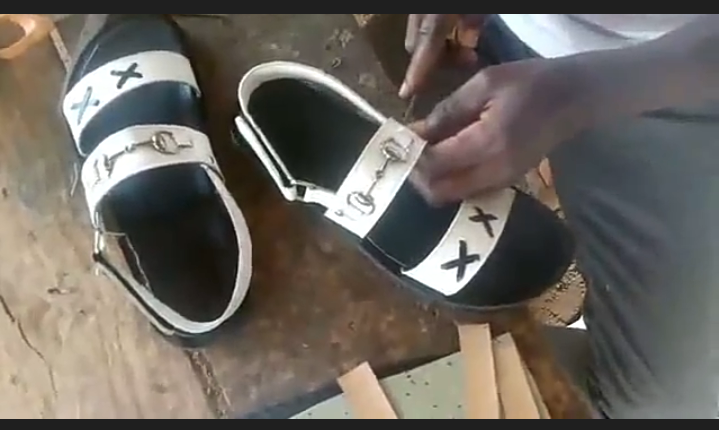
10. JOIN THE SOLE TO THE LASTED SHOE: After lasting the shoe properly, you put it to the final sole using the gum.
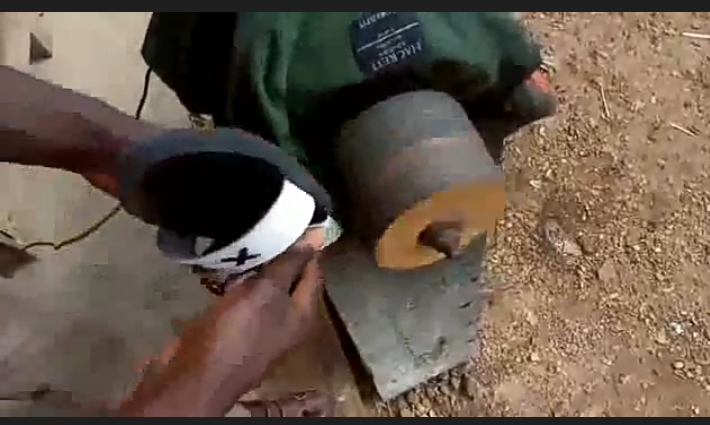
11. FILLING: Filling is the last stage in shoe processing. You smooth the edges to make it look neat and good to the eyes.

Finally we have the above 👆result.
Thanks for viewing my post and I believe you've archive alot from today's post. Looking forward to bringing you more. Do enjoy the rest of your day.