This is part of an ongoing series about a major project I'm working on, the creation of a replica French Napoleonic habit.
The end result is intended to be at least very high re-enactment quality, so far above fancy dress standard, although I don't think I'm good enough to make a museum-standard one. In keeping with what is authentic for the period, I'm hand sewing every part of it. Time consuming (especially when fitted around all the hustle and bustle of daily life and work), but quite therapeutic !
My last update was felling in all the internal seams - this is necessary before fitting the cuffs, because you need to sew through felled and completely flat seams when fitting the cuffs.
Actually fitting the cuff pieces (which I made in This Post) was an endless round of measuring, pinning, tacking, unpinning, stitching, untacking and re-measuring. I'd forgotten how much work is needed to achieve the kind of precision required !
All photos by me
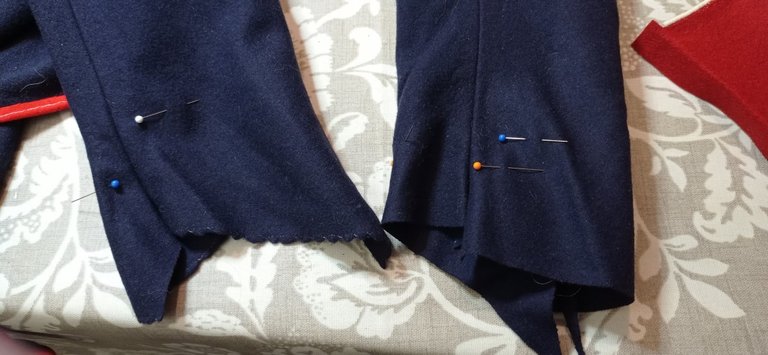
This first photo shows step one - setting up the length. It meant trying the coat on, sticking pins in for where my wrist bends and an inch below to get the correct sleeve length.
I repeated this two or three times to ensure they came out the same each time.
After checking the sleeves individually with the coat on, I then pinned the two sleeves together to see how they compared.
Starting by matching the shoulder seams, I pinned down the length to see how the length pins match. It worked !
It's worth noting that this step can throw in a curveball. My arms are virtually the same length, so the length pins come out the same. But I've made habits in the past and found that the wearers can have one arm up to an inch longer than the other. No two humans are quite the same, and it's just a case of adjusting for the differences in a way that doesn't look odd on the final result.
At the time sewing machines hadn't been invented, so unlike nowadays clothes were always individually tailored even if they were uniform. I could write a whole post on the nuances around that !
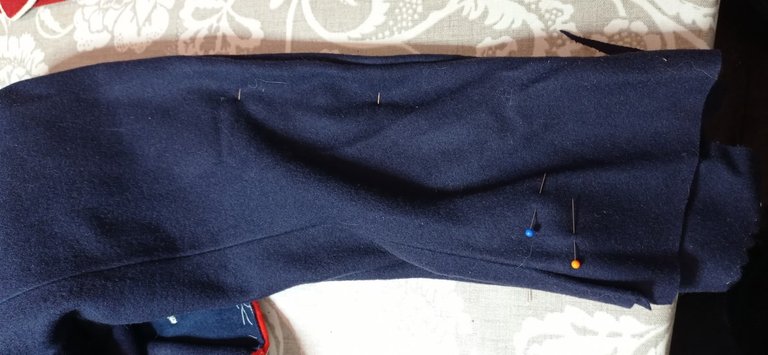
The cuffs were then pinned and tacked so the excess cloth from the sleeves could be cut off. Note that I used a liquid chalk marker to mark all the way around, I didn't want to rely on just sticking a couple of pins in and hoping for the best !
The lower tacking was then undone, the loose end of sleeve tucked into the cuff (checking that it went right to the crease), and then it was re-tacked.
This next part was certainly the most fiddly ! The top tack was undone and the cuff folded down with the lower tacking still in place.
Then it was stitched tight along the join between cuff and sleeve. The cuff had to be regularly folded back up to ensure that it all still worked and nothing had gone out of line and the tacking was still holding firm.
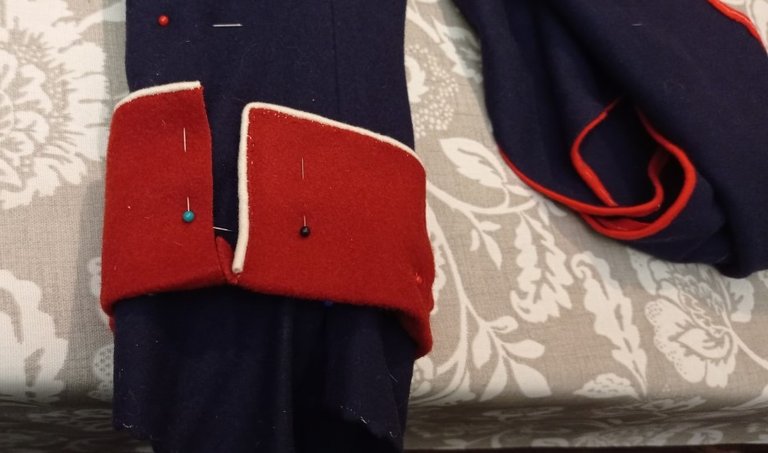
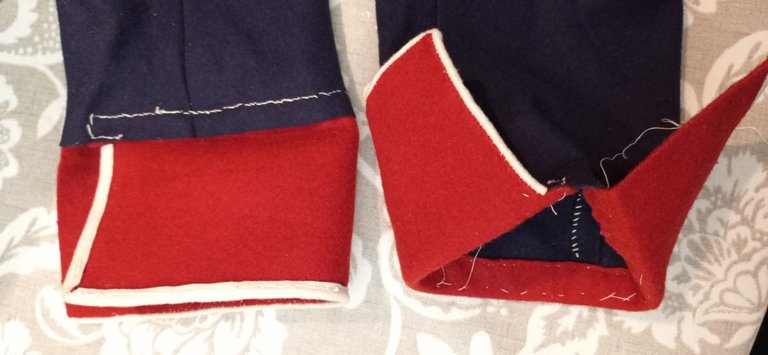
Here are the two cuffs sewn on at the bottom, but still loose at the top.
When uniform coats were first introduced during the 1680's, the cuffs were wider and would be left with the tops loose so they could be folded down in cold weather like muffs. Eminently sensible, but I guess they changed it to use less cloth and look smarter.
The cuffs tacked back up for the next step, where the tops are sewn down. Note that I've also re-tacked the bottom; this will hold the crease sharp and will be left in until the coat is finished.
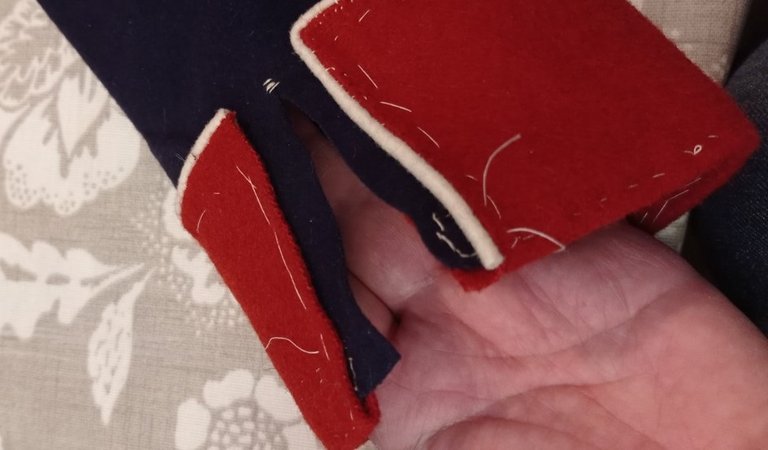
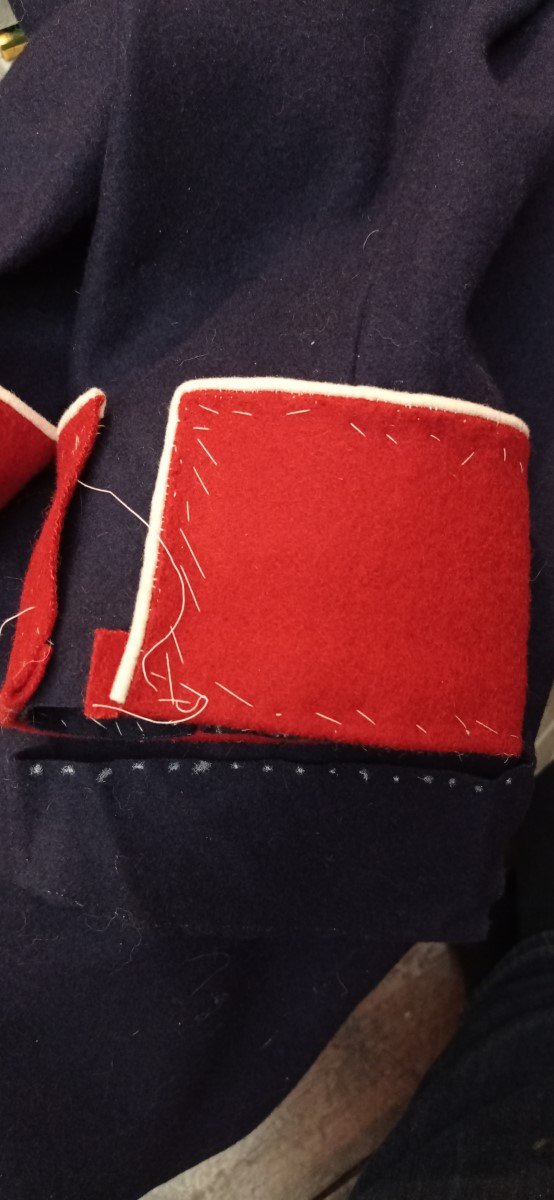
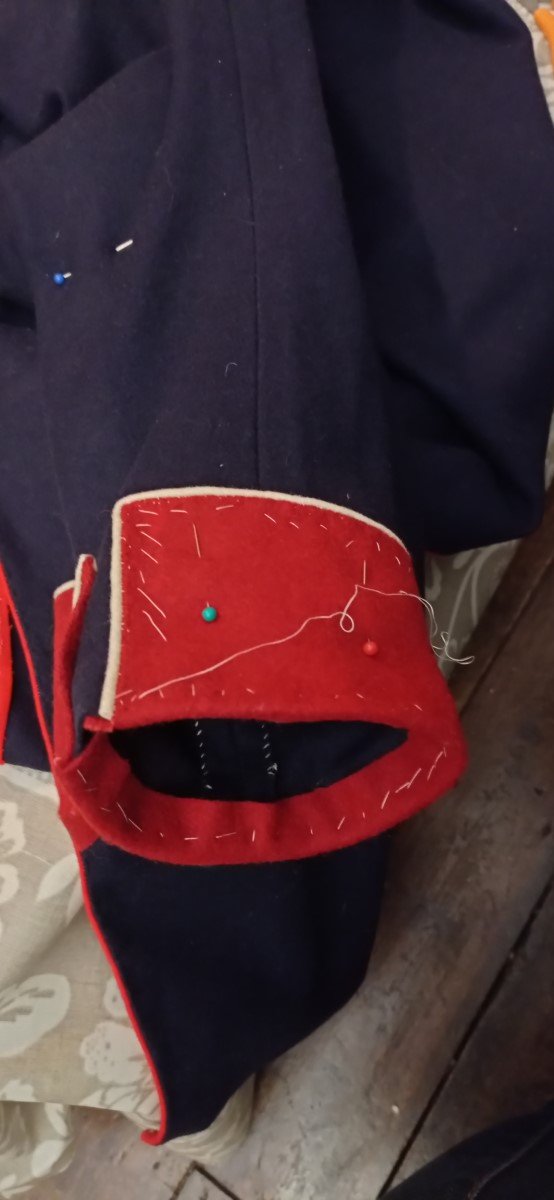
With the cuffs tracked, the next step is to add a slit which will end up hidden under the cuff flap. When the coat is being worn, this enables you to get a hand through the cuff (the sleeves at the time were very close-fitting), and while I'm working on sewing the cuff onto the sleeve it makes it far easier to get my hand inside to work.
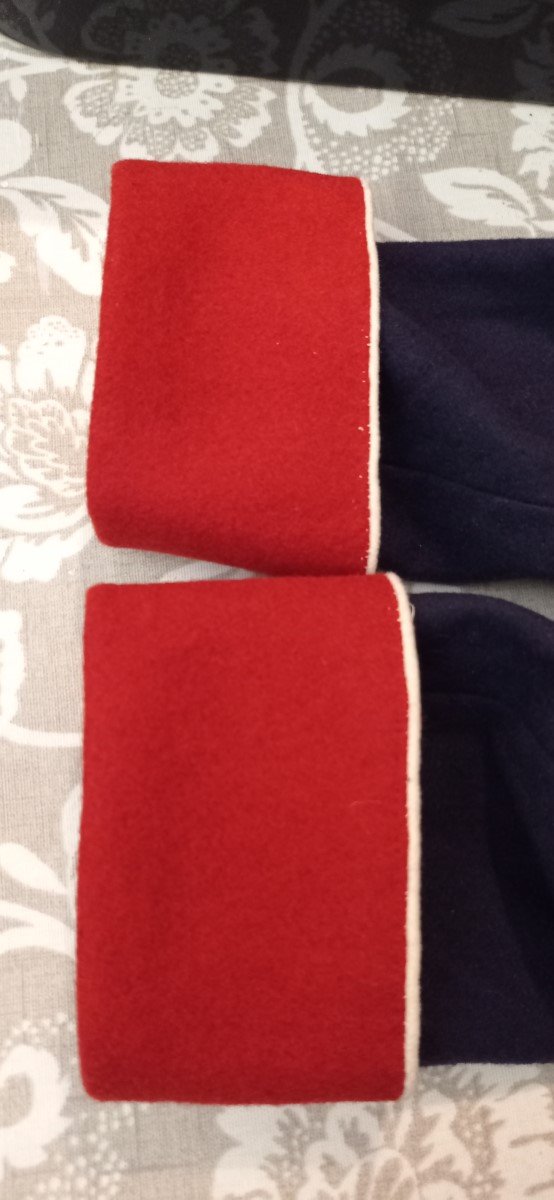
I haven't shown an image of the cuff full stitched down, because it's actually an invisible stitch on the outside. The inside is a bit messy because I was working blind, totally by feel, but the stitch length and tension are good all the way around, and it'll be hidden when the lining is fitted anyway.
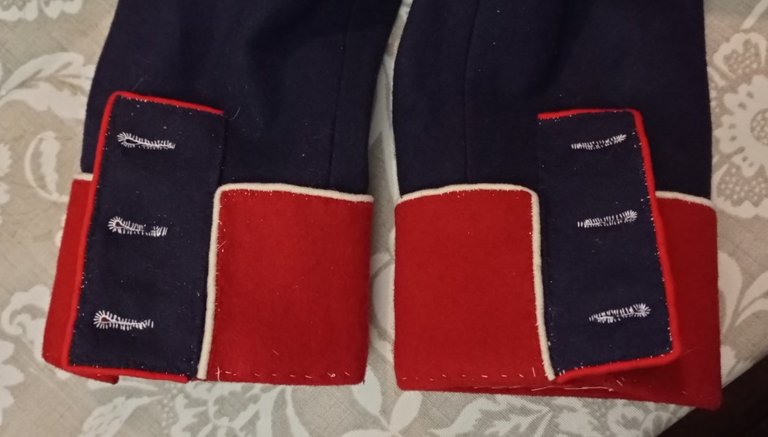
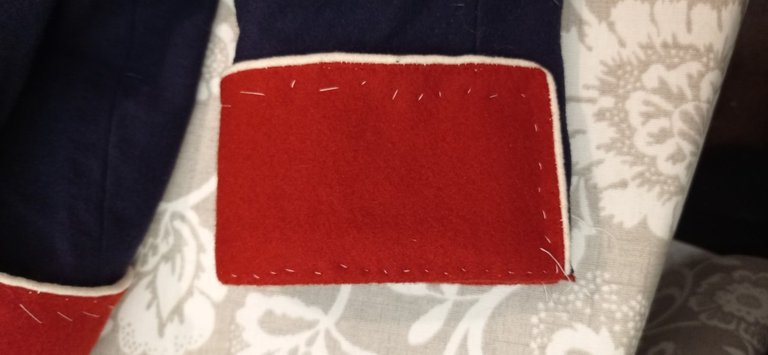
The last job is to sew the cuff flaps on. Possibly the only part of the whole job that is simple and straightforward !
The one part I haven't done is sewn the buttons on. Right now, that is what is best described as a "complication".
Some discussion is needed within the re-enactment group I'm part of to determine how the coat is finished off. It might be as a fusilier (standard infantryman), in which case it'll get buttons for the 45eme regiment de ligne, or more hopefully hopefully as a voltigeur (skirmisher), in which case it may have 45eme or 30eme buttons. 45eme buttons are something I can buy from the unit, 30eme buttons are ones I'll have to cast myself. The joys of internal society politics !