Good day guys. I am @amarachi22, and I am delighted to be a part of this great community. This is my first time I am actually posting in @needleworkmonday. I do hope you guys will enjoy reading through my post.
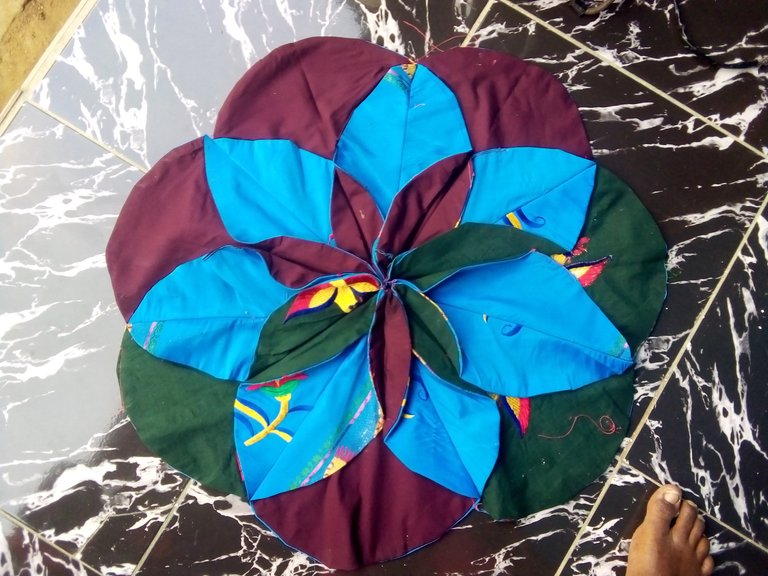
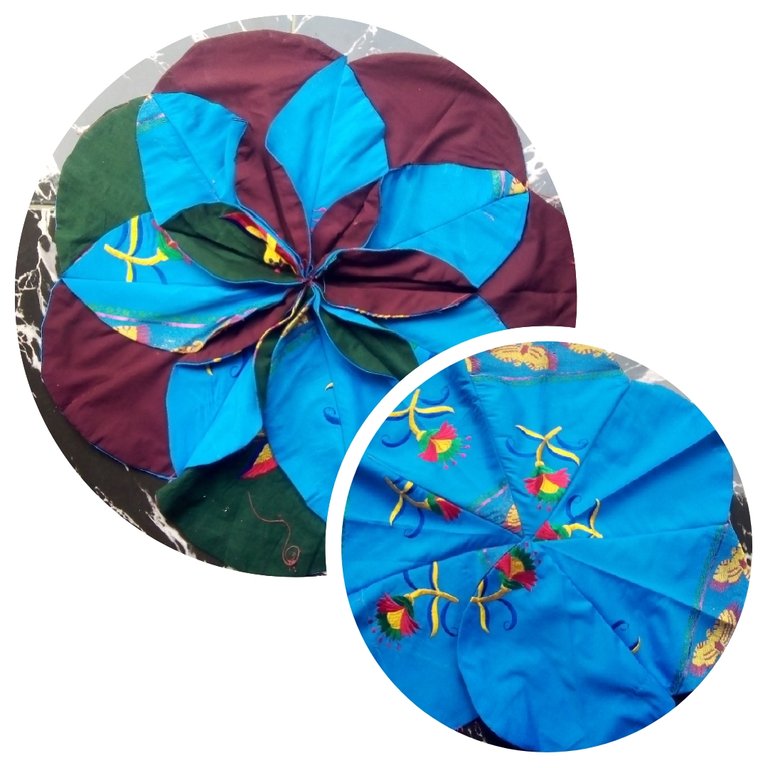
Okay, so today, I would like to share with you all how I made this Beautiful table placement. It's actually a gift to my sister who just got married and it's now in her new home. It's a little appreciation from me to her for all the kindness she has shown me all these while. I thought of making this placement to decorate their dinning table which is always there and bare. She always loved it whenever I seweld these simple crafts ideas for her.
To tell you the truth it wasn't actually easy making this design. It took me about a week to finish it up it it was worth it at the end. The brown lining was not enough to cut out seven circle shape so I had to improvise and use another fabric making it three colours instead of two and it still turned out great.
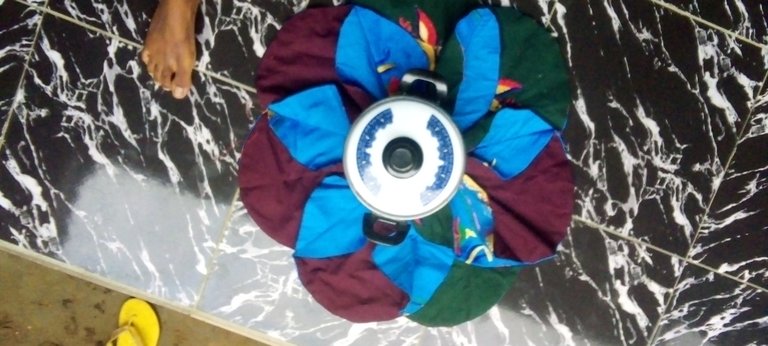
MATERIAL NEEDED
So for making this beautiful table placement we will be needing the following
- Fabrics
- Scissors
- Chalk
- Thread
PROCEDURES
- First of all, take a piece of fabric and cut out a circle shape. Make up to seven peices for both the actual fabric and the lining material respectively.
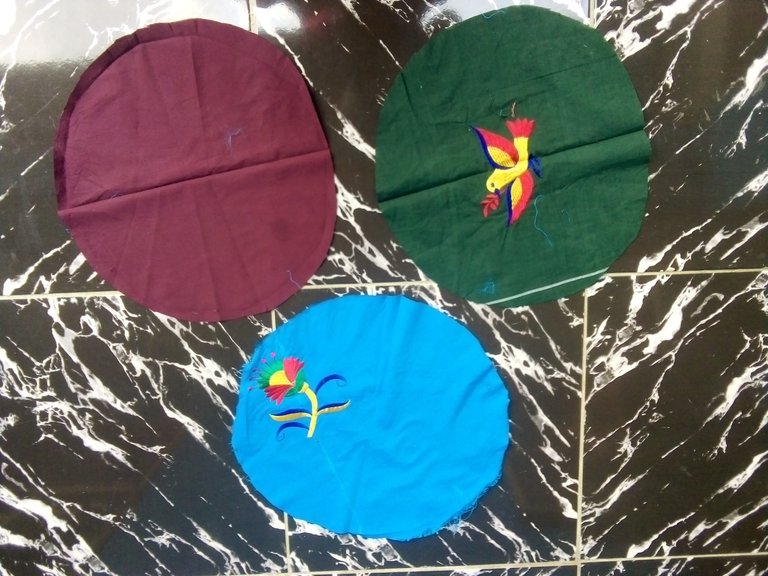
- Take one piece of the lining peices you have just cut and place it on top of the front of one of the peices from the main fabric and sew round the edges like this.
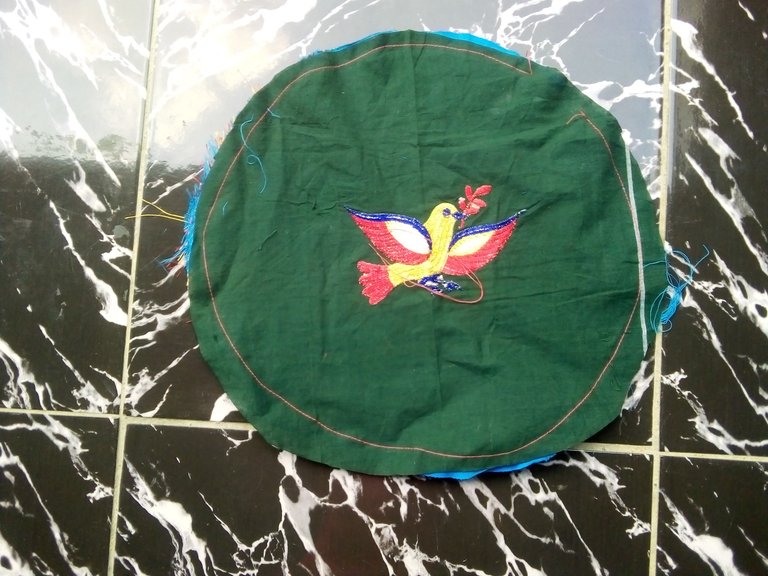
- Do not sew it round completely. Remain a small space which you will use to turn it to the right side. After I had turned it to the right side and ironed it, this is what I got.
- Do the same for the remaining six peices and iron them well. Remember to close the small space we left out earlier after turning it to the right side.
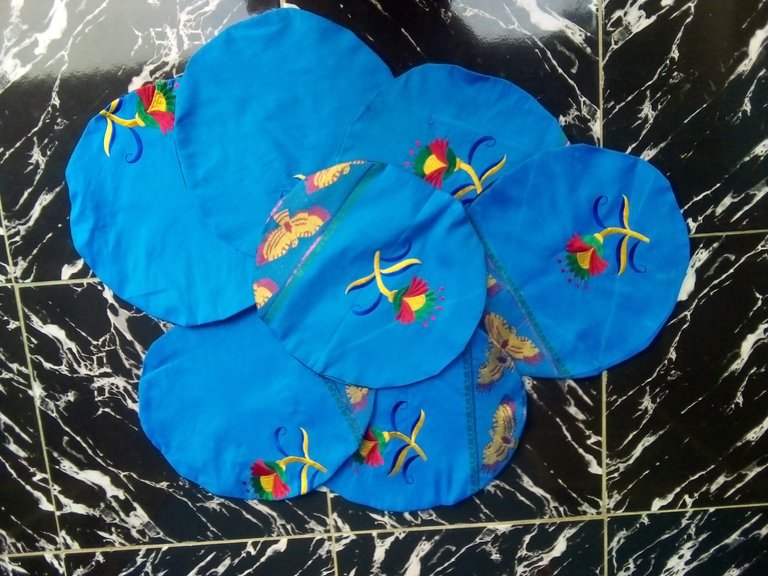
- Fold each circle piece equally and iron it to get the center. Using a chalk mark at the top and down edge of the center.
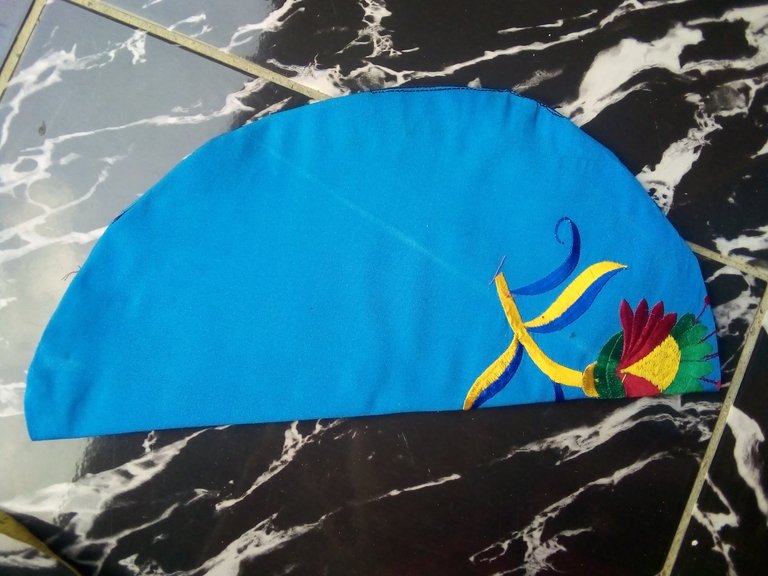
- measure six inches from the center and mark it. Draw a slant line from that six inches to the other end of the fabric while it is folded.
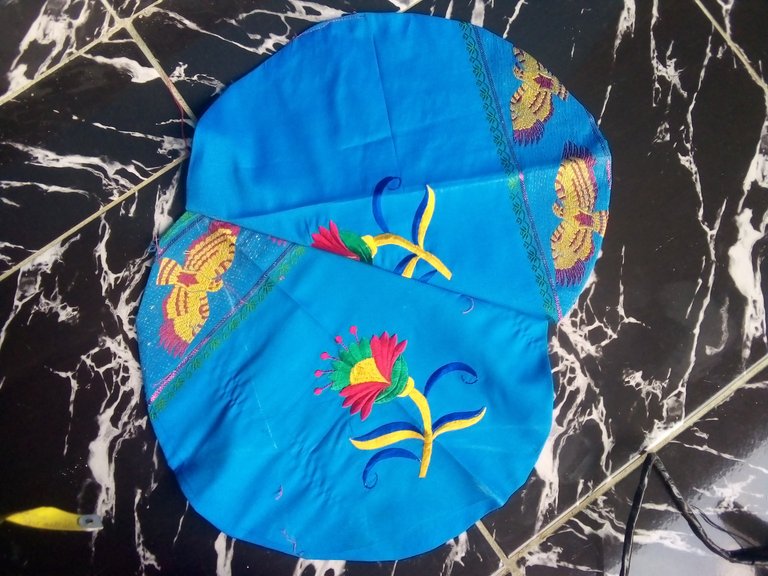
- Place a new piece on top of the one you've already marked and sew on the line. Continue doing the same for the remaining six peices.
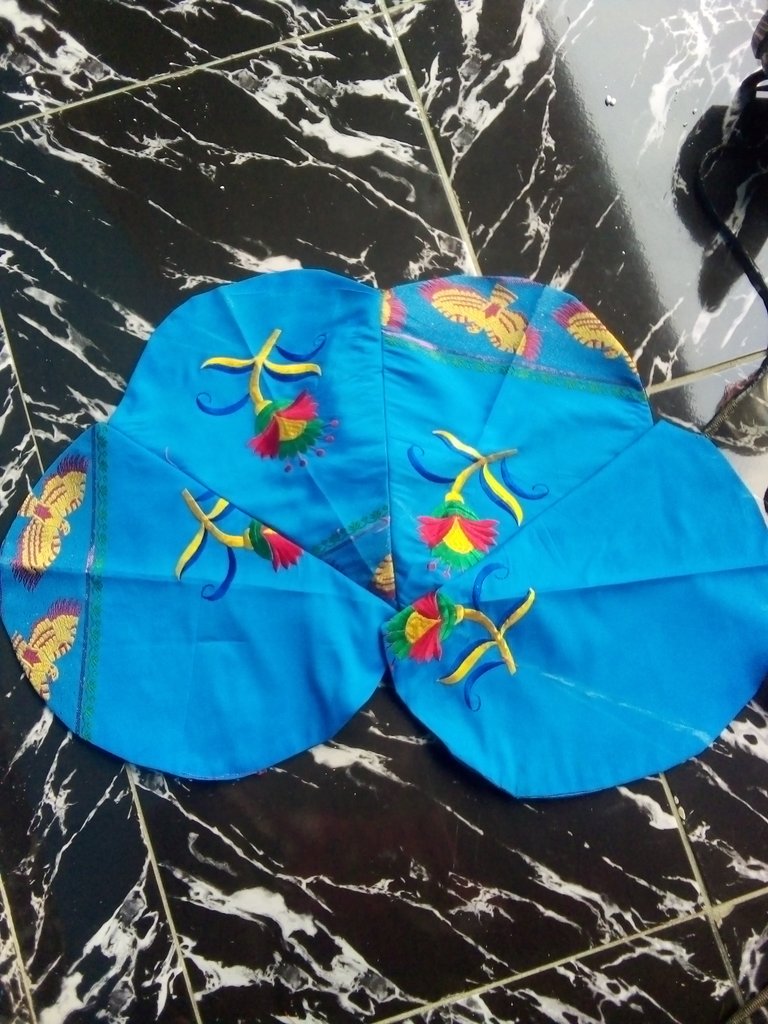
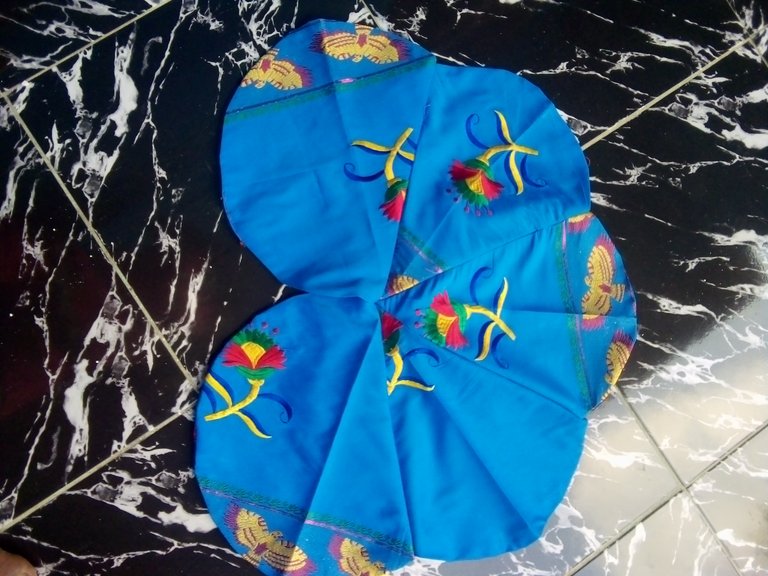
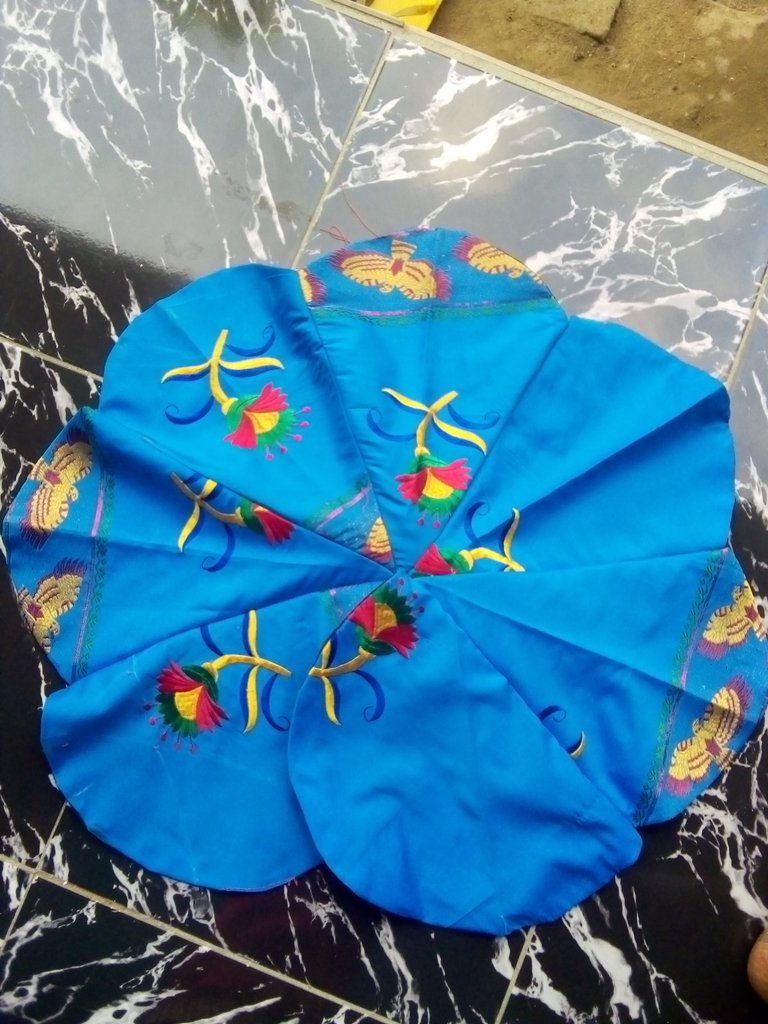
Here is the final look for both the front and the back.
