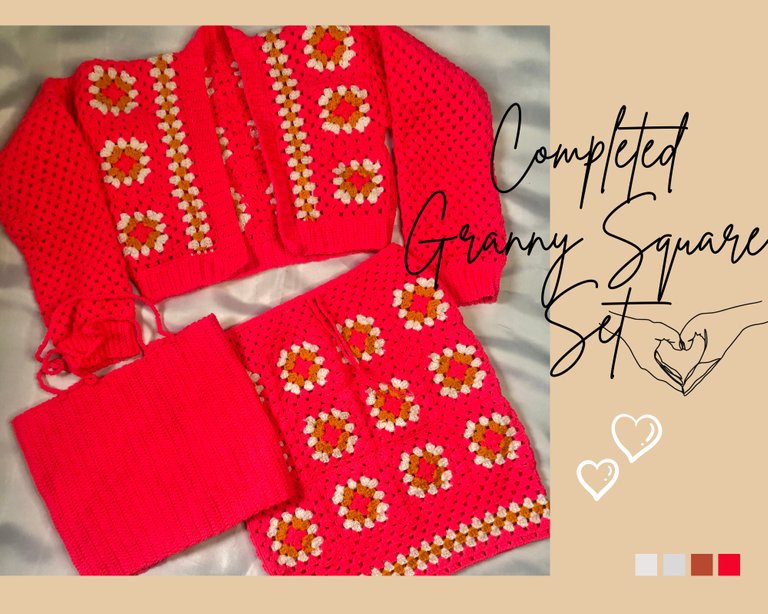
Hello everyone, welcome back to my blog. I hope you are all doing well. I am excited to share the final look of the granny square cardigan I have been working on for a while. It was fun to work on something that involved so many squares and I was happy to learn a few new tricks while making this project.
In my last post, I gave an update up to the point of the sleeves. For the sleeves, since I had 3 squares with each measuring up to 5 inches or more if stretched I decided to leave two of those squares for the arm hole.
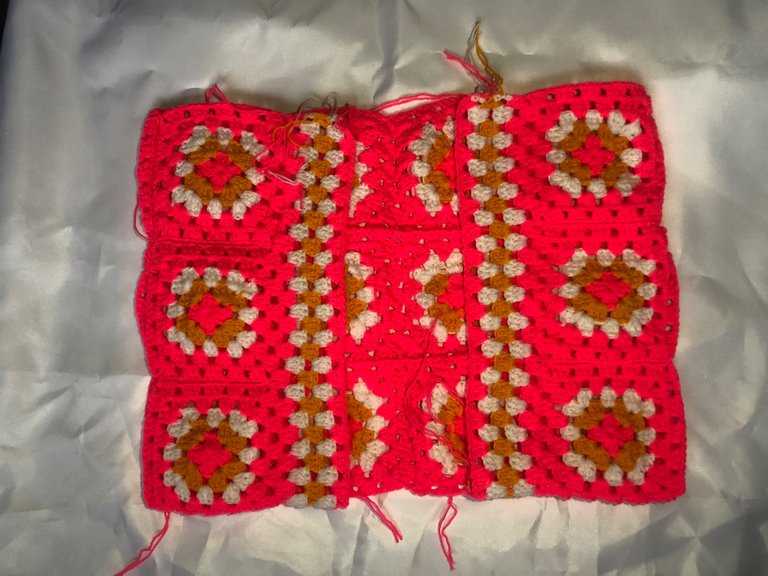
So for the arm hole, I started with making a cluster of 3 double crochet in one of the holes from the squares I made and just worked in 3 clusters in every hole to the other side and ended that row. For the arm hole, I turned the project at the end of each row since I learned that is the best way to work with granny squares.
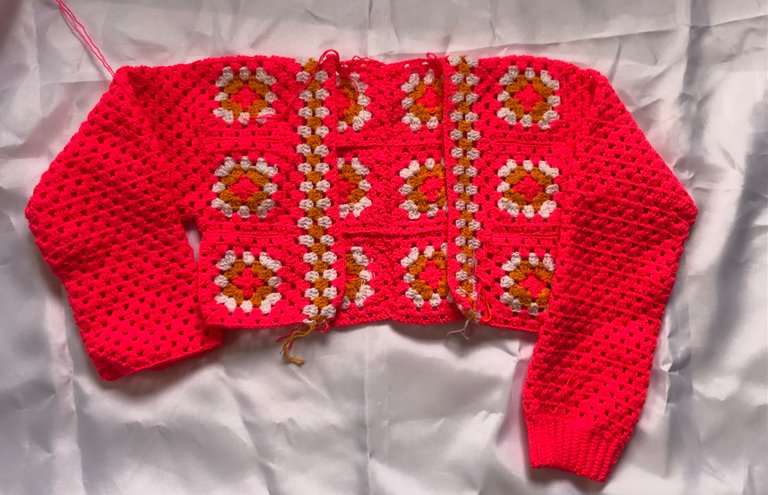
I kept repeating the pattern till I successfully made 19 inches. The length I wanted for the sleeves was 23 inches, so I figured I would make a cuff of 4 inches to cover the remaining length. I did my cuffs using back loop single crochets but first I did a row alternating between single crochet in the first stitch and two single crochet together in the next stitch. I figured it would be useful in making the cuffs better.
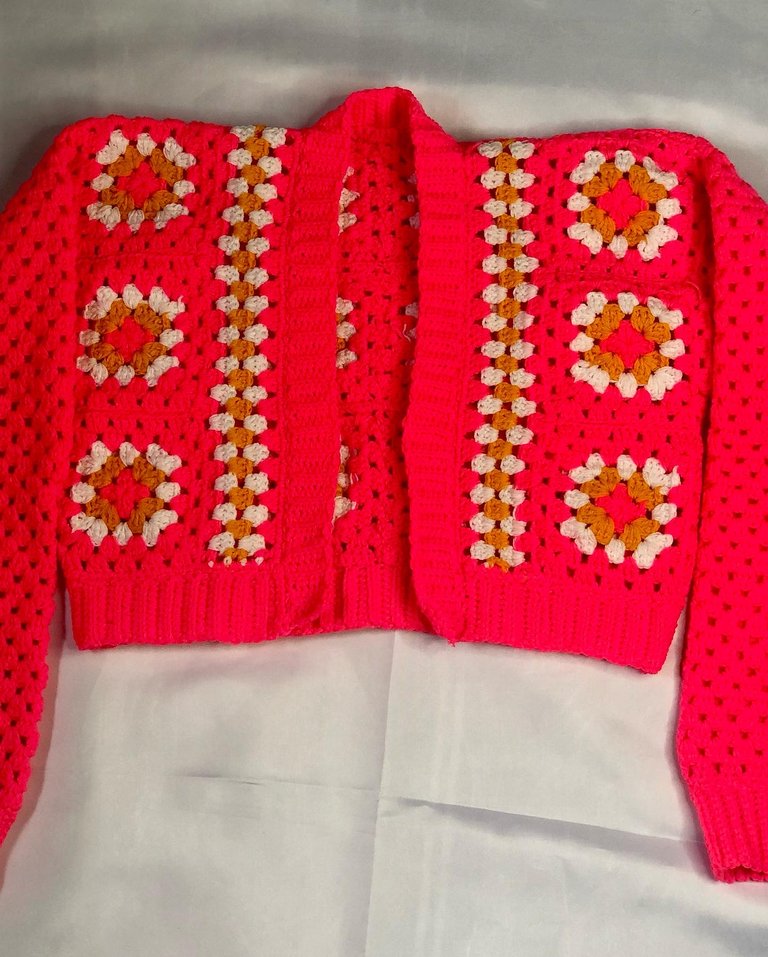
When I was done with making both sleeves, the look was rather plain to be as compared to the whole design of the cardigan, so I was going to add big sunflowers using the other two colours but my friend said it would be too much for the cardigan and that plain looks better. What do you think? Should I have gone with those or does this looks better?
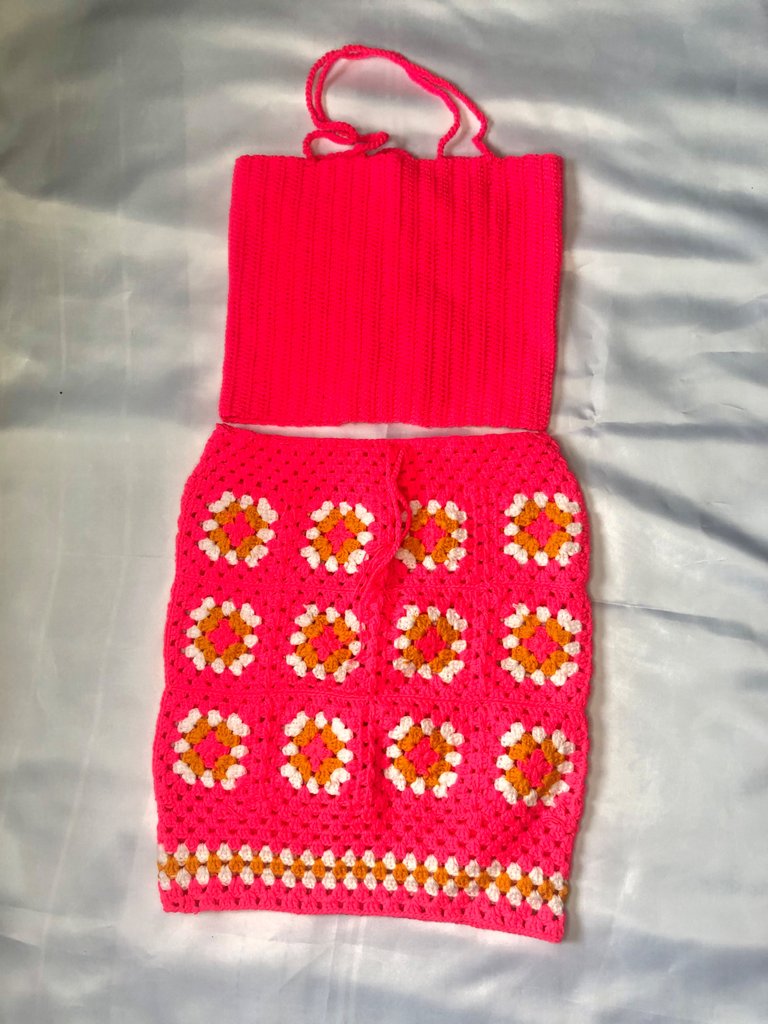
So this is the complete granny square set. One thing I love most about this set is that it has opened my mind to exploring other bright colours.
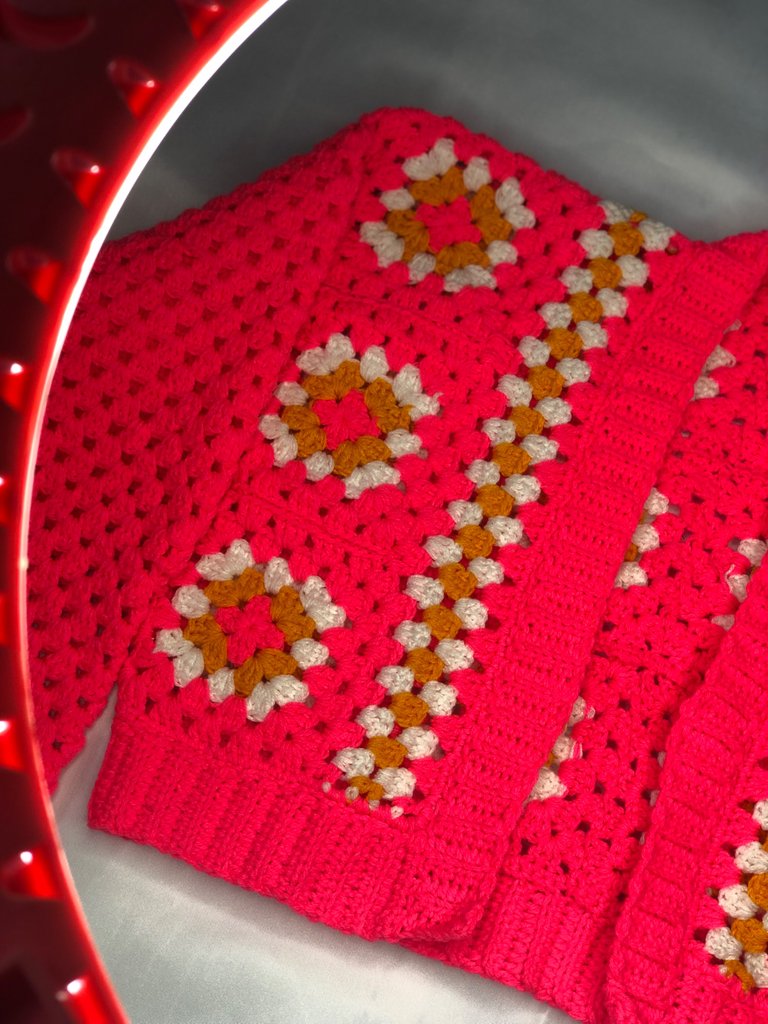
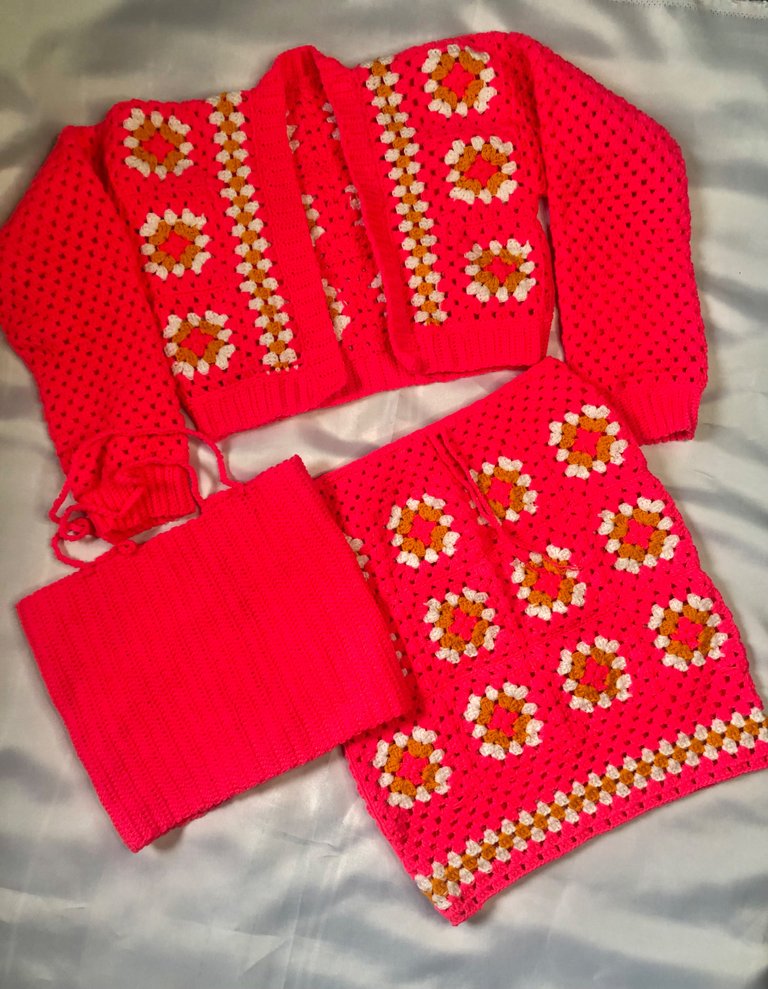
Thank you for stopping by❤️