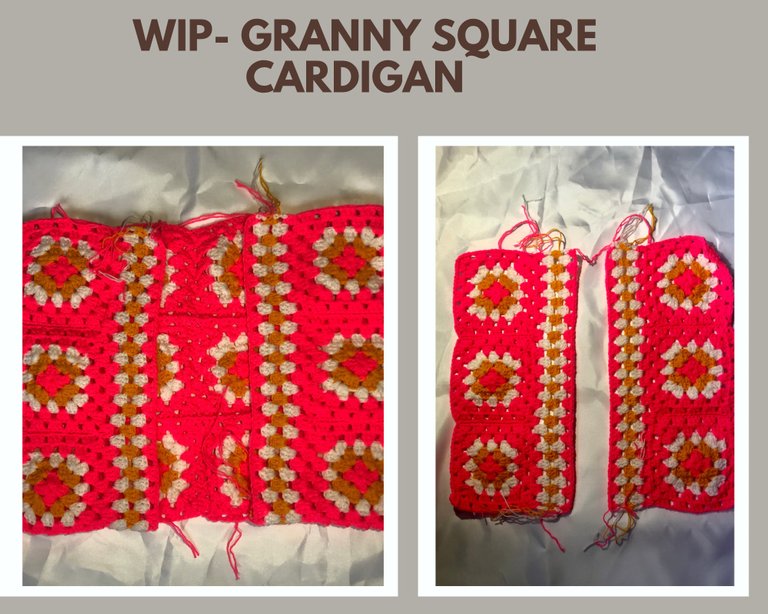
Hello everyone, welcome back to my blog. I hope you are all doing well. Today I am here to share my progress on the granny square cardigan I am making for the second WIP. A lot has been going on these past few days so I haven’t been able to work on the project as much as I would have loved to.
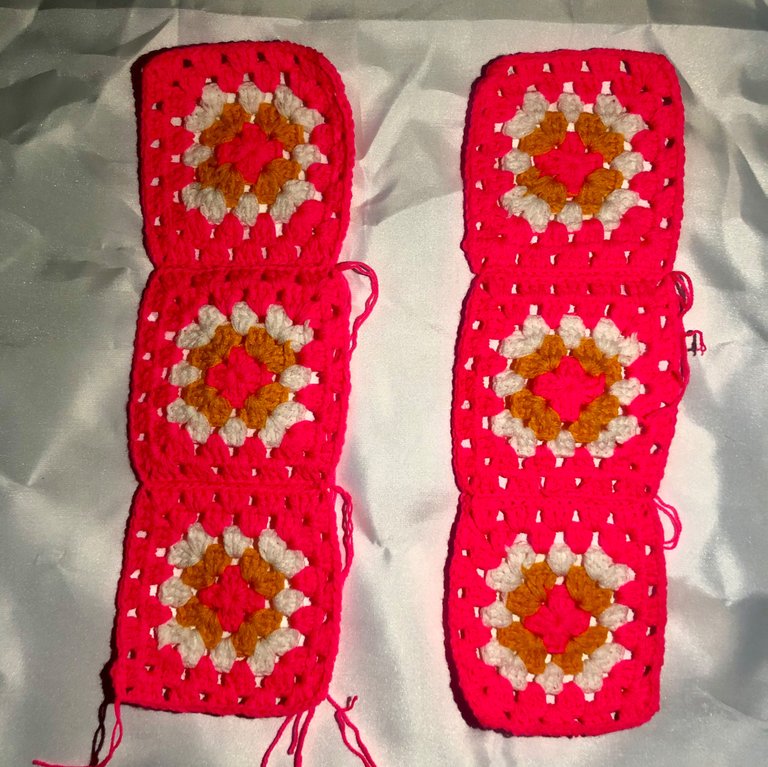
The easiest part about making this whole set was the squares. I’m glad I also used the join-as-you-go method because that helped in making the assembling process a whole lot easier. When I think back to the granny square projects I’ve made in the past, assembling them was always hectic and tiring and it always took longer to finish the project because of all the joining I had to do.

I also learned a new thing while making these squares. I like to watch videos to entertain myself when I crochet and as I was scrolling through YouTube to watch new crochet videos I saw a video that explained why granny squares get crooked. After watching that video I realized I had been doing my granny squares wrong this whole time by not turning the project after every round. Suddenly it made so much sense and I’ll be trying that method the next time I make a granny square project.

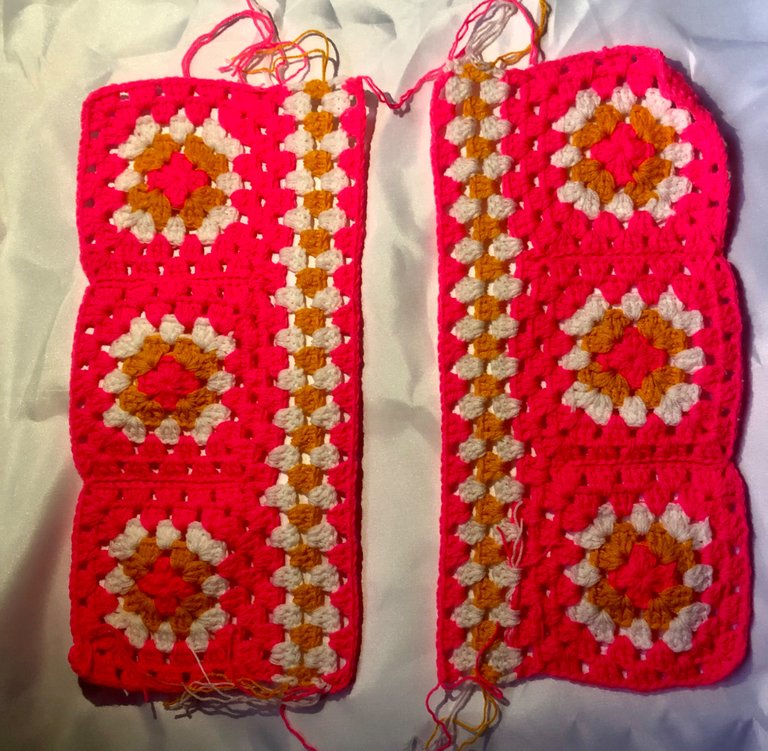
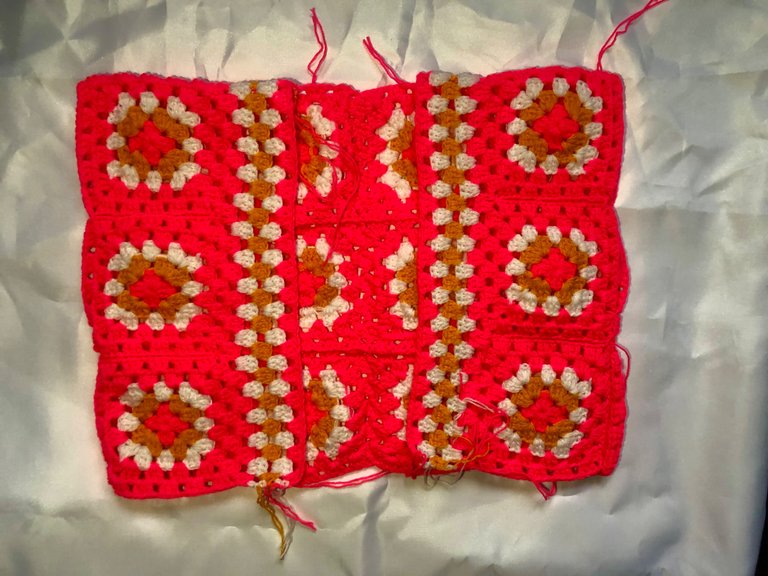
I proceeded to connect the squares to form a shirt-like thing. The back was good cause I figured 4 squares would be enough for it but I had to do something different for the front. I used one square on each side since putting 2 would not go well but also just one wouldn’t be enough, so I did the next best thing which was to add individual rows to each of the sides.

I figured it would make sense to use the same colour combination I used for skirts on the sides, so I did just that. Afterward, I was satisfied with the two front pieces and I joined them to the back piece and also left spaces at the side for the armhole.

Presently I am working on the sleeves and then I’ll add the finishing touches.
Thank you for stopping by❤️

