🌷🍃✨💕🦋🌷❣️🍃✨💕🦋
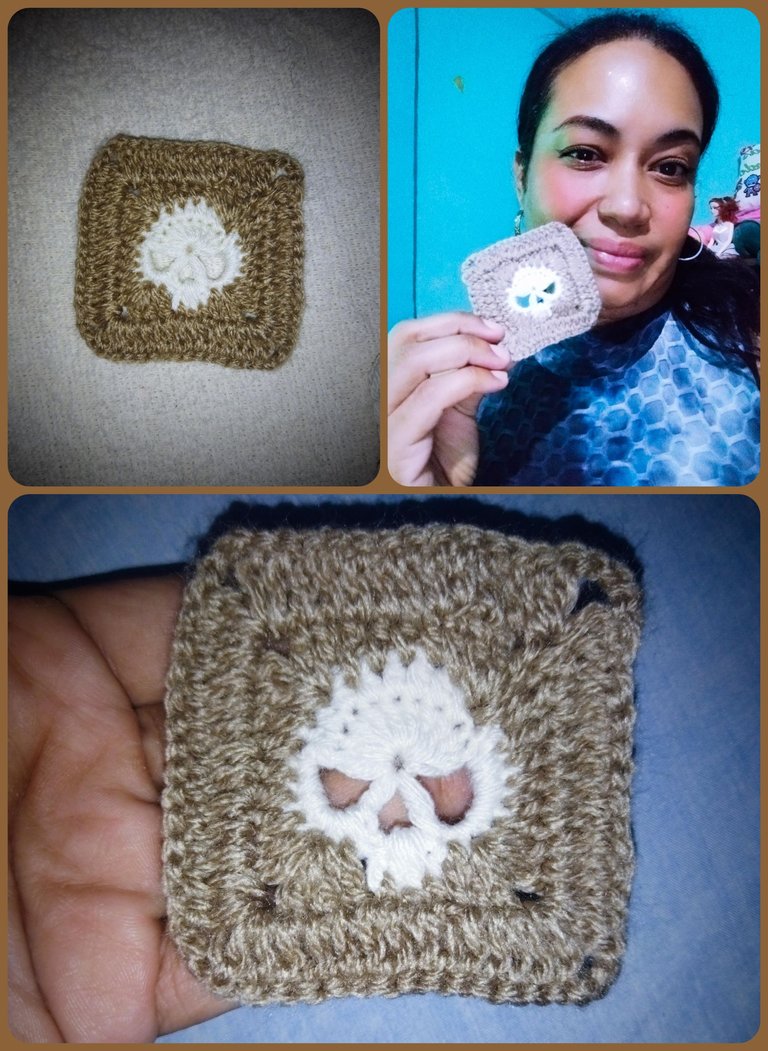 🌷🍃✨💕🦋🌷❣️🍃✨💕🦋
Hello dear and dear friends, today I am very happy because I have set myself a very creative personal project and for this I will explain step by step how I made an original skull grannys, which will be fundamental pieces for my idea. These grannys are very easy and simple to make.
Hola qué tal queridos y apreciados amigos el día de hoy estoy muy contenta ya que me he planteado un proyecto personal muy creativo y para ello les explico paso a paso como elaboré un original grannys de calavera, los cuales serán piezas fundamentales para mí idea. Estos grannys son muy fáciles y sencillos de hacer.
🌷🍃✨💕🦋🌷❣️🍃✨💕🦋
 🌷🍃✨💕🦋🌷❣️🍃✨💕🦋
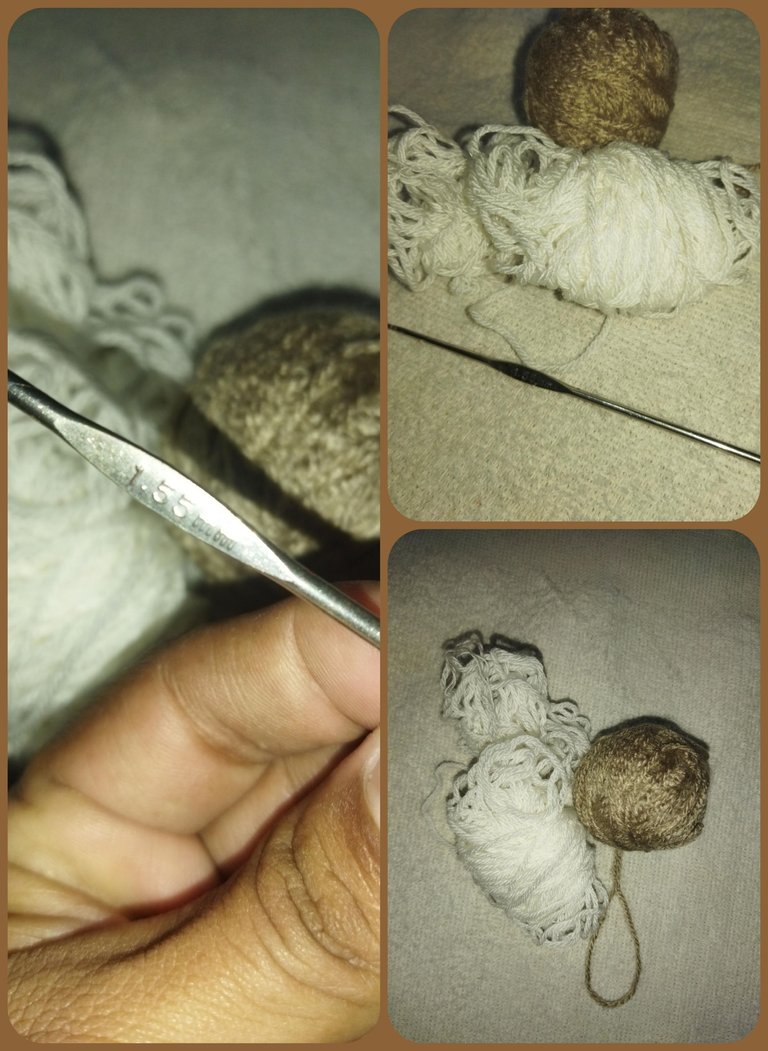
The materials to use are wool yarn of 4 strands in white and brown, a crochet needle N1, wool needle and scissors.
Los materiales a utilizar son hilo de lana de 4 hebras en tono blanco y marrón, una aguja crochet N1, aguja lanera y tijera.
🌷🍃✨💕🦋🌷❣️🍃✨💕🦋
 🌷🍃✨💕🦋🌷❣️🍃✨💕🦋
To start we are going to make a magic ring, leaving the yarn a little bit long, then we make two chains and continue making 9 high stitches inside the magic ring, and we make a total of 10 high stitches counting the two starting chains. We are going to continue and make five chains, we make a loop and we make a high stitch inside the magic ring, we pick up three chains, we make a loop and we make a high stitch inside the magic ring, we continue and pick up five chains, we pull the yarn to close the magic ring and we are going to close with a slipped stitch where we made the first high stitch. In this way we will have completed row number one.
Para comenzar vamos a realizar un anillo mágico, dejando la hebra un poquito larga, luego hacemos dos cadenas y continuamos haciendo 9 puntos altos dentro del anillo mágico, y realizamos un total de 10 puntos altos contando las dos cadenas de inicio. Vamos a continuar y realizamos cinco cadenas, hacemos una lazada y realizamos un punto alto dentro del anillo mágico, levantamos tres cadenas, hacemos una lazada y hacemos un punto alto dentro del anillo mágico, continuamos y levantamos cinco cadenas, jalamos el hilo para cerrar el anillo mágico y vamos a cerrar con un punto deslizado donde hicimos el primer punto Alto. De esta manera habremos culminado la vuelta número uno.
🌷🍃✨💕🦋🌷❣️🍃✨💕🦋
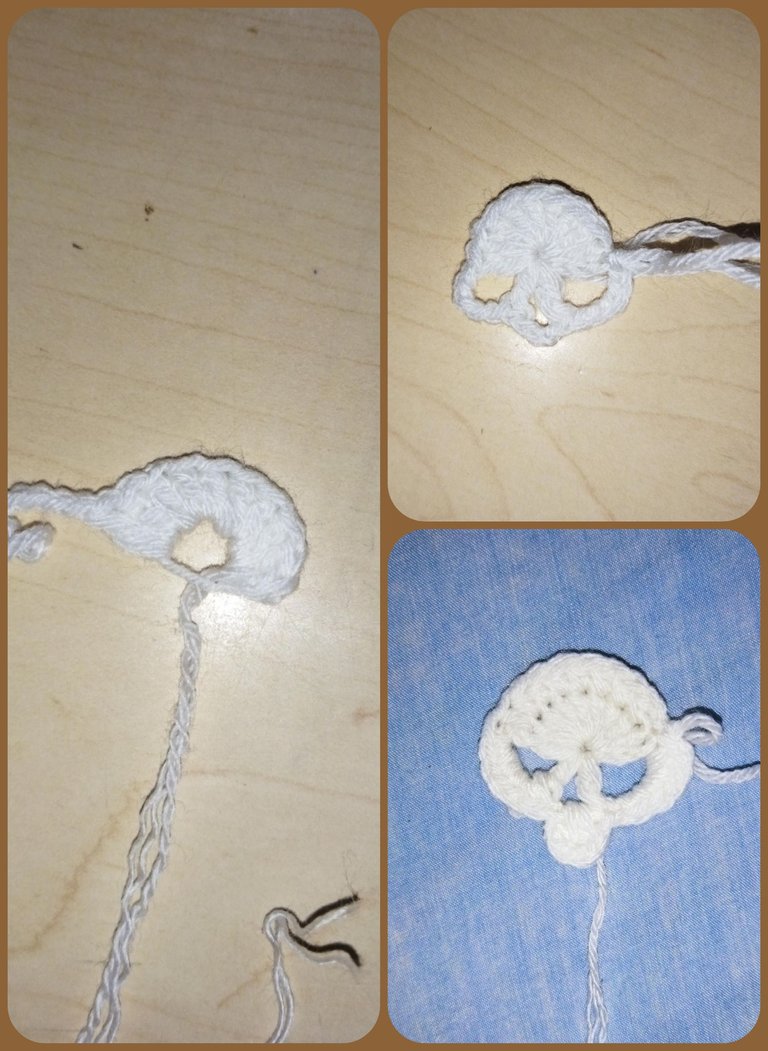 🌷🍃✨💕🦋🌷❣️🍃✨💕🦋
Now we are going to continue in row number 2, we are going to mount two chains, we make a loop and we are going to knit 9 half stitches, we continue and we are going to work now in the chains in the holes of the chains, we pass the hook through the bottom part and we knit six single crochet stitches, now we are going to move to the next hole where the three chains are and we are going to knit a slip stitch, we continue and knit two chain loops and two double crochets, we lift two chains and close right there with a slip stitch and knit six single crochets, with a slip stitch and knit one chain and we are going to change the color of the yarn.
Ahora vamos a continuar en la vuelta número 2, montando dos cadenas, hacemos una lazada y vamos a realizar 9 medios puntos, continuamos y vamos a trabajar ahora en las cadenas en los huequitos de las cadenas, pasamos el gancho por la parte de abajo y realizamos seis puntos bajos, ahora vamos a pasar al siguiente huequito donde están las tres cadenas y vamos a realizar un punto deslizado, continuamos y realizamos dos cadenas lazada y dos puntos altos, levantamos dos cadenas y cerramos ahí mismo con un punto deslizado y realizamos seis puntos bajos, con un punto deslizado y hacemos una cadena y vamos a cambiar color de hilo.
🌷🍃✨💕🦋🌷❣️🍃✨💕🦋
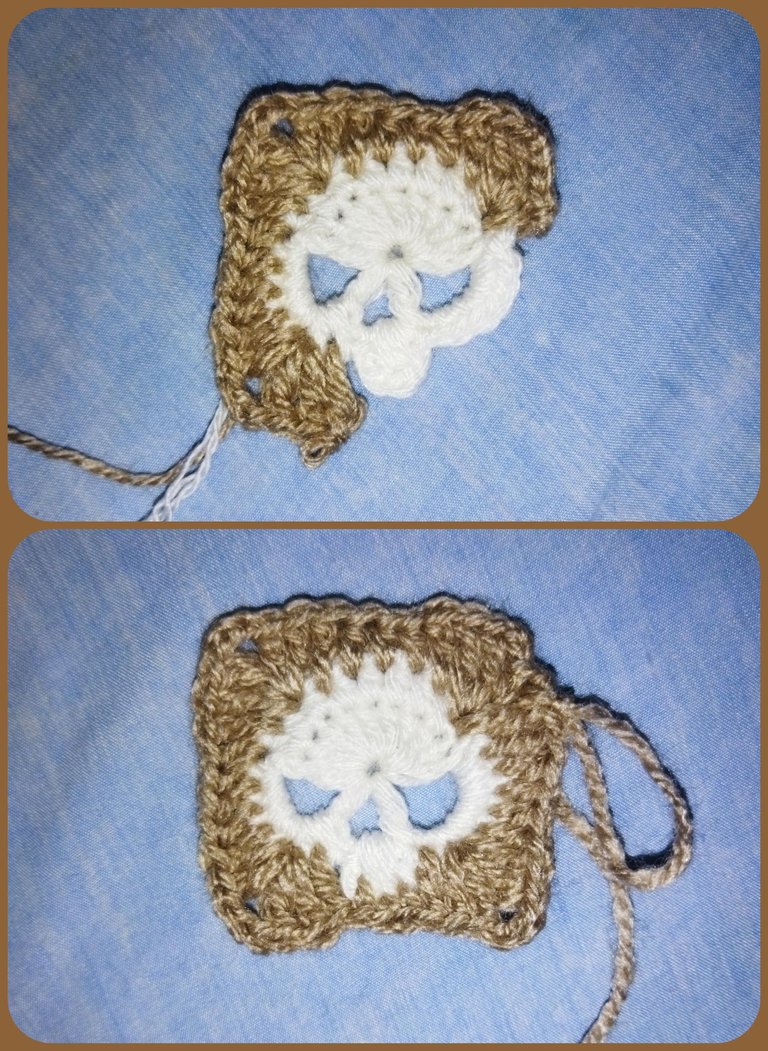 🌷🍃✨💕🦋🌷❣️🍃✨💕🦋
I used a brown yarn, but you can use any color you want, we make a starting knot and then we make a loop and in the next stitch where we made the slipped stitch to close the round, in this stitch we are going to raise a high stitch, we continue and we make three chains and in that same stitch you are going to make two more high stitches, we go to the next stitch and we make a high stitch, then we make three half stitches, in the next stitch we make a high stitch, in the next stitch we make a high stitch increase, we raise three chains and in that same stitch we make two more high stitches, in the next stitch we make a high stitch, continue and knit four half stitches, in the next stitch we make a double crochet, we pick up three chains and in the same stitch we knit two more double crochets, in the next stitch we knit one more double crochet, now we are going to work in the middle of the rods, we pass the hook underneath and we knit three single crochet stitches, in the next stitch we make an increase of high stitch, we raise three chains and in that same stitch we make two more high stitches, now we continue and make four half stitches, the next stitch we make a high stitch and to finish the round we make a high stitch in the same stitch where we made the first high stitch and we close the round with a slipped stitch.
Yo utilicé un hilo marrón,pero ustedes pueden utilizar los colores que quieran, hacemos un nudo de inicio y enseguida hacemos una lazada y en el siguiente punto donde hicimos el punto deslizado para cerrar la vuelta,en este punto vamos a levantar un punto alto, continuamos y realizamos tres cadenas y en ese mismo punto van a realizar dos puntos altos más, pasamos al siguiente punto y realizamos un punto alto,enseguida hacemos tres medios puntos, en el siguiente punto realizamos un punto alto, en el siguiente punto hacemos un aumento de punto alto, levantamos tres cadenas y en ese mismo punto hacemos dos puntos altos más, en el siguiente punto realizamos un punto alto, continuamos y hacemos cuatro medios puntos, en el siguiente hacemos un aumento de punto alto, levantamos tres cadenas y en ese mismo punto hacemos dos puntos altos más, en el siguiente punto hacemos un punto alto,ahora vamos a trabajar en medio de las varetas, pasamos el gancho por abajo y hacemos tres puntos bajos,en el siguiente punto realizamos un aumento de punto alto, levantamos tres cadenas y en ese mismo punto hacemos dos puntos altos más, ahora continuamos y hacemos cuatro medios puntos, el siguiente punto hacemos un punto alto y para terminar la vuelta hacemos un punto alto en el mismo punto donde hicimos el primer punto Alto y cerramos la vuelta con un punto deslizado.
🌷🍃✨💕🦋🌷❣️🍃✨💕🦋
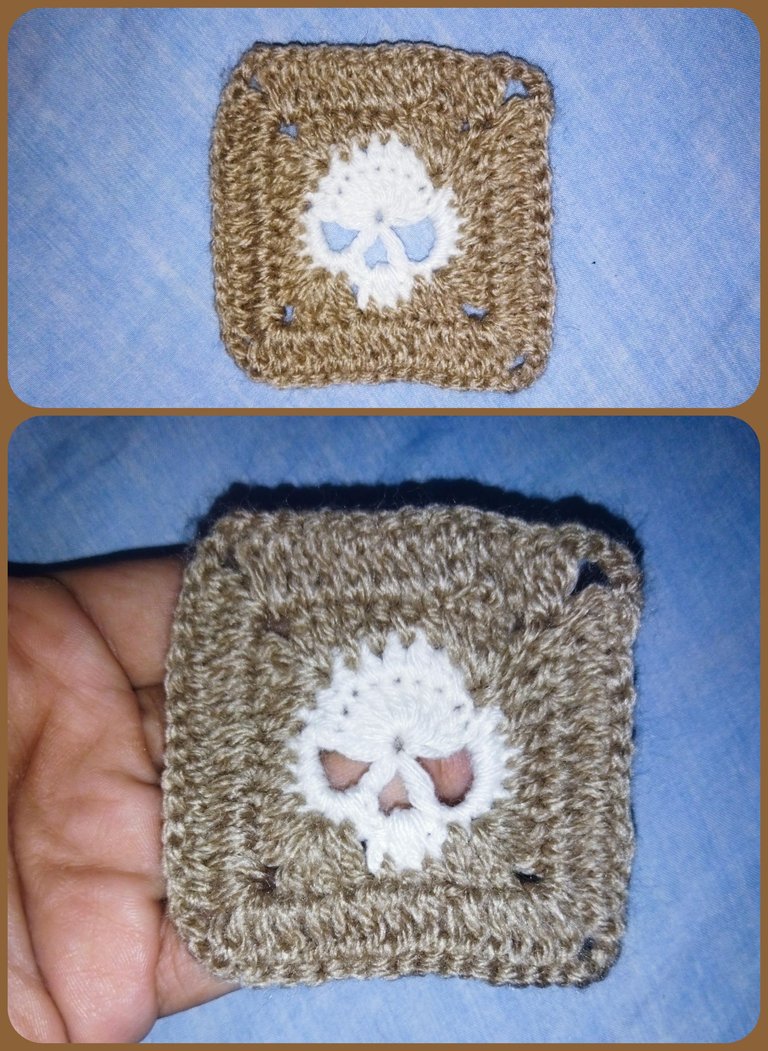 🌷🍃✨💕🦋🌷❣️🍃✨💕🦋
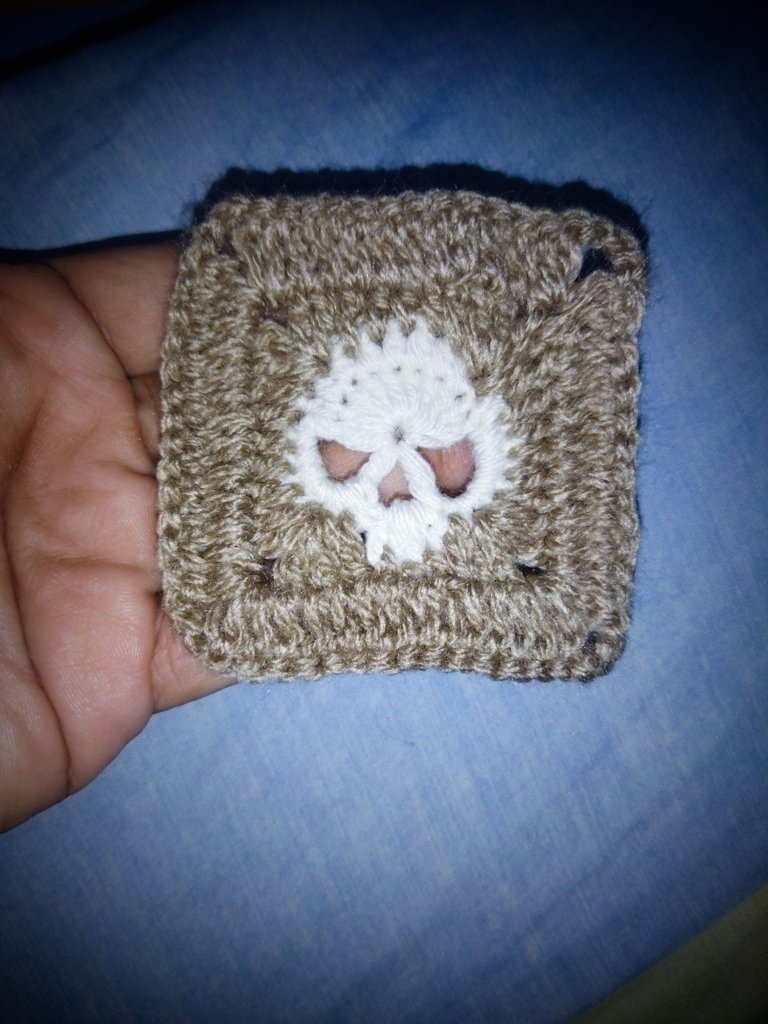
We continue in the fourth round lifting two chains, we turn the work, we make a loop and we will make 8 high stitches, the two starting chains count as high stitches, in total we will make 9 high stitches in each of the rounds, in the corners we will pass the hook through the bottom of the chains and we will make two high stitches, then three chains and there we will make another two high stitches, we will do this in each of the corners, now we will continue and we will make 9 high stitches and well this we will do in the other three remaining sides, finally we will cut the thread and with the wool needle we will lose all the threads and in this way I had completed this nice skull granny that is perfect for this coming halloween celebration and this would be all I hope you liked it a lot I will see you in my next post greetings! !.
Continuamos en la cuarta vuelta levantando dos cadenas, giramos la labor, hacemos una lazada y vamos a realizar 8 puntos altos, las dos cadenas de inicio cuentan como punto alto,en total vamos a realizar 9 puntos altos en cada una de las vueltas, en las esquinas vamos a pasar el gancho por la parte de abajo de las cadenas y vamos a realizar dos puntos altos, enseguida tres cadenas y ahí mismo realizamos otros dos puntos altos, esto lo vamos a realizar en cada una de las esquinas, ahora vamos a continuar y realizamos 9 puntos altos y bueno esto lo realizamos en los otros tres lados restantes, por último vamos a cortar la hebra y con la aguja lanera vamos a perder todos los hilos y de esta manera tuve culminado este simpático granny de calavera que viene perfecto parq estás venideras celebración de halloween y pues esto sería todo espero que te haya gustado mucho nos vemos en mi próximo post saludos!!.
🌷🍃✨💕🦋🌷❣️🍃✨💕🦋
 🌷🍃✨💕🦋🌷❣️🍃✨💕🦋
All images are my own taken with redmi 9t and edited with Photoshop Express app for Android.
Todas las imágenes son de mi propiedad tomadas con redmi 9t y editadas con la aplicación Photoshop Express para Android.
🌷🍃✨💕🦋🌷❣️🍃✨💕🦋
 🌷🍃✨💕🦋🌷❣️🍃✨💕🦋


