Hey lovelies ❤️
It's your favorite girl @debbie-ese 😍
Welcome to my blog 🤗
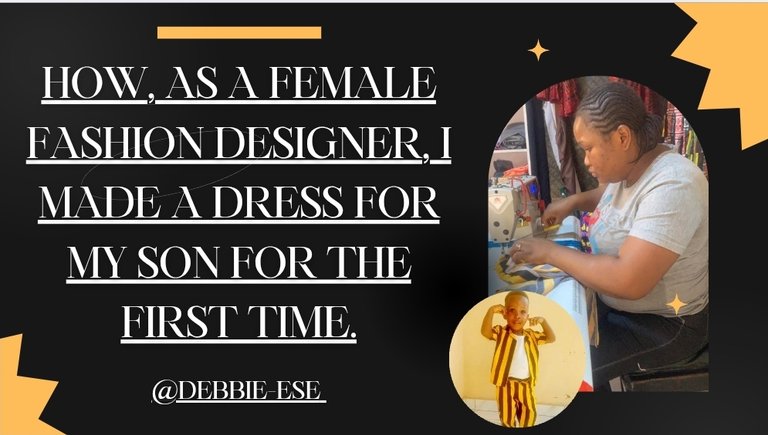
In my last post, I made reference to the fact that i made a dress for my son and I was going to share it. I made the decision to make a dress for him during the peak of work last December when I was busy "beautifying" other people's daughters and I couldn’t sew for my son. I felt bad that I couldn't make an outfit for him. I specialize majorly in women and girls outfits, so it was quite difficult for me to craft something beautiful for my boy.
But, i took it upon myself to brush up my knowledge by learning some basics about men's clothing online. It was not difficult for me to grasp because i sew shirts and trousers for women as well but its just that there are little differences when you're making a male's outfit. The online lessons boosted my confidence to take up the new challenge and I'm sure in the coming days I will be making more designs for him.
What you need
- Fabrics
- Scissors
- Tape rule
- Tailoring chalk
- Paper stay
- Zip
- Elastic (1 inch)
- Hemming gum
The process
The two piece outfit was made with 1 yard of yellow and black stripped fabrics. I started by drafting the style using his measurement on the fabric and cut it out. The top length is 15, the chest is 20, the neck is 11, sleeve lenght is 5, waist is 20, lap is 14, trouser length is 20.
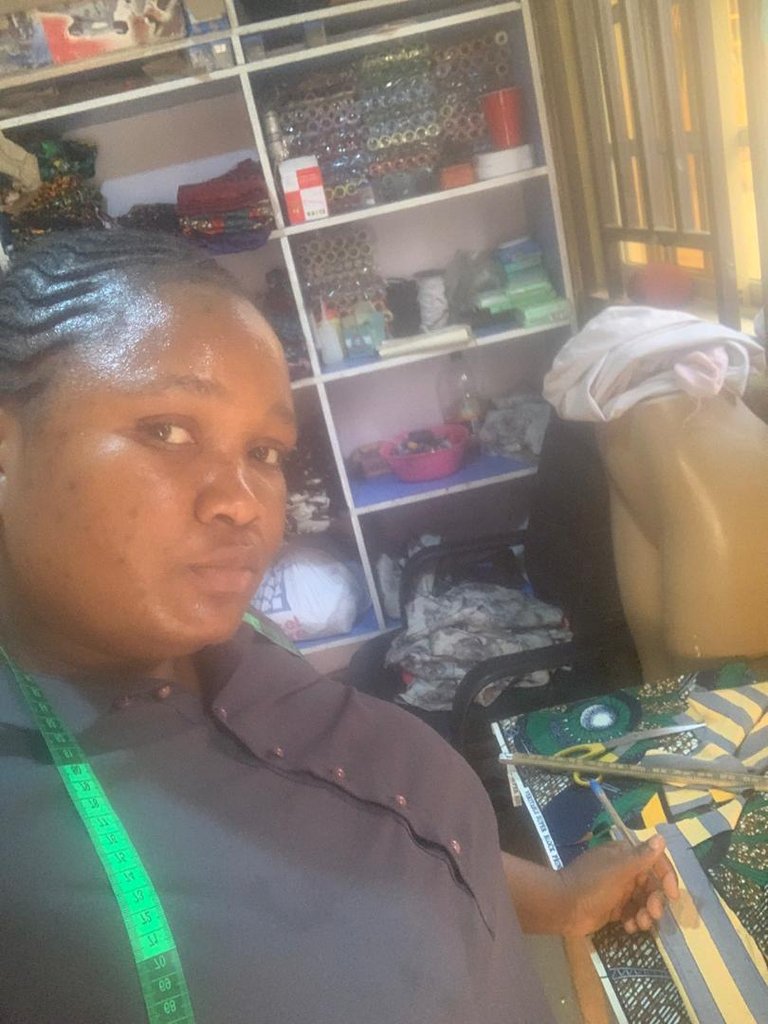
Next, I head to the weaving machine and weave all the pieces of the fabric that I have cut to ensure the finishing is neat. This is a very important part of the sewing process. Some times when there is no power i do the weaving after sewing but i prefer to weave before joining the materials together.
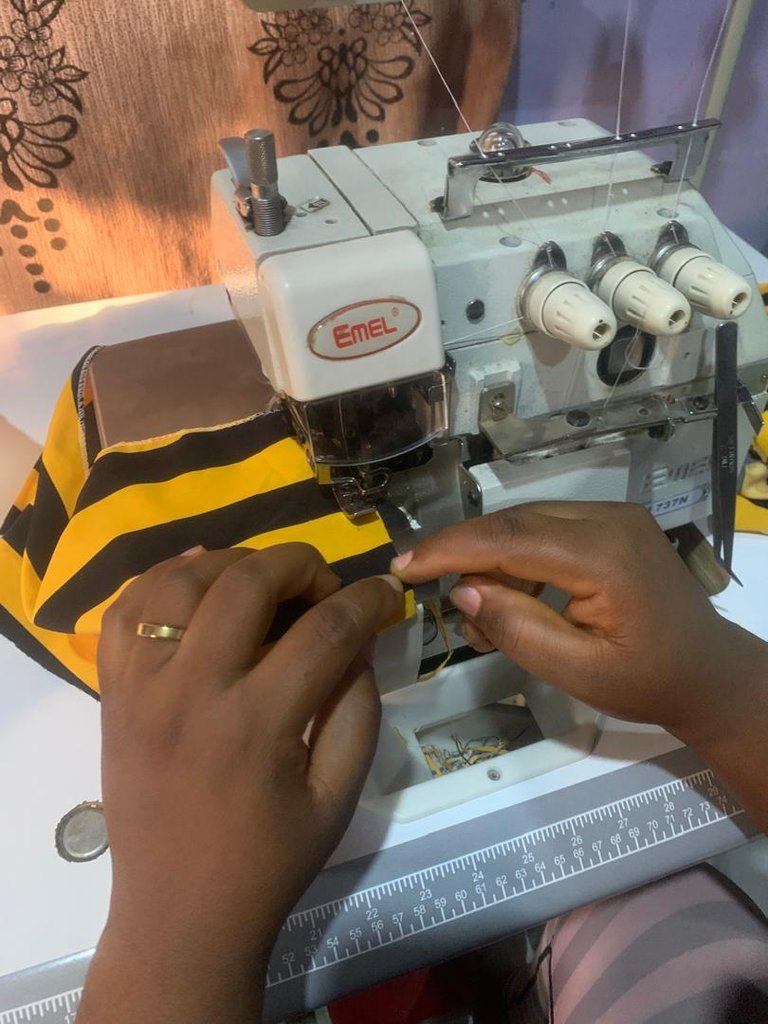
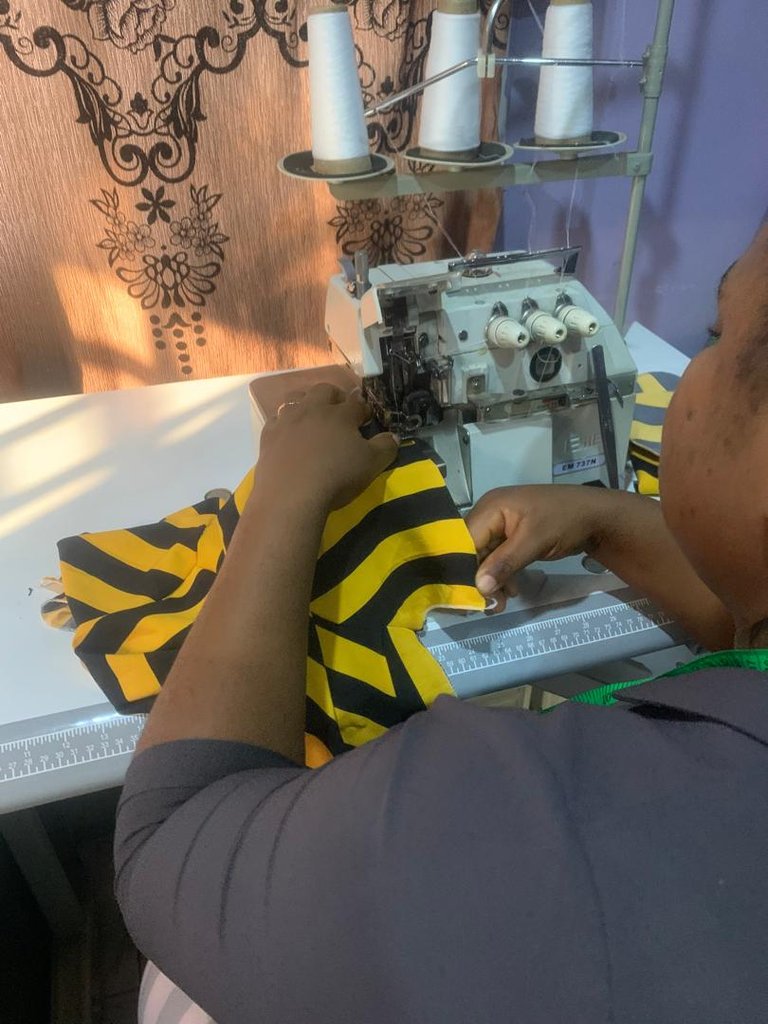
After the weaving process is completed, I proceeded to the sewing machine to join the back top to the front top and I joined the sleeve. Now, its time to work on the collar of the shirt. So, I took the circumference of the neck of the shirt after joining the shoulder- i cut an interface and ironed it to the collar.
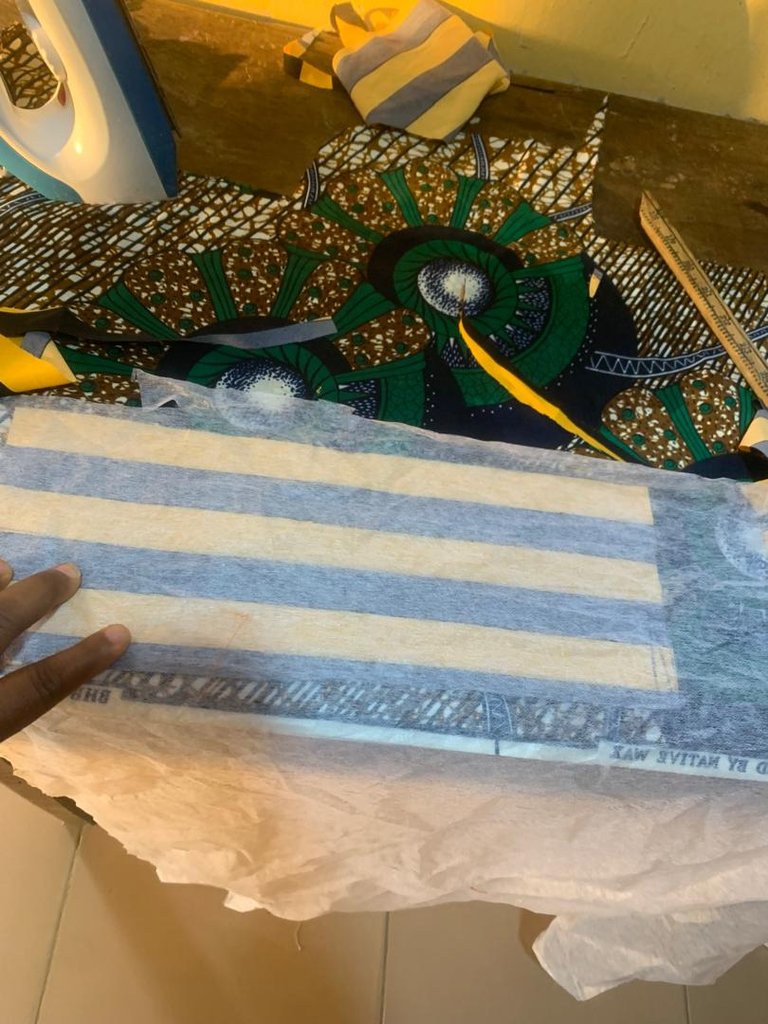
Then I joined the back and front of the trouser and i also attached the pocket. Afterwards, I shaped the sides of the trouser - this is to make the trouser fit in well.
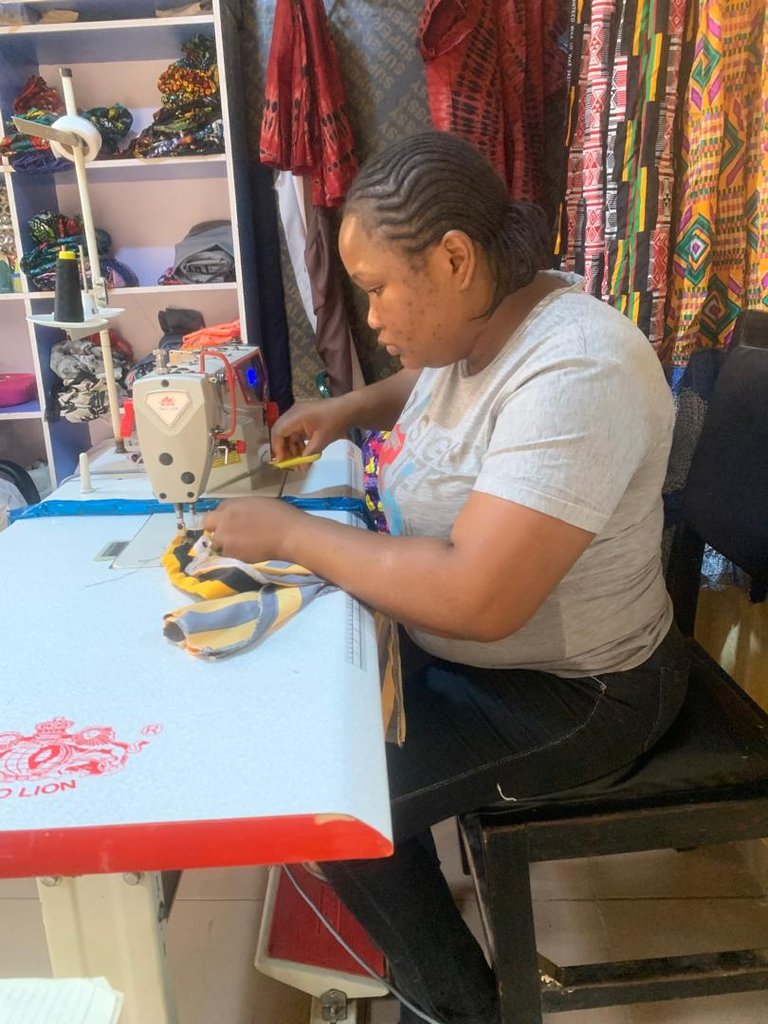
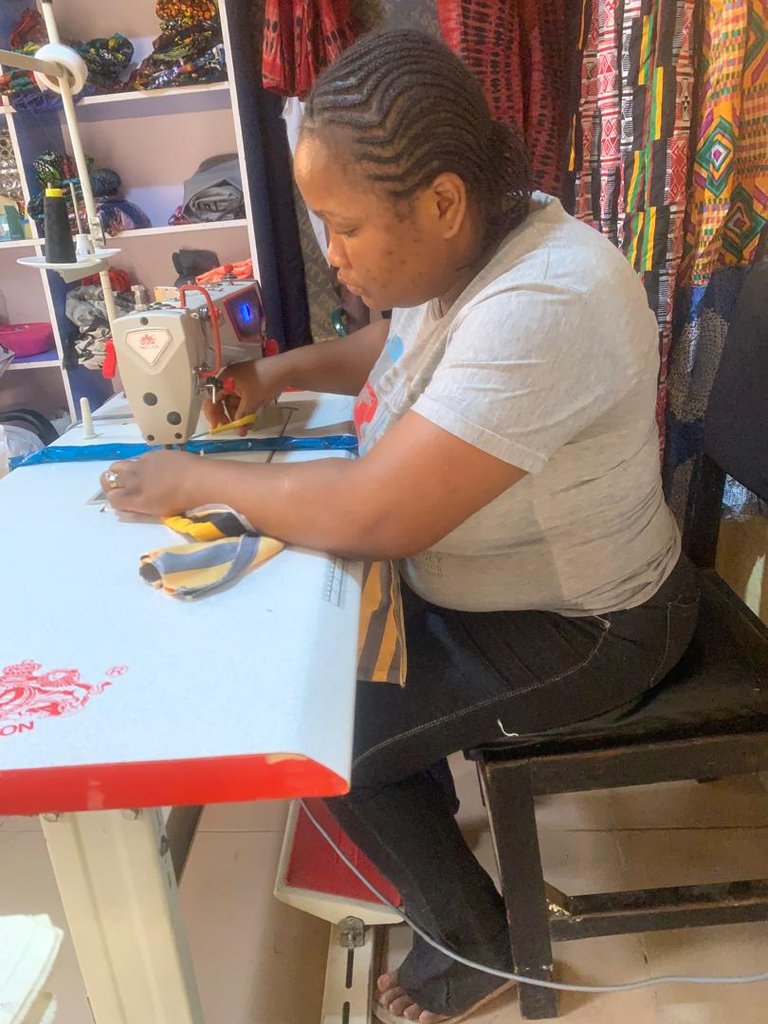
Then I moved to the band of the trouser, i wanted this band to be 1inch wide (this is the same inch with the elastic). I cut a 1.5inch wide band on-fold and the length is 23inches. (Remember it is on-fold, so when i opened it up the total width is 3inches). So I took the band to the ironing table and ironed the paperstay to it neatly. Then I took it to the weaving machine to weave. After that i joined the band to the upper side of the trouser. I made use of safety pin to pass through the elastic through the opening on the band.
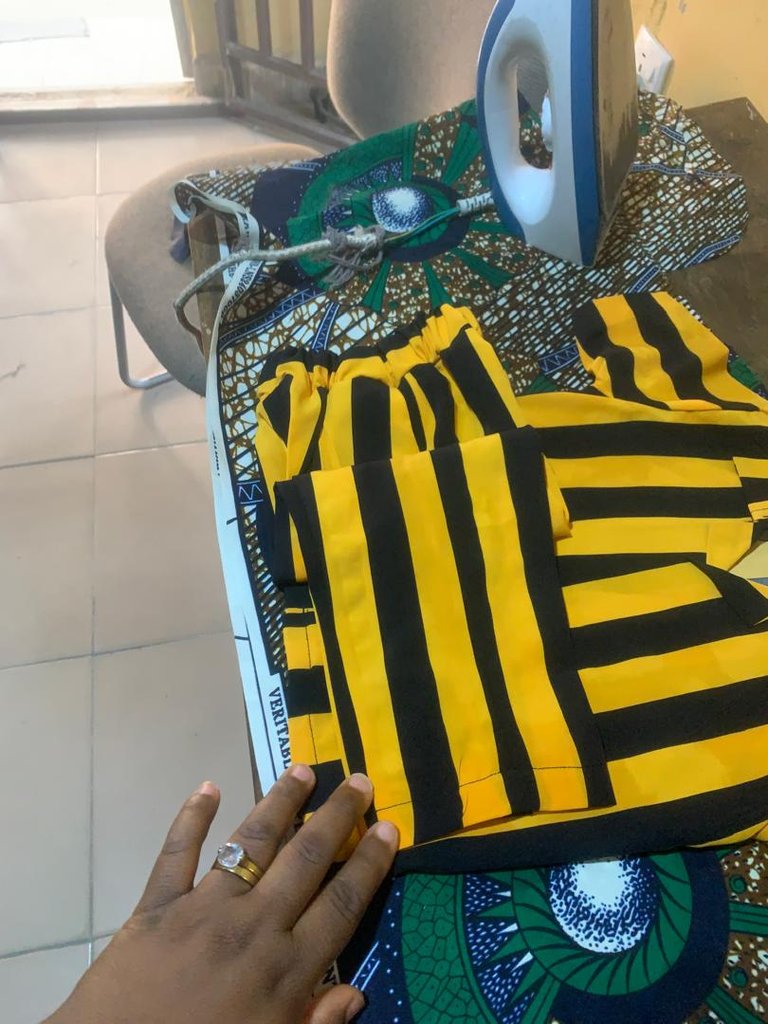
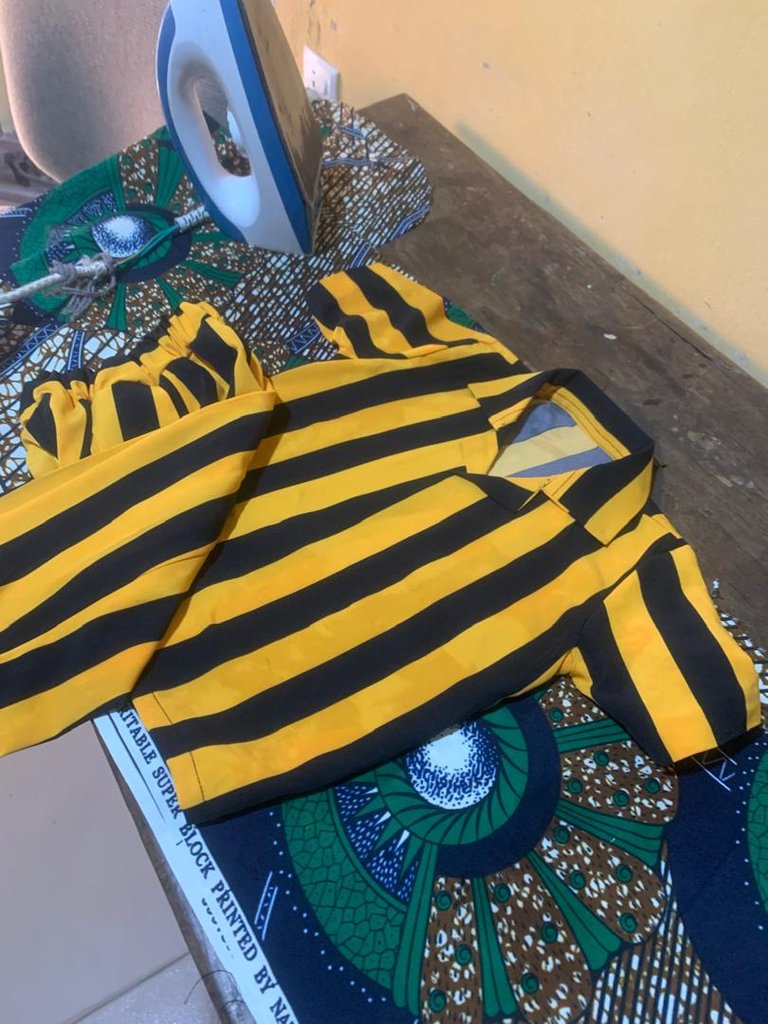
I also hem both the shirt and trouser neatly and the dress was taken for button hole at a nearby store. It took about two days to finish the outfit. This does not mean it was the only thing I did throughout the two days - I will work on it for some hours then work on other things.
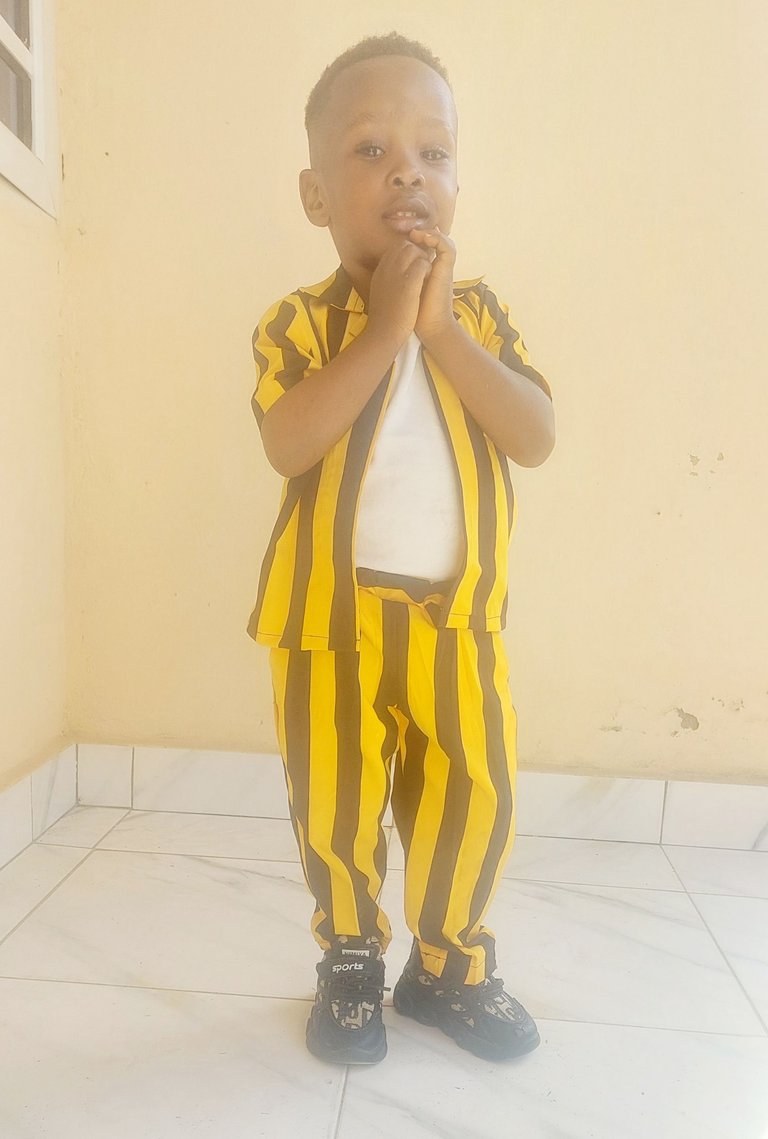
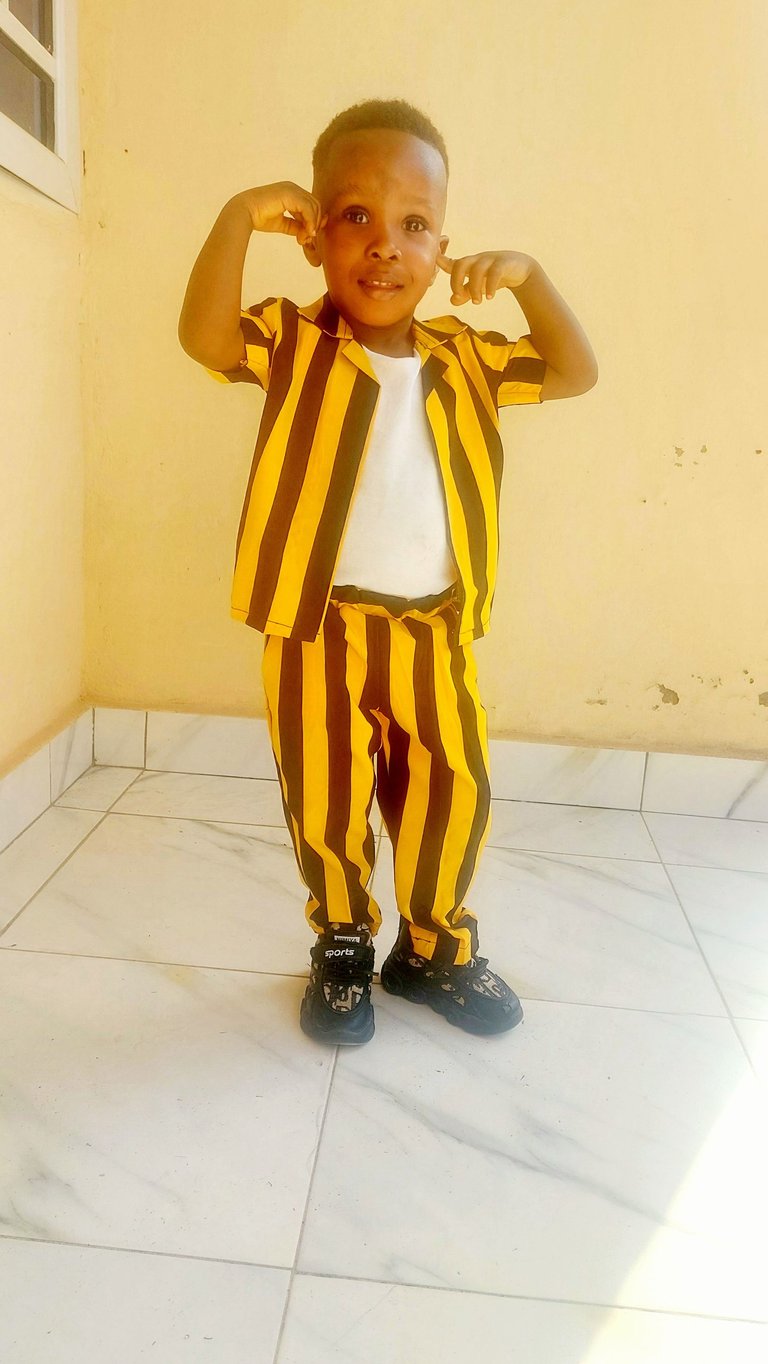
See him posing in his outfit here:
Thanks for reading and see you in my next one.