Hola amigos y creadores de esta comunidad.
Así que es hora de comenzar:
Vas a necesitar:
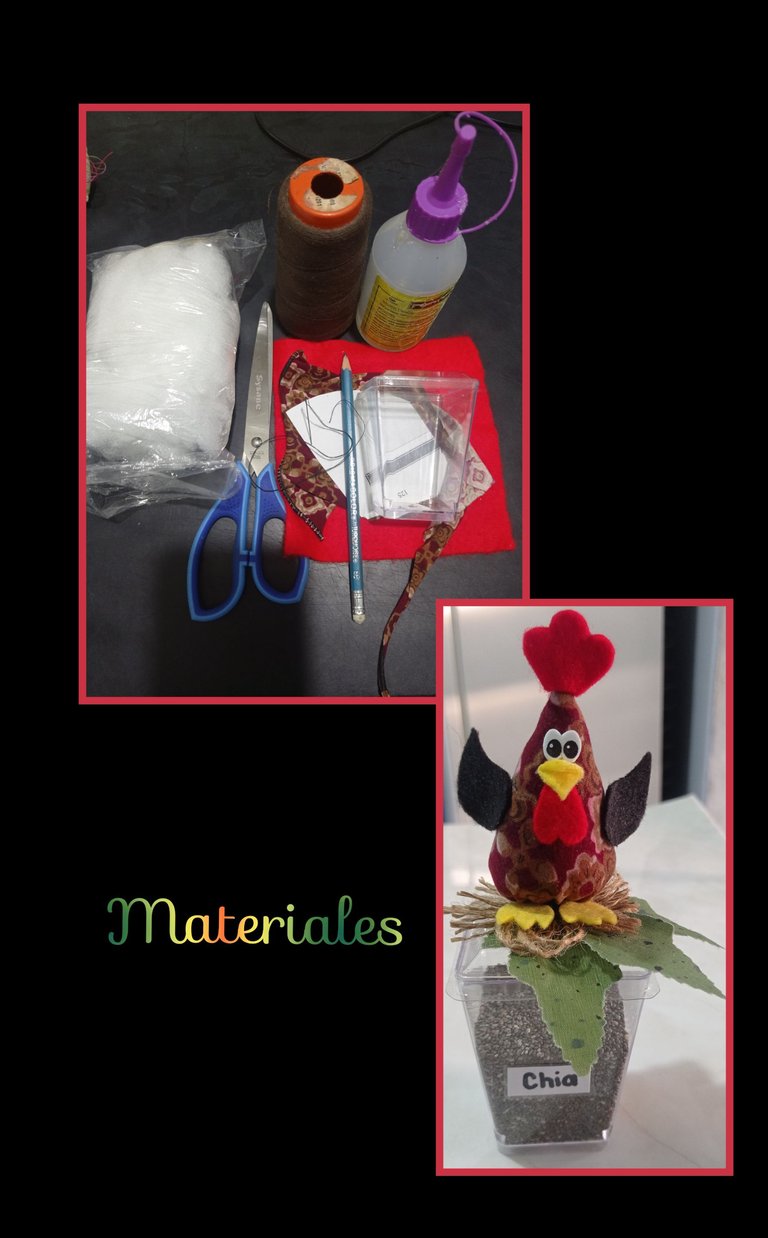
Retazo de tela
Recorte de Fieltro rojo, amarillo y negro.
Envase plástico transparente
Lápiz y molde
Aguja e hilo
Relleno, mecatillo
Tijera, silicón
Hojas de tela.
Paso 1:
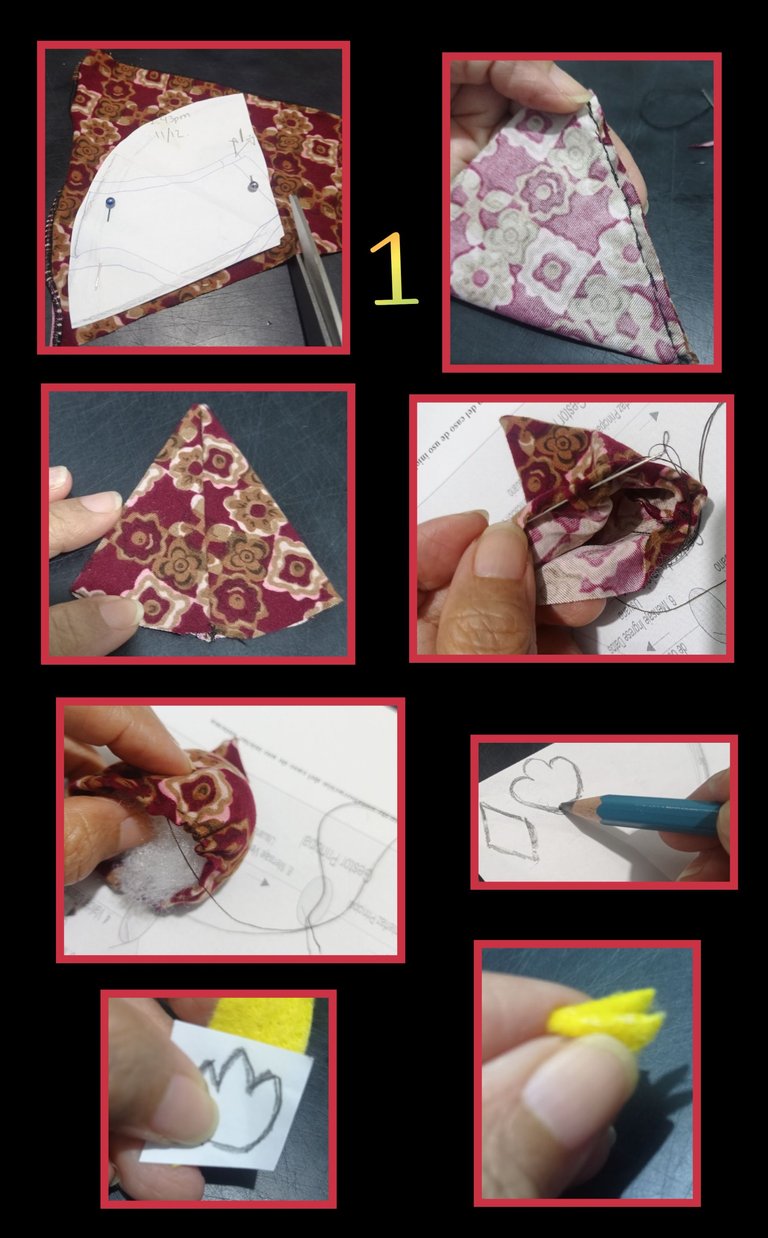
- Coloca el molde sobre la tela, fija con alfileres y recorta dejando 1/2cm para la costura.
- Cose uniendo los laterales y voltea, luego hilvana la parte de abajo, rellena y cierra.
- Dibuja las paticas, pico, alas y cresta, coloca sobre el fieltro y recorta.
Paso 2:
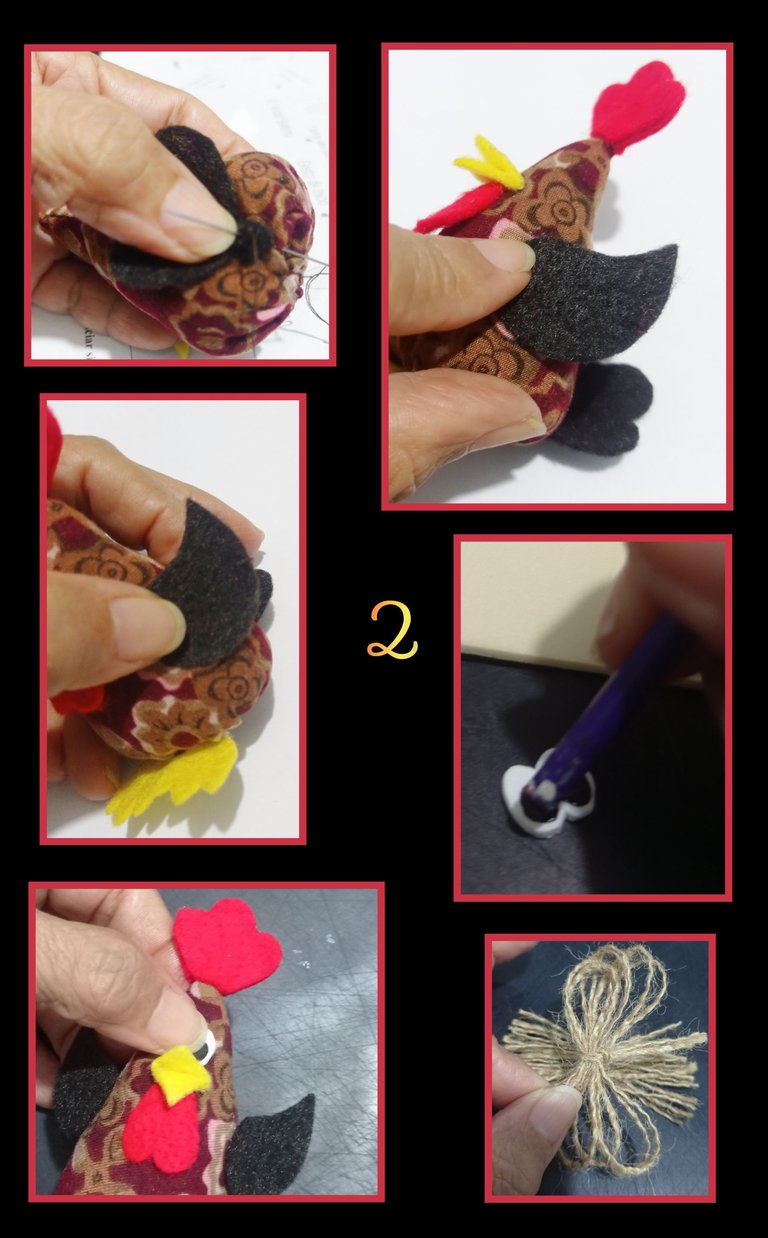
- Cose la cola en la parte baja del cuerpo donde va la costura, luego cose o aplica silicón y pega el resto de las piezas, por último recorta en foami, pinta los ojitos, deja secar y pega a la carita.
- Ahora enrolla el mecatillo y une en el centro.
Paso 3:
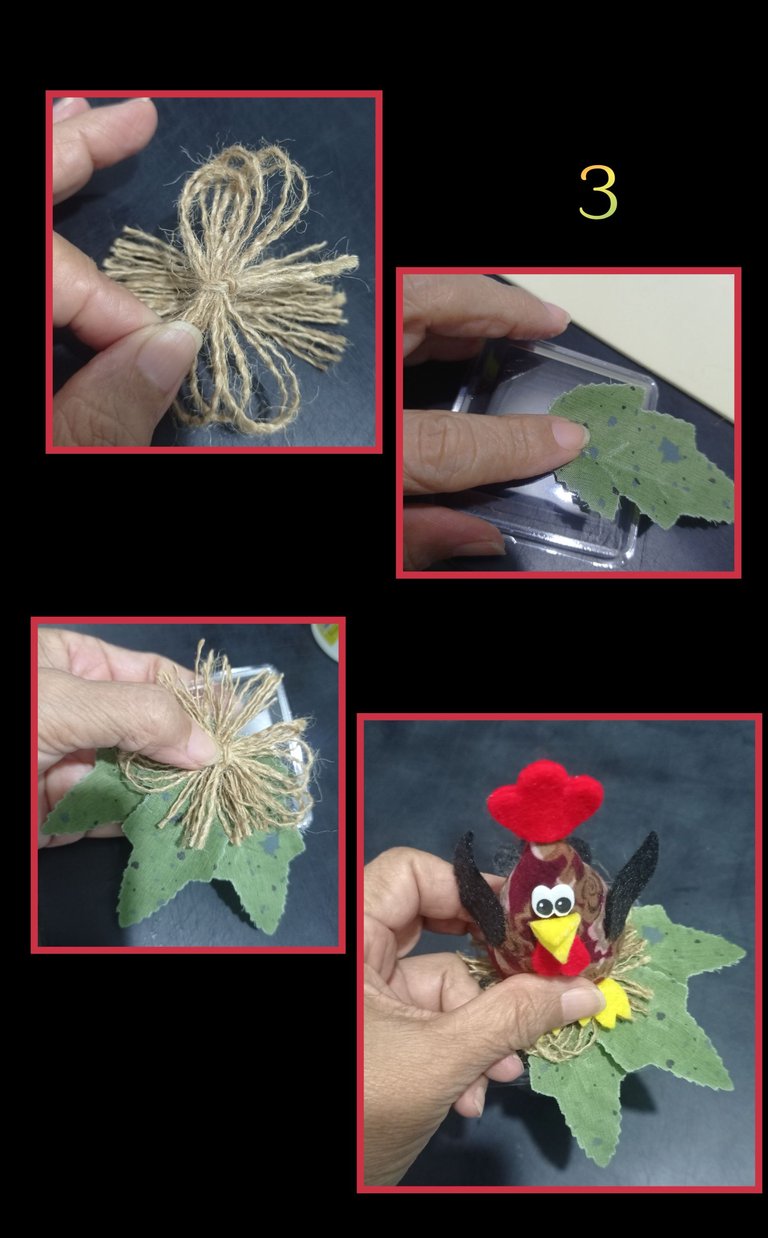
- Aplica silicón y pega, nuevamente aplica silicón en la tapa del envase y coloca las hojas y luego coloca el mecatillo.
- Por último aplica silicón, pega la gallina y deja secar.
Paso 4:
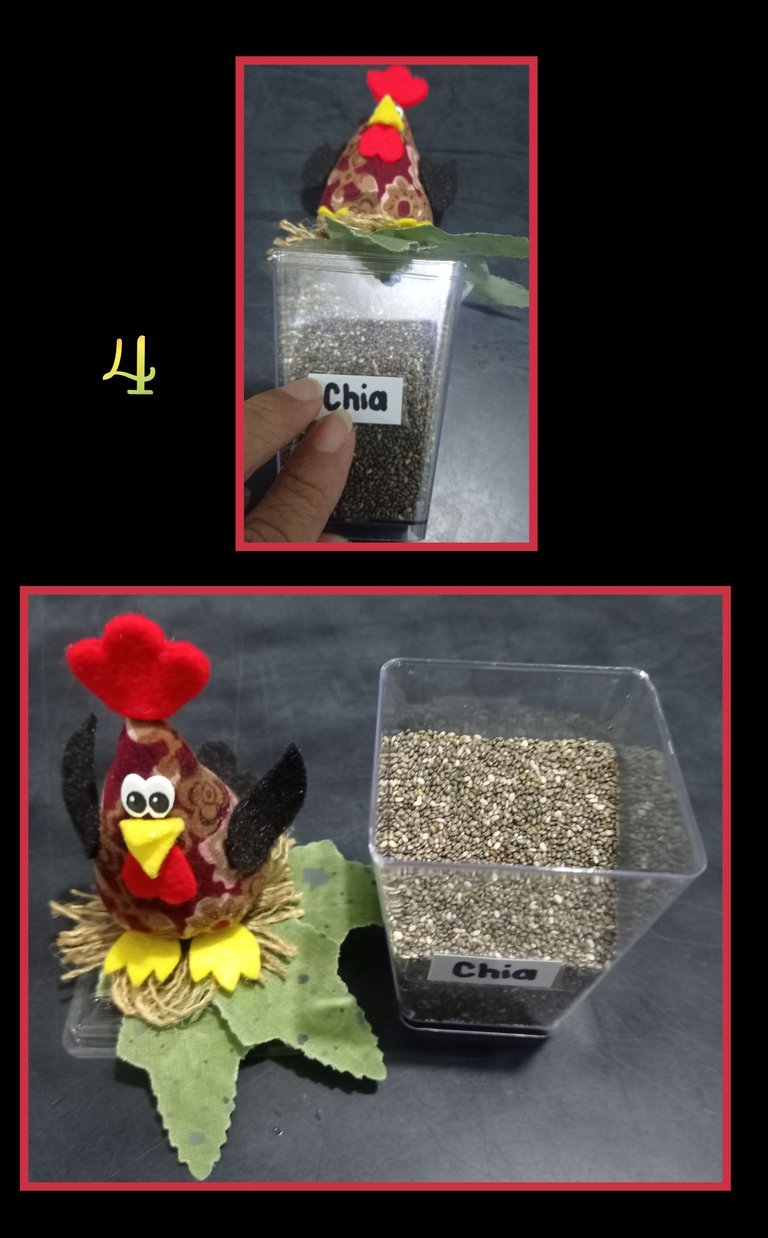
- Por último identifica el envase y rellena con especies o con lo que prefieras.
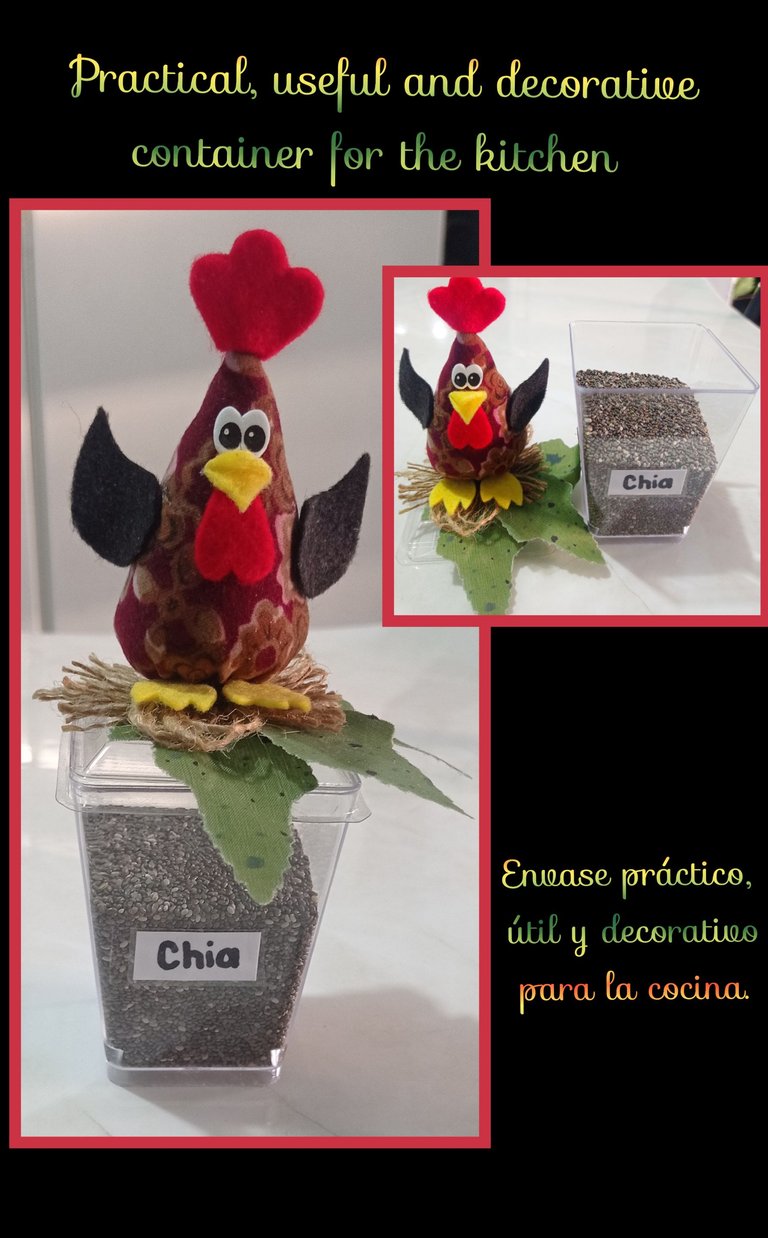
Así queda terminado este bonito envase con el que podrás decorar tu cocina.
Espero que mi publicación te sirva de apoyo o guía.
fuente: https://es.pinterest.com/pin/838091811907259627/
Ahora te dejo fotos del resultado final.
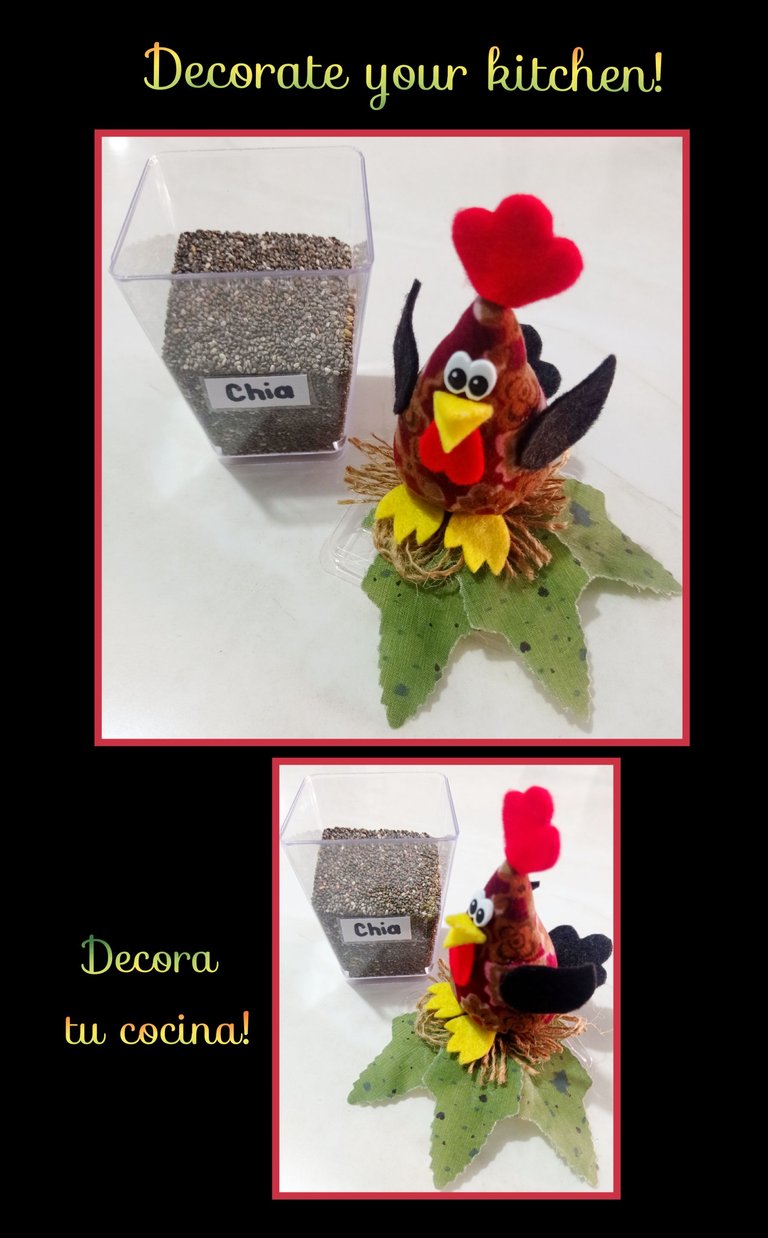
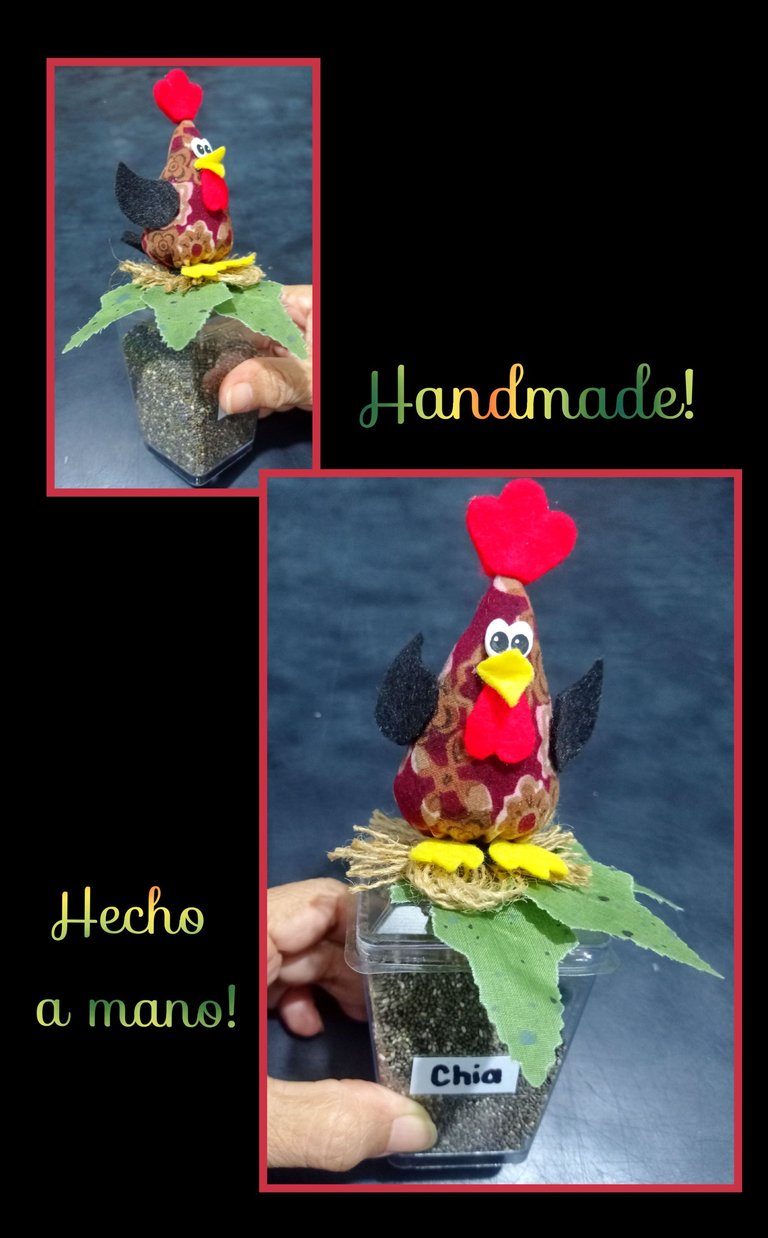

Ahora me despide muy feliz de haber participado y compartido con ustedes.
Suerte para todos los participantes.
Ingles

Hello friends and creators of this community.
Welcome to my blog.
So it's time to get started:
You will need:

Piece of fabric
Red, yellow and black felt cutout.
Clear plastic container
Pencil and mold
Needle and thread
Stuffing, scissors, silicone
Scissors, silicone
Sheets of fabric.
Step 1:

- Place the mold on the fabric, pin and trim leaving 1/2cm for the seam.
- Sew the sides together and turn over, then baste the bottom, stuff and close.
- Draw the paws, beak, wings and crest, place on the felt and cut out.
Step 2:

- Sew the glue on the lower part of the body where the seam goes, then sew or apply silicone and glue the rest of the pieces, finally cut out in foami, paint the eyes, let dry and glue to the face.
- Now roll up the little rope and join in the center.
Step 3:

- Apply silicone and glue, again apply silicone on the lid of the container and place the leaves and then place the rocker.
- Finally apply silicone, glue the chicken and let dry.
Step 4:

- Finally identify the container and fill with spices or whatever you prefer.
This way you have finished this beautiful container with which you can decorate your kitchen.
I hope that my publication will serve you as a support or guide.
fuente: https://es.pinterest.com/pin/838091811907259627/
Now I leave you photos of the final result.


Now I say goodbye very happy to have participated and shared with you.
Good luck to all participants.

