Un feliz inicio de semana, mis queridos Hivers creadores, es un placer poder comenzar esta semana compartiendo con ustedes un nuevo proyecto.
A happy start of the week, my dear Hivers creators, it is a pleasure to start this week sharing with you a new project.
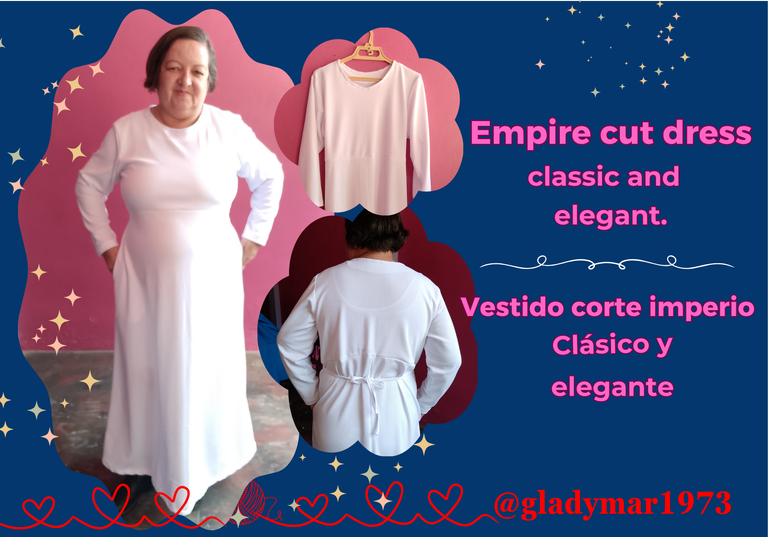
Recientemente fui víctima de los amigos de lo ajeno y entre las cosas que se llevaron estaba un vestido blanco que es de gran valor para mí, es por ello que confeccione este vestido reponiendo el perdido. En esta oportunidad me desafíe a mí misma con este proyecto, primero al corte imperio (el cual no estaba incluido en el proyecto) y segundo el color del mismo, por lo general los detalles en prendas estampadas o de colores no son tan llamativos como cuando en las telas blancas, en el vestido anterior pude darme cuenta de algunos detalles que se me dificultaron tanto en los bolsillo como en el cuello, luego de practicar pude corregir esos detalles y darle una mejor vista a este vestido.
Recently I was a victim of the friends of others and among the things that were taken was a white dress that is of great value to me, that is why I made this dress replacing the lost one. This time I challenged myself with this project, first to the empire cut (which was not included in the project) and second the color of it, usually the details in printed or colored garments are not as striking as when in white fabrics, in the previous dress I could realize some details that were difficult for me both in the pocket and neck, after practicing I could correct those details and give a better view to this dress.
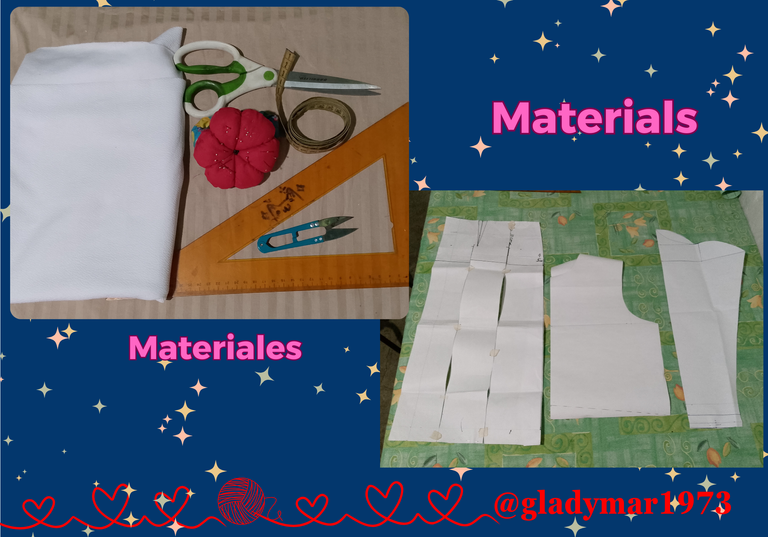
Para ello utilicé: mis patrones básicos de falda, bolsillo ojal, manga y blusa, 2 ½ metros de tela blanca Beverly, tijera, escuadra, cinta métrica, cortahílos y alfileres.
For this I used: my basic patterns for skirt, buttonhole pocket, sleeve and blouse, 2 ½ meters of white Beverly fabric, scissors, square, tape measure, thread cutters and pins.
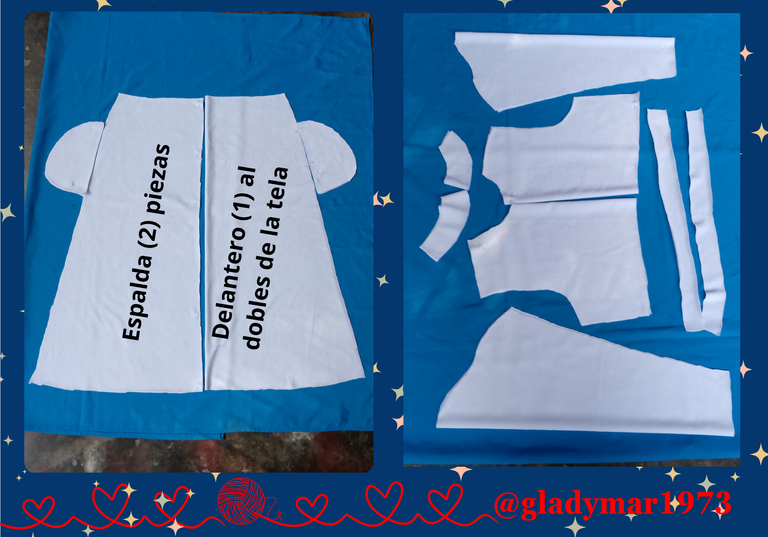
Paso 1 para comenzar coloque el patrón falda sobre la tela doblada para cortar 1 pieza delantera de la falda, para ello con la ayuda de la escuadra y la cinta métrica extendí el largo de la falda a 100 cm y abrí el patrón entre cada corte dejando un espacio de 7 cm en la parte baja para darle un poco de amplitud a la falda, repetí el procedimiento en la parte de la espalda solo que esta vez no tenía la tela doble sino que coloqué el patrón a 2 cm dela orilla de la tela. Luego de cortar ambas partes de la falda proseguí a cortar las mangas y los bolsillos, para seguir con la parte de la blusa ¿y que creen?, cuando quise medir la tela era muy poca, por lo que doble el patrón y corté las partes de la blusa a corte imperio y sus respectivas vistas; corté unas tiras para ajustar el vestido al cuerpo; luego para unir la blusa y la falda compraría un retazo de tela para agregarle un fajón .
Step 1 to begin I placed the skirt pattern on the folded fabric to cut 1 front piece of the skirt, for this with the help of the square and the tape measure I extended the length of the skirt to 100 cm and opened the pattern between each cut leaving a space of 7 cm at the bottom to give a little width to the skirt, I repeated the procedure in the back part only this time I did not have the fabric folded but I placed the pattern 2 cm from the edge of the fabric. After cutting both parts of the skirt I proceeded to cut the sleeves and pockets, to continue with the part of the blouse and what do you think?, when I wanted to measure the fabric was too little, so I folded the pattern and cut the parts of the blouse to empire cut and their respective views; I cut some strips to adjust the dress to the body; then to join the blouse and the skirt I would buy a piece of fabric to add a sash.
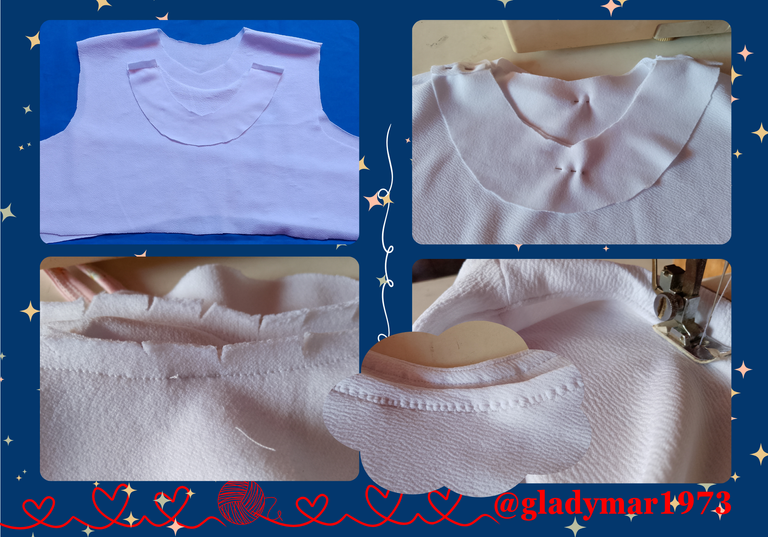
Paso 2 comencé a coser las vistas y la blusa por el hombro, luego cosí las vistas a la blusa colocando derechos contra derechos, seguido realice pequeños piquetes y planche para facilitar la costura, luego volteé y ajusté las vistas con alfileres y aprovechando las puntadas especiales de la maquina procedí a ajustar la vista a la blusa, entre en el previo planchado y la puntada especial le dieron un mejor acabado al cuello de mi vestido.
Step 2 I started to sew the views and the blouse by the shoulder, then I sewed the views to the blouse placing rights against rights, then I made small picks and ironed to facilitate the sewing, then I turned and adjusted the views with pins and taking advantage of the special stitches of the machine I proceeded to adjust the view to the blouse, I entered the previous ironing and the special stitch gave a better finish to the neck of my dress.
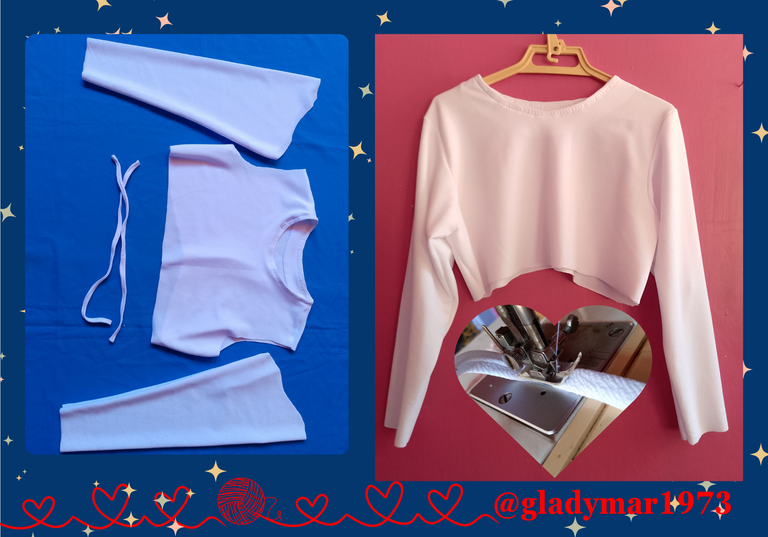
Paso 3 seguidamente cosí tanto la blusa como las mangas por los costados y posteriormente cosí las mangas a la blusa, y doble las tiras por la mitad y cosí.
Step 3 I then sewed both the blouse and the sleeves on the sides and then sewed the sleeves to the blouse, and folded the strips in half and sewed.
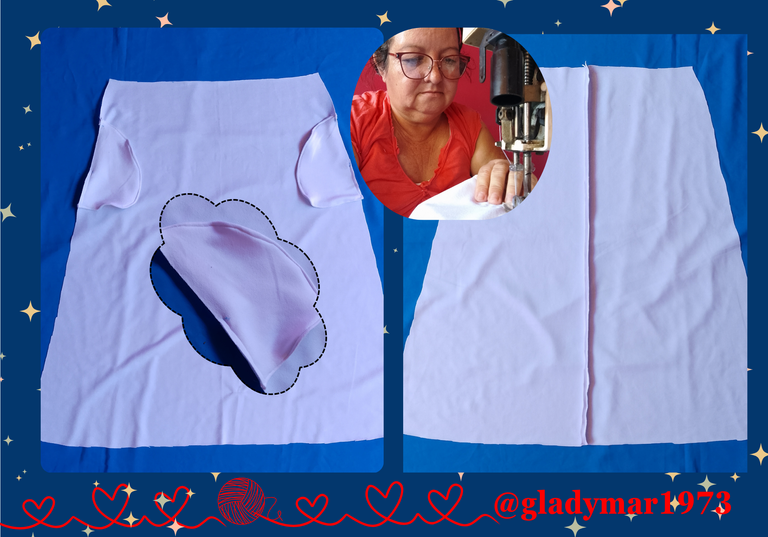
Paso 4 antes armar la falda la ajusté con alfileres a la blusa y me medí el vestido y de nuevo sorpresa me quedaba justo al largo que yo deseaba, así que procedí a montar los bolsillos a la parte delantera de la falda y para ello marqué 16 cm desde la cintura y cosí de la misma manera que lo cosí al otro vestido. Para darle un mejor acabado al bolsillo le realice una costura por la parte externa.
Step 4 before assembling the skirt I pinned it to the blouse and measured the dress and again surprise it was just the length I wanted, so I proceeded to attach the pockets to the front of the skirt and for this I marked 16 cm from the waist and sewed in the same way I sewed it to the other dress. To give the pocket a better finish I sewed a seam on the outside.
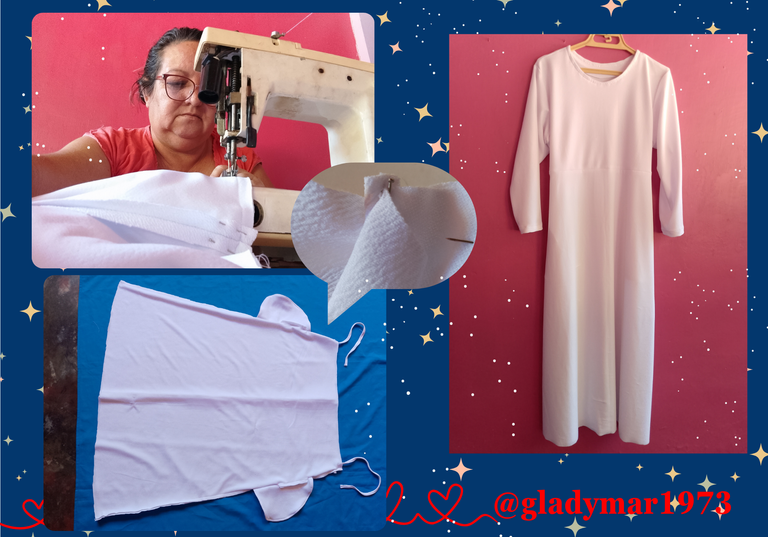
Paso 5 para cerrar la falda coloque las tiras para ajustar a 3 cm de la cintura en cada costado y cosí, luego cosí el ruedo y procedí uniendo la blusa y la falda y listo ya repuse mi vestido robado.
Step 5 to close the skirt I placed the straps to adjust 3 cm from the waist on each side and sewed, then I sewed the hem and proceeded to join the blouse and the skirt and ready I had my stolen dress.

Contenido original.
Fotos tomada con mi Celular Moto E6I y editadas en Canvas.
Los banner fueron creados por mí en Canvas.
La traducción fue a través de www.DeepL.com,Translator (versión gratuita).
Original content.
Photos taken with my Moto E6I cell phone and edited in Canvas.
The banners were created by me in Canvas.
The translation was through www.DeepL.com,Translator (free version).
