Beautiful morning my needlework family,
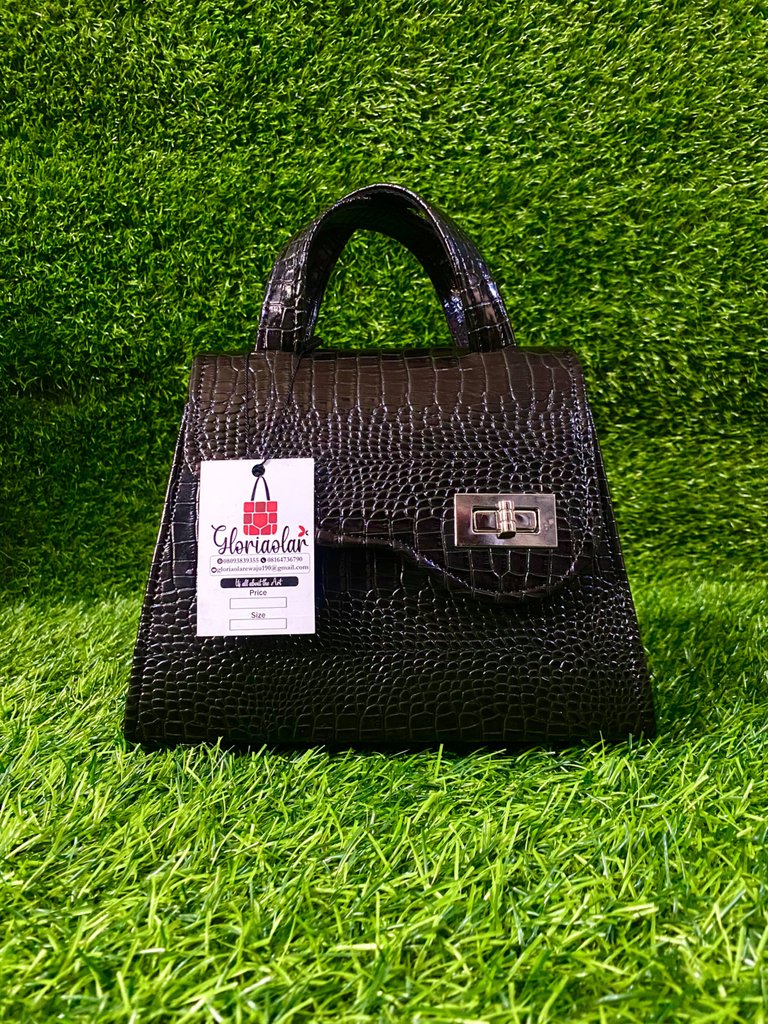
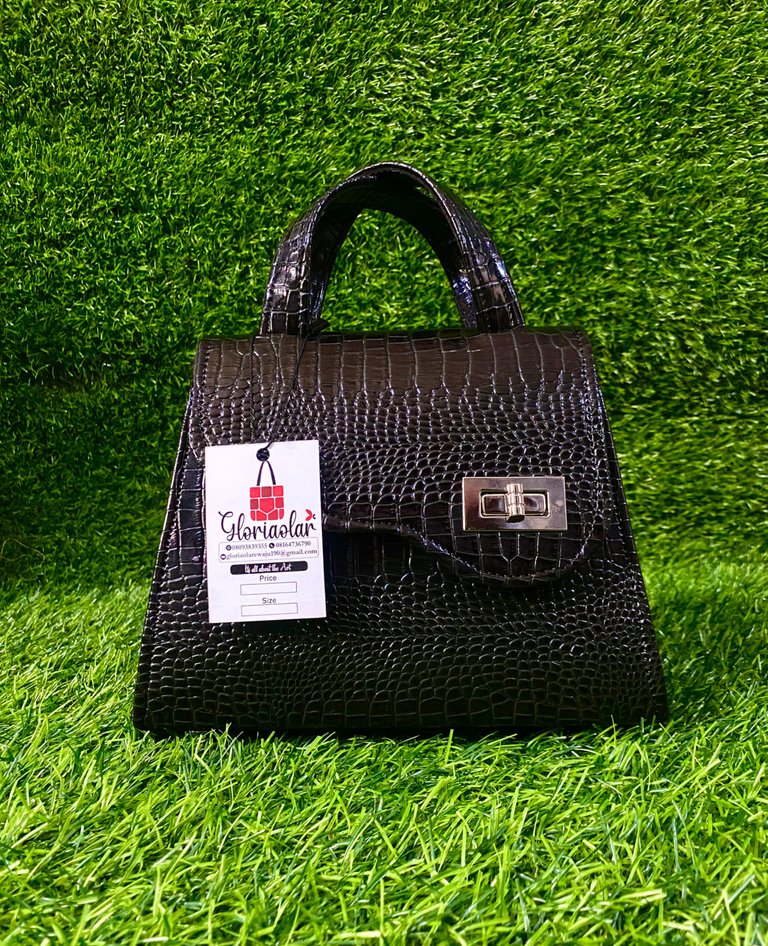
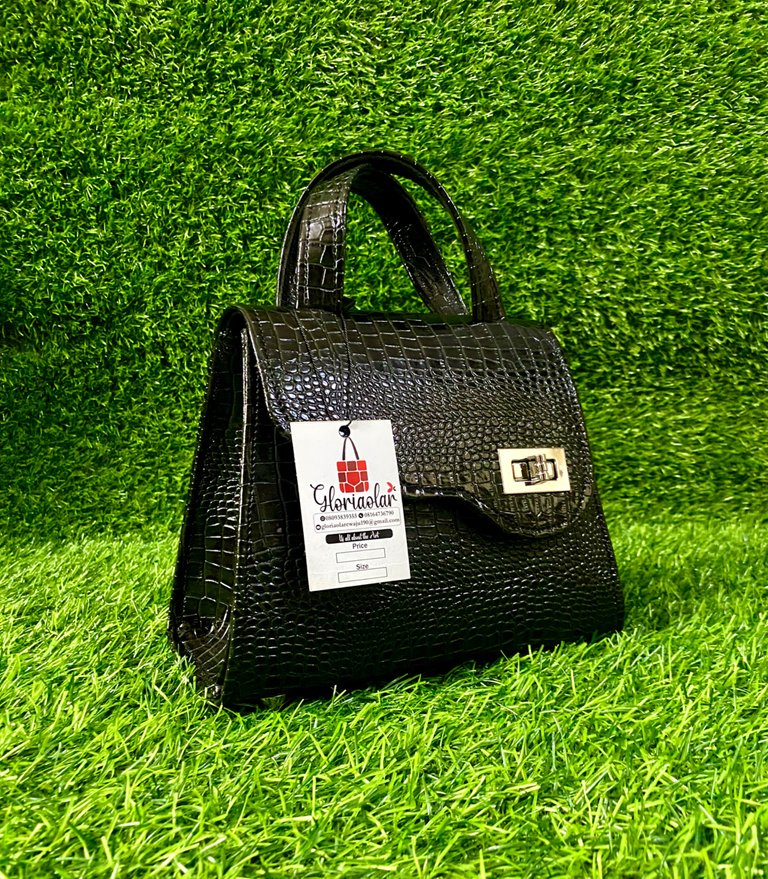
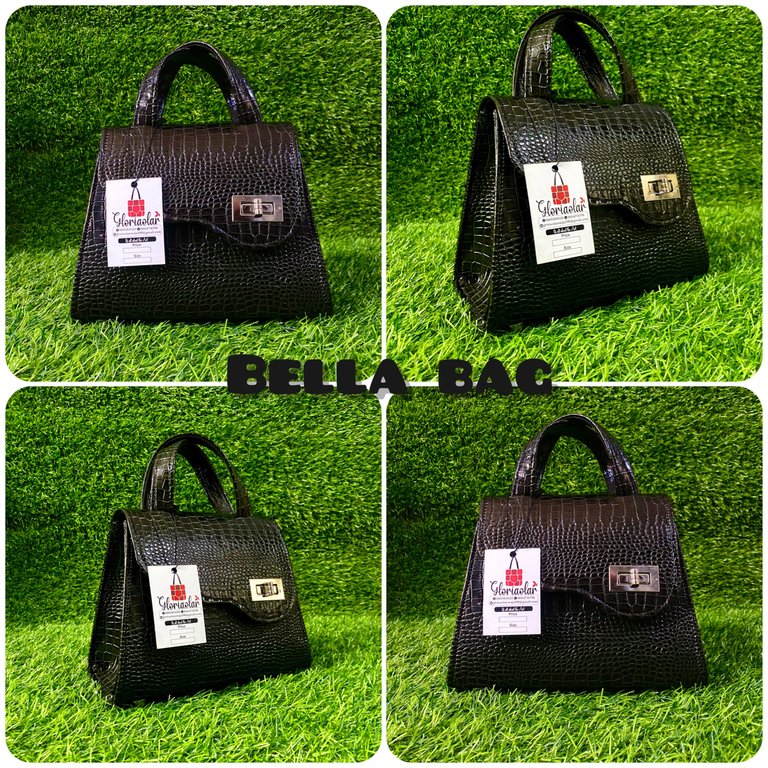
I wish you all a happy and amazing week. Today I will be sharing my latest creation with you which I call the Bella bag. I created this design last two years and since then, I’ve been able to seek few out of this particular design. Last two weeks, I revived an order from a lady in church asking for a medium size bag. Not as small as mini and not as big as midi. Checking through all my designs, this fall in the category. Then I show to her the picture of this style and she loved it and so I proceeded to make this beautiful bag last week. Since it’s been so long since I made this bag, I decided to share my creative process with you all.
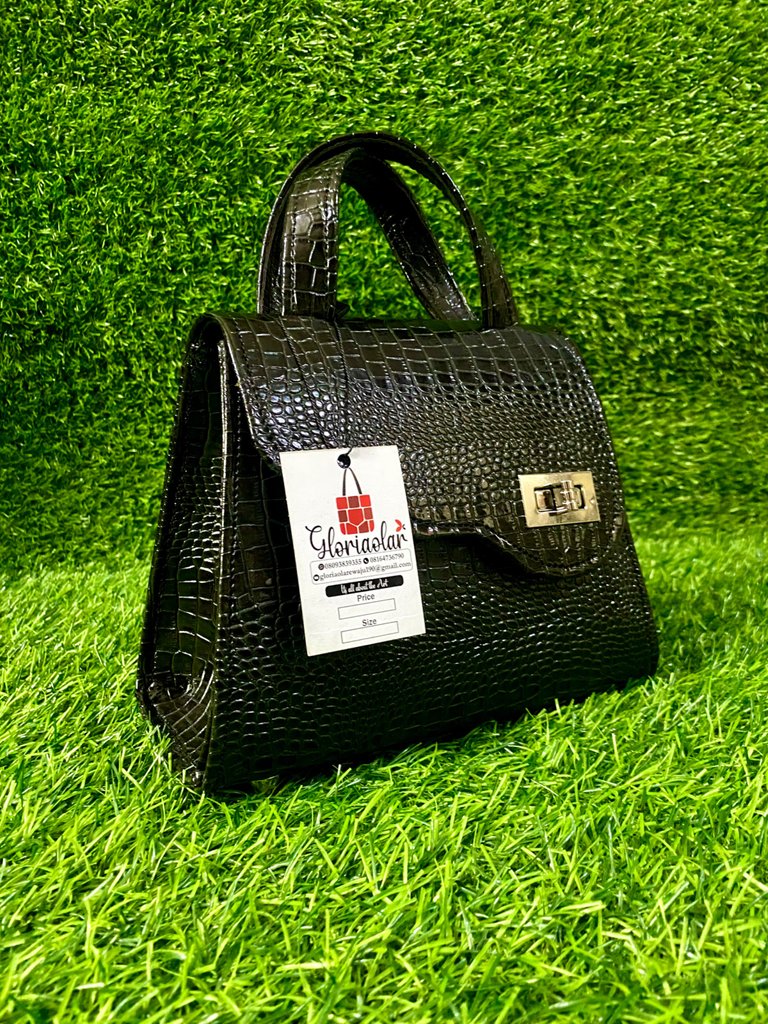
One special thing I love about this design is it’s two handle. This was created by me when I was bringing the design to life. I felt like, why not have two handles cross each other and I tried it and fortunately it came out beautifully. The other part I also love about this design is it’s flap. The curves just give it a beautiful touch. These two parts of the bag makes it one of the designs I love the most out of my creations.
Below, I will be taking us through how I made this bag. The process is actually not hard but it’s technical and fun.
MATERIALS USED
- Fibre
- Leather of choice
- Chiboard
- Leather glue
- D ring
- Anchor ring
- Bag lock
- Magnet
- Gum
- Tagging pin
- Suade material
- Bottom pins
PROCESS
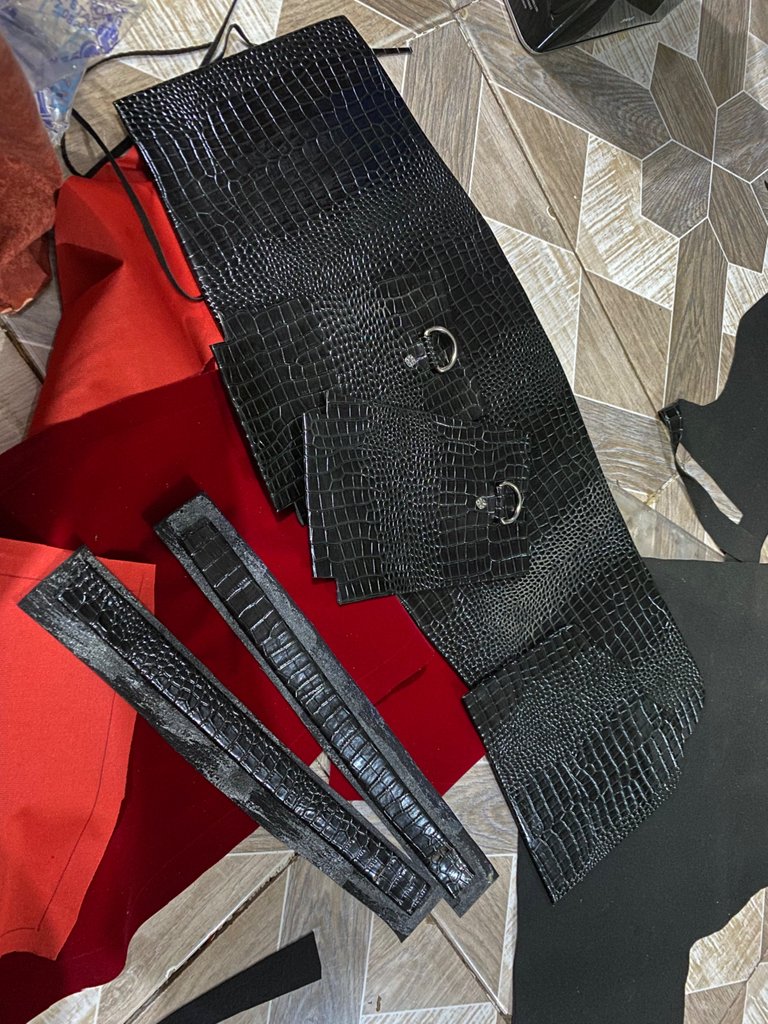
- Firstly, I marked the pattern on the leather, fibre material and suade lining then I cut them out. After that, I gum the fibre with the leather and I fixed the D rings with a tagging pin to the sides just as seen below.
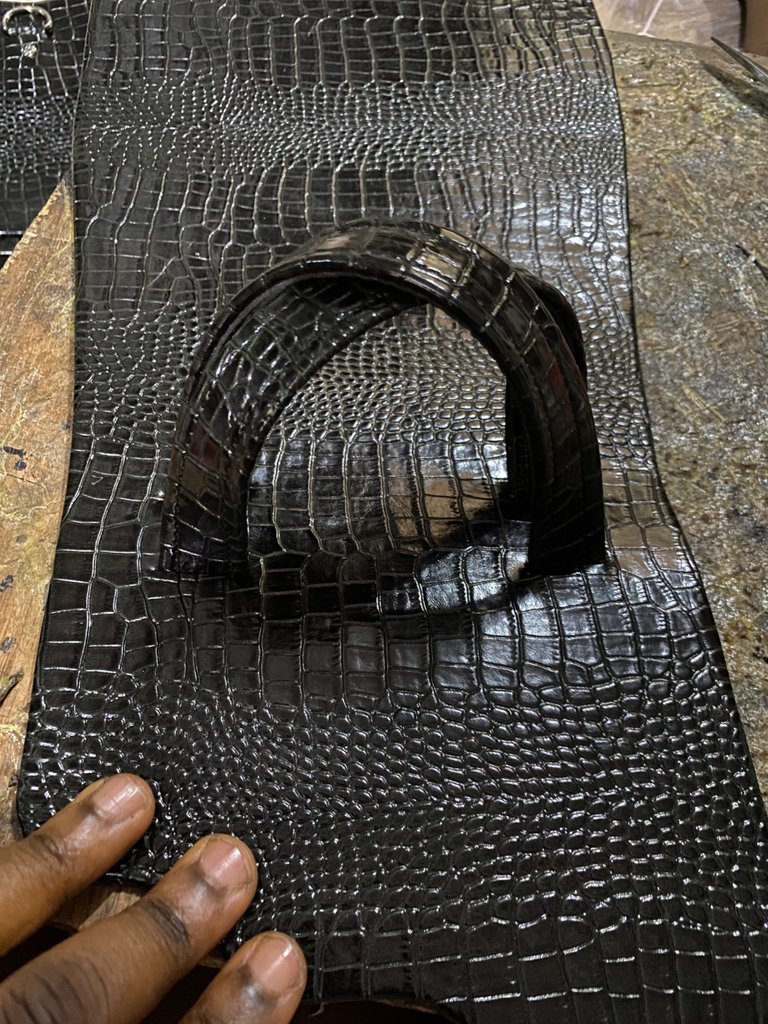
- After that, I sew the sides of the short handle, make a straight cut at 1 inch to the sides and 0.5 inches to the upper sides. Then I inserted the handles and gummed it with a leather glue.
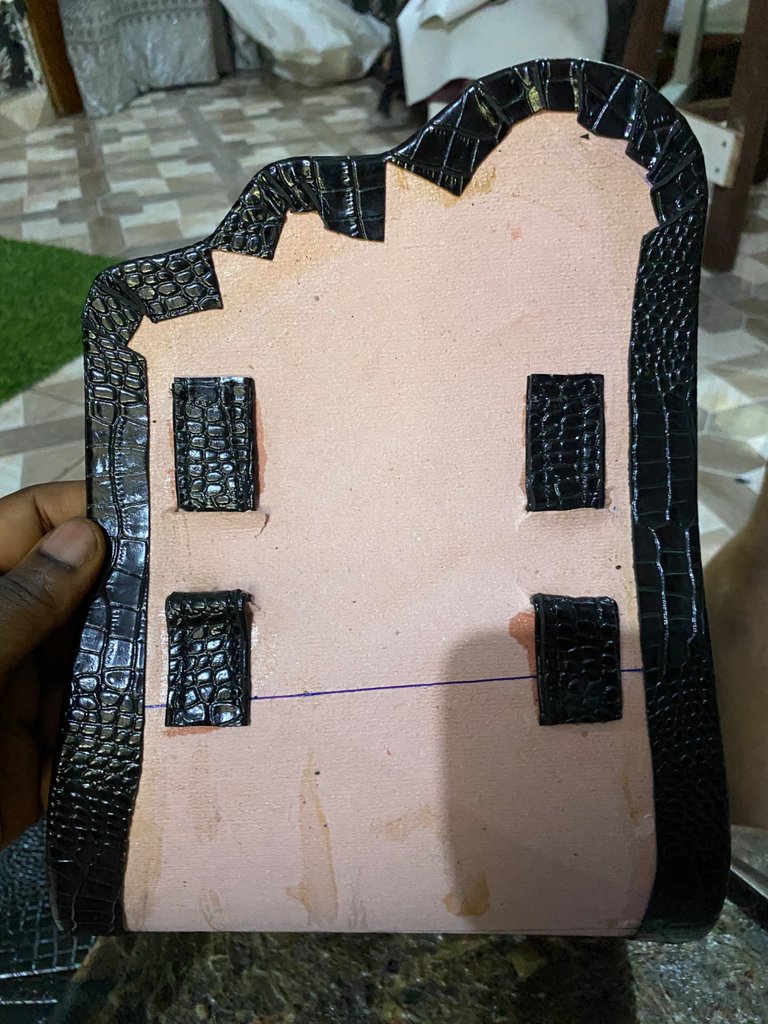
- Next, I sew the inner pocket to the lining as seen below.
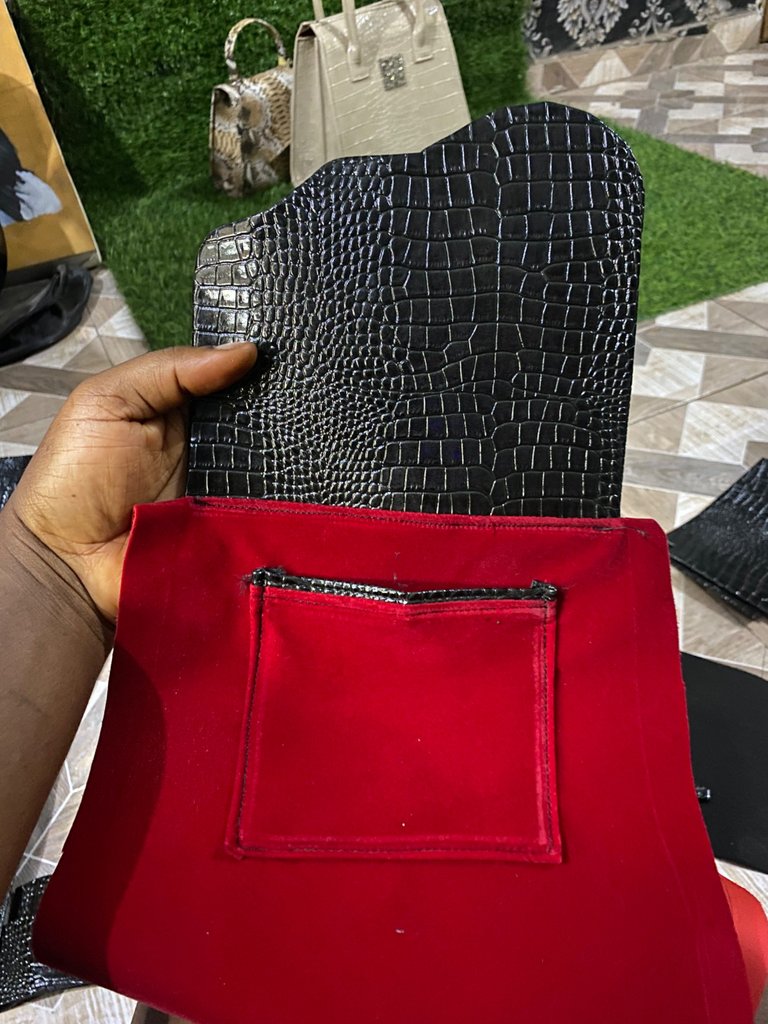
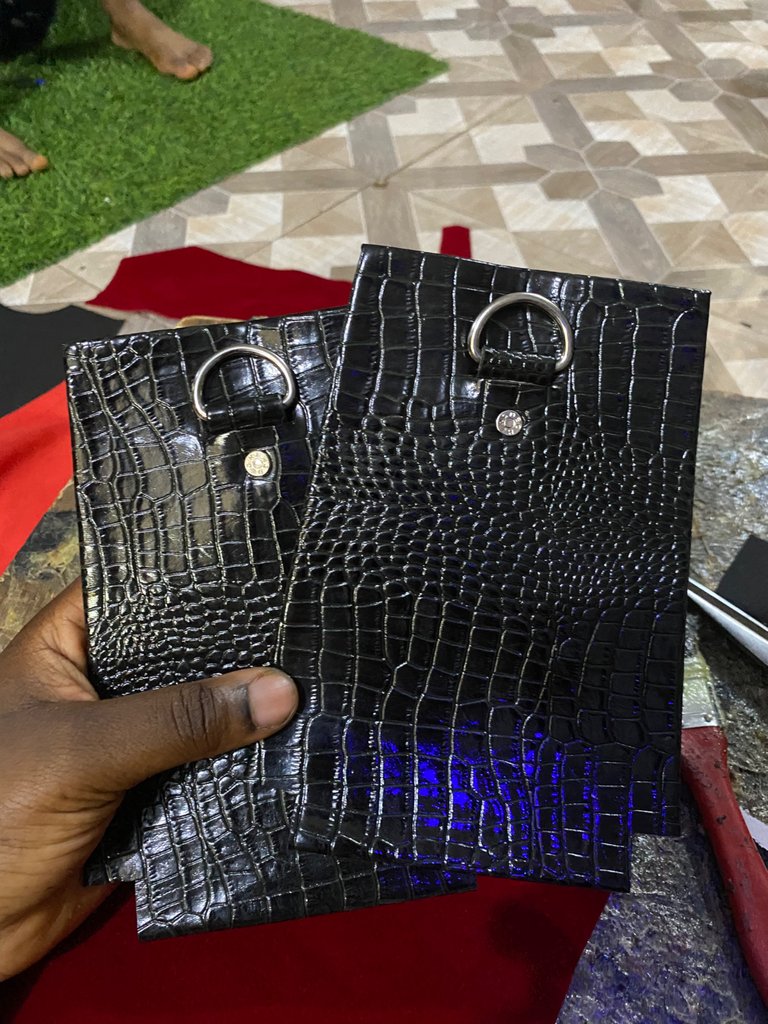
- Finally, I fixed the bag lock and magnet with the bottom pins after which I then gummed the lining to the main body of the bag. Also I gum the lining to the sides too. Once that was done, I sew the sides to the main body of the bag.
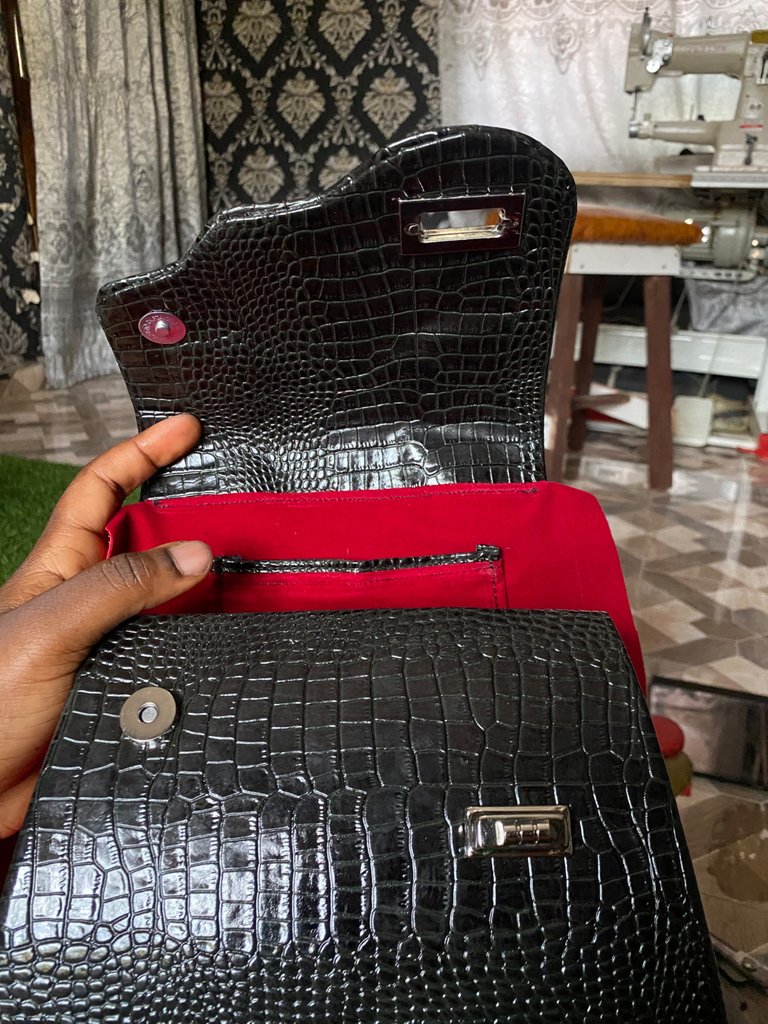
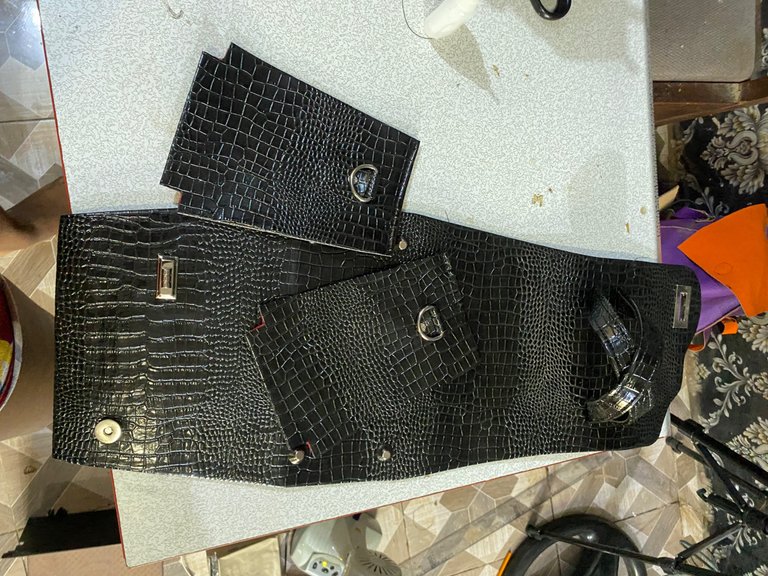
FINAL LOOK
