Good morning from this side of the globe.
This is actually my first time posting on this wonderful platform
Nevertheless, I'd love to feed your eyes and mind with some of my work
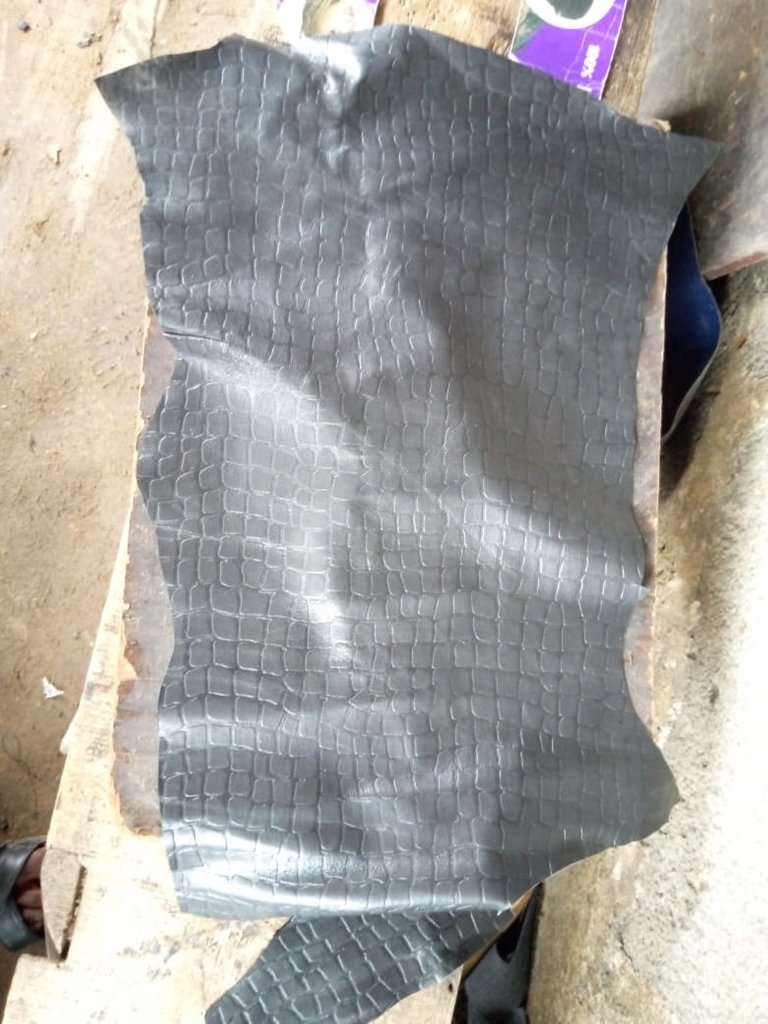
It was really a busy Wednesday for me trying to make and complete a client's request of this very nice looking sneaker with the top and sole been black all through.
This my client happens to be a very pretty lady who has always walked pass my workshop and admiring my works all the way. She branched one day and asked if I do female wears which I replied with a capital yes. Then she promised she was going to patronize me someday. Little did I know that she was going to come for my service against her boyfriend's birthday.
She branched my workshop while returning from work on Tuesday as usual, but this time around requested for an Express production which I told her would be available on Wednesday and this is what I came up with based on her request from our catalogue.
Sit back and feed your eyes and mind as I explain the processes and other things involved.
Materials I used
- Pure animal skin leather
- Scissors
- A ready made sneakers sole
- Gum
- Lining
- Small hand brush
- Sewing machine
- Fiber
- Hammer
- Cutter
- Filing machine
- Lasting spincer
- Tack nails
- Finishing gum
THE STEP BY STEP METHOD OF HOW I MADE THE SHOE
First of all I got the material before the close of the day that same evening and dropped it alongside the sketch pattern for the design she chosed in order to avoid spending much time the next day trying to locate patterns and so I will concentrate since it's an Express work and shoes are not so easy to make, it requires accurate concentration and carefulness sometimes.
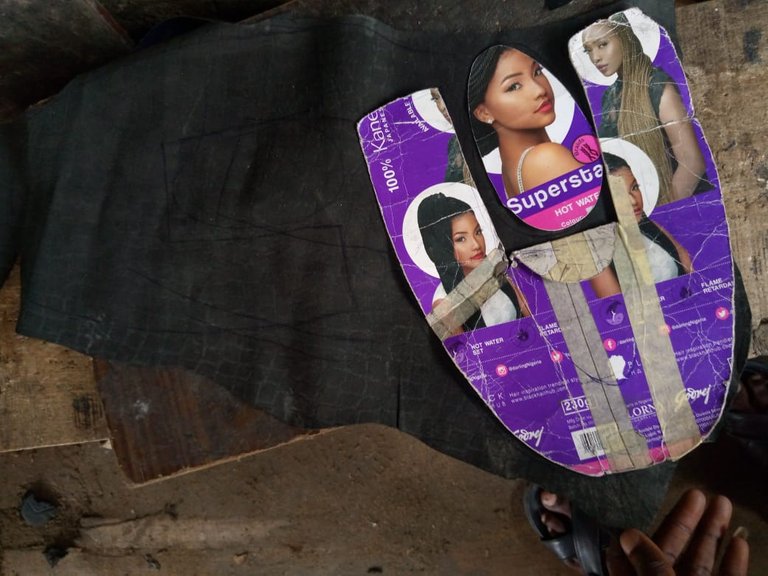
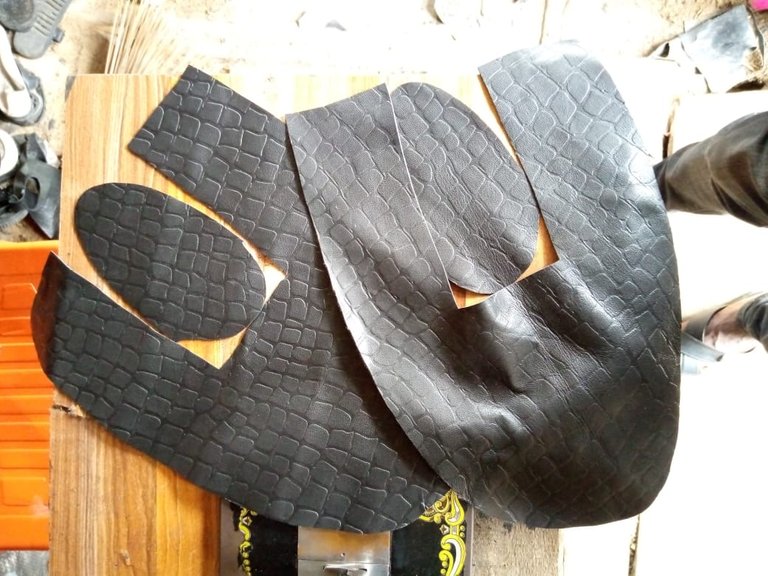
Then the next morning when I got to the shop, I quickly used the sketch pattern to mark and cut out the shapes of both legs and the top design with a pen and a scissors. Since it's a sneaker design, it's a little bit less complex for me owing to the fact that it's not my first time.
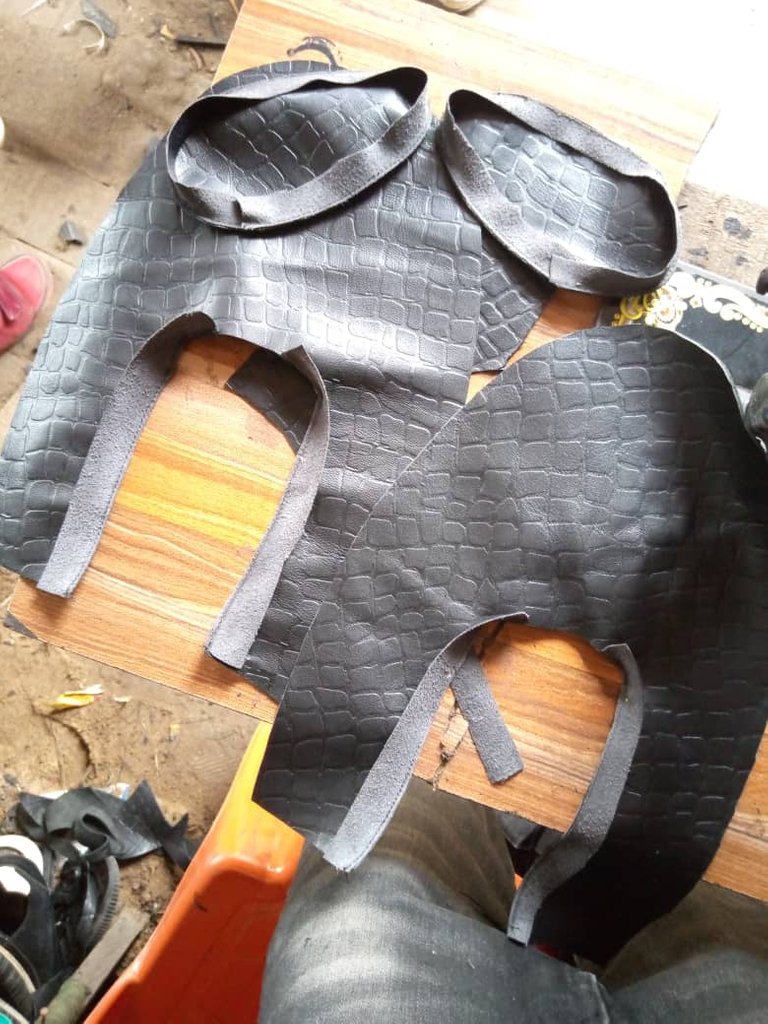
Next thing I did was to rub gum using the small hand brush on the cut out top and the lining and after it's satisfactorily dried, I joined them together and then trimmed out the reinforced top. The essence of lining is actually reinforcement, shape and stability.
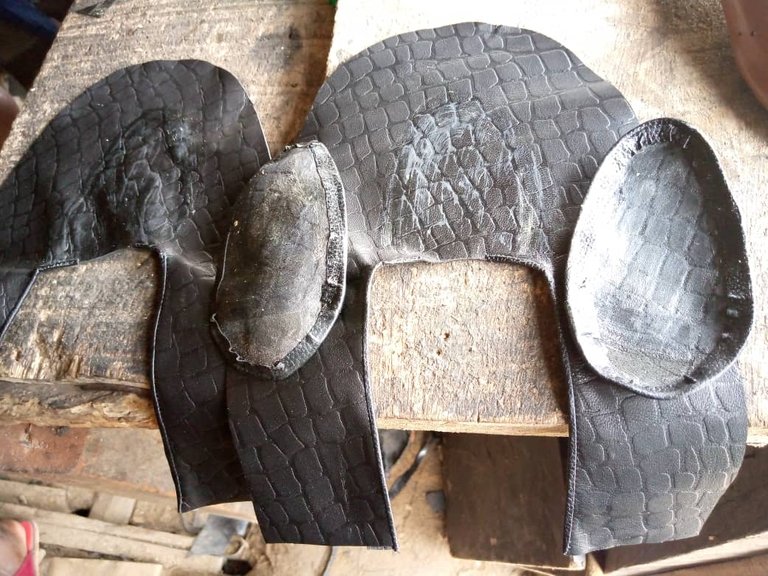
After I was satisfied with the gumming and the reinforcement, I took it to the machine to sew in preparation for lasting and to turn it into the actual shoes we see online.
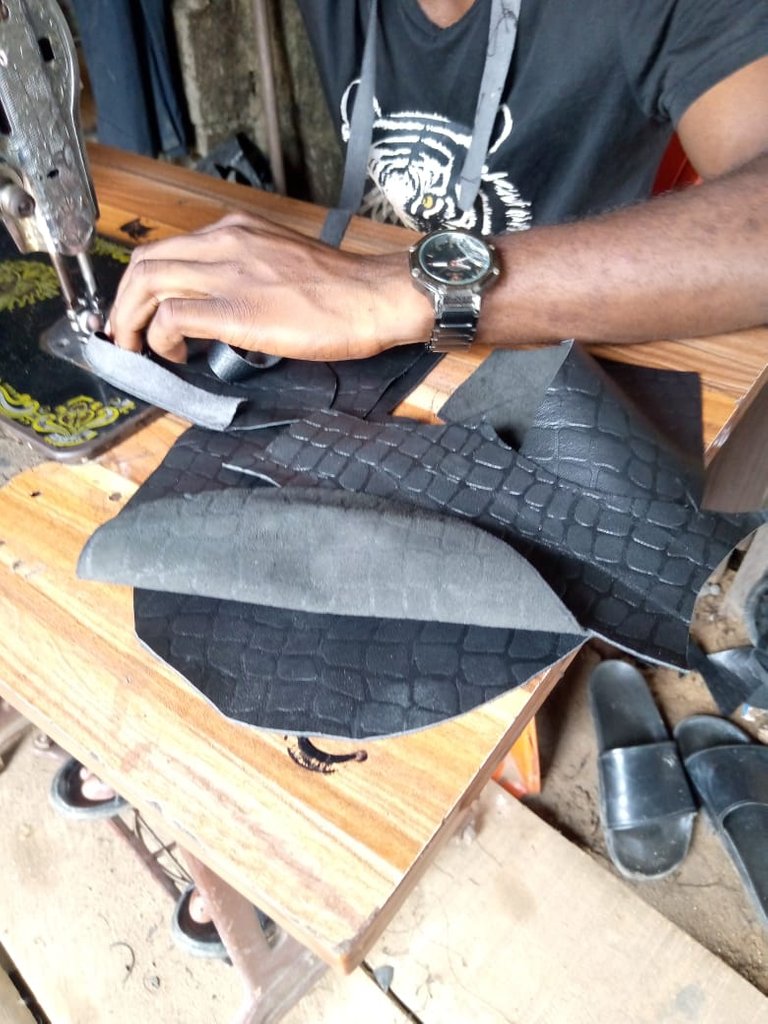
The next stage is to cut out the floor pattern of the last or mould that I used and gumming on it a leather as the floor.
After this, I attached the floor to the last ( mould ) and then rub gum on it and the top leather in preparation for lasting proper.
When it got dried toy satisfaction, that is a point where it cannot loose or open up if gummed, I then began the lasting using my lasting spincer to draw the leather and the hammer to enseure stability of the two materials on themselves. Below is the lasted show.
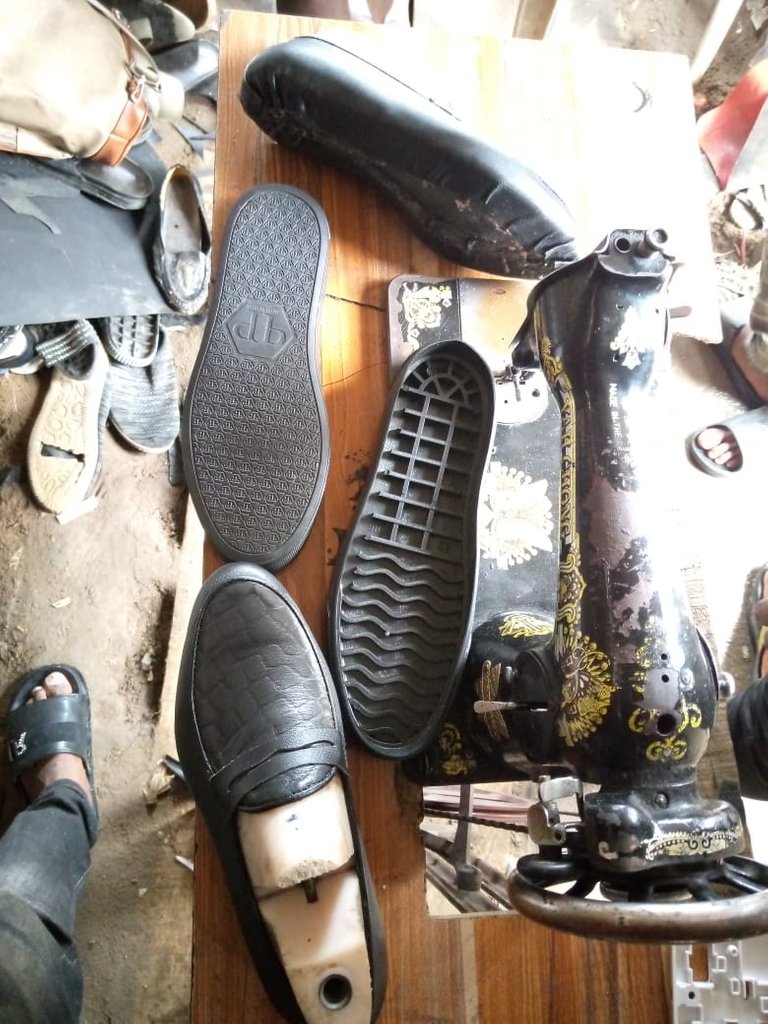
After this was done, I then filed the sole on the inner part to ensure that it holds gum accurately when I eventually attach it to the main shoe. I also filled the lower part of the moulded shoe to remove the glossy part and expose the rough part so that it can hold gum accurately. This is because, glossy leathers can hold gum only for a while. With much heat especially during the dried season .
Then I rub gum both the sole on the inside and on the filled part of the moulded shoe and allowed it to dry up before attaching them together. After which I gummed them up and this is what I have afterwards. Then I perfected the work using the finishing gum.
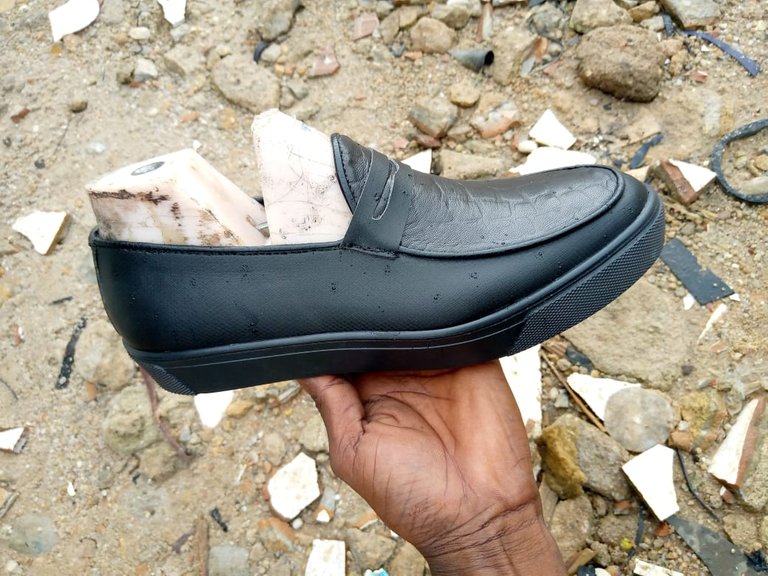
All this took me about four hours to complete. Fortunately for my client , she came in while I was about to remove the shoe from the moulded and was so excited to see me did such a great job for her within that crash hour. She couldn't even stand me packaging because she was in a hurry to meet up with a meeting and doesn't t want to come back. Because of that, she to the packaging nylon and the bag I bought for it with it her saying she knows how to dress shoes inside been a fashion designer too. And shoe making is a fraction of fashion designing.
Than you for expending your time to go through this written. I trust you enjoyed it a d fed your eyes and mind.