Greatings everyone
Happy Monday to all the needleworkmonday community members! How are you all doing this new week and how are you planning to spend it? I hope it will bring joy and success to everyone.
As we begin this new week, so shall something new come to our lives, amen.
It has been a while since I was able to post here on Monday due to some personal reasons, but I am very happy that I am able to do so today. I always feel so happy when I create a post here in this community, and if I go a few days without being active here, I feel so sad about myself, although sometimes it's a network problem or a lack of time.
Finally, I have determined to be active and also contribute to the growth of this community, and to tell the truth, it's my favorite community here in Hive.
Back to business: today, I want to share with you guys something new and different from what I have been posting here, and for sure you will learn something new today.
Today I am posting some simple steps to renewing a car dashboard, and if you follow me up, you will see that something you thought was impossible has become possible and can even be done by you.
What is dashboard
The car dashboard can simply be described as one of the interior parts of the car that is located at the front of the vehicle where you can see the speedometer and also all the indicators about the feature and its function.
Here is the finished dashboard that I am sharing with you guys on how I made it.
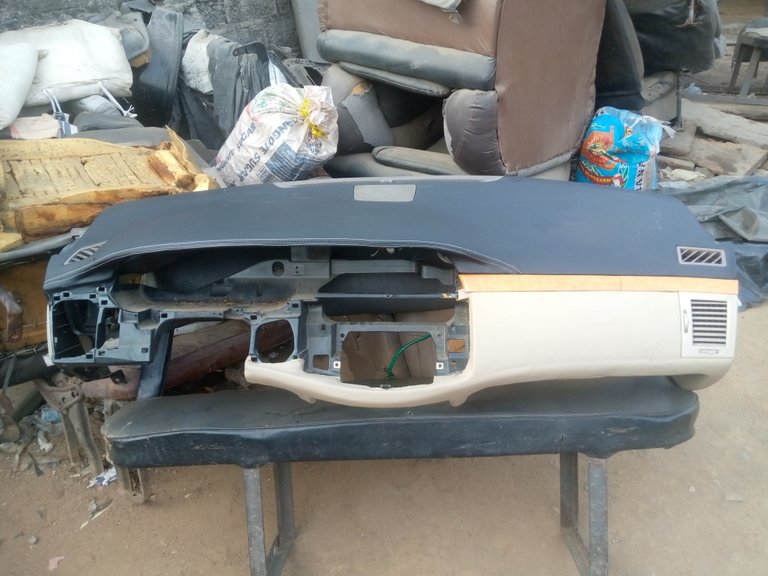
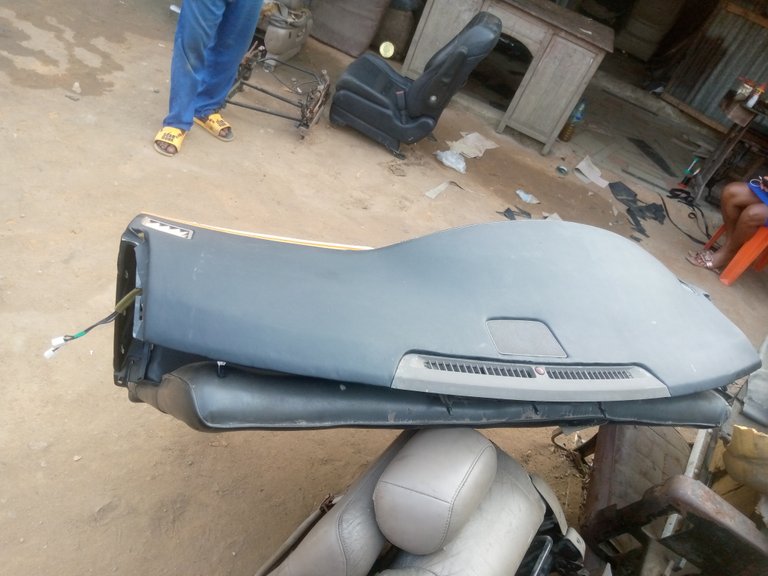
This looks so beautiful.
Below, here is the dashboard before
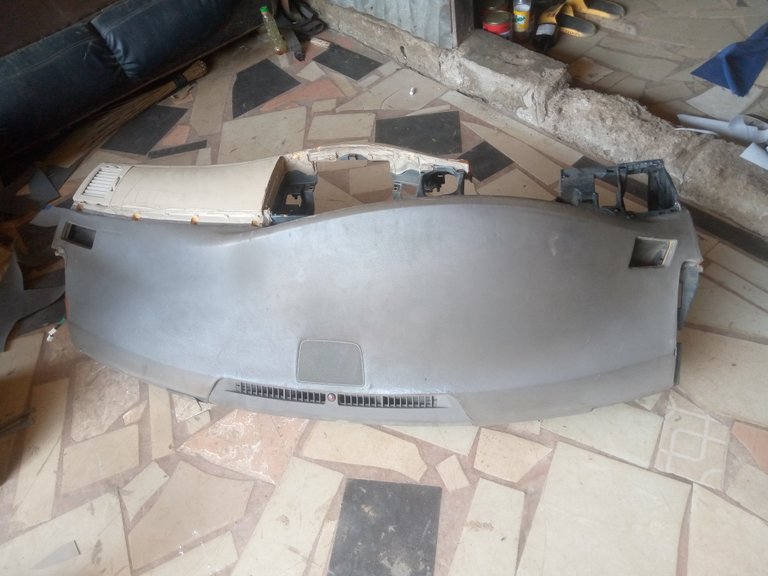
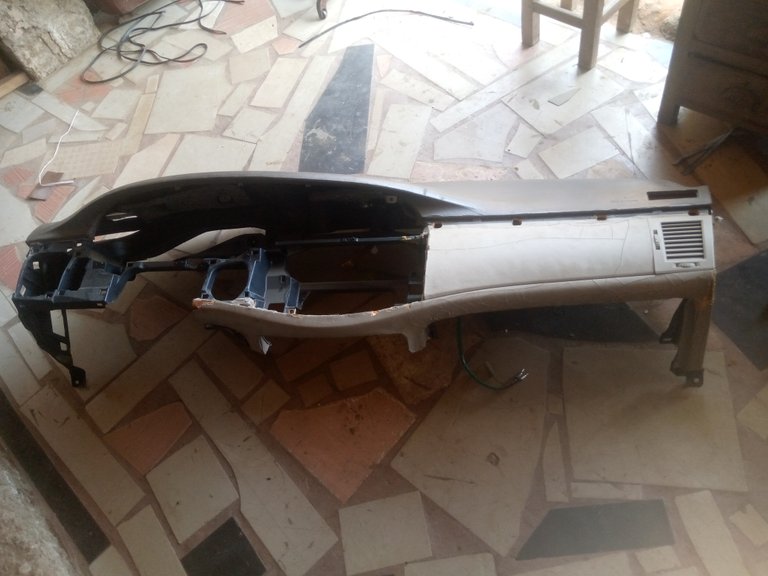
Looking at the dashboard, it comes in two colors, and here are the two new leathers I am using to replace the old leather.
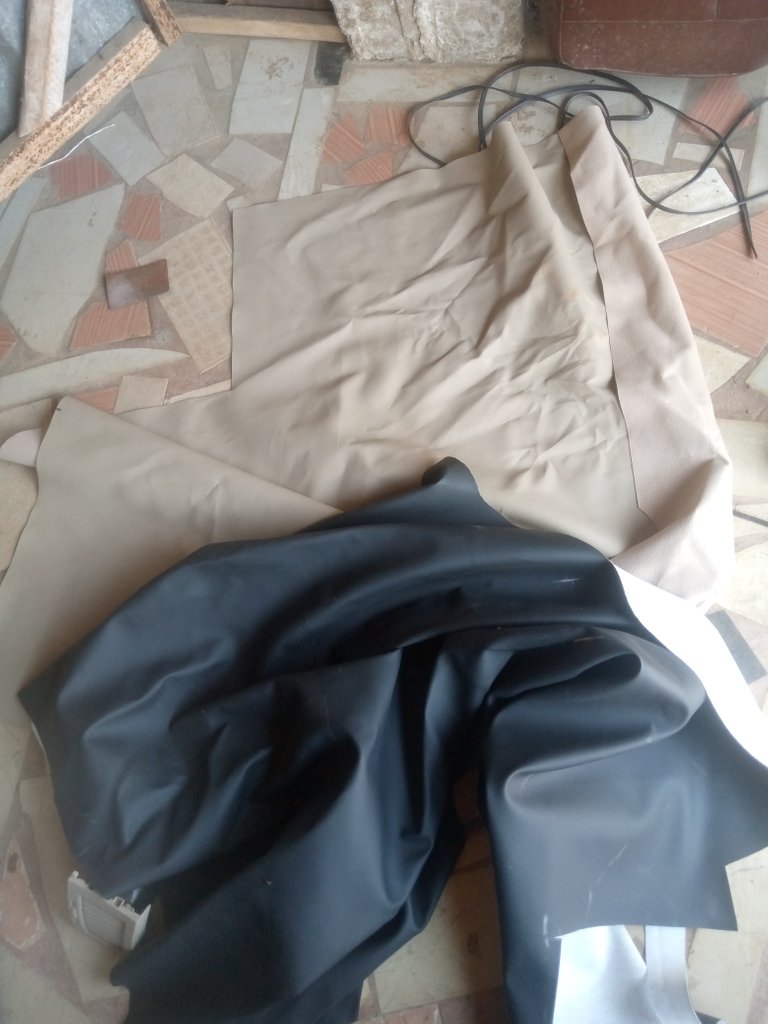
To get the work done
First, remove all the AC connectors and the speaker cover so that the dashboard will only be for itself.
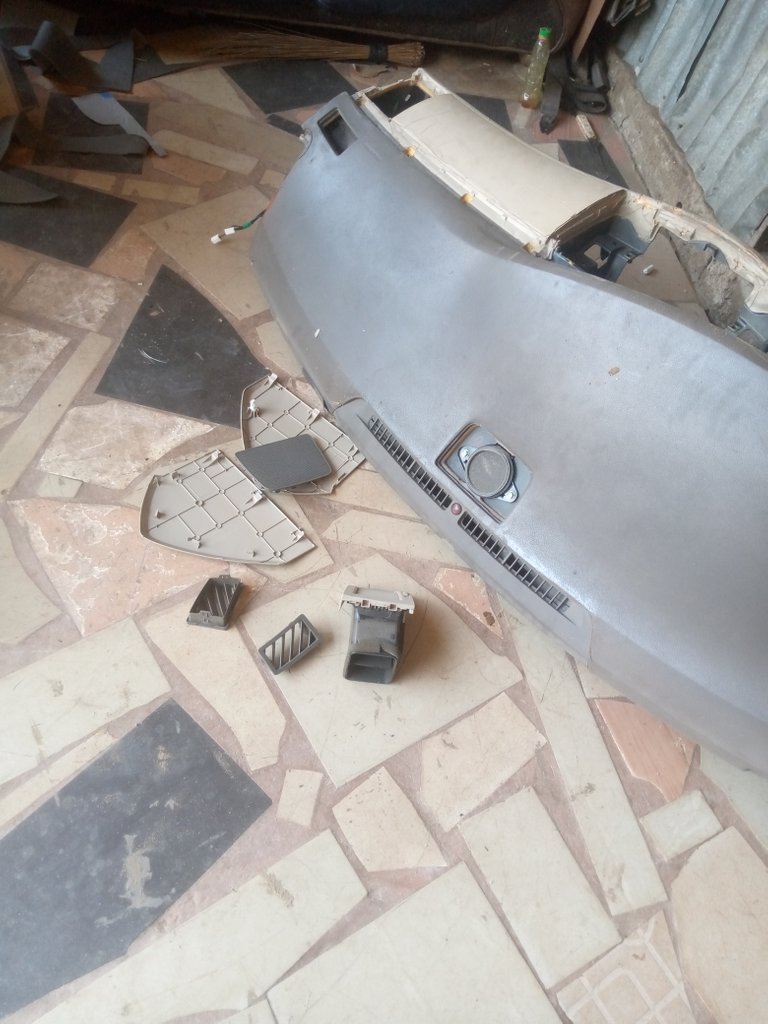
I've removed it. After removing it, I then pill out the old leather from the board with the help of my hand, and in some places that refuse to be pilled, I use a knife to do so.
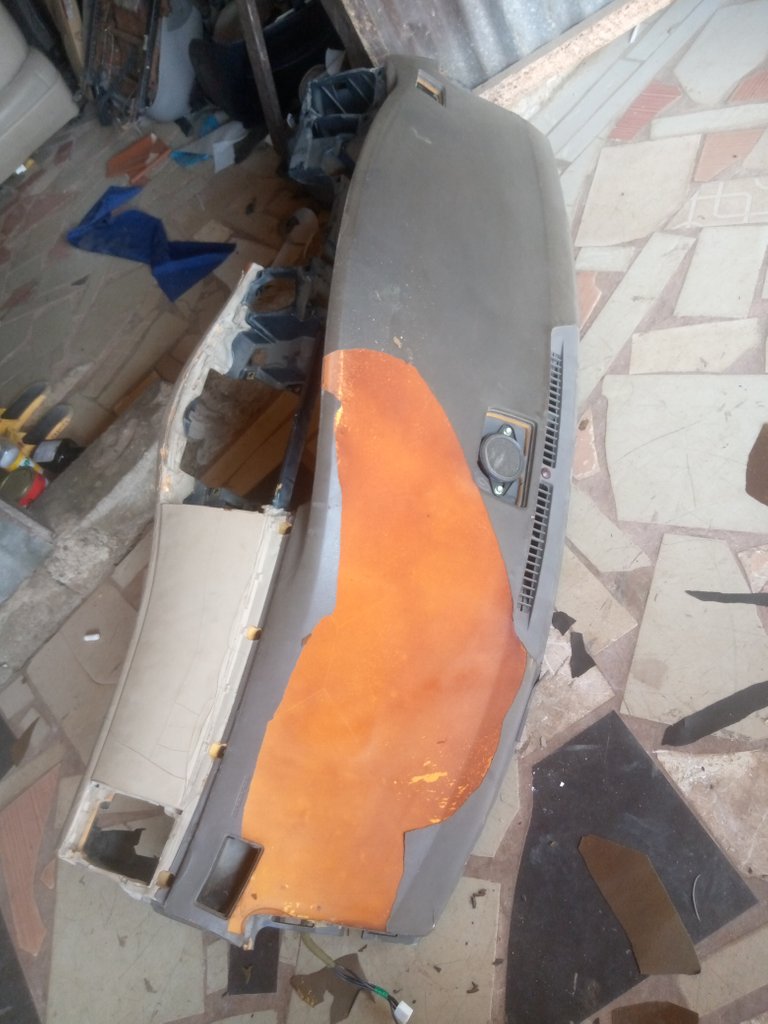
I finished removing the old leather completely.
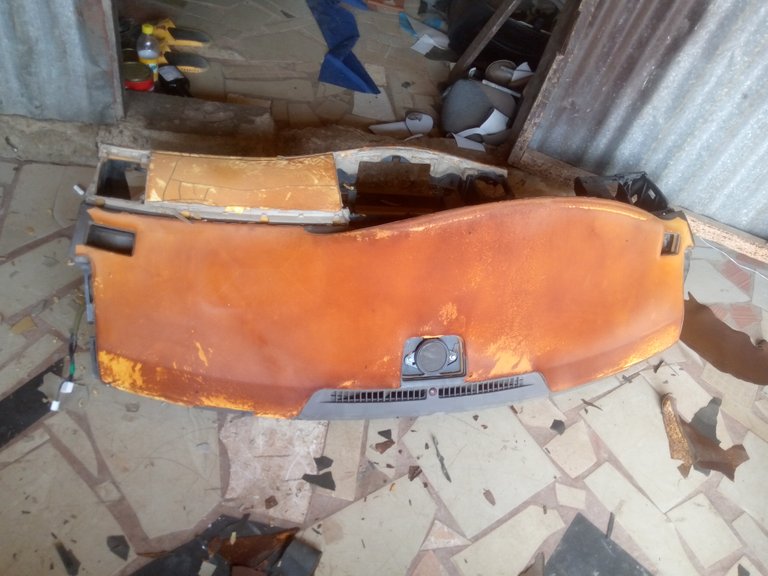
After removing everything, I then used sandpaper to sand the body of the board. The reason for doing this is to make the board rough so that when applying gum, it will gum well, that is to say, if the board is smooth, the gum will not hold the new material and the board together.
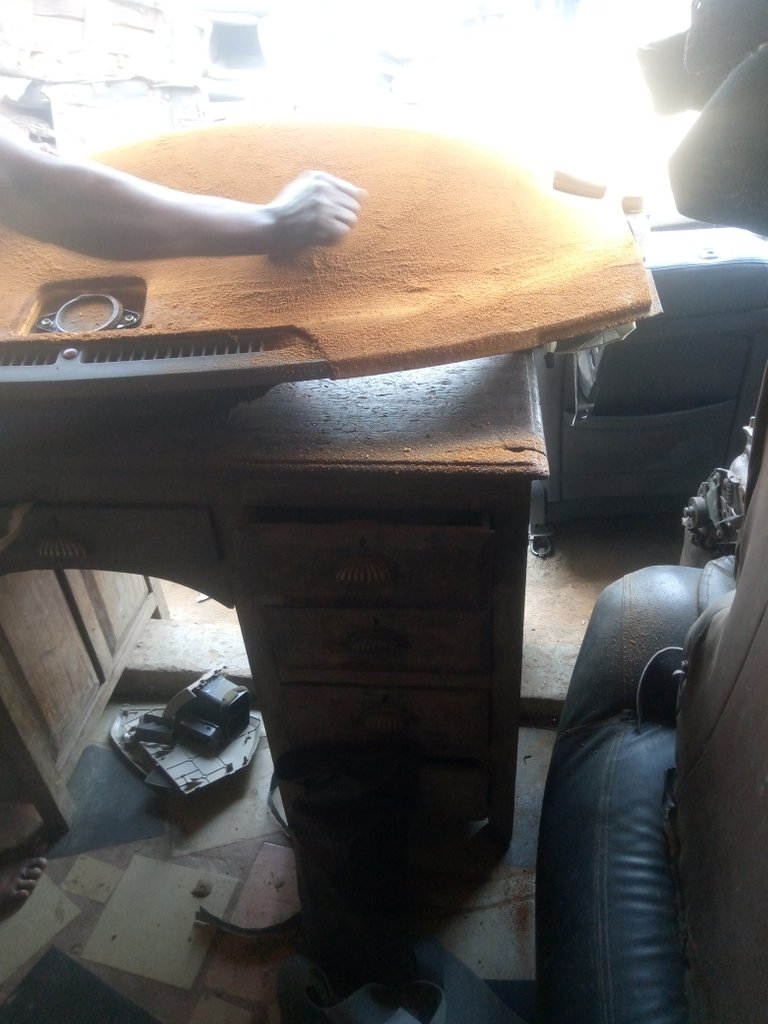
done sanding it.
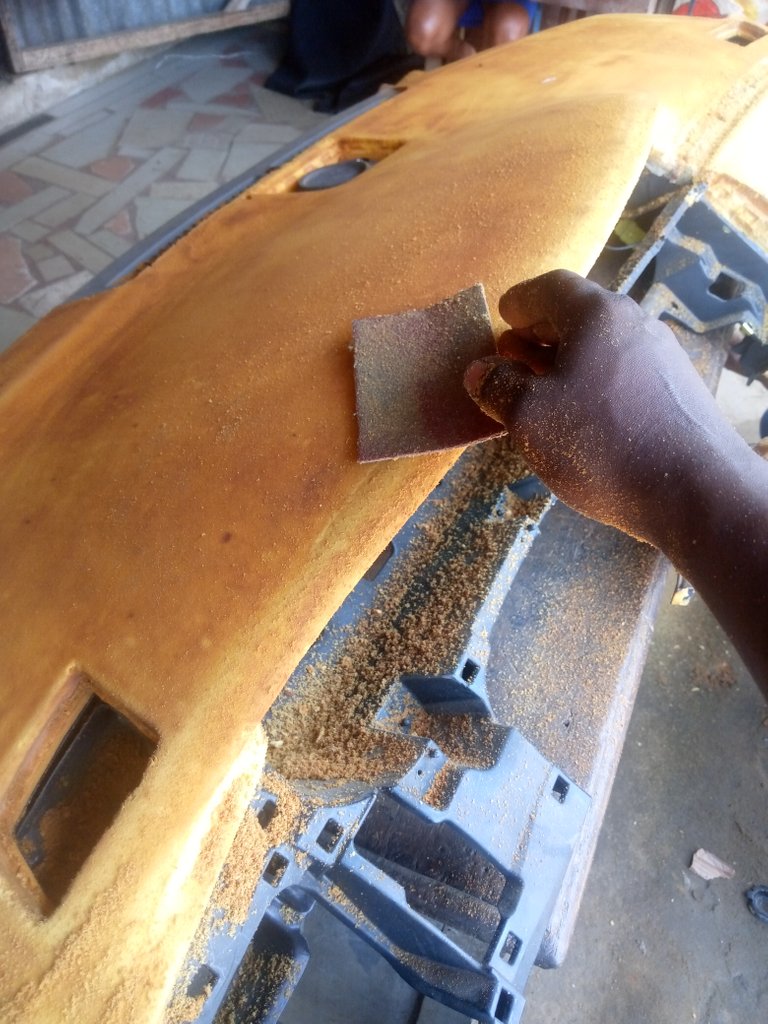
After sanding it, I used a broom to sweep it out.

Looking at that, the board is ready for work.
Then I place the new leather on the board and shape it.
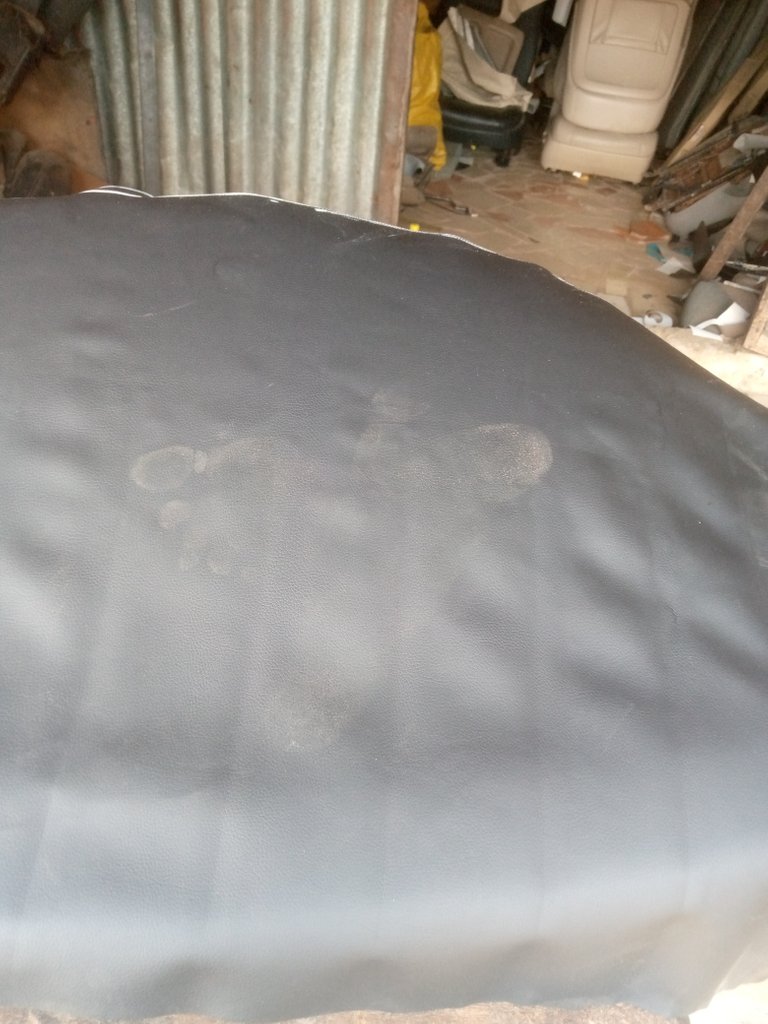
After that, I use my sewing machine to sew the edge of the board, because if I place it directly like that without sewing it, it will not look beautiful.
So after sewing it, I then apply gum to the new leather and also the board, allow it to dry, and then gum them together. See photo below.
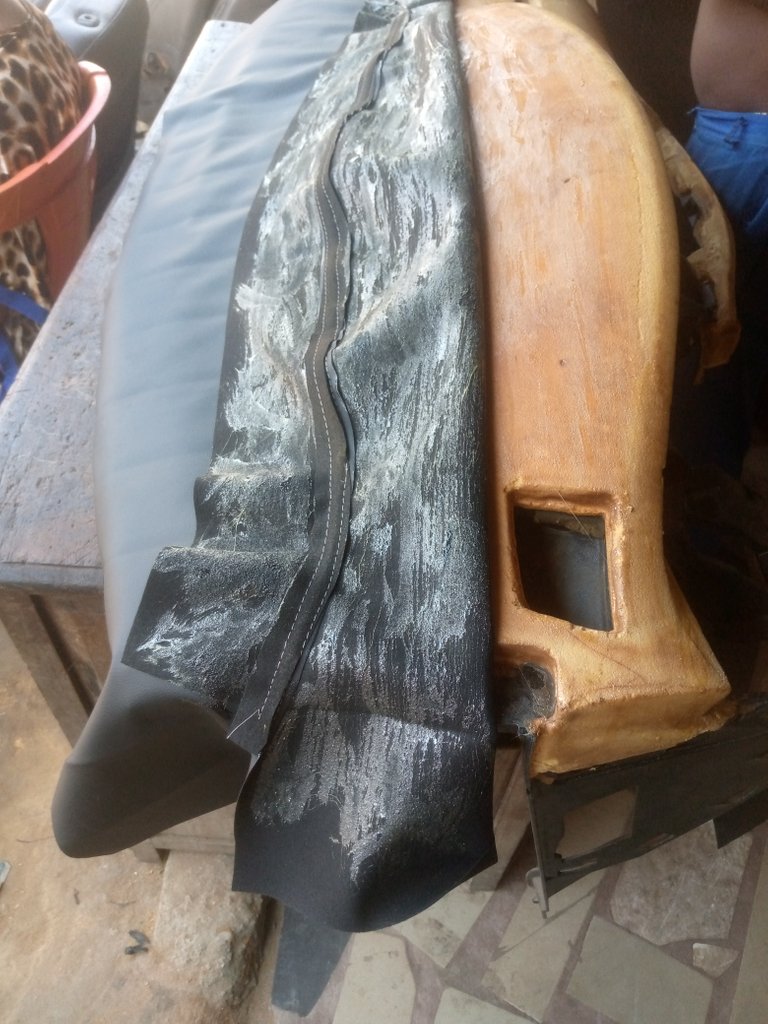
After everything, I then gummed them smoothly together, and here is the finished work.


Is this not simple to do, this my work is very simple but if you it is not your line you will be thinking is hard.
That is all for today, hope you have learn one or two from this post.
Special thanks to these special people of this community: @crosheille @lauramica @kattycrochet @marblely @needleworkmonday and also to all the members of this community.
Thanks for your support and for stopping by. See you guys on your publication.

