Heeeyho Readers! Yup, we're at it again.
As a brokepacker, not a money wallet either {laughs}-{read title}. Brokenness apart, working with leather has been quite fun, so I decided to use the last pieces of leather from the previous projects (see here and here) to try a more complex design. This time after creating my own template from seeking wallet ideas off the internet.
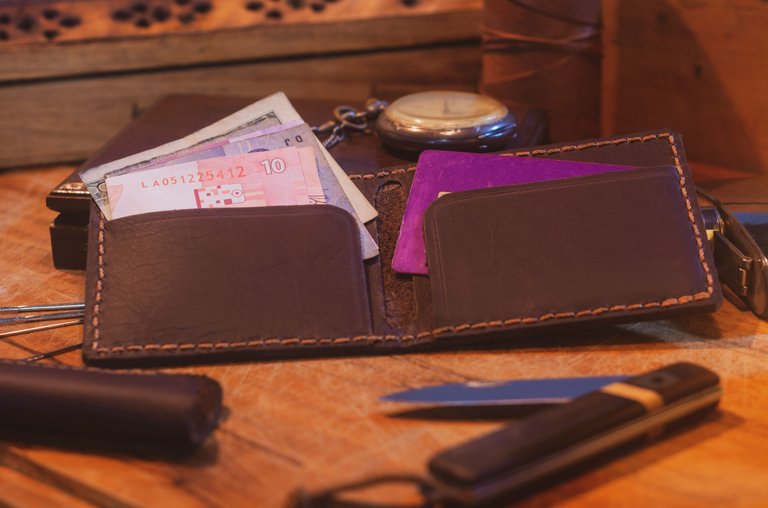
This leather wallet, like my first handmade one, is also quite minimalist. Despite the fold design, it only has two slots for cards, banknotes, id, whatever. The idea is to keep it slim, compact and looking clean. Let's see if I manage to finish without piercing my fingers with the needles.
The technique used here is the same as in the pocket-knife slip pouch — the only technique I know so far, the saddle stitching using two needles. To simplify this post, it's best if readers check said post to see how I make the stitching lines and holes using simple household items.
The making of this wallet isn't complex once we have a template. To be honest, it took more time figuring out the dimensions and how to put the whole thing together than working on the leather itself. Once the paper template is drawn and approved, the rest just unfolds naturally.
Le dumb me lost the photos of each piece separately, but it's not hard to figure out in case readers want to replicate this project.
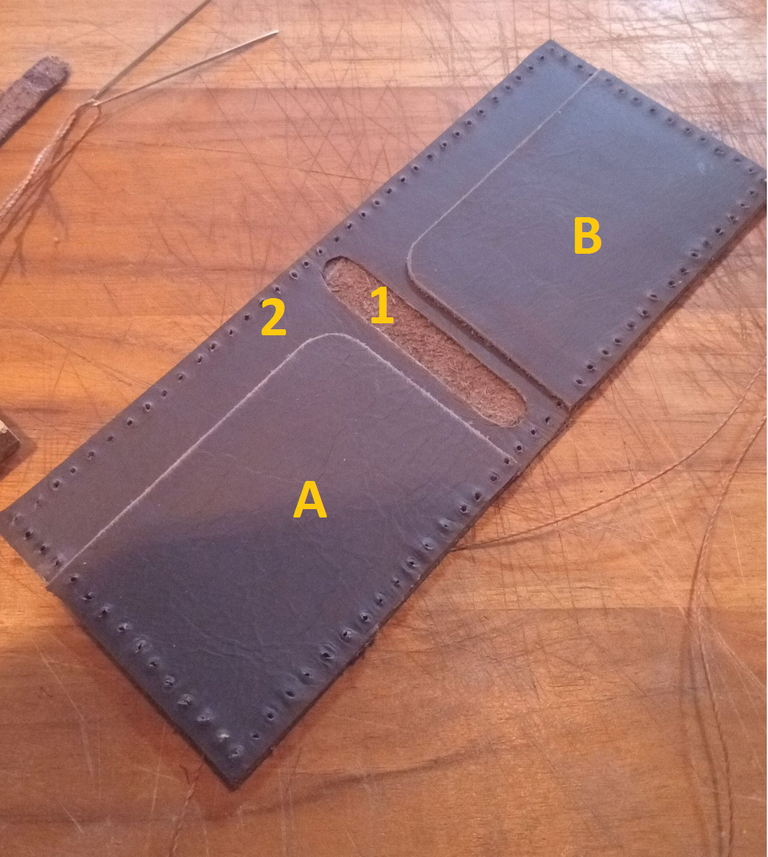
There are two rectangles glued together making the outer and inner parts (1 and 2), with the only difference being that the inner rectangle has a small cut-out as seen in the picture. Dimensions are 205mm x 80mm.
Note: To make the wallet a bit more rigid, I also sandwiched between the walls two thin plastic rectangles (80mm x 60mm) on each side (totally optional). One can't see them, but they are 10mm from the edge so I don't have to poke through plastic to stitch the wallet later on.
Rectangles for the slots measure 90mm by 60mm, marked as A and B. They are also previously glued in place, only where the stitches join the pieces together. Cutting the rounded corners using a coin as template is what works for me. Sure, there must exist a supimpa super sexy tool for that, but I don't have it.
Once the parts are glued together, the rest is ba-da-bim ba-da-bum. Again, I do with what I have, hence, the result isn't flawless. Take for example the stitching holes. The best tool for the job is called a stitching chisel, but because I don't have the knack yet, each hole is punched individually (a lot of freaking hammering).
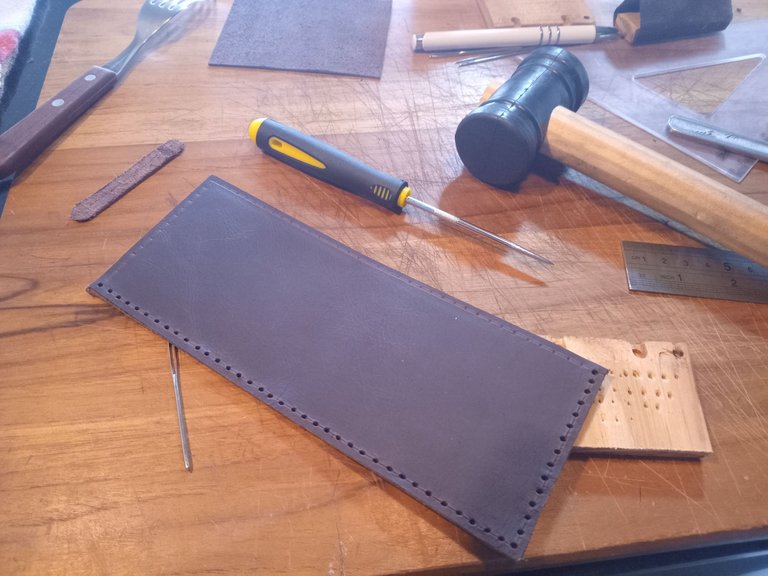
Stitching is the fun part; piercing the fingers isn't. I screwed up real bad though... rookie mistake to cut the sewing thread a tad too short, forcing me to amend the problem with a splice halfway through. The sew runs around the entire wallet and secures all the parts together in one single run.
Learning the hard way
As mentioned before, I like to avoid leather-crafting videos to keep my sanity in check; it's way too easy to feel discouraged when we see what others can do and the awesome tools they have. Call me dumb and I'll agree, because that premise often causes me more trouble on the learning journey.
I soon discovered that leaving some room to cut the edges down to the final dimension after gluing the wallet is best to guarantee crisp edges. It might waste a bit of leather, say... 5mm more per side, but considering a beginner isn't yet precise enough that won't be an issue. I say that because I cut each piece exactly at the planned size to only then discover they weren't perfectly lined/squared after gluing, which means I had to be extra careful to trim the edges afterwards.
Other than that is improving my stitching line. How can I sew straight when the stitching line isn't perfect? Not gonna happen. Perhaps my improvised punching awl isn't ideal.. the ones I often see seem to leave a small angled hole. Any experts out there? Need help.
I finish off by burnishing the edges with a bit of bee's wax and a piece of denim to create that buffed glossy look, though I wanted a darker result that is only achieved with a bit of brown leather buffering wax (bought at the supermarket later on).
Uff !!
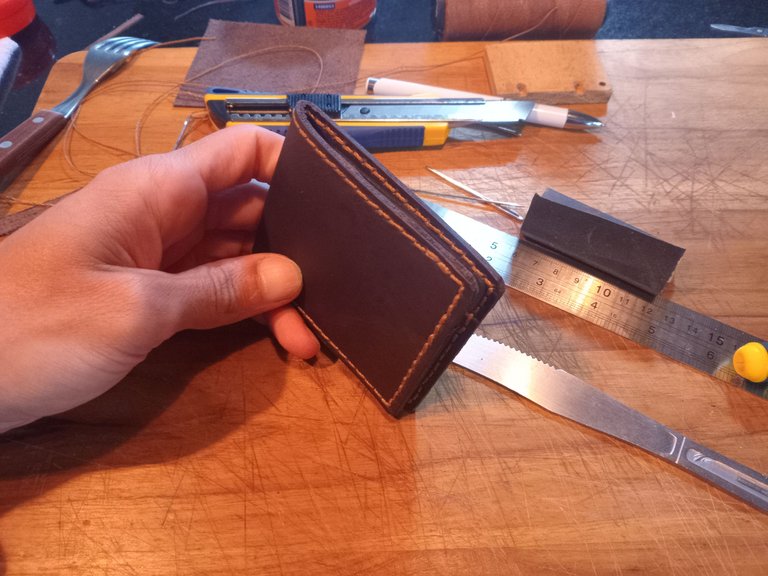
It took me a good few hours to complete this project, most of it head-banging around the templates. So far, the final product looks quite awesome. Not perfect, but good enough. And it achieves the premises: slim, compact and looking clean. To excuse my lack of skills, I say to everyone that this wallet is rustic {laughs}.
"You see this poorly-written sewing post?" Rustic!
"The inappropriate tools?" Rustic!
"Zig-zaging stitches" Rustic, for God's sake!
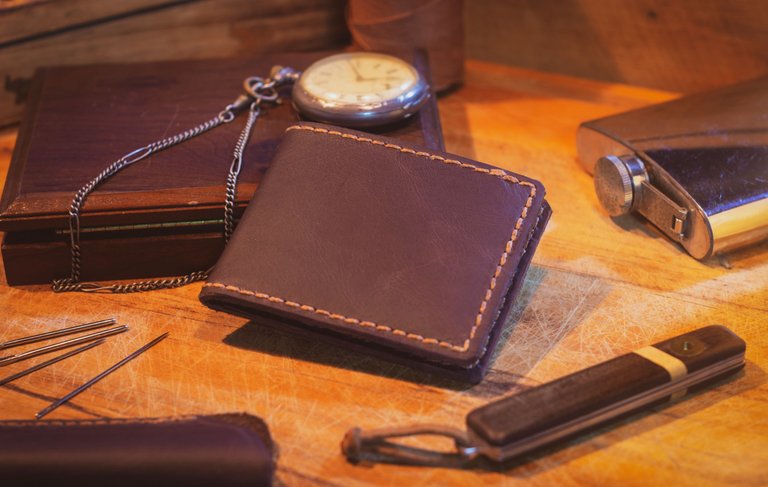
Jokes aside, lemme post pictures of the final product.
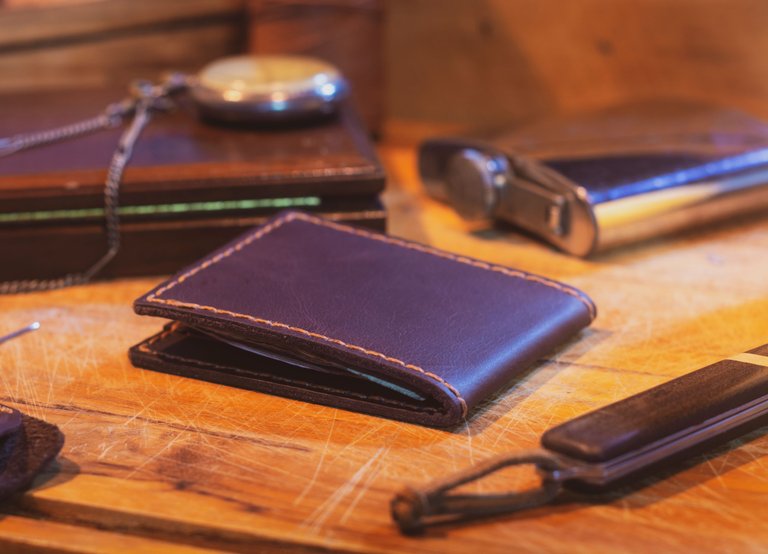
Although this supposedly (I think it isn't) crazy horse leather looks and feels and smells awesome, I'm thinking about getting something different for the future projects. [Crazy horse is the name]. It's weird because the crazy horse leathers I see online don't look soft and they have color-changing and patina as main characteristic, which mine doesn't, hence the doubt. Anyways. Let's see what comes next in the wild world of good ole mr.p.
Do you prefer a super modern and technological crypto wallet or a rustic ole leather wallet? Do you think there'll be a day when we won't use classic wallets anymore?
Lemme know in the comments.
Peace.
If you enjoyed this post consider leaving your upvote for a hot coffee.
Find me on Twitter: https://twitter.com/mrprofessor_
~Love ya all,
Disclaimer: The author of this post is a convict broke backpacker, who has travelled more than 10.000 km hitchhiking and more than 5.000 km cycling. Following him may cause severe problems of wanderlust and inquietud. You've been warned.


